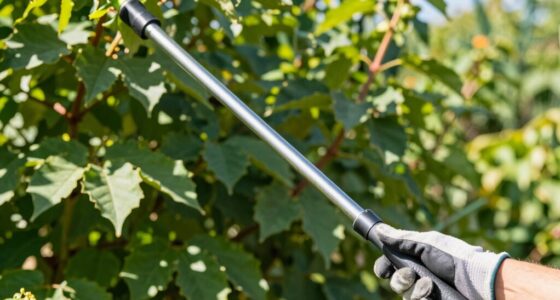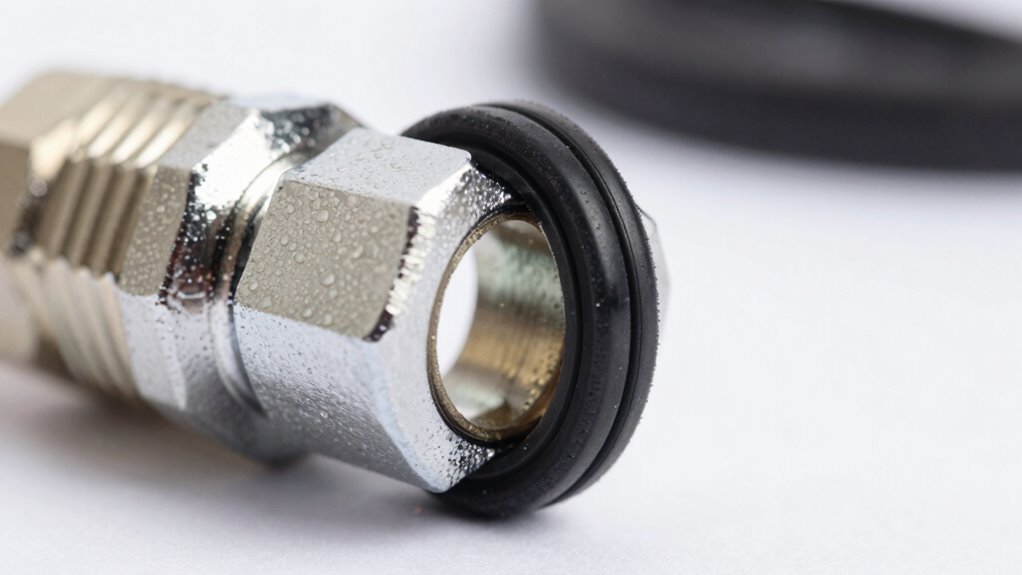

If your quick-connect fittings leak, the likely cause is a worn or improperly installed O-ring. To fix it, turn off the water, carefully detach the fitting, and replace the O-ring with a new, compatible one, making sure it’s seated correctly. Use proper tools and avoid damage during installation. For persistent leaks or unsure steps, consulting additional tips will help you master the repair and prevent drips from continuing.
Key Takeaways
- Properly install and seat O-rings to ensure a tight, leak-free seal in quick-connect fittings.
- Use compatible, high-quality O-rings suited for pressure and temperature to prevent deterioration.
- Regularly inspect fittings for signs of damage, wear, or mineral buildup that indicate potential leaks.
- Avoid twisting, stretching, or damaging O-rings during installation by using proper tools and techniques.
- Replace old or damaged O-rings promptly with correct-sized, compatible parts to stop leaks effectively.
Why Do Quick-Connect O-Rings Leak and How Can You Prevent It?
Quick-connect O-rings often leak because they aren’t properly installed or maintained. One key cause is using the wrong O ring materials, which may not withstand the operating pressure or temperature, leading to deterioration or failure. Ensuring connection compatibility is essential; an O ring that doesn’t fit tightly or match the fitting’s specifications can cause leaks. Always select O rings made from suitable materials like nitrile, EPDM, or Viton, depending on your fluid and environment. Proper installation involves inspecting O rings for damage, lubricating them with compatible grease, and fitting them correctly without twisting or stretching. Regular maintenance and checking for signs of wear help prevent leaks, extending the life of your quick-connect fittings and maintaining a secure seal. Being aware of O ring material compatibility is crucial for preventing leaks and ensuring reliable performance. Additionally, understanding how contrast ratio impacts image quality can help you choose the best projector for your home theater setup. To further prevent leaks, it’s also beneficial to keep up with connection maintenance and replace O rings at the first sign of deterioration. Regularly inspecting O rings for wear and damage can help catch issues early and avoid leaks before they occur.
How to Spot a Leak in Your Quick-Connect Fittings
You can often spot a leak by looking for visible water stains around your fittings. Unusual pressure drops in your system might also signal a leak that needs attention. Keep a close eye on these signs to catch problems early before they worsen. Additionally, monitoring system pressure regularly can help you identify leaks more effectively. Regular inspections of quick-connect fittings can prevent minor issues from developing into major leaks. Ensuring proper O-ring condition is crucial, as worn or damaged O-rings are a common cause of leaks in quick-connect fittings. Using proper installation techniques can further reduce the risk of leaks developing over time. Employing leak detection methods such as soapy water tests can help confirm the presence of a leak quickly and safely.
Visible Water Stains
Water stains around fittings are often the clearest sign of a leak. If you notice discoloration or mineral buildup, it’s likely water is escaping. These stains can form on walls, floors, or near the quick-connect fittings, indicating a leak that needs attention. Keep in mind, high water pressure can worsen leaks and cause stains to spread. To prevent corrosion and prolong fitting life, inspect for stains regularly and address leaks promptly. Regularly checking for signs of filtration system wear can help catch leaks early and prevent damage. Additionally, integrating smart leak detection devices can provide real-time alerts to mitigate water damage. Monitoring pressure levels can further help identify potential issues before they become severe.
Unusual Pressure Drops
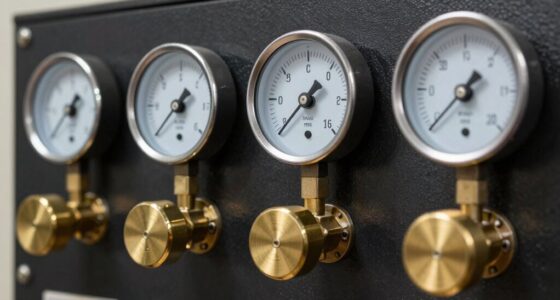
Have you noticed sudden drops in pressure when using your fittings? This can be a sign of a leak or blockage. Check your pressure sensors—they should provide consistent readings; if they fluctuate unexpectedly, it’s a clue something’s wrong. Flow restrictors can also cause pressure issues if they become clogged or damaged. When pressure drops without explanation, it’s often due to a failing quick-connect fitting or a worn O-ring. These leaks may not be visible but will impact your system’s performance. Use your pressure sensors to monitor changes and pay attention to any irregular readings. Identifying these pressure drops early helps prevent further damage and ensures your fittings are sealing properly. Regular maintenance and replacing worn components can prevent leaks and prolong system life. Recognizing the role of O-ring integrity is crucial for maintaining leak-free connections. Proper fitting alignment can also help prevent unnecessary wear and leaks. Additionally, understanding the impact of celestial bodies on personal traits can inspire confidence in maintaining your system’s integrity. Being aware of system pressure fluctuations can help you catch problems early before they escalate. Don’t overlook these signs—they’re your first warning of potential leaks.
Tools and Materials Needed to Replace a Quick-Connect O-Ring
Replacing a quick-connect O-ring requires gathering the right tools and materials to guarantee the job goes smoothly. You’ll need a few essential items to ensure a proper seal and prevent leaks. First, select the correct O-ring that’s compatible with your plumbing system, considering size and material. Using plumbing lubrication helps the new O-ring slide into place easily and reduces damage. Have a clean cloth on hand to remove debris or old residue. A pick or small flathead screwdriver can help remove the old O-ring carefully. Ensuring compatibility with your airless paint sprayer minimizes the risk of leaks and maintains optimal performance, and understanding the leak prevention techniques can save you time and effort. Additionally, being familiar with O-ring installation best practices can improve the longevity of the repair. Recognizing the impact of environmental factors on plumbing components over time can help in selecting the most durable materials for your specific location.
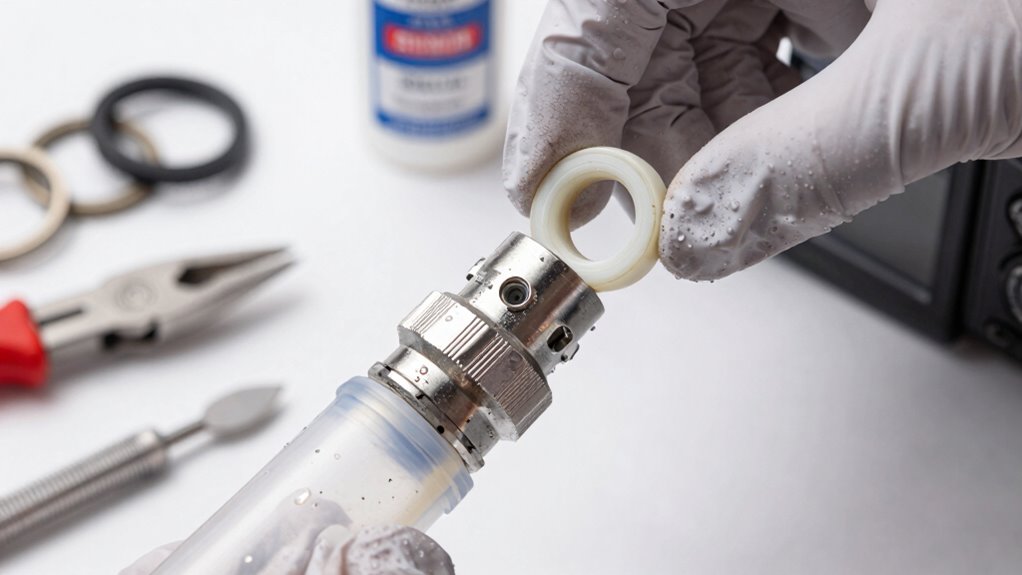
How to Replace a Quick-Connect O-Ring: A Step-by-Step Guide
To begin replacing a quick-connect O-ring, start by turning off the water supply to prevent leaks or spills. Next, identify the O-ring’s location inside the fitting. Carefully disconnect the quick connect, then remove the old O-ring using a small pick or flat tool. When selecting a replacement, verify it matches the original material, like rubber or silicone, for proper O ring materials. Check compatibility with your quick connect model to avoid leaks. Use the table below to choose the right O-ring:
| O-Ring Material | Compatibility | Best Use |
|---|---|---|
| Rubber | Universal | General plumbing |
| Silicone | High temp | Hot water systems |
| EPDM | Chemical resistant | Outdoor or appliance |
Replace the O-ring, reassemble, and turn the water back on to test for leaks. Additionally, understanding connected equipment and proper maintenance can help prevent future leaks and prolong the life of your fittings. Regular inspection of fittings and seals is also recommended to catch potential issues early.
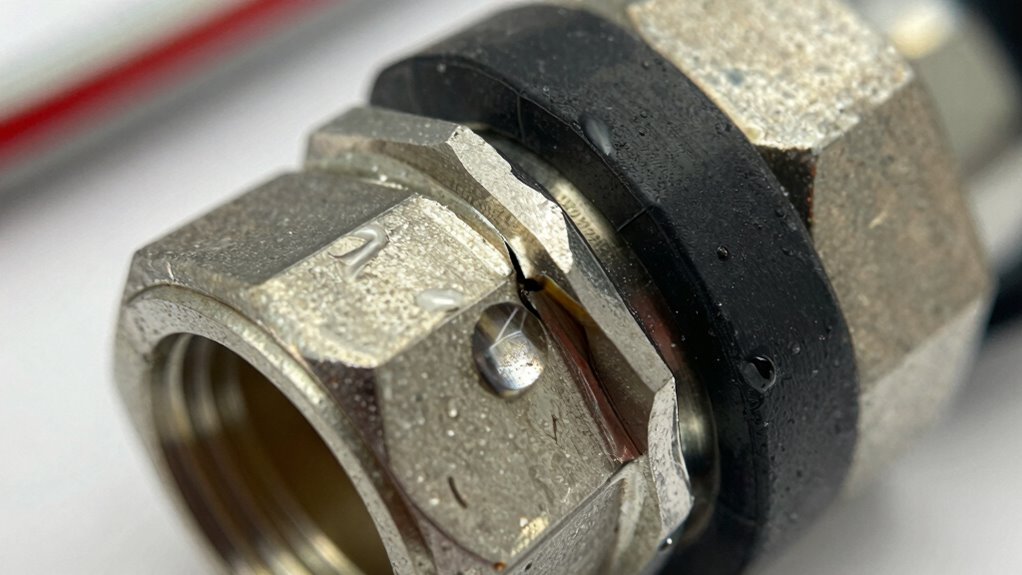
Common Mistakes When Replacing Quick-Connect O-Rings and How to Avoid Them

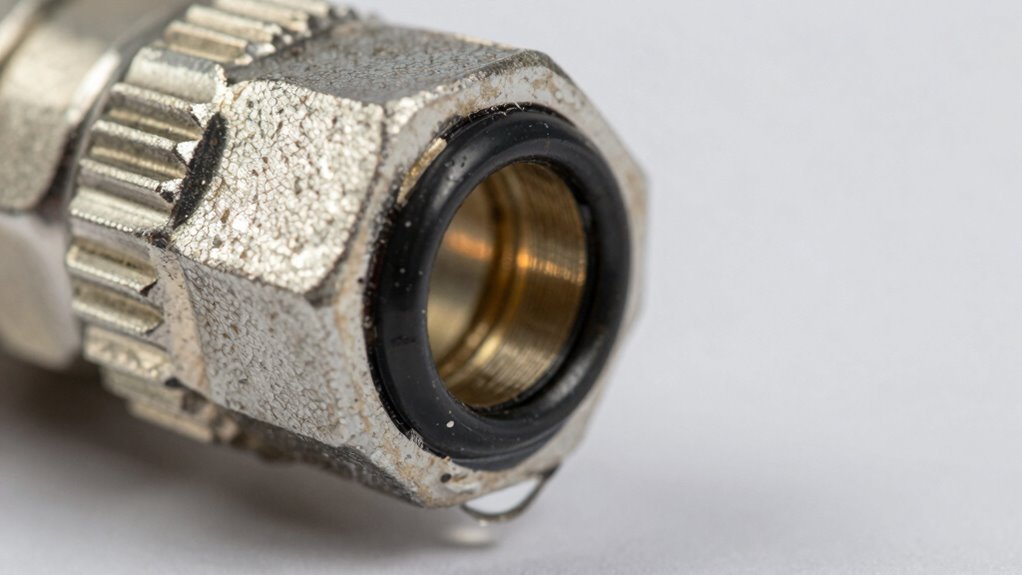
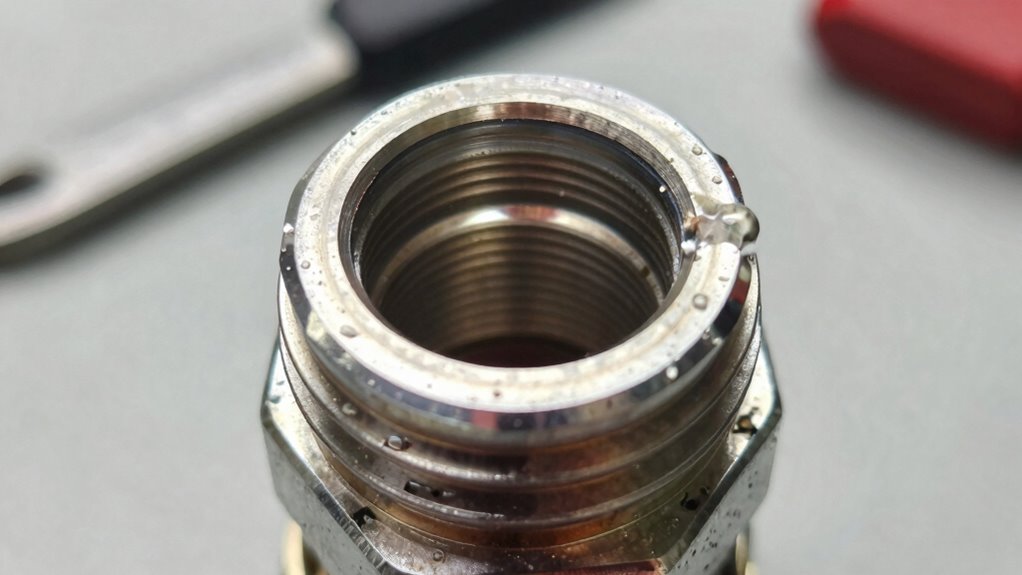
One common mistake is misplacing the O-ring, which can cause leaks or damage. To avoid this, double-check that the O-ring sits properly in its groove before connecting. Also, be careful during installation to prevent pinching or tearing the O-ring, as damage can lead to failure later on.
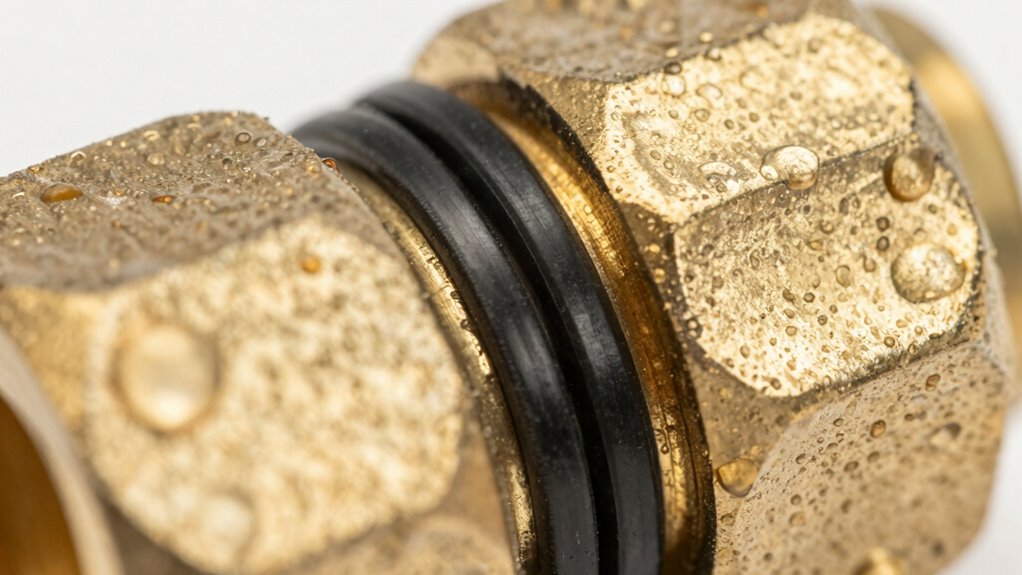
Proper O-Ring Placement
Proper O-ring placement is essential for a leak-free connection, yet it’s easy to make mistakes that compromise the seal. Incorrect placement can lead to leaks or damage. Always verify the O ring materials are compatible with your system’s fluid and pressure. Proper alignment is key; misaligned O rings can cause uneven wear or pinching.
To avoid mistakes:
- Check the O ring’s orientation before installation
- Ensure it sits evenly in the groove
- Avoid twisting or stretching the O ring during placement
- Confirm the O ring is fully seated before connecting components
Avoiding Damage During Installation
Replacing quick-connect O-rings can be straightforward, but many mistakes during installation can cause damage and lead to leaks. To guarantee installation safety, handle components carefully and avoid forcing parts together, which can deform or crack the O-ring or fitting. Always check material compatibility before installation; using incompatible materials can cause premature wear or deterioration. Keep the work area clean to prevent debris from damaging the O-ring or clogging the connection. Use the proper tools designed for quick-connect fittings to avoid scratching or warping parts. Remember, rushing the process increases the risk of damage. Taking your time and following manufacturer guidelines helps prevent costly mistakes and ensures a secure, leak-free connection. Proper care during installation protects your system and maintains its longevity.
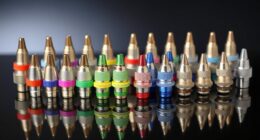
How to Choose the Right O-Ring for Your Plumbing Connection
Choosing the right O-ring for your plumbing connection is essential to guarantee a leak-proof seal and verify a secure fit. When selecting, consider O ring materials suited for water, pressure, and temperature conditions. Different sealing techniques require specific O-rings to prevent leaks effectively.
Selecting the right O-ring ensures a secure, leak-proof plumbing connection tailored to water, pressure, and temperature needs.
Key factors include:
- Compatibility with water and plumbing chemicals
- Resistance to temperature fluctuations
- Correct size and cross-section for a tight fit
- Material flexibility for smooth installation
When to Call a Professional for Quick-Connect Repairs

While quick-connect fittings are designed for easy installation and maintenance, there are times when attempting repairs yourself can lead to bigger problems. If you notice persistent leaks despite replacing the O-ring or see damage to the fitting, it’s best to call a professional. Common causes of issues include cracked fittings, improper installation, or debris trapped in the connection. Before calling a pro, verify you’ve followed basic maintenance tips, like cleaning fittings regularly and inspecting for wear. However, if leaks continue after these steps or if you’re unsure about the repair process, seeking expert help can prevent further damage and ensure a secure connection. Professionals have the tools and experience to diagnose complex issues quickly and safely.
Frequently Asked Questions
Are All Quick-Connect Fittings Compatible With Standard O-Rings?
Not all quick-connect fittings are compatible with standard O-ring materials. Compatibility concerns arise because fittings may use specific O-ring types designed for certain fluids or temperatures. You need to check the manufacturer’s specifications to guarantee your O-ring materials match the fitting’s requirements. Using incompatible O-rings can lead to leaks or failures, so always verify compatibility to keep your connections secure and leak-free.
How Long Does a Typical Quick-Connect O-Ring Last Before Needing Replacement?
O-ring lifespan varies with usage and environment, but generally, you should plan for replacement intervals of about 1 to 3 years. You’ll notice wear, cracking, or leaks, which signal it’s time for a change. Regular inspections help you preempt problems, preventing persistent drips and damage. Stay attentive to signs of deterioration, and replace your quick-connect o-rings promptly to maintain a leak-free, reliable connection.
Can I Reuse an Old O-Ring After Fixing a Leak?
You shouldn’t reuse an old o-ring after fixing a leak because o-ring materials can deteriorate over time, compromising safety and effectiveness. Reusing an o-ring risks leaks or failure, especially if it’s become compressed, cracked, or hardened. For a reliable seal, always inspect the o-ring carefully and replace it with a new one designed for your specific quick-connect fitting. This ensures safety and prevents future leaks.
What Are Signs of a Failing O-Ring Besides Leaks?
You’ll notice signs of a failing o-ring besides leaks, such as visible o ring deterioration or cracks, which indicate it’s wearing out. Corrosion indicators, like rust or discoloration, also point to potential failure. If the o-ring feels brittle or loses its elasticity, it’s time to replace it. Regular inspection helps catch these issues early, preventing leaks and ensuring your quick-connect stays reliable.
Is It Safe to Use Alternative Materials for O-Rings?
Yes, you can use alternative materials for o-rings, but you need to take into account material compatibility and chemical resistance first. Make sure the new material suits the specific environment and fluids your system handles. If the alternative material isn’t compatible or resistant enough, it might degrade quickly or cause leaks. Always check manufacturer guidelines and test the o-ring in real conditions before full use to ensure safety and performance.
Conclusion
By replacing worn or damaged O-rings, you can prevent leaks and save water—studies show leaks account for about 10% of household water loss. Regular inspections and proper maintenance keep your quick-connect fittings secure and efficient. Don’t ignore small drips; addressing them early can prevent costly repairs later. With the right tools and knowledge, you can fix leaks yourself and keep your plumbing running smoothly, saving you time, money, and frustration.