
To prevent runs and sags, you should use a consistent one-pass sewing pattern that maintains proper tension and seam alignment. Keeping your fabric taut and ensuring edges stay aligned as you sew helps evenly distribute tension, preventing uneven stitches that cause dips or sagging. Practice steady speed and smooth feeding to reinforce this. If you stick with these techniques, you’ll find your seams stay neat and professional-looking — and there’s more tips you can try to perfect your sewing.
Key Takeaways
- Maintain consistent fabric tension to ensure smooth feeding and even stitches in a single pass.
- Use pinning and seam guides to keep fabric edges aligned throughout sewing.
- Sew in a steady, continuous motion to prevent dips, runs, and sags in the seam.
- Adjust tension settings carefully based on fabric type to avoid distortion and uneven stitching.
- Practice a one-pass pattern to develop control over fabric behavior and achieve professional results.
Have you ever noticed uneven lines or dips in your upholstery or fabric? It’s a common issue that can make even the most beautiful fabric look amateurish. The culprit often lies in how the fabric is handled during sewing, especially if you’re working on projects like upholstery, curtains, or clothing. To prevent runs and sags, you need to pay close attention to fabric tension and seam alignment throughout your work. These two factors are essential; if either is off, it can lead to uneven stitching, puckering, or unsightly dips that ruin the overall look.
First, focus on maintaining proper fabric tension. When sewing, consistent tension ensures that the fabric feeds smoothly through the machine, preventing puckers or loose stitches that can cause runs or sags over time. If the tension is too tight, the fabric might stretch and cause distortions; if it’s too loose, stitches become uneven and prone to snagging or sagging. Adjust your machine’s tension settings carefully, testing on scrap fabric before starting your main project. Keep the fabric taut but not stretched overly tight, and make sure it feeds evenly. Proper tension helps your stitches sit flat and uniform, which is essential for a clean, professional finish.
Maintain proper fabric tension for smooth feeding and professional, even stitches.
Seam alignment is just as important. When seams are misaligned, fabric can bunch up or dip, creating uneven lines that appear as runs or sags. To avoid this, pin your fabric carefully and check that all edges line up precisely before sewing. Use your machine’s seam guide to keep stitches straight and evenly spaced. Ensuring that seams are aligned correctly helps distribute tension evenly across the fabric, reducing the risk of dips or unevenness. It also makes your finished piece look polished and well-constructed. If your fabric is thick or textured, take extra care to align patterns or weaves, which can accentuate any misalignment.
Consistency is the key. When sewing long seams or multiple pieces, keep your speed steady and your fabric feeding smooth. Use a one-pass pattern—meaning you sew in one continuous, deliberate pass—so you don’t have to go back and fix misaligned sections. This approach minimizes the chances of creating tension inconsistencies or misaligned seams that can lead to runs or sags later. By focusing on maintaining even fabric tension and perfect seam alignment during each step, you’re setting yourself up for a flawless finish. It’s a simple but powerful way to prevent those annoying dips and uneven lines that can mar your project.
Additionally, understanding fabric behavior and how different materials respond during sewing can help you adjust your technique proactively.
In the end, paying close attention to these details makes all the difference. With practice, you’ll develop a feel for how your fabric reacts and learn to adjust accordingly. Proper fabric tension combined with precise seam alignment will keep your upholstery, curtains, or clothing looking smooth, professional, and free of those frustrating runs and sags.

MARRTEUM 3Pcs Knitting Machines Tensioner, Stable Knit Replacement Tension Rod Adapter Accessories Compatible with Sentro 22 32 40 48 Knitting Machines (Pink)
- Hands-Free Tensioning: No need to hold yarn manually
- Easy Installation: No drilling required, simple to attach
- Premium Acrylic Material: Safe, odorless, durable, and smooth
As an affiliate, we earn on qualifying purchases.
As an affiliate, we earn on qualifying purchases.
Frequently Asked Questions
Can This Pattern Be Used for All Wall Types?
Yes, you can use this pattern for all wall types, but proper wall surface preparation is essential for best results. The pattern’s versatility allows it to adapt to different textures and materials, ensuring a smooth finish. You should assess each surface and adjust your technique accordingly, but overall, this one pass pattern helps prevent runs and sags across various wall surfaces, making it a reliable choice for diverse projects.
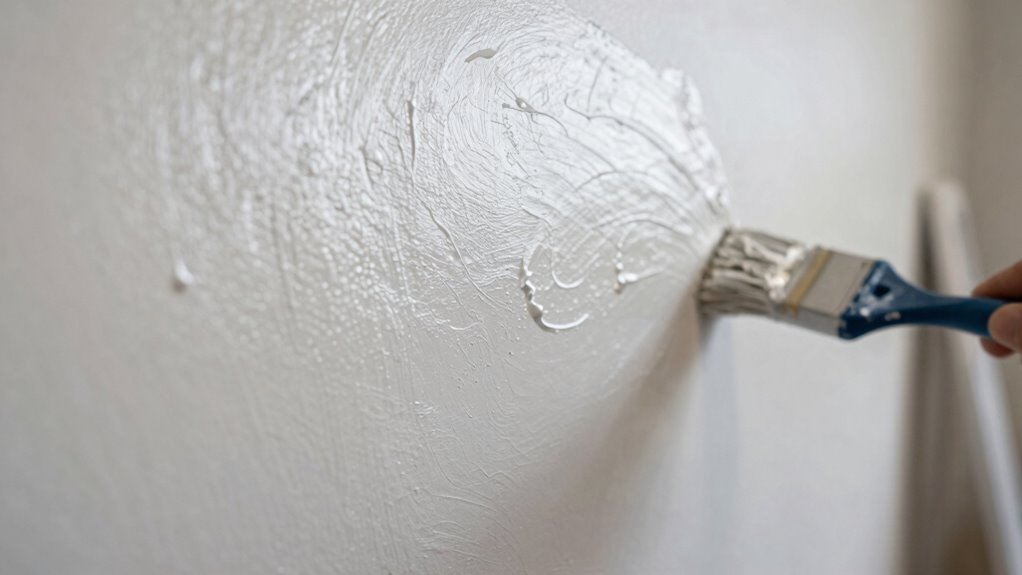
What Tools Are Recommended for Applying This Pattern?
They say, “A bad workman blames his tools,” but the right tools make all the difference. For this pattern, use a high-quality brush for detailed areas and a roller with the appropriate nap length for your wall type. Your goal is smooth, even coverage, so choose roller selection based on the surface texture. Mastering brush techniques and selecting the right roller helps you achieve flawless results efficiently.
How Long Does It Take to Master This Technique?
The technique duration to master this pattern varies, but with consistent practice, you can expect a mastery timeline of a few weeks to a couple of months. You’ll notice steady improvement as you refine your skills and develop a feel for the proper application. Keep practicing regularly, stay patient, and you’ll find that over time, applying this pattern becomes second nature, helping you prevent runs and sags effectively.
Are There Color Combinations That Work Best?
Did you know that using contrasting palettes can make your work stand out by up to 50%? When it comes to color harmony, you should choose combinations that complement each other, like blue and orange or purple and yellow. These pairs create visual interest and balance. Avoid overly similar shades, which can cause confusion. Experiment with contrasting and harmonious colors to find what works best for your project and creates a striking, cohesive look.
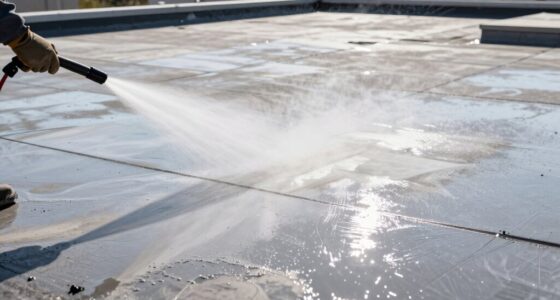
Is This Pattern Suitable for Outdoor Applications?
Yes, this pattern is suitable for outdoor applications. It offers excellent weather resistance, helping your surface withstand rain and sun exposure. Plus, it works well with various surface types, ensuring proper adhesion and a smooth finish. By using this pattern, you reduce the risk of runs and sags, keeping your project looking professional. Just make sure to choose the right materials for your specific outdoor surface and conditions.
Conclusion
So, next time you’re tempted to skip that one-pass pattern, remember: runs and sags are just your fabric’s way of saying, “Hey, I’d rather not.” Embrace the pattern, and you’ll save yourself from the horror of redoing the whole project. After all, who needs the drama of crooked seams and uneven stitches? Stick to the one pass—your sanity (and your fabric) will thank you. Happy sewing, or should I say, “perfectly sewn”?