
An airless sprayer has the power to completely change the appearance of any room. By following some easy steps, individuals can achieve professional-looking results.
First, gather the necessary materials: the sprayer, paint, primer, drop cloths, and masking tape. Then, clear the area and protect surfaces with drop cloths and masking tape.
Inspect the walls for imperfections and fill any cracks or holes. Clean the walls thoroughly, apply a coat of primer, and mix the paint according to instructions.
Test the sprayer on scrap material and begin applying multiple coats for the desired color and coverage.
Afterward, clean the sprayer as instructed, remove masking tape and drop cloths, and return the furniture and objects to their original places.
With attention to detail and a little know-how, anyone can achieve a beautifully painted room using an airless sprayer.
Key Takeaways
- Inspect walls for imperfections and fill cracks and holes before painting
- Choose the right paint considering surface type and lighting
- Adjust the sprayer’s pressure for even coverage and troubleshoot clogging issues
- Thoroughly clean and maintain the sprayer for future use
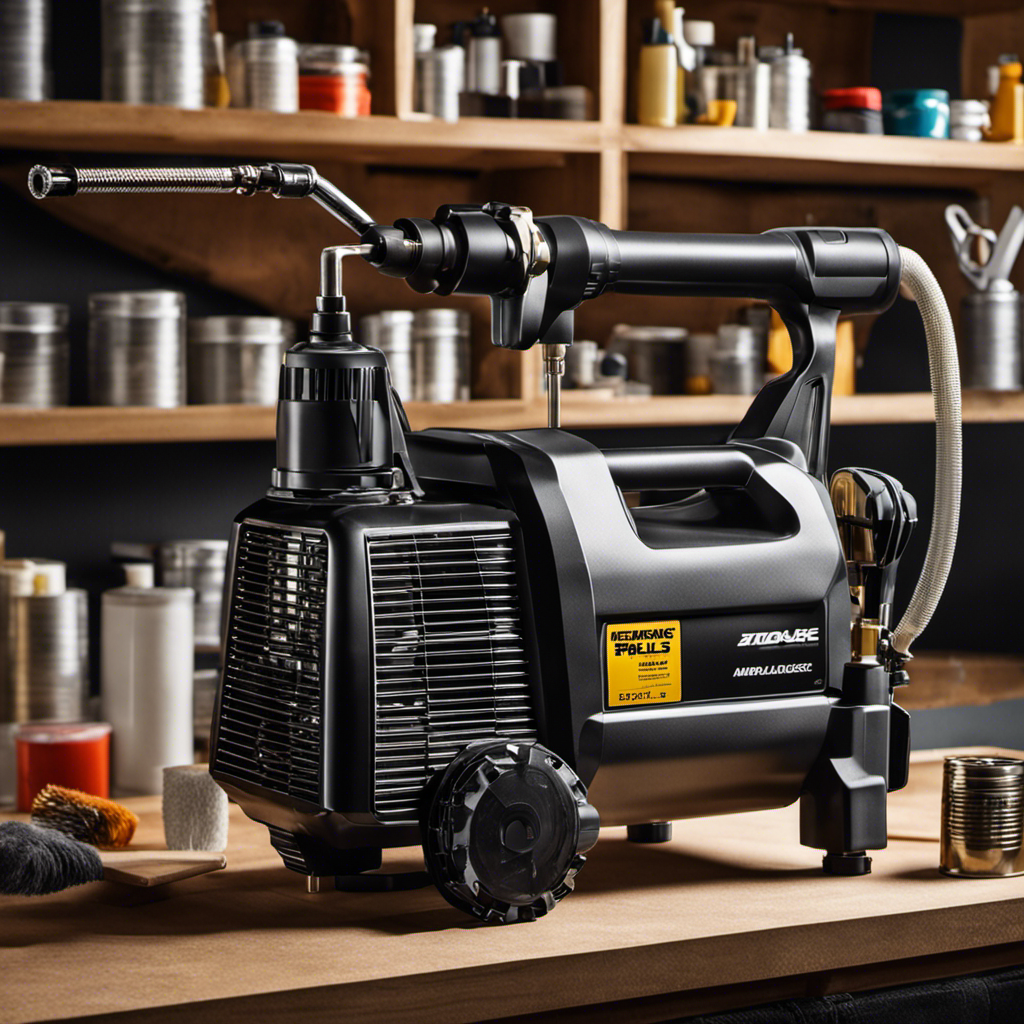
Gathering and Organizing Materials
The homeowner gathers all the necessary materials, such as an airless sprayer, paint, primer, drop cloths, and masking tape, to ensure an organized and efficient painting process. They understand the importance of organizing the workspace and protecting surfaces before starting the project.
Clearing furniture and objects from the room allows for easier maneuverability and reduces the risk of accidental paint splatters. Covering the floors and remaining furniture with drop cloths provides added protection against paint drips and spills. Using masking tape to protect trim, windows, and other areas ensures a clean and crisp finish.
Prepping and Priming the Walls
Inspecting the walls for imperfections, they fill cracks and holes with spackle or putty before sanding the walls smooth once the filler is dry. This meticulous process ensures a flawless surface for painting.
Attention to detail is crucial during this stage, as any remaining imperfections will be visible in the final result. Filling imperfections involves carefully applying the spackle or putty, ensuring it is level with the surrounding wall.
After the filler has dried, the walls are sanded using a fine-grit sandpaper. This step smooths out any rough edges and creates a uniform surface. Sanding also helps to blend the filler with the rest of the wall, making it virtually undetectable.
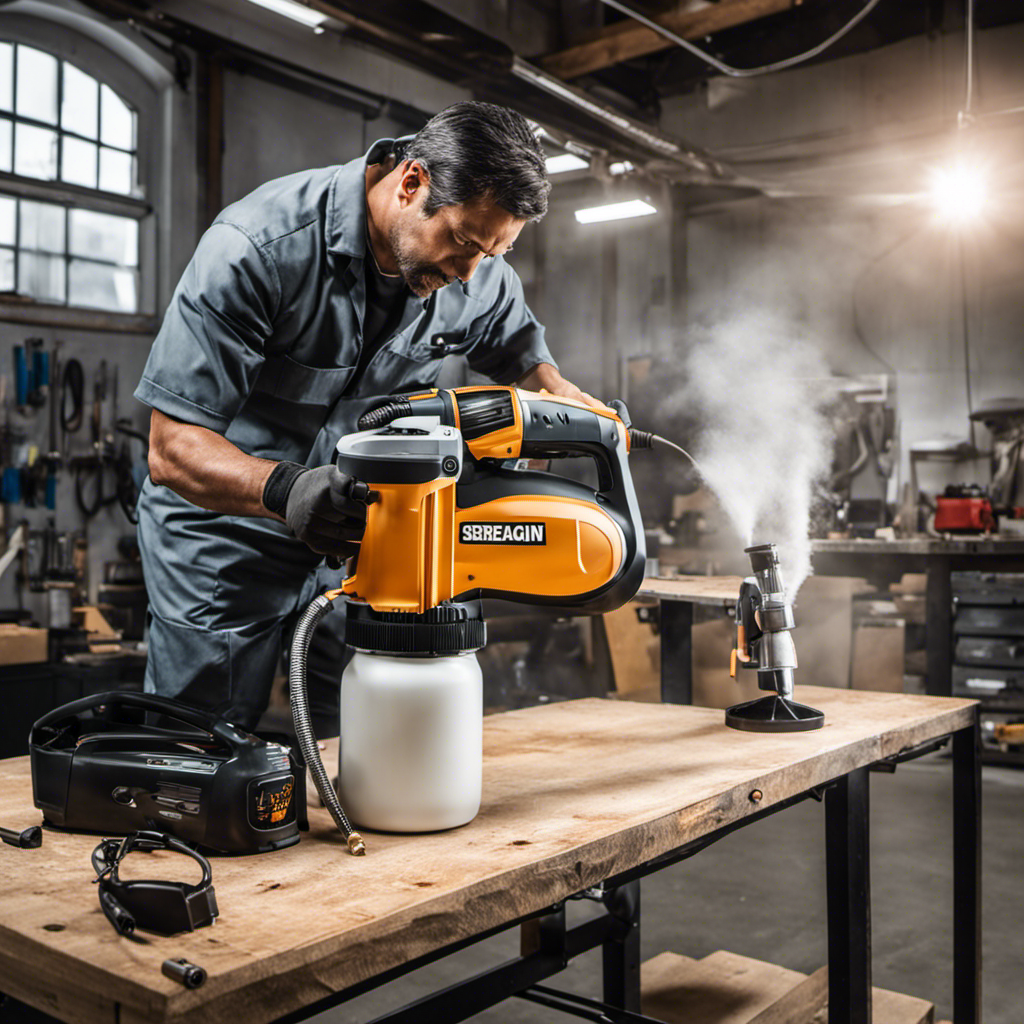
Painting Process With an Airless Sprayer
Using an airless sprayer, they effortlessly apply multiple coats of paint to achieve the desired color and coverage.
Choosing the right paint is crucial for a successful painting process. It is important to consider factors such as the type of surface, the room’s lighting, and personal preference.
Troubleshooting common issues can also arise during the painting process. One common issue is uneven coverage, which can be resolved by adjusting the sprayer’s pressure and ensuring proper technique.
Another issue is clogging, which can be prevented by using high-quality paint and regularly cleaning the sprayer’s filters. Additionally, drips and runs can occur if the sprayer is held too close to the wall or if there is excessive paint applied.
Clean Up and Maintenance of Equipment
After completing the painting process, they must clean up and maintain the equipment to ensure its longevity and optimal performance. Proper maintenance is crucial in preserving the functionality of the sprayer and storing the equipment correctly. Here are three essential steps to follow:
-
Thoroughly clean the sprayer: Disassemble the sprayer and clean each part with warm soapy water. Remove any paint residue or clogs and ensure all components are completely dry before reassembling.
-
Store equipment properly: After cleaning, store the sprayer in a clean and dry location, away from extreme temperatures. Use the original packaging or a dedicated storage case to protect the sprayer from dust, moisture, and damage.
-
Regularly inspect and replace worn parts: Check the sprayer regularly for any signs of wear or damage. Replace worn or damaged parts promptly to maintain the sprayer’s performance and prevent any potential issues during future use.
Enjoying the Finished Results
Upon completing the painting process, they can step back and admire the beautifully transformed walls. The satisfaction with the outcome is evident as they take in the fresh, vibrant colors that now grace the space.
The attention to detail in the preparation and painting process has paid off, leaving behind a flawless finish. The walls, once marred by imperfections and blemishes, now exude a sense of cleanliness and renewal. The transformation is truly remarkable.
Every stroke of the airless sprayer has contributed to the overall beauty and aesthetic appeal of the room. As they stand in awe of their accomplishment, they can’t help but feel a sense of pride and contentment.
The joy of a job well done fills the room, and they can now fully enjoy the fruits of their labor.
Frequently Asked Questions
How Much Paint Should I Buy for the Project?
When estimating the quantity of paint needed for a project, it’s important to consider the size of the area to be painted and the type of surface. A general rule of thumb is to calculate the square footage of the walls and ceiling and divide by the coverage rate of the paint.
It’s always a good idea to buy a little extra to account for touch-ups. To ensure efficient paint usage, it’s recommended to mix and strain paint properly, use a roller or brush for edges and corners, and apply thin coats to avoid drips.
Can I Use the Airless Sprayer to Paint Ceilings as Well?
Yes, the airless sprayer can be used to paint ceilings as well. Its versatile design allows for efficient and even coverage on both walls and ceilings.
With the airless sprayer, the user can easily reach and cover large surface areas, making the painting process faster and more convenient.
Whether it’s walls or furniture, the airless sprayer is a reliable tool that ensures a professional-looking finish.
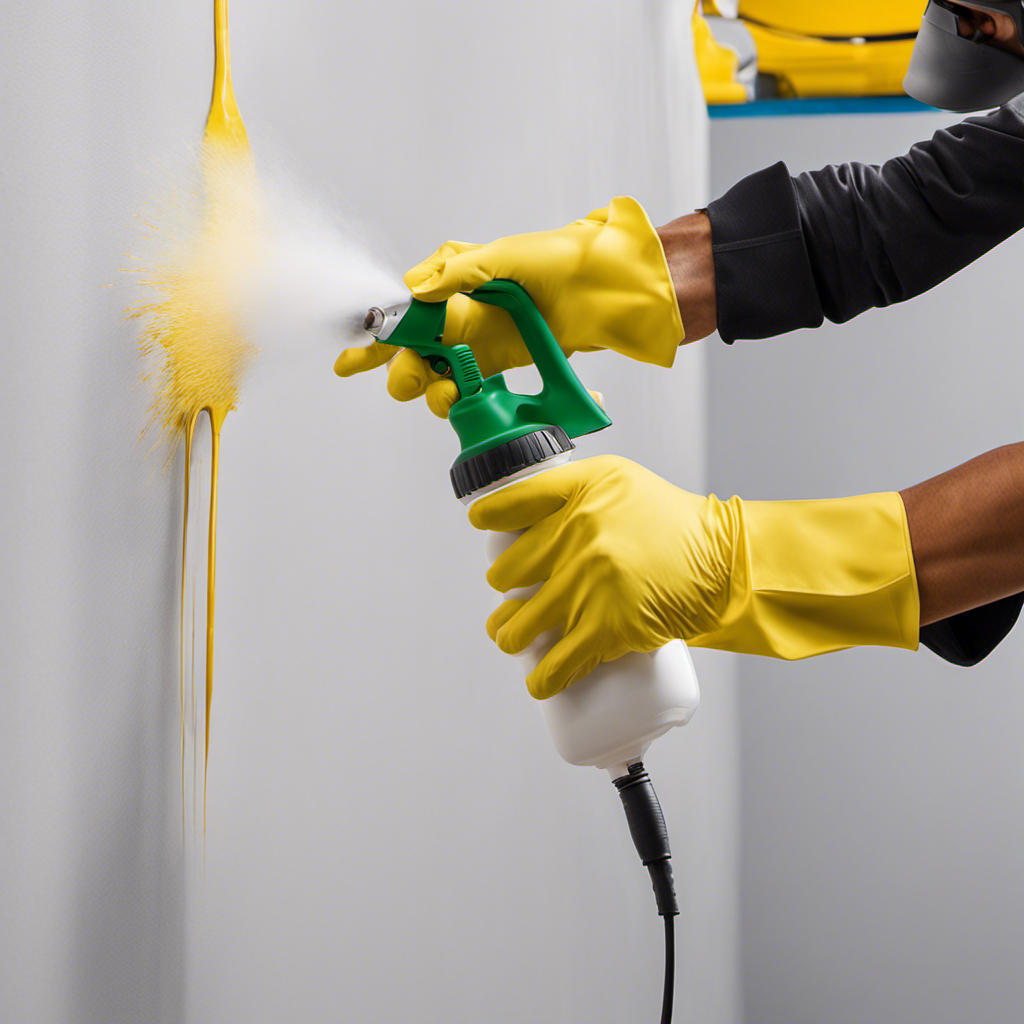
What Safety Precautions Should I Take When Using an Airless Sprayer?
Safety tips should always be followed when using an airless sprayer. Proper equipment is essential to ensure a safe and successful painting experience.
Some important safety precautions to consider include wearing protective goggles, gloves, and a respirator to protect against paint fumes and particles.
It is also crucial to work in a well-ventilated area and to avoid spraying near open flames or sparks.
Additionally, be sure to read and follow the manufacturer’s instructions for safe operation of the airless sprayer.
How Do I Choose the Right Type of Paint for My Project?
When choosing paint colors for your project, it’s important to consider the desired atmosphere and the existing decor of the space. Lighter colors can make a room feel more spacious, while darker colors add depth and coziness.
For painting different surfaces, it’s crucial to use the appropriate type of paint. Use latex paint for walls and ceilings, oil-based paint for trim and doors, and specialty paints for surfaces like metal or wood.
Always ensure proper preparation and use high-quality paint to achieve a professional and long-lasting finish.
Can I Use the Airless Sprayer to Paint Different Types of Surfaces, Such as Wood or Metal?
Yes, an airless sprayer can be used to paint different types of surfaces, including wood and metal. The key is to choose the right type of paint that is suitable for each surface.
For wood surfaces, it is recommended to use a paint specifically formulated for wood, such as an exterior or interior wood paint.
When it comes to metal surfaces, using a metal paint or a primer specifically designed for metal will ensure proper adhesion and durability.
Conclusion
In conclusion, the process of preparing and painting the inside of a room with an airless sprayer is an artful dance of precision and finesse.
With a keen eye for imperfections, one must gather the necessary materials and meticulously safeguard the surrounding areas with drop cloths and masking tape.
The walls, like a blank canvas, are then primed to perfection, ensuring optimal adhesion for the masterpiece to come.
Finally, with the graceful strokes of the sprayer, the colors blend and harmonize, transforming the room into a breathtaking work of art.
With meticulous clean up and maintenance, one can revel in the finished results, a testament to their knowledge and expertise.

Drenched in creativity and armed with a fountain pen, Isolde weaves words as gracefully as a painter strokes their canvas. A writer for Paint Sprayer Zone, her passion for colors, textures, and spaces finds a harmonious blend with her profound knowledge of painting tools and techniques.
Having grown up in a family of artists, Isolde’s tryst with paints began early. While her relatives expressed themselves on canvas, Isolde found her medium in words. She dedicated herself to chronicling the world of painting, understanding the nuances of each tool, and the artistry behind every spritz of a paint sprayer.