Your first five minutes set the tone for a successful clean by evaluating the surface and soil level, selecting the right pre-spray solution, and preparing your tools and workspace for quick access. Adjust temperature and pressure to optimize chemical effectiveness, and allow the pre-spray to dwell for 3-5 minutes. Troubleshooting issues early guarantees better results. Keep a steady routine, and you’ll streamline your process—continue further to master your warm-up and finishing touches.
Key Takeaways
- Conduct a thorough surface assessment to identify materials, textures, and soil levels before applying pre-spray.
- Select the appropriate pre-spray solution based on surface material, soil type, and soil level for optimal results.
- Ensure tools, spray bottles, and equipment are clean, calibrated, and ready to facilitate efficient application within first minutes.
- Adjust water temperature and spray pressure to match surface needs, enhancing chemical penetration and soil breakdown.
- Apply the pre-spray evenly with consistent technique, waiting 3-5 minutes for chemical dwell time before agitation.
Why Your First 5 Minutes Set the Stage for a Successful Clean

The first five minutes of your pre-spray warm-up are essential because they directly influence the efficiency and effectiveness of your entire cleaning process. During this time, you should perform a surface assessment to identify the types of materials and textures you’re working with. Soil evaluation is equally important; by gauging the level and type of soil, you can choose the appropriate pre-spray solution and application method. This initial step helps you prioritize areas that need extra attention and prevents over-application of chemicals. When you understand the surface and soil conditions early, you streamline your workflow, minimize waste, and ensure a thorough, effective clean. Proper surface assessment is vital for selecting the most sustainable and energy-efficient cleaning approach. Additionally, understanding the surface and soil conditions allows you to adjust your equipment settings for optimal performance. Recognizing the importance of initial assessment helps you develop a more intentional and effective cleaning routine. Engaging in a thorough initial evaluation also reduces the likelihood of rework and increases overall productivity. A quick check of the projector’s contrast ratio can help determine the best settings for clarity and detail, ensuring your work is precise and effective. Skipping this step can lead to missed spots and inefficient cleaning, undermining your entire effort.
Evaluate Surface and Soil Level Before Pre-Spray
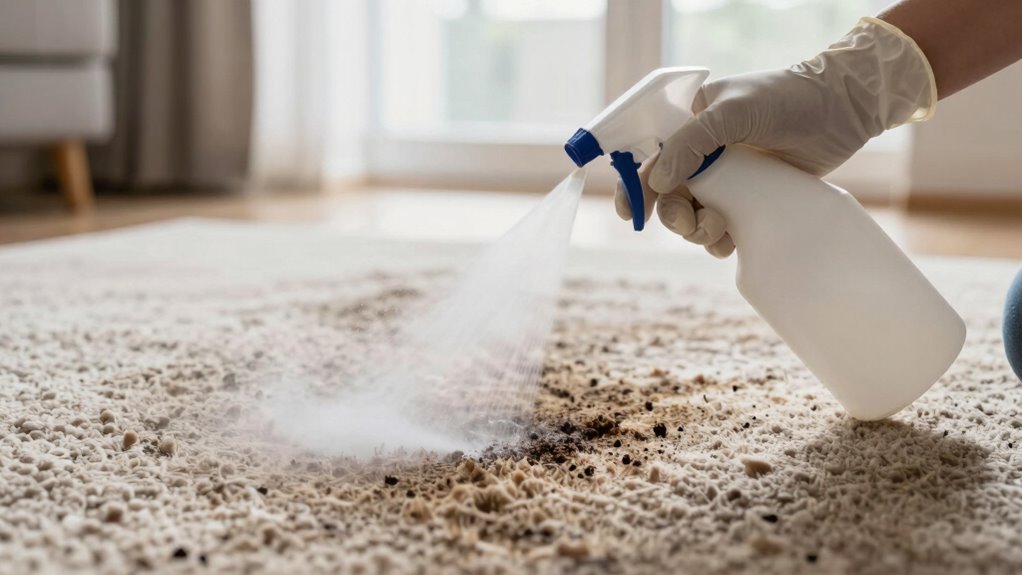
Before applying pre-spray, assess the surface and soil levels to guarantee effective cleaning. This step involves a thorough surface assessment and soil evaluation to determine the type and extent of dirt. Knowing whether the surface is delicate or durable helps you select the right approach for pre-spraying. Properly evaluating soil levels prevents over-application or under-treatment, saving time and resources. Understanding manipulation tactics can help identify if there are underlying issues influencing soil buildup or surface damage. Additionally, recognizing surface durability ensures that the cleaning method aligns with the surface’s capacity to withstand treatment without damage. Conducting a comprehensive surface analysis can further inform your pre-spray strategy and improve overall results. Incorporating knowledge of water quality can also influence the effectiveness of your pre-spray and subsequent cleaning processes. Furthermore, assessing soil type can aid in selecting the most appropriate cleaning agents for optimal results.
Choose the Right Pre-Spray Solution for Your Surface

Selecting the appropriate pre-spray solution is crucial to achieving peak cleaning results. Proper surface preparation begins with choosing a solution suitable for the material you’re working on. Different surfaces require specific solutions to effectively loosen soil without causing damage. For example, a neutral cleaner works well on delicate fabrics, while a degreaser is ideal for greasy surfaces. Consider the soil level and surface type to inform your solution selection. Using the right pre-spray ensures thorough soil breakdown and reduces the need for excessive scrubbing. Always read labels carefully and follow manufacturer recommendations. Proper solution selection streamlines your cleaning process, saves time, and helps you achieve a professional finish. Additionally, understanding the air quality considerations can help you choose cleaning products that minimize airborne contaminants during the process. Being aware of environmental impact can further guide you in selecting eco-friendly solutions that promote safer indoor air quality. Incorporating lease negotiation strategies can also help you access better deals and terms when leasing cleaning equipment or supplies. When selecting a solution, consider how it aligns with the reliability and safety standards to ensure consistent and safe cleaning practices.
Prepare Your Tools and Workspace for a Quick Start

Once you’ve chosen the right pre-spray solution for your surface, it’s time to get your tools and workspace ready for efficient cleaning. Proper tool organization guarantees you can access everything quickly, reducing delays. This organization minimizes the risk of misplacing tools and helps maintain safety standards. Make sure your spray bottles, brushes, and towels are clean and in good condition. Check your equipment for any damage or wear. An organized workspace not only speeds up the process but also helps prevent distractions and keeps your workflow smooth. Incorporating visual cues can further assist in quick identification and proper placement of tools. Focus on a clutter-free environment that encourages quick, deliberate movements. A well-structured environment rooted in workflow optimization ensures your pre-spray warm-up becomes seamless and effective. Additionally, understanding charging speeds and connector types can streamline your setup, especially if you need to prepare for quick recharges during longer sessions.
Set Your Temperature and Pressure for Best Results

Setting the right temperature and pressure on your equipment is crucial for effective pre-spray application. Proper calibration ensures you deliver consistent results while preventing damage. Always follow safety protocols when adjusting settings to avoid accidents. To optimize your setup, consider the table below:
| Ideal Settings | Purpose |
|---|---|
| Temperature | Breaks down soils effectively |
| Pressure | Ensures even spray without overspray |
| Calibration | Maintains accuracy over time |
| Safety Checks | Prevents equipment malfunctions |
| Adjustment | Fine-tunes for different surfaces |
Maintaining accurate settings is essential to achieve the best cleaning outcomes and extend your equipment’s lifespan. Regularly verifying your pressure and temperature settings helps ensure consistent performance and prevents unnecessary wear on your tools. Additionally, understanding how equipment calibration impacts overall efficiency can lead to better maintenance practices, helping you avoid performance issues. Proper calibration techniques are vital for sustaining equipment accuracy and longevity.
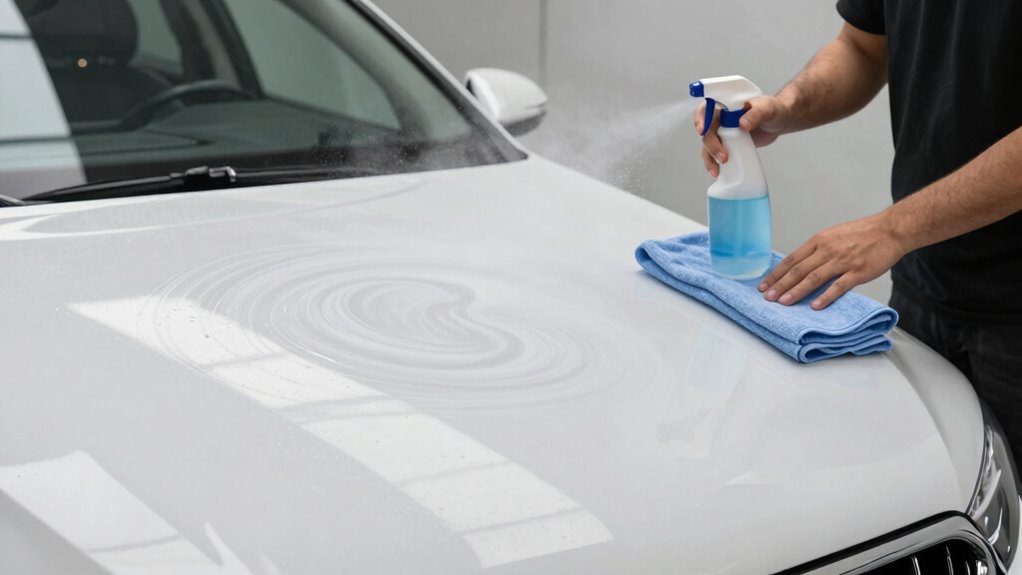
Apply Even Coverage During the Warm-Up

To guarantee your pre-spray is effective, focus on applying even coverage during the warm-up process. Maintaining coverage consistency helps ensure the entire surface is prepared uniformly, leading to better cleaning results. Pay close attention to your spray pattern; a consistent spray pattern prevents streaks and missed spots. Keep your spray at a steady distance and move smoothly across the surface. This approach helps you avoid over-saturating certain areas or leaving others dry. Remember, even coverage during this stage sets the foundation for a flawless finish. Use these tips to maximize your pre-spray effectiveness:
- Keep a consistent spray pattern throughout
- Maintain even distance from the surface
- Move at a steady, deliberate pace
- Check for uniform coverage before proceeding
How Long Should You Let the Pre-Spray Sit? Benefits and Timing
The amount of time you let the pre-spray sit on a surface directly impacts its effectiveness. The ideal pre spray duration varies depending on the task, but generally, waiting 3 to 5 minutes allows the chemicals to penetrate deeply, loosening dirt and grime. Proper timing benefits your cleaning process by reducing scrubbing and improving results. If you let the pre-spray sit too long, it might dry out or lose potency, diminishing its effectiveness. Conversely, rushing the process can leave residues untreated. Monitoring the timing benefits ensures you optimize the pre-spray’s cleaning power without waste. Adjusting the pre spray duration based on surface type and soil level helps you achieve a thorough, efficient clean every time. Timing is key to maximizing your pre-spray’s potential.
Troubleshoot Common Pre-Spray Issues During Warm-Up

Even when you follow the recommended timing for pre-spray, issues can still pop up during warm-up that hinder cleaning performance. Common problems include poor pre spray adhesion or surface compatibility issues that prevent the solution from working effectively. To troubleshoot, check for:
- Uneven application or missed spots
- Incorrect pre-spray formulation for the surface
- Insufficient dwell time before agitation
- Surface conditions that reduce adhesion (e.g., overly porous or textured surfaces)
Addressing these points ensures the pre-spray interacts properly with the surface, maximizing adhesion and cleaning power. If problems persist, reevaluate your pre-spray selection and surface compatibility to avoid future issues and guarantee the best results during your warm-up routine.
Transition Smoothly From Pre-Spray to Deep Cleaning

Once your pre-spray has been properly applied and has had enough dwell time, shifting smoothly into deep cleaning is essential to maintain cleaning efficiency. Focus on surface preparation by inspecting the area and adjusting your equipment as needed. Conduct a quick soil assessment to identify heavily soiled spots and determine the appropriate cleaning method. Transitioning seamlessly involves adjusting your cleaning tools, water temperature, and agitation techniques based on the soil level. Use this checklist to guide your process:
| Step | Action | Purpose |
|---|---|---|
| Inspect Surface | Look for heavy dirt or stains | Tailor cleaning approach |
| Adjust Equipment | Change brushes or settings | Optimize performance |
| Confirm Solution | Ensure correct concentration | Maximize pre-treatment |
| Begin Deep Cleaning | Start methodically from high to low | Maintain consistency |
This approach ensures effective soil removal without compromise to your initial surface preparation.
Build a Consistent Routine for Faster, Better Finishes
To achieve faster, better finishes, you need a consistent routine that covers your spray technique, equipment use, and warm-up steps. When you stick to these practices, your results become more reliable and efficient. Let’s explore how to develop and maintain this routine effectively.
Consistent Spray Technique
Developing a consistent spray technique guarantees you achieve smoother, more professional finishes every time. Focusing on spray consistency and technique precision helps you control the flow and coverage, reducing uneven spots. To build this routine, keep your hand steady, maintain a steady distance from the surface, and keep your movement smooth and even. Practice makes perfect, so repeat the same motions to develop muscle memory. Remember these key points:
- Maintain a consistent speed and distance
- Keep your wrist relaxed to avoid jerky movements
- Use steady, overlapping strokes
- Focus on even coverage without over-application
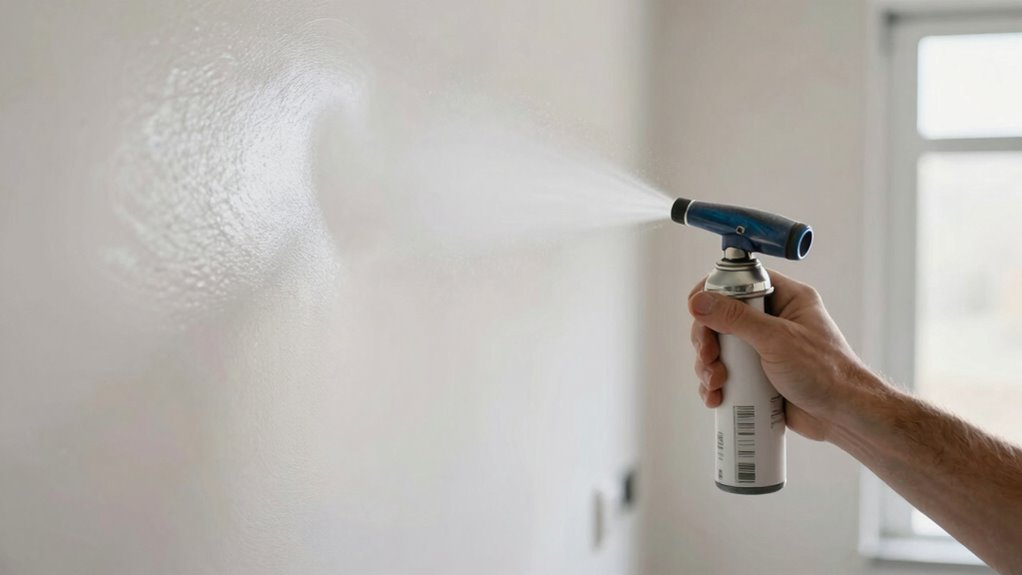
Proper Spray Equipment Use
Using your spray equipment correctly is essential for achieving smooth, professional finishes efficiently. Proper equipment use starts with regular calibration to ensure consistent spray patterns and material flow. Selecting the right nozzle is equally important; different projects demand different spray angles and sizes for ideal coverage. To stay consistent, always double-check your equipment setup before starting. Here’s a quick guide:
| Calibration Check | Nozzle Selection | Routine Maintenance |
|---|---|---|
| Verify spray pattern | Match nozzle to project | Clean filters daily |
| Adjust flow rate | Use correct size | Lubricate moving parts |
| Test on scrap | Prevent overspray | Store properly |
Mastering these steps ensures your spray equipment delivers smooth, even finishes every time.
Pre-Spray Warm-Up Steps
Starting your pre-spray warm-up routine guarantees the equipment operates at peak performance, leading to smoother finishes and increased efficiency. Begin with a thorough surface preparation, removing loose debris to ensure even spray application. Conduct a quick soil assessment to identify stubborn stains or high-traffic areas needing extra attention. Then, run the spray equipment for a few minutes to warm up the hoses and nozzles, preventing sudden pressure drops.
Key steps include:
- Checking for blockages or leaks
- Testing spray pattern and pressure
- Ensuring cleaning agents are properly mixed
- Confirming all safety measures are in place
This routine helps you get a clear understanding of the surface condition, ensuring the pre-spray is tailored for ideal results. Consistency here saves time and improves finish quality.
Frequently Asked Questions
How Do I Determine the Optimal Pre-Spray Temperature for Different Surfaces?
You determine the ideal pre-spray temperature by considering surface sensitivity and maintaining temperature consistency. Test a small area first; if the surface is delicate, use a lower temperature to prevent damage. For tougher surfaces, slightly higher temperatures work better. Always monitor the results closely, adjusting as needed to guarantee consistent performance without compromising surface integrity. This approach helps enhance cleaning while protecting different materials effectively.
What Are Signs That My Pre-Spray Solution Is Ineffective During Warm-Up?
Think of your pre-spray like a chef tasting a sauce—if it feels too thin or leaves streaks, it’s ineffective. Signs include uneven Pre-spray consistency, poor coverage, or surface sensitivity—where fibers or surfaces react negatively. If the solution doesn’t cling well or causes issues, it’s time to adjust. You want a balanced, effective mix that penetrates evenly without damaging delicate surfaces, ensuring a successful clean every time.
Can I Reuse Leftover Pre-Spray for Multiple Cleaning Sessions?
You shouldn’t reuse leftover pre-spray for multiple cleaning sessions. Proper pre-spray storage is essential; exposure to air and contaminants can alter the solution concentration, reducing effectiveness. Reusing old pre-spray risks decreased cleaning power and potential residue buildup. Always prepare fresh pre-spray as needed, ensuring the solution maintains its proper concentration for maximum results and to avoid cross-contamination during your cleaning process.
How Do I Adjust Pressure Settings for Delicate Versus Stubborn Stains?
To modify pressure settings for delicate versus stubborn stains, you should alter your pressure adjustment accordingly. For delicate stains, lower the pressure to prevent damage and guarantee gentle cleaning. For stubborn stains, increase the pressure to break through grime effectively. Always assess stain sensitivity first, then dial your pressure accordingly to maximize cleaning without causing harm. Regularly test your pressure adjustment to find the most suitable level for each stain type.
What Safety Precautions Should I Follow During the Pre-Spray Warm-Up Process?
You should always wear protective gear, like gloves and goggles, during the pre-spray warm-up to prevent chemical exposure. Make certain proper ventilation safety by working in well-ventilated areas to avoid inhaling fumes. Check equipment for leaks or damage before use, and follow manufacturer instructions closely. Keeping safety precautions in mind helps prevent accidents and ensures a smooth, safe warm-up process.
Conclusion
Remember, your first five minutes are like the opening notes of a symphony—set the tone for everything that follows. When I started paying attention to my pre-spray warm-up routine, I saw my finishes improve dramatically, almost like tuning an instrument before a concert. Just as a great chef preps ingredients for a perfect dish, your quick, focused warm-up guarantees every step after shines. Master this moment, and your results will always hit the high notes.