
To paint a fence or deck with a sprayer, start by preparing your workspace. Clear the area of furniture, plants, and debris, and clean the surface thoroughly. Choose a suitable, durable outdoor paint and set up your sprayer with the correct nozzle and pressure. Maintain steady, overlapping strokes about half the spray pattern, keeping the wand 10-12 inches from the surface. For detailed steps and tips, continue exploring for a smooth, professional finish.
Key Takeaways
- Prepare the surface by cleaning, removing loose paint, and repairing cracks for smooth application.
- Select the right sprayer, nozzle size, and adjust pressure for even coverage.
- Use proper techniques: hold wand 10-12 inches from surface, overlap strokes, and maintain steady movement.
- Protect surrounding areas with drop cloths and move furniture to prevent overspray.
- Check weather conditions and ensure proper ventilation for optimal results and drying.
Preparing Your Workspace and Materials
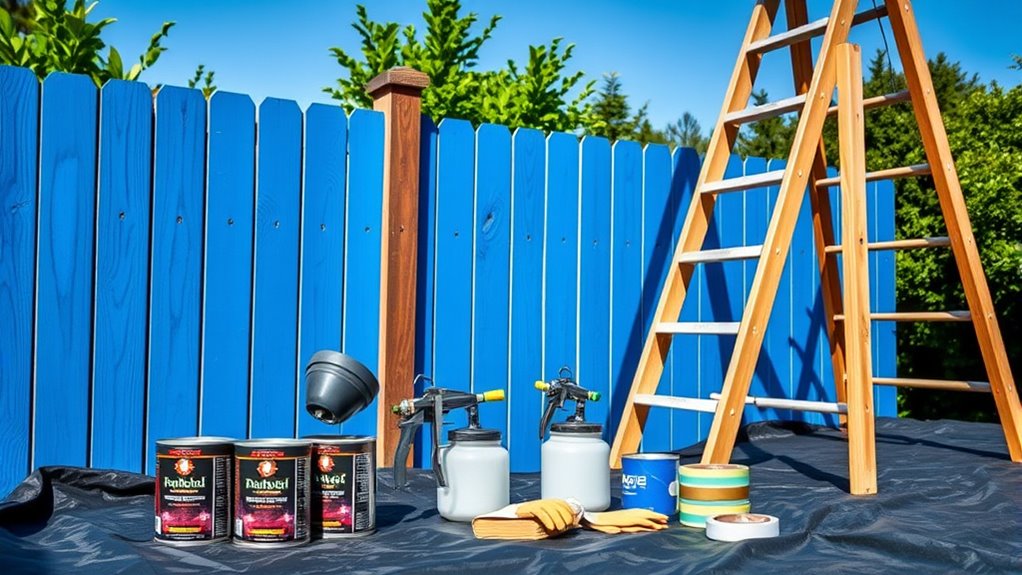
Before you start spraying, it’s essential to prepare your workspace and gather all the necessary materials. Begin by clearing the area of furniture, plants, and any obstacles that could interfere with your work. Cover nearby surfaces with drop cloths to protect them from overspray. Choose your color scheme carefully, considering how different shades will look on your fence or deck. Check the weather forecast; ideal conditions include low humidity, mild temperatures, and minimal wind. Avoid painting on windy or rainy days, as weather considerations can affect how the paint adheres and dries. Gathering your paint, sprayer, brushes for touch-ups, and safety gear like gloves and goggles is crucial. Proper preparation sets the stage for a smooth, successful painting project. Additionally, ensure you are aware of essential oils for surface cleaning, which can help prepare your surfaces for optimal paint adhesion. To achieve the best results, understanding paint application techniques can make a significant difference in your finished appearance. Being familiar with Glycolic Acid Benefits for Skin can help you prepare your tools and environment for a more efficient project. Finally, selecting the right portable camping gear can make your outdoor work more comfortable and efficient, especially if you’re working in a remote location.
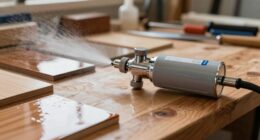
Choosing the Right Paint and Equipment
Selecting the right paint and equipment is essential for achieving a professional-looking finish and ensuring your project lasts. When choosing paint, focus on color matching to complement your surroundings and personal style. Opt for high-quality paint with excellent durability, especially for outdoor fences or decks exposed to the elements. A durable paint resists peeling, cracking, and fading longer, saving you time and money on touch-ups. For equipment, select a sprayer suitable for the size and type of your project. Consider the spray tip size and pressure settings to achieve smooth, even coverage without overspray. Using the right combination of paint and sprayer guarantees a flawless finish that stands the test of time, making your effort worthwhile. Additionally, understanding surface preparation can significantly improve the adhesion and longevity of your paint. Proper maintenance practices can further extend the lifespan of your painted surfaces and keep them looking fresh over the years. Incorporating techniques for even application can also help prevent common issues like drips and uneven coats.
Preparing the Fence or Deck Surface

Before you start painting, make sure to clear away all debris to create a smooth surface. Check for any cracks or splinters and repair them to prevent uneven coverage. Proper surface preparation guarantees your paint job will look great and last longer. Additionally, inspecting the soil moisture levels of adjacent areas can help ensure the surface is properly conditioned for painting. Keeping a clean home environment can also reduce the amount of dust and dirt that might settle on the surface during preparation. Understanding city dynamics can help you plan the timing of your project to avoid high-traffic or dusty periods. Furthermore, ensuring the surface is free of contaminants such as mold or mildew will promote better adhesion of the paint. Regular maintenance and filter replacement can help maintain a clean environment around your workspace, reducing airborne dust that could settle on freshly painted surfaces.
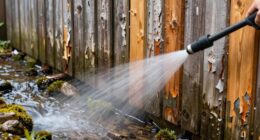
Clear Debris Thoroughly
To guarantee a smooth and even paint job, you need to clear all debris from the surface of your fence or deck. Start by removing leaves, dirt, and loose paint that can interfere with the sprayer. This step is vital for plant protection, preventing unwanted splatters on nearby plants. Also, check the weather forecast—ideal conditions are dry, calm days to avoid debris blowing back onto the surface. To make this easier, follow these steps:
- Sweep thoroughly with a stiff brush or broom.
- Use a leaf blower for hard-to-reach corners.
- Rinse the surface with water if needed, but make sure it’s fully dry before painting.
- Ensuring the surface is free of any debris or loose material can help improve the adhesion and finish of your paint job. Regularly inspecting the surface for dust and allergens before painting further enhances the quality of the finish. Additionally, removing any loose or peeling paint ensures a more durable and professional result. Incorporating proper surface preparation techniques aligned with painting best practices can significantly impact the longevity of your paintwork.
Clearing debris now saves time and guarantees a professional-looking finish later.
Repair Surface Imperfections
If your fence or deck has cracks, splinters, or peeling paint, addressing these imperfections before painting is essential for a smooth finish. Start by filling cracks and holes with wood filler, then sand rough areas to ensure an even surface. Consider weather conditions; paint during mild, dry weather to improve adhesion and drying. When repairing, think about color matching for touch-ups to blend seamlessly with the existing finish. Use the table below to guide your repairs:
| Imperfection | Repair Method |
|---|---|
| Cracks or Holes | Fill with wood filler, sand smooth |
| Splinters | Sand down or replace damaged sections |
| Peeling Paint | Scrape off loose paint, prime, then repaint |
| Weather Concerns | Paint during dry, mild weather for best results |
Additionally, understanding proper tuning techniques can help maintain your equipment’s performance and longevity. Proper surface preparation, including addressing surface imperfections, is crucial for achieving a durable and professional-looking paint job. Recognizing the importance of emotional support during home improvement projects can also help reduce stress and increase satisfaction with your work. Incorporating AI-powered tools can further streamline your project planning and execution, ensuring more efficient and accurate results.
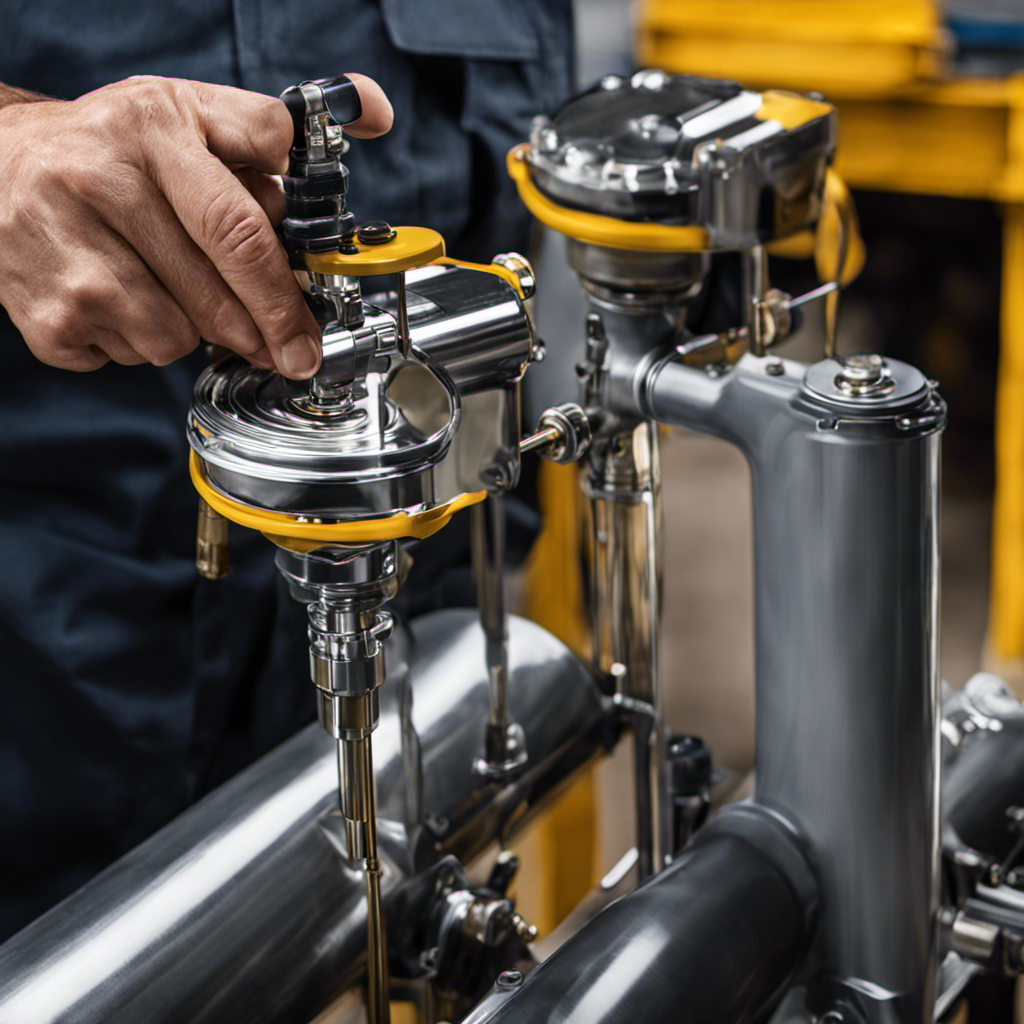
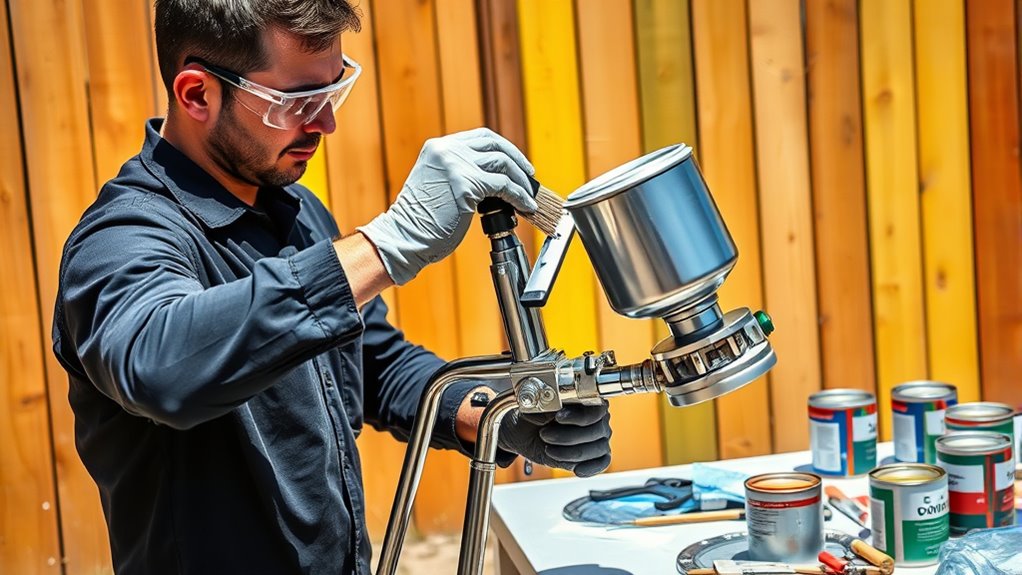
Properly Setting Up Your Paint Sprayer
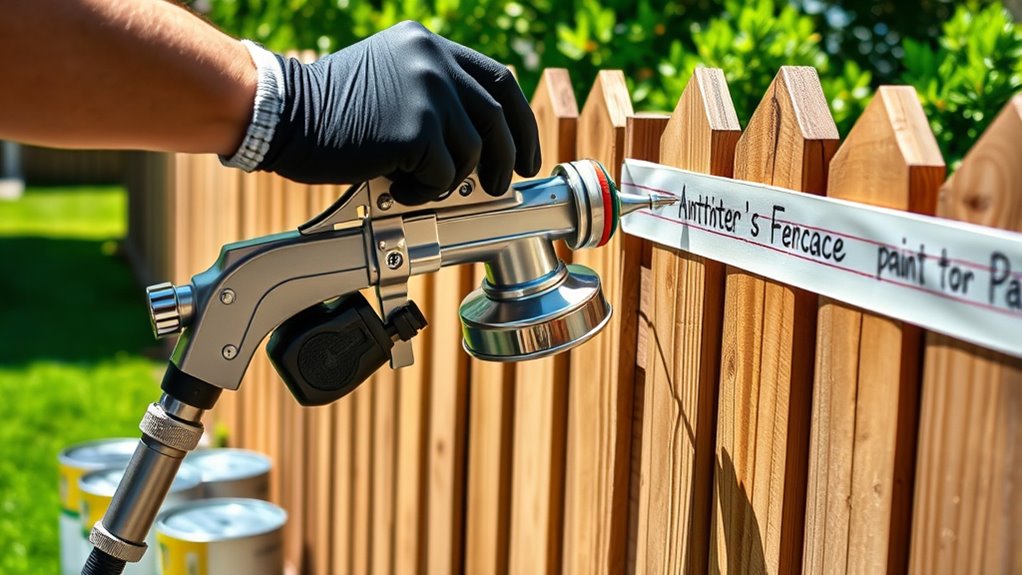
To get the best results, you need to set up your paint sprayer correctly. Start by choosing the right nozzle size for your project, then prepare your work area to prevent messes. Finally, adjust the pressure settings to make certain of even coverage and a smooth finish. Using proper technique during application can also improve the overall outcome. Additionally, consulting best practices for your specific sprayer model can help ensure optimal performance. Incorporating creative strategies from the digital age can also enhance your painting process by utilizing innovative tools and techniques. Being aware of proper maintenance can extend the life of your sprayer and ensure consistent results.
Select Correct Nozzle Size
Choosing the right nozzle size is essential for achieving a smooth, even finish on your fence or deck. Proper nozzle selection impacts the spray pattern, ensuring consistent coverage. To pick the correct nozzle size:
- Consider the material thickness—thicker paints need larger nozzles.
- Match the spray pattern to your project, with wider nozzles for broad surfaces.
- Test on scrap wood to see if the spray flow is even and the pattern is consistent.
Using an appropriate nozzle size helps prevent overspray and uneven coats. It also makes cleaning easier and reduces waste. Remember, a nozzle that’s too small may clog, while one that’s too large can cause drips. Adjust the nozzle size based on your material and desired finish for the best results.
Prepare the Painting Area
Preparing your painting area properly sets the stage for a smooth spraying process and a professional-looking finish. Start by choosing the right color, considering the surrounding environment and your home’s aesthetic. Check the weather forecast—avoid painting in extreme heat, rain, or high humidity, which can ruin your work. Clear the area of debris and move furniture or plants away to prevent overspray. Use drop cloths and plastic sheeting to protect surfaces from paint drips. Here’s a visual to help you imagine the setup:
| Surface to Protect | Equipment Placement | Weather Conditions |
|---|---|---|
| Garden furniture | Sprayer on a stable surface | Clear skies or mild breeze |
| Nearby plants | Extension cords organized | No rain forecast |
| Patio flooring | Ventilation checked | Ideal temperature range |
Proper prep guarantees a flawless finish.
Adjust Pressure Settings
Adjusting the pressure settings on your paint sprayer is essential for achieving a smooth, even coat. Proper pressure control ensures spray consistency, prevents drips, and minimizes overspray. To get it right:
- Start with a low pressure setting and gradually increase until the spray is even without sputtering.
- Test the spray on a scrap piece or hidden area to evaluate coverage and consistency.
- Adjust the pressure if you notice uneven lines, runs, or excessive overspray, fine-tuning for ideal results.
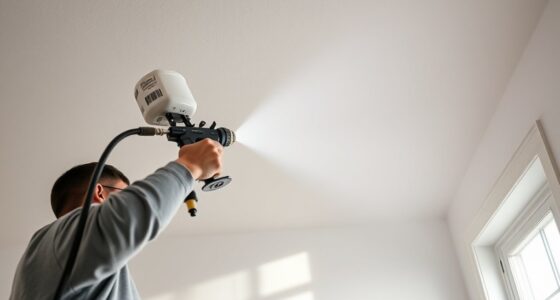
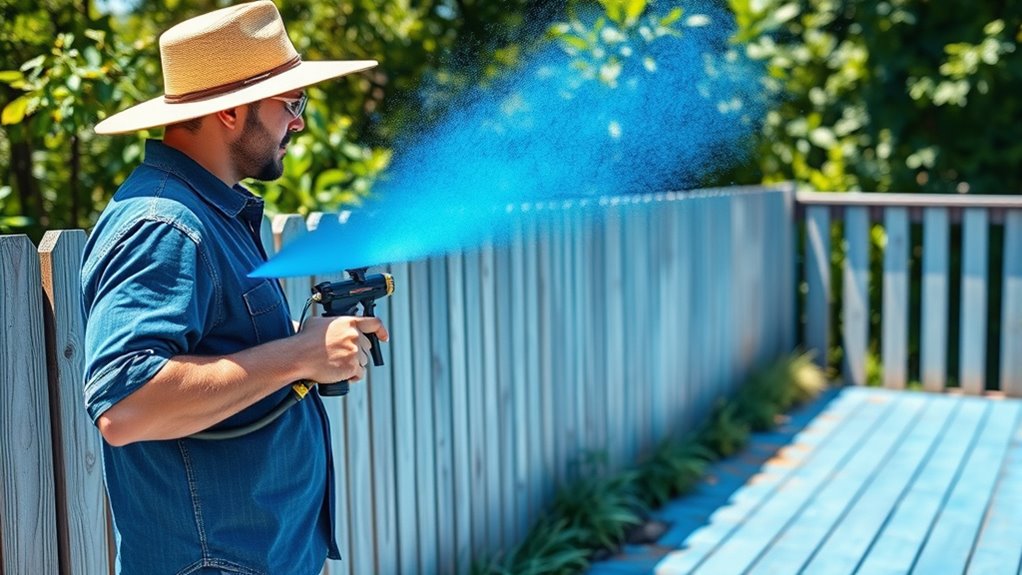
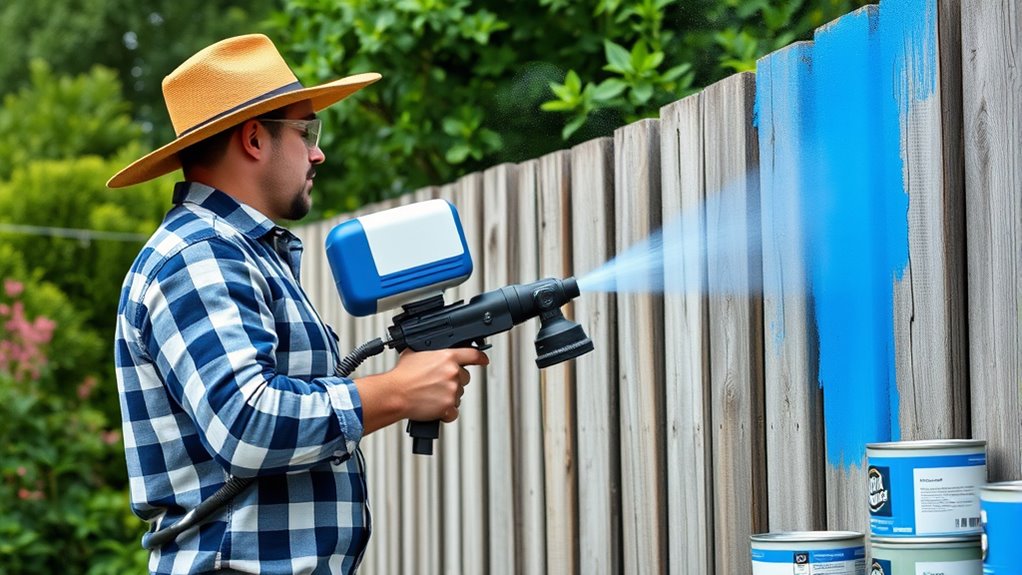
Applying the Paint: Technique and Tips
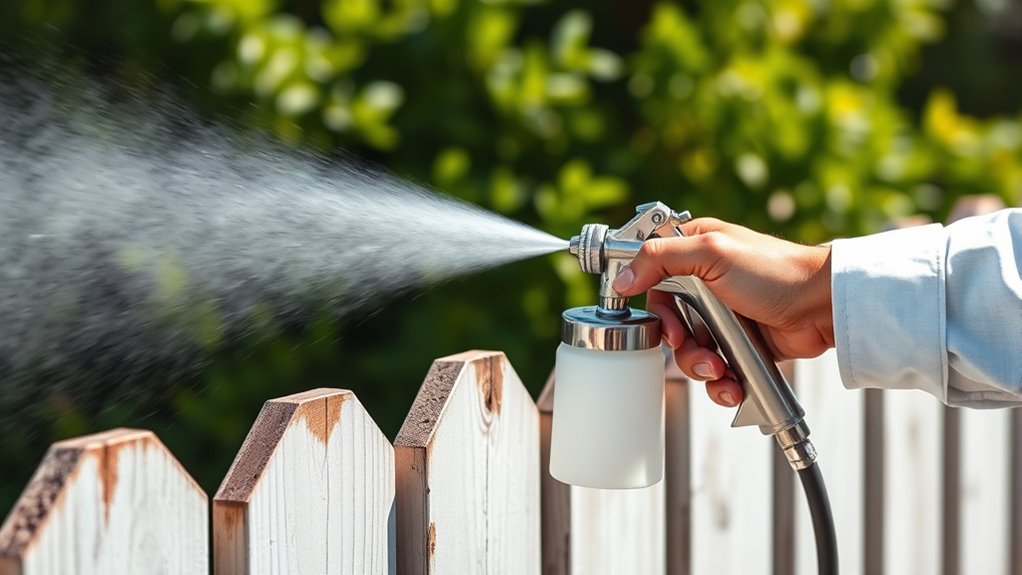
To achieve a smooth, even finish when applying paint with a sprayer, it’s essential to maintain a consistent technique. Keep your spray wand moving steadily, about 10-12 inches from the surface, to prevent drips and uneven coverage. Use smooth, overlapping strokes—about half of your spray pattern—to ensure uniform paint application. Pay attention to your brush techniques; if you notice drips or thick spots, adjust your distance or spray speed. Maintain a consistent pace to avoid uneven layers. Keep your wrist steady and use your whole arm to guide the sprayer, reducing fatigue and improving control. With practice, these tips will help you master paint application, resulting in a professional-looking finish on your fence or deck.
Cleaning Up and Maintaining Your Equipment
After finishing your painting session, it’s essential to clean your paint sprayer thoroughly to keep it in top condition. Proper cleaning prevents clogs and ensures accurate equipment calibration for future use. First, dispose of leftover paint safely by following local paint disposal guidelines—never pour it down the drain. Next, disassemble the sprayer and flush it with water or solvent, depending on the paint type. Lastly, inspect parts for wear and clean nozzles and filters to prevent clogs. Regular maintenance includes storing the equipment in a dry, protected area and checking for any damage before your next project. By following these steps, you’ll extend your sprayer’s lifespan and guarantee smooth, professional results every time.
Frequently Asked Questions
How Long Does a Typical Paint Job Last on a Fence or Deck?
A typical paint job on your fence or deck usually lasts around 3 to 5 years, depending on paint durability and weather impact. If you choose high-quality paint and apply it properly, it can extend the lifespan. Keep in mind, harsh weather like rain, sun, or snow can accelerate wear and tear. Regular maintenance, like cleaning and touch-ups, helps preserve your paint job’s appearance and durability over time.
Can I Use a Paint Sprayer Indoors for Fences or Decks?
Did you know that poor indoor ventilation can increase paint fumes by up to 70%? You shouldn’t use a paint sprayer indoors for fences or decks, as it releases strong fumes and overspray. Ventilation is essential, so if you must, guarantee excellent airflow. However, for safety and better results, it’s best to paint outdoors or in a well-ventilated space, avoiding indoor use altogether.
What Safety Precautions Should I Take When Using a Paint Sprayer?
When using a paint sprayer, you should always wear protective equipment like goggles, masks, and gloves to guard against fumes and overspray. Make sure proper ventilation by working outdoors or opening windows and doors indoors to prevent inhaling harmful fumes. Keep the workspace clear of children and pets, and follow manufacturer instructions carefully. Taking these safety precautions helps you paint efficiently while minimizing health risks.
How Do I Fix Uneven or Dripped Paint After Spraying?
Did you know that 85% of people notice uneven paint immediately? To fix dripped paint, start with brush correction by gently feathering the edges once the paint begins to set. For existing drips, carefully remove the excess with a putty knife or sandpaper. Always wait until the paint is dry before addressing imperfections to guarantee a smooth finish. This approach helps achieve a professional look effortlessly.
Is It Necessary to Wear Protective Gear During the Entire Painting Process?
You should always wear protective equipment during the entire painting process to guarantee safety. Safety gear like goggles, masks, and gloves shield you from paint fumes, splatters, and airborne particles. Even if you’re experienced, accidents can happen. Wearing the right protective gear consistently keeps you safe and helps you avoid health issues later. Never skip safety gear, as it’s a small step that greatly reduces risks during your painting project.
Conclusion
Now that you’ve learned how to paint your fence or deck with a sprayer, you’re all set to tackle the project confidently. Remember, preparation and proper technique make all the difference. Will you enjoy the fresh, vibrant look of your outdoor space once you’re done? With patience and care, you’ll achieve professional results and extend the life of your surfaces. So grab your sprayer and get ready to transform your yard with ease!

Franz came aboard the Paint Sprayer Zone team with a background in both journalism and home renovation. His articulate writing style, combined with a passion for DIY projects, makes him an invaluable asset. Franz has a knack for breaking down technical jargon into easy-to-understand content, ensuring that even the most novice of readers can grasp the complexities of paint sprayers.