Are you in search of the perfect paint finish? You’ve come to the right place. Mastering the use of an airless sprayer is essential for achieving professional-quality results.
In this article, we will delve into the world of airless sprayers and explore the proper techniques that will leave your surfaces streak-free and flawless.
From understanding the sprayer system to choosing the right paint and adjusting the spray pressure, we will cover all the essential steps to help you achieve a smooth and impeccable finish every time.
So, let’s dive in and master those airless sprayer techniques!
Key Takeaways
- Choosing the right tip size ensures proper atomization and even application of paint.
- Maintaining a consistent distance from the surface and moving in a steady, overlapping motion helps prevent streaks.
- Proper maintenance and correct usage of the sprayer system are crucial to avoid paint streaks.
- Thinning paint allows for better atomization and smoother application.
Understanding the Airless Sprayer System and Proper Technique
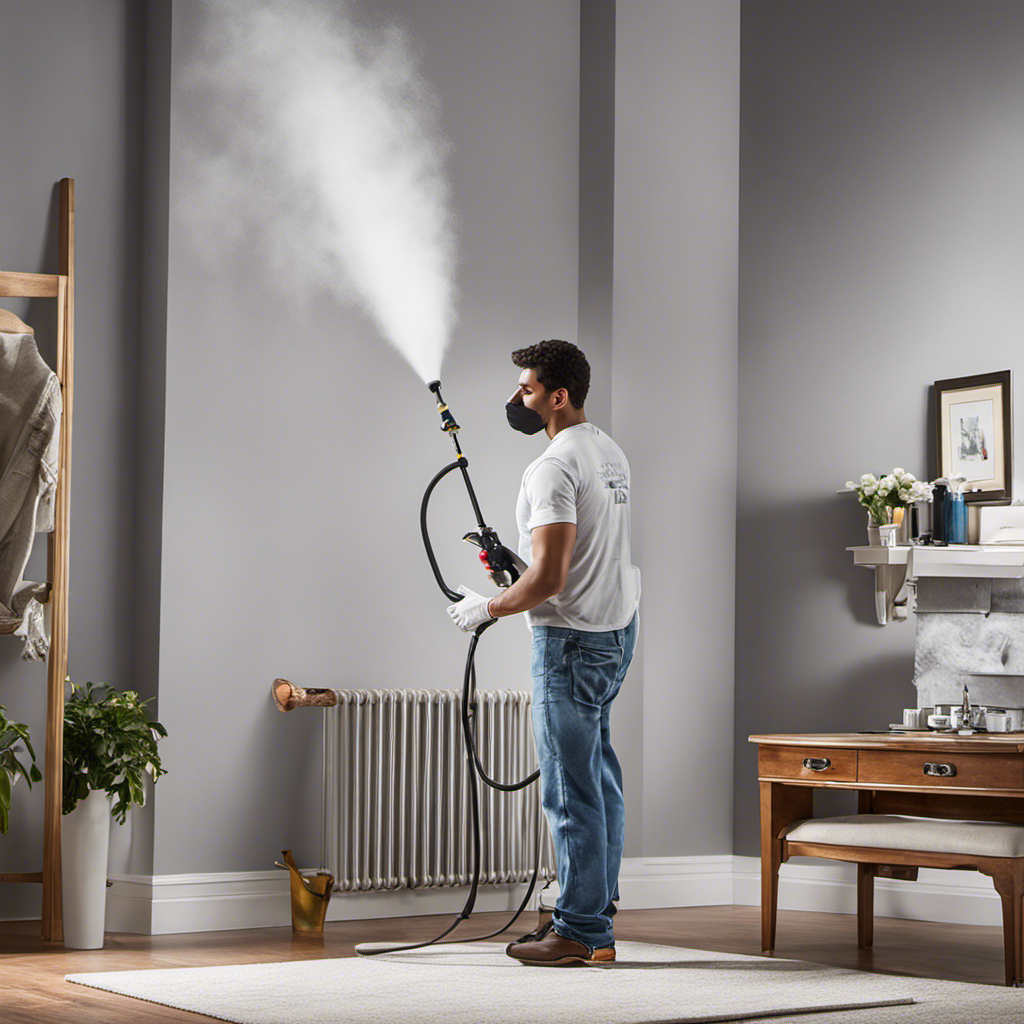
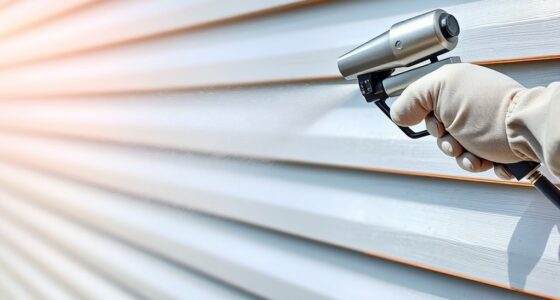
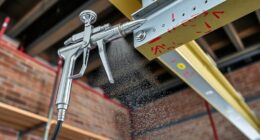
The airless sprayer system uses high pressure to force paint through a small opening, creating a fine mist that ensures a smooth and even application of paint. Proper sprayer maintenance and troubleshooting techniques are essential for achieving optimal results.
Regularly cleaning the sprayer and inspecting and replacing worn parts can prevent issues that may result in paint streaks. Lubricating the sprayer properly ensures smooth operation. Troubleshooting techniques, such as checking for clogs or blockages in the sprayer and adjusting the spray pattern and pressure, help address any problems that arise during the painting process.
Proper Surface Preparation for a Flawless Finish
Inspecting the surface for imperfections and rough spots before painting is an essential step in achieving a professional-looking result. To ensure a flawless finish, one must use proper sanding techniques to smooth out any bumps or uneven areas.
Choosing sandpaper with the appropriate grit is crucial for achieving the desired level of smoothness. After sanding, it is important to thoroughly clean the surface to remove dust and debris.
Once the surface is clean, applying a primer is the next step in the priming process. The primer seals the surface and provides a smooth base for paint adhesion.
Proper surface preparation, including sanding and priming, minimizes the chances of paint streaks and ensures a professional-looking finish. Taking the time to properly prepare the surface will result in a flawless paint application.
Choosing the Right Paint and Thinning Ratio
To achieve a smooth and even application of paint, one must consider the appropriate paint type and thinning ratio. The importance of proper paint storage and handling cannot be overstated.
Storing paint in a cool, dry place and sealing the containers tightly help maintain its quality. Before starting a project, it is crucial to mix the paint thoroughly to ensure consistent color and texture.
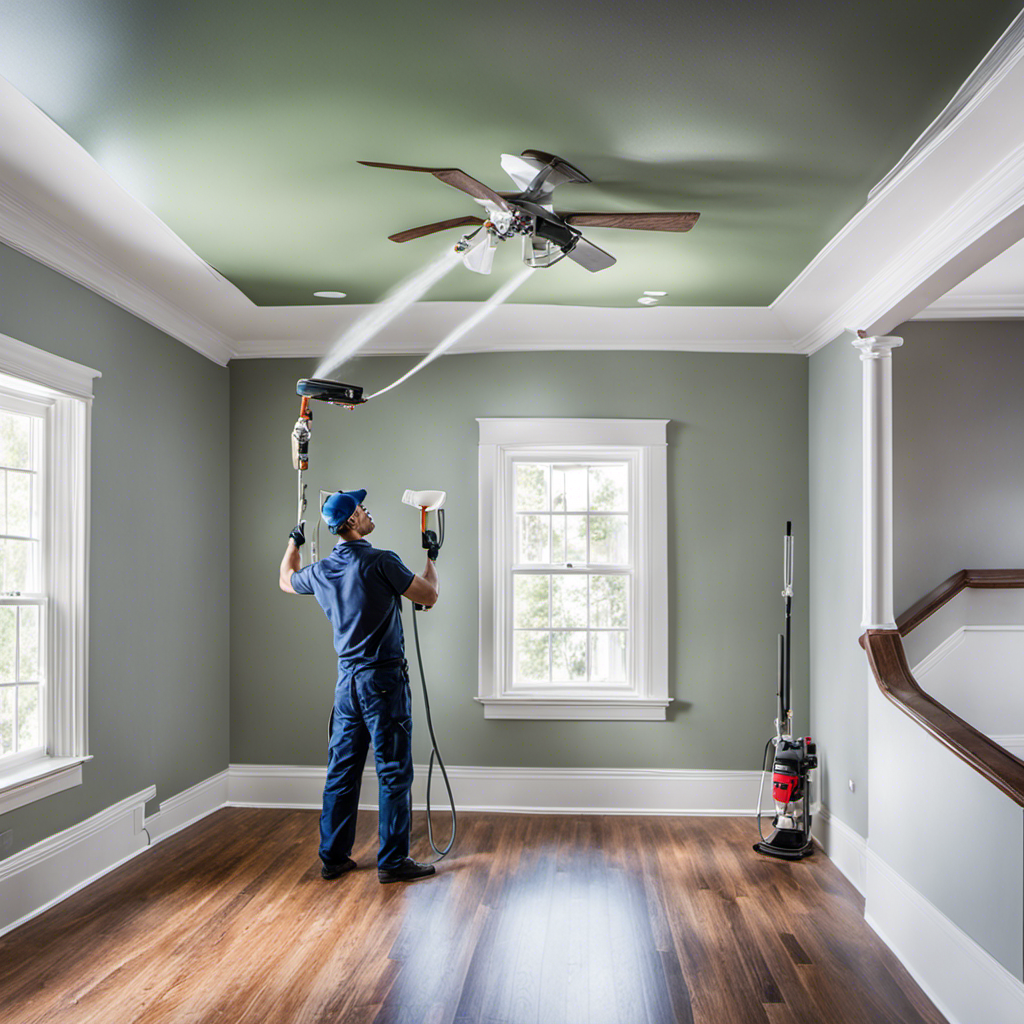
Achieving optimal paint coverage also relies on the right spraying technique. Maintaining a consistent distance from the surface and moving in a steady, overlapping motion ensures an even coat. Adjusting the spray pressure and using the correct tip size further contribute to a flawless finish.
Adjusting the Spray Pressure for Consistent Results
Achieving consistent results with an airless sprayer relies on adjusting the spray pressure to find the optimal setting for the desired spray pattern. Here are some spray pressure adjustment tips and troubleshooting techniques to ensure a flawless paint finish:
- Start with a low pressure setting and gradually increase it until the desired spray pattern is achieved.
- Use a pressure gauge to accurately measure and adjust the spray pressure.
- Check the manufacturer’s recommendations for the optimal pressure range for the specific paint.
By testing the spray pattern on a scrap surface before starting the project and making proper spray pressure adjustments, you can eliminate paint streaks and achieve professional-looking results.
Troubleshooting common spray pressure issues involves checking for clogs or blockages in the sprayer and adjusting the pressure as needed. Regularly cleaning and maintaining the sprayer, as well as using filters and strainers, will help prevent issues and ensure a smooth spraying experience.
Preventing Clogs and Blockages for Smooth Spraying Experience
Regularly cleaning and maintaining the sprayer, as well as using filters and strainers, helps prevent clogs and blockages, ensuring a smooth spraying experience. Cleaning techniques and troubleshooting tips are essential for maintaining an airless sprayer system. By incorporating these practices into your routine, you can minimize the risk of clogs and blockages that can disrupt the paint flow and lead to uneven application. Additionally, using filters and strainers helps catch debris or particles in the paint, preventing them from entering the sprayer and causing potential issues. To provide a visual representation of the importance of cleaning and maintaining the sprayer, here is a table outlining some effective cleaning techniques and troubleshooting tips:
| Cleaning Techniques | Troubleshooting Tips |
|---|---|
| Regularly clean the sprayer after each use | Check for clogs or blockages in the sprayer |
| Thoroughly clean all parts of the sprayer, including the nozzle and hose | Adjust the spray pattern and pressure as needed |
| Inspect and replace worn or damaged parts | Properly lubricate the sprayer for smooth operation |
| Use filters and strainers to catch debris or particles in the paint | Address any problems that arise during the painting process |
Frequently Asked Questions
What Are Some Common Mistakes to Avoid When Using an Airless Sprayer?
When using an airless sprayer, there are some common mistakes to avoid in order to achieve even coverage.
One mistake is not properly maintaining the sprayer, which can lead to clogs and streaks.
Another mistake is not choosing the right tip size, resulting in uneven application of paint.
Additionally, not adjusting the spray pressure correctly can cause paint streaks.
How Can I Achieve a Smooth Finish on Textured Surfaces With an Airless Sprayer?
Achieving even coverage on textured surfaces with an airless sprayer requires careful consideration of nozzle selection. Choosing the right nozzle size ensures proper atomization and distribution of paint.
A larger nozzle size may be necessary for textured surfaces to allow the paint to flow smoothly and cover the surface evenly.
Additionally, adjusting the spray pressure and maintaining a consistent distance from the surface while moving in a steady, overlapping motion will help achieve a flawless finish on textured surfaces.
What Are Some Tips for Avoiding Overspray When Using an Airless Sprayer?
To avoid overspray when using an airless sprayer, proper cleaning techniques and avoiding clogging issues are essential.
First, regularly clean the sprayer after each use to remove any residual paint or debris that could cause clogs.
Additionally, use filters and strainers to catch any particles in the paint that could lead to clogging.
Can I Use an Airless Sprayer to Apply Different Types of Paint, Such as Latex and Oil-Based?
Using an airless sprayer for intricate paint designs has its pros and cons when it comes to different paint types.
While airless sprayers are versatile and can handle both latex and oil-based paints, it’s important to consider a few factors.
Latex paints are generally easier to spray and clean up, but they may require more thinning for optimal atomization.
Oil-based paints can be more challenging due to their higher viscosity, but they provide a smoother finish.
Proper thinning and adjusting the spray pressure are crucial for achieving flawless results with different paint types.
How Do I Troubleshoot and Fix Uneven Spray Patterns With an Airless Sprayer?
To troubleshoot and fix uneven spray patterns with an airless sprayer, there are a few techniques to keep in mind.
First, check the spray tip for any clogs or blockages and clean it thoroughly.
Next, adjust the spray pressure to ensure a consistent flow of paint.
Additionally, make sure the sprayer is held at a consistent distance from the surface and moved in a steady, overlapping motion.
These troubleshooting techniques will help you achieve a flawless paint finish.
Conclusion
In conclusion, mastering airless sprayer techniques is essential for achieving a flawless paint finish. By using the proper sprayer system and technique, one can avoid those dreaded paint streaks.
It’s ironic how such a seemingly simple task can require attention to detail and precise execution. But fear not, with the right tips, consistent distance, and steady motion, anyone can become a pro at this art.
Just remember to properly maintain your sprayer, prepare your surface, choose the right paint, adjust the spray pressure, and prevent clogs.
Happy painting!
Franz came aboard the Paint Sprayer Zone team with a background in both journalism and home renovation. His articulate writing style, combined with a passion for DIY projects, makes him an invaluable asset. Franz has a knack for breaking down technical jargon into easy-to-understand content, ensuring that even the most novice of readers can grasp the complexities of paint sprayers.
