When masking windows and doors for spraying, start by cleaning the surfaces thoroughly to guarantee good tape adhesion. Use painter’s tape suited for your specific surfaces, pressing down firmly along edges to create a tight seal. Cover larger areas with plastic or paper to protect from overspray. Take your time to apply the tape smoothly and precisely for sharp, clean lines. For more tips on achieving professional results, keep exploring how proper masking can make a difference.
Key Takeaways
- Clean surfaces thoroughly to ensure proper tape adhesion and prevent paint seepage.
- Use painter’s tape suited for delicate or fragile surfaces to avoid damage during removal.
- Cover large window and door areas with masking paper or plastic sheeting for full protection.
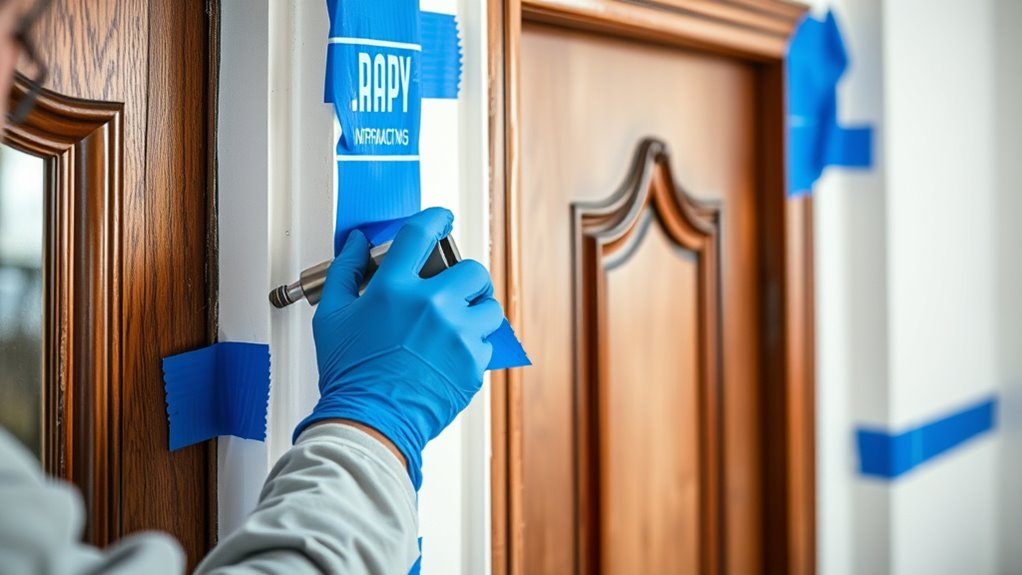
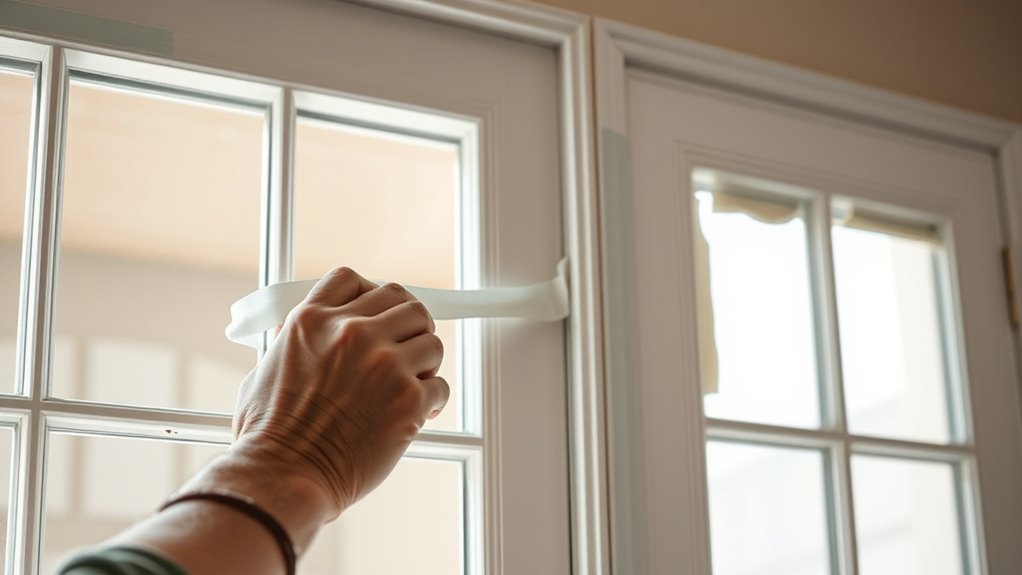
- Apply tape along edges carefully, pressing firmly to create a tight seal and sharp paint lines.
- Remove tape promptly after spraying to prevent adhesive residue and ensure clean edges.
Masking windows and doors is an essential step in achieving a professional paint job or protecting your home during renovations. Proper masking guarantees clean lines and prevents paint from bleeding onto surfaces that should remain untouched. When it comes to choosing masking materials, your first consideration should be selecting the right types of masking tape. There are many options available, each suited to different surfaces and conditions. For example, painter’s tape is a popular choice because it sticks well without damaging surfaces or leaving residue when removed. It’s ideal for delicate surfaces like freshly painted walls or wallpaper. For tougher surfaces such as glass or metal, you might opt for a more robust masking tape that provides a stronger seal, preventing paint bleed.
Choosing the right masking tape ensures clean lines and surface protection during painting projects.
As you decide on masking materials, think about the specific requirements of your project. If you’re working with a delicate surface, avoid using duct tape or other heavy-duty tapes, which can peel paint or damage the surface when removed. Instead, choose masking tapes that are designed for painting, as they offer a good balance of adhesion and clean removal. Additionally, consider the duration the tape will stay in place. Some tapes are formulated for longer periods, while others are meant for quick projects and should be removed within a few hours to prevent adhesive marks or tearing.
When applying masking tape to windows and doors, start by thoroughly cleaning the surface to ensure good adhesion. Dust, dirt, and grease can prevent the tape from sticking properly, leading to paint seepage or uneven edges. Next, carefully apply the tape along the edges, pressing down firmly as you go to eliminate air bubbles and ensure a tight seal. For larger areas, use a putty knife or a similar tool to smooth out the tape, especially along corners or edges where paint might otherwise seep underneath. When masking windows, consider using painter’s paper or plastic sheeting along with masking tape to cover larger areas efficiently.
Choosing the right masking materials isn’t just about the tape; it’s also about how you prepare and execute the masking process. Take your time to plan your masking strategy, and don’t rush the application. Proper masking not only makes your painting look more professional but also saves you time and effort in touch-ups later. Remember, investing in quality masking tape and taking care during application will pay off with a clean, sharp finish and protected surfaces.
Frequently Asked Questions
What Types of Masking Materials Are Best for Delicate Surfaces?
For delicate surfaces, you want gentle masking materials that provide effective protection without causing damage. Use painter’s tape designed for delicate surfaces, which adheres well but peels off easily without leaving residue or tearing. Additionally, opt for low-tack masking films or paper, and soft painter’s cloths for extra protection. These materials guarantee delicate surface protection while allowing you to achieve clean, professional results during spraying.
How Long Does Masking Typically Take for Large Projects?
Masking large projects can take anywhere from a few hours to several days, depending on complexity. You should prioritize thorough project planning and equipment selection to streamline the process. Rushing through masking can lead to overspray or damage, so allocate ample time for careful taping and covering delicate surfaces. Efficient planning minimizes delays, ensuring your project stays on schedule while maintaining quality.
Can Masking Be Reused After the Paint Job?
Yes, you can reuse masking tape and reusable masking after your paint job if they’re in good condition. Carefully remove the masking tape to avoid tearing or leaving residue, then store it properly for future use. Reusable masking options, like silicone or plastic sheets, can be cleaned and reused multiple times. This saves money and reduces waste, making your painting projects more efficient and eco-friendly.
What Are Common Mistakes to Avoid When Masking Windows and Doors?
You must avoid basic mistakes like rushing the masking process or skipping safety precautions, which can turn your project into a disaster. Use precise masking techniques by carefully pressing edges and sealing gaps to prevent paint bleed, and always wear gloves and masks for safety. Don’t underestimate the power of patience—improper masking can ruin your work, so double-check everything before spraying to guarantee flawless results.
How Do You Remove Masking Tape Without Damaging the Paint?
To remove masking tape without damaging the paint, use gentle removal techniques, like pulling the tape back slowly at a 45-degree angle. Warm the tape slightly with a hairdryer to loosen the adhesive. For better paint adhesion, make certain the paint is fully dry before tape removal. These paint adhesion tips help prevent peeling or chipping, keeping your painted surface smooth and clean after masking.
Conclusion
Now that you know how to mask windows and doors properly, you’ll find the process smoother and more efficient. With the right techniques, you can avoid costly mistakes and ensure a clean finish. It’s almost like the effort you put in naturally aligns with the results you want—precision meeting patience. So, take your time, stay focused, and remember: a well-masked space makes all the difference. Your effort now makes the final reveal even more satisfying.