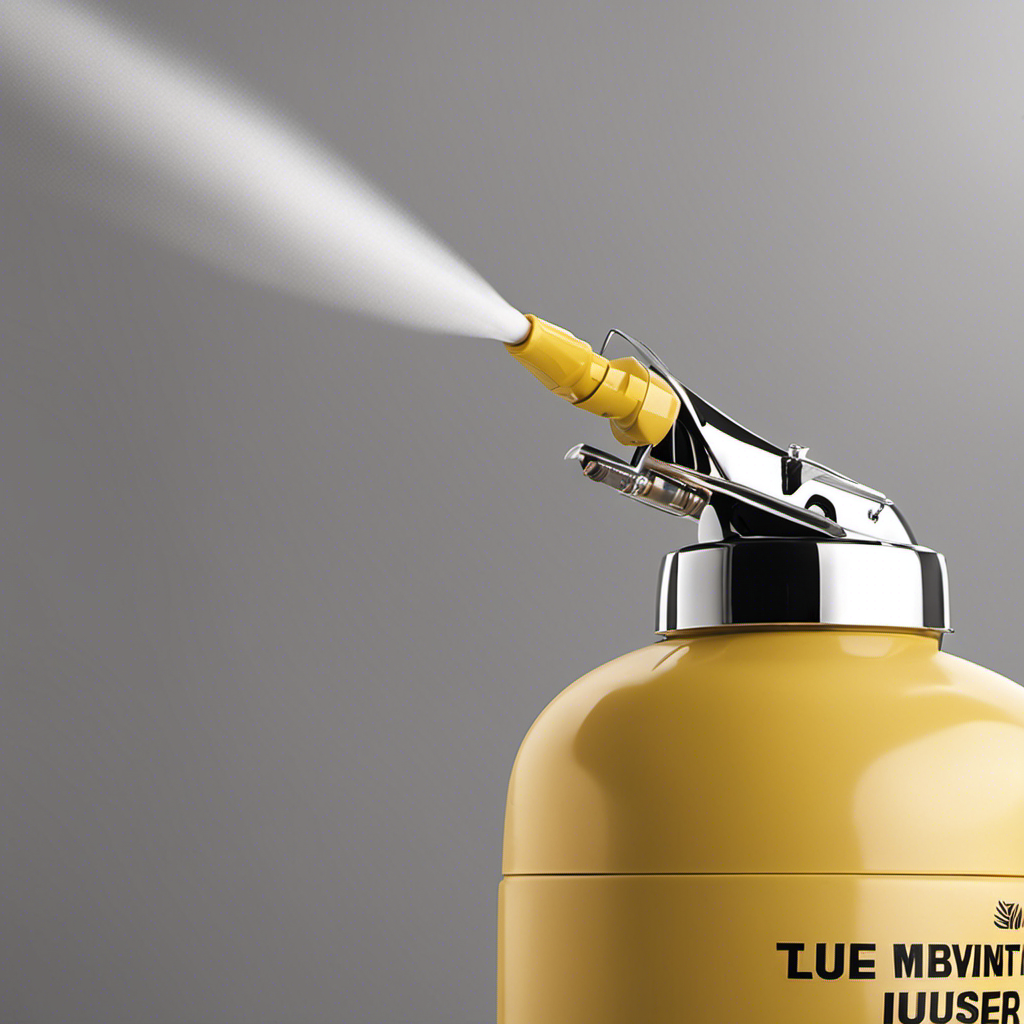
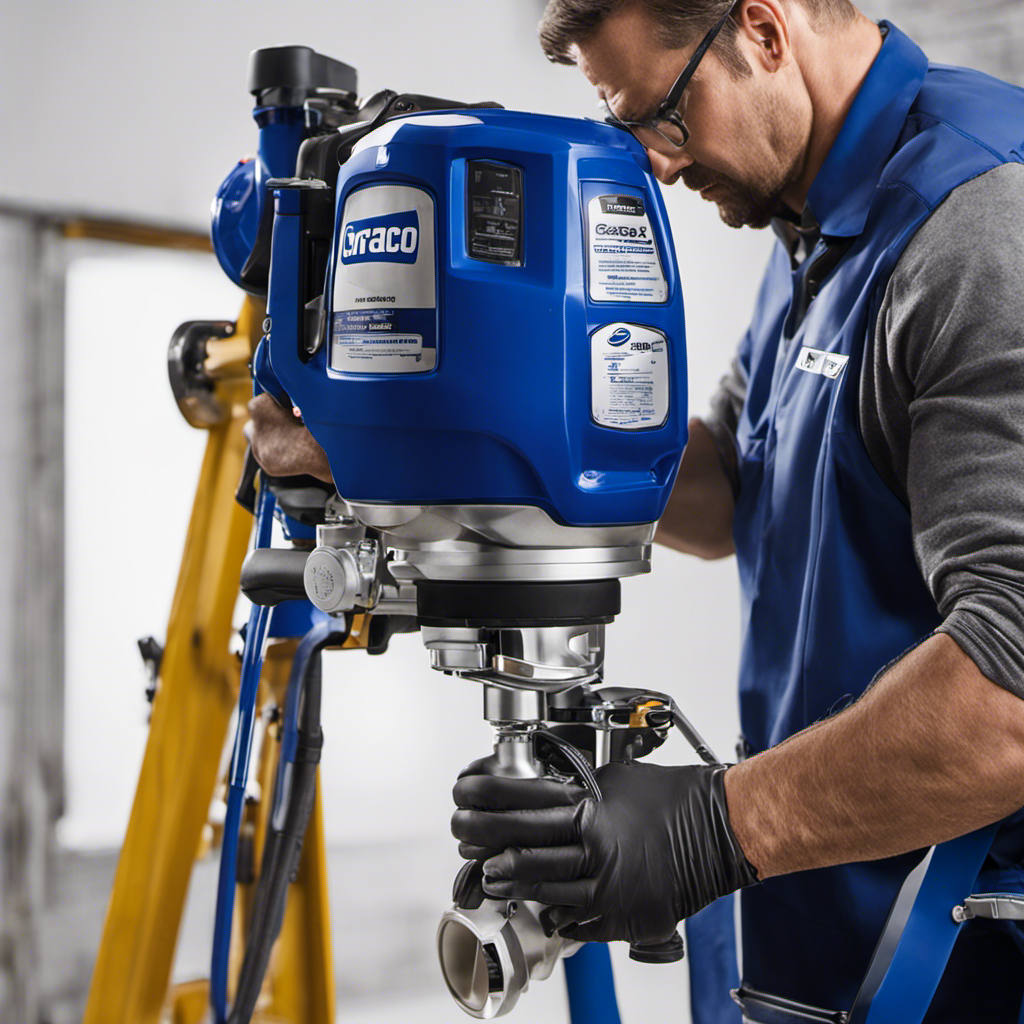
As someone who has dabbled in DIY projects for some time, I have found the key to achieving perfect paint finishes effortlessly: the Black & Decker Airless Paint Sprayer.
This powerful tool will revolutionize the way you tackle your painting projects.
In this article, I will guide you through the ins and outs of using this remarkable device, from setting it up to choosing the right nozzle and mastering the proper technique.
Get ready to unleash your inner painting pro with the Black&Decker Airless Paint Sprayer!
Key Takeaways
- Read the instruction manual thoroughly before setting up the Black&Decker Airless Paint Sprayer.
- Adjust the spray pressure based on the thickness of the paint and test the spray pattern before starting the project.
- Choose the right nozzle size based on the type of paint and surface texture, and ensure paint compatibility to prevent clogs and splattering.
- Experiment with different spray angles, maintain a consistent distance from the surface, and use overlapping strokes for even coverage and a smooth finish.
Setting Up the Black&Decker Airless Paint Sprayer
Before you begin setting up the Black&Decker airless paint sprayer, make sure to read the instruction manual thoroughly.
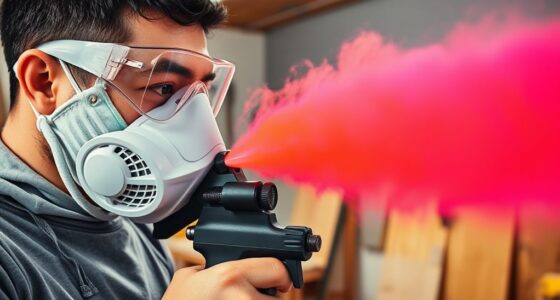
Setting up the airless paint sprayer requires some safety precautions to ensure a smooth and efficient operation. First, make sure to wear protective clothing, gloves, and goggles to avoid any contact with the paint or other harmful chemicals.
Next, ensure that the sprayer is placed on a stable surface and securely plugged into a grounded outlet. Troubleshooting the initial setup involves checking the connections, ensuring the paint container is properly attached, and checking for any leaks or blockages in the sprayer.
Once the sprayer is set up and ready to go, it’s time to move on to preparing the paint for spraying, which involves a few important steps.
Preparing the Paint for Spraying
First, make sure you’ve properly mixed the paint for spraying with the Black&Decker airless paint sprayer. Proper paint preparation is crucial for achieving a smooth and even finish. Start by selecting the right type of paint for your project and consult the manufacturer’s instructions for mixing ratios. Thoroughly stir the paint to ensure all pigments and additives are well incorporated.
Next, focus on surface preparation. Clean the surface to be painted, removing any dirt, dust, or grease. Repair any cracks or imperfections and sand the surface to create a smooth and even base. By properly preparing both the paint and the surface, you’ll ensure better adhesion and a professional-looking result.
Now, let’s move on to adjusting the spray pressure to optimize your paint application.
Adjusting the Spray Pressure
When it comes to achieving optimal spray pressure for a paint sprayer, there are a few key points to keep in mind.
First, it’s important to understand the manufacturer’s recommendations for the specific sprayer you are using. This will ensure that you are using the correct pressure settings for the best results.
Additionally, if you are experiencing pressure issues while spraying, it’s important to troubleshoot the problem to identify any potential issues with the sprayer itself or the paint being used.
Optimal Spray Pressure
To achieve optimal spray pressure with your Black&Decker airless paint sprayer, adjust the settings according to the thickness of your paint. Optimizing paint flow is crucial to getting a smooth and even finish.
Start by adjusting the pressure control knob on the sprayer. If the paint is too thick, increase the pressure slightly to ensure proper atomization. On the other hand, if the paint is too thin, decrease the pressure to prevent overspray.
Additionally, you can adjust the spray tip size to further control the flow of paint. Remember to always test the spray pattern on a scrap surface before starting your project.
By fine-tuning the spray pressure, you can avoid overspray and achieve professional-looking results.
Now let’s move on to troubleshooting pressure issues and ensuring your sprayer works flawlessly.
Troubleshooting Pressure Issues
If you’re experiencing pressure issues with your sprayer, check the paint viscosity and the condition of the spray tip. Common solutions for pressure problems often involve equipment maintenance.
First, ensure that the paint you’re using is the correct viscosity for your sprayer. If the paint is too thick, it can cause clogs and decrease the spray pressure. On the other hand, if the paint is too thin, it can result in overspray and uneven coverage.
Additionally, inspect the spray tip for any signs of wear or damage. A worn or damaged tip can disrupt the spray pattern and reduce the pressure. By regularly checking the paint viscosity and spray tip condition, you can address pressure issues and maintain optimal spray performance.
Now, let’s move on to choosing the right nozzle for your project.
Choosing the Right Nozzle for Your Project
When it comes to choosing the right nozzle for your project, there are a few key points to consider.
First, you need to look at the nozzle size and coverage, as this will determine how much area you can cover with each spray.
Secondly, material compatibility and performance are crucial factors to think about, as certain nozzles may work better with specific types of paint or coatings.
Lastly, adjusting the spray pattern is essential for achieving the desired finish, so understanding how to manipulate the nozzle to achieve the desired result is crucial.
Nozzle Size and Coverage
Choose the right nozzle size for your Black&Decker airless paint sprayer to ensure optimal coverage. Nozzle size plays a crucial role in determining the quality and efficiency of your painting project. Here are some key points to consider when selecting the appropriate nozzle size:
-
Nozzle Types: There are different types of nozzles available, such as fan, round, and wide-angle. Each type offers unique spraying patterns and coverage options.
-
Paint Thickness: Consider the thickness of the paint you’ll be using. Thicker paints require larger nozzle sizes for better coverage, while thinner ones may need smaller sizes to prevent overspray.
-
Surface Texture: The nozzle size should also take into account the texture of the surface you’re painting. Rough surfaces may require larger nozzle sizes to ensure even coverage.
-
Project Size: For larger projects, a larger nozzle size can help save time and provide more efficient coverage.
-
Pressure Settings: Adjusting the pressure settings on your paint sprayer can also impact the coverage achieved with a specific nozzle size.
Understanding the importance of nozzle size and its impact on coverage will help you achieve professional-looking results with your Black&Decker airless paint sprayer.
Now, let’s move on to explore the next section about material compatibility and performance.
Material Compatibility and Performance
Understanding the impact of material compatibility and performance is essential for achieving optimal results with your Black&Decker airless paint sprayer.
Paint compatibility plays a crucial role in ensuring that the paint flows smoothly through the sprayer without clogging or splattering. Different paints have different viscosities, so it is important to choose the right nozzle size and adjust the pressure accordingly.
Additionally, sprayer performance is influenced by factors such as paint quality, temperature, and humidity. High-quality paints tend to provide better coverage and smoother finishes. It is also important to consider the environmental conditions when using the sprayer, as extreme temperatures or high humidity can affect the paint’s drying time and overall performance.
By understanding paint compatibility and optimizing sprayer performance, you can achieve professional-looking results with your Black&Decker airless paint sprayer.
Now, let’s move on to adjusting the spray pattern for even greater control and precision.
Adjusting Spray Pattern
To achieve greater control and precision, adjust your spray pattern according to your desired coverage area. By adjusting the spray angle, you can customize the width and shape of the paint spray, allowing you to reach even the tightest corners and edges.
Troubleshooting clogging issues can be frustrating, but with the right adjustments, you can minimize the chances of clogs occurring. Here are five important points to remember:
- Experiment with different spray angles to find the most effective coverage.
- Start with a wider spray pattern and gradually narrow it down for more precise painting.
- If the spray is too narrow, increase the spray angle to achieve a wider coverage.
- If the spray is too wide, decrease the spray angle to focus the paint in a narrower area.
- Regularly clean and maintain your paint sprayer to prevent clogs and ensure optimal performance.
Now that you know how to adjust your spray pattern, let’s delve into the proper technique for spraying with the airless paint sprayer.
Proper Technique for Spraying With the Airless Paint Sprayer
Start by adjusting the spray pattern on your Black&Decker airless paint sprayer for the best coverage. When using the airless paint sprayer, it’s important to employ proper spray gun techniques and paint application tips to achieve professional-looking results. Here are some helpful tips for using the Black&Decker airless paint sprayer effectively:
| Technique | Description | Benefits |
|---|---|---|
| Overlapping strokes | Move the spray gun in a smooth, sweeping motion, overlapping each stroke by about 50%. | Ensures even coverage and eliminates streaks. |
| Maintaining consistent distance | Keep the spray gun a consistent distance from the surface, usually around 12 inches. | Prevents uneven application and drips. |
| Adjusting spray pressure | Adjust the pressure settings on the sprayer according to the type of paint and desired coverage. | Allows for better control and customization of the spray pattern. |
| Controlling speed | Move the spray gun at a steady pace, neither too fast nor too slow. | Helps maintain consistent coverage and reduces overspray. |
| Proper angle | Hold the spray gun perpendicular to the surface being painted for optimal coverage. | Avoids uneven application and ensures a smooth finish. |
Cleaning and Maintaining the Black&Decker Airless Paint Sprayer
Now that you’ve learned the proper technique for spraying with the Black&Decker airless paint sprayer, it’s important to understand how to clean and maintain the equipment. Proper cleaning techniques and following a maintenance schedule will ensure the longevity and optimal performance of your paint sprayer.
Here are some key cleaning techniques and maintenance steps to keep in mind:
- After each use, thoroughly clean the sprayer by flushing it with water or an appropriate cleaning solution.
- Pay close attention to the nozzle, filter, and other components that come into contact with the paint.
- Regularly inspect and clean the intake tube and suction filter to prevent clogs and ensure a smooth paint flow.
- Lubricate the moving parts of the sprayer, such as the piston and seal, according to the manufacturer’s instructions.
- Keep a maintenance schedule and follow it diligently to address any potential issues before they become major problems.
By following these cleaning techniques and maintenance steps, you’ll be able to keep your Black&Decker airless paint sprayer in top condition, ready for your next painting project.
Now, let’s move on to troubleshooting common issues with the airless paint sprayer.
Troubleshooting Common Issues With the Airless Paint Sprayer
If you’re experiencing any issues with the airless paint sprayer, there are some common troubleshooting techniques you can try.
One common issue is a misaligned spray fan, which can result in uneven coverage. To fix this, adjust the spray fan by turning the knob on the sprayer until you achieve the desired width.
Another issue that can arise is clogging, which can cause the paint to stop flowing. To troubleshoot clogging issues, first, check the paint viscosity and make sure it’s within the recommended range. If it’s too thick, thin it out with the appropriate solvent. Additionally, check the filter and nozzle for any blockages and clean them if necessary.
Tips and Tricks for Achieving Professional Results With the Black&Decker Airless Paint Sprayer
To achieve professional results with the Black&Decker airless paint sprayer, it’s important to properly adjust the spray fan and regularly check for any clogging issues. This will ensure a smooth finish and prevent overspray.
Here are some tips and tricks to help you achieve professional results:
-
Choose the right paint: Use high-quality paint that is specifically formulated for airless paint sprayers. This will help you achieve a smooth and even finish.
-
Prepare the surface: Clean and prepare the surface before painting to ensure proper adhesion and a flawless finish.
-
Practice your technique: Before starting on your actual project, practice your spraying technique on a scrap piece of material. This will help you get used to the sprayer and achieve better control.
-
Maintain the sprayer: Regularly clean and maintain your airless paint sprayer to prevent any clogging issues and ensure optimal performance.
-
Use the correct pressure: Adjust the pressure settings on your sprayer according to the type of paint and the surface you are painting. This will help you prevent overspray and achieve a professional finish.
Frequently Asked Questions
Can I Use the Black&Decker Airless Paint Sprayer for Painting Outdoor Surfaces?
Yes, you can use the Black&Decker airless paint sprayer for painting outdoor surfaces. It is designed to handle various surfaces, including outdoor ones, making it a versatile tool for your painting needs.
How Long Does It Take for the Paint to Dry After Using the Black&Decker Airless Paint Sprayer?
After using the Black&Decker Airless Paint Sprayer, the drying time of the paint will depend on factors such as temperature and humidity. Generally, it takes around 1-2 hours for the paint to dry completely. To ensure optimal drying, follow proper maintenance tips.
Is It Necessary to Wear Protective Gear While Using the Black&Decker Airless Paint Sprayer?
I always wear protective gear when using the Black&Decker Airless Paint Sprayer. The pros of wearing gear include protecting my eyes, skin, and lungs from paint particles. The cons are that it can be uncomfortable and hot. Safety precautions are crucial.
Can I Use the Black&Decker Airless Paint Sprayer to Paint Textured Surfaces?
Yes, you can use the Black&Decker Airless Paint Sprayer to paint textured surfaces. It is important to use proper painting techniques and ensure thorough cleaning and maintenance of the sprayer afterwards.
What Is the Maximum Distance at Which the Black&Decker Airless Paint Sprayer Can Effectively Spray Paint?
The Black&Decker Airless Paint Sprayer can effectively spray paint at a maximum distance of [insert distance]. At this range, the sprayer ensures optimal paint coverage and a smooth finish.
Conclusion
So there you have it, folks! After going through all the steps and techniques, you should now be a pro at using the Black&Decker Airless Paint Sprayer.
With its easy setup and versatile features, this sprayer is the perfect tool for all your painting needs. Just remember to choose the right nozzle, adjust the spray pressure, and use proper technique for flawless results.
And don’t forget to clean and maintain your sprayer regularly to keep it in top-notch condition.
Now go forth and paint with confidence, my fellow DIY enthusiasts!
Franz came aboard the Paint Sprayer Zone team with a background in both journalism and home renovation. His articulate writing style, combined with a passion for DIY projects, makes him an invaluable asset. Franz has a knack for breaking down technical jargon into easy-to-understand content, ensuring that even the most novice of readers can grasp the complexities of paint sprayers.

