
To test your spray pattern on cardboard, first gather your supplies and prepare a sturdy, flat piece of cardboard in a dust-free area. Shake your spray can well, hold it upright, and test spray to clear the nozzle. Hold the can 6-12 inches from the surface, then spray in a smooth, controlled motion. Observe the pattern for coverage and even dispersal. If adjustments are needed, tweak your distance or technique—more tips are just ahead to help perfect your process.
Key Takeaways
- Use a clean, sturdy piece of cardboard that’s flat, dust-free, and resistant to multiple sprays.
- Shake the spray can vigorously for about a minute to ensure even paint flow before testing.
- Hold the can upright at the recommended distance (6-12 inches) and spray in smooth, controlled motions.
- Observe the spray pattern for consistency, coverage, and edges, adjusting distance or technique as needed.
- Check for nozzle performance and adjust paint viscosity to prevent drips or uneven dispersal.
Gather Your Supplies
To start testing your spray pattern, gather all the necessary supplies. First, confirm your spray nozzle is clean and well-maintained; spray nozzle maintenance is essential for consistent results. You’ll need your spray gun, a piece of cardboard for testing, and your chosen paint color matching supplies to ensure color accuracy. Wear protective gear, like gloves and a mask, to stay safe during the process. Have a paint thinner or cleaner on hand for quick nozzle cleanup if needed. Keep some rags nearby for wiping excess paint or spills. Organize everything within reach to avoid interruptions. Proper preparation ensures your spray pattern will be even and your color match precise, setting a solid foundation before you move on to actual project surfaces. Additionally, understanding paint application techniques can help improve your overall spray results. Incorporating visual testing methods can also help you better evaluate your spray pattern and make necessary adjustments, especially considering the importance of Glycolic Acid benefits for skin health and appearance. Moreover, being aware of security zone info can help ensure your workspace remains safe and secure during your project. Remember, maintaining proper air purifier features and technology in your workspace can also contribute to a cleaner and safer environment during painting projects.
Prepare the Cardboard Surface
Start by choosing a sturdy piece of cardboard that can withstand multiple sprays without bending or tearing. Make sure the surface is clean and free of dust or debris for accurate testing. This preparation helps ensure consistent spray results. Additionally, selecting a surface with proper surface preparation can improve the accuracy of your test outcomes. Ensuring the surface is clean and smooth can also prevent any interference with spray patterns. For optimal results, consider surface uniformity to achieve consistent spray coverage across the area. Remember that juice cleansing techniques emphasize the importance of a prepared and optimal environment for best results. Incorporating remote work strategies, such as creating dedicated testing spaces, can further enhance your focus and precision during your project.
Prepare the Cardboard Surface
Before you begin testing your spray pattern, it’s vital to prepare the cardboard surface properly. Start with surface preparation by ensuring the cardboard is clean and free of dust or debris, which can affect spray accuracy. Choose a material with a smooth, flat surface to get an accurate read of the spray pattern. If the cardboard has wrinkles or rough spots, it can distort the spray, making your test unreliable. Use a sturdy piece of cardboard that won’t bend or warp during spraying, and consider taping down the edges for added stability. Proper material selection and surface preparation help you achieve consistent results, giving you a clear understanding of how your spray will perform on your actual project. Additionally, being aware of digital literacy can enhance your ability to utilize spray tools effectively. Understanding proper surface preparation techniques ensures your test results are reliable and can save you time during your project.
Select Sturdy Material
Choosing a sturdy material is essential for accurate spray pattern testing because a stable surface prevents movement and distortion during spraying. When selecting material, prioritize durability testing to ensure it withstands repeated sprays without tearing or warping. Cardboard works well if it’s thick and rigid, providing a firm base that won’t bend or shift. Avoid flimsy or thin sheets, as they can flex and give false readings. Make sure the surface is clean and free of debris to prevent uneven spray distribution. The goal is to create a reliable testing area where the spray pattern remains consistent. Proper material selection helps you accurately assess spray performance, ensuring your project starts with precise results. Always choose a surface that’s robust enough for multiple tests. Additionally, considering testing methods can further improve the accuracy of your spray evaluation process. Using proper surface preparation techniques can also help maintain consistent spray results over time. Selecting appropriate tools and materials from the outset can significantly influence the quality and repeatability of your testing. Incorporating material testing techniques can help verify the suitability of your chosen surface before commencing detailed spray tests.
Shake and Prime the Spray Paint
To guarantee your spray paint applies evenly, it’s important to shake the can thoroughly before use. This ensures the primer application is smooth and consistent. Before you start spraying, give the spray can shake vigorously for about a minute; this mixes the paint and propellant properly. Priming the spray can shake helps prevent clogs and uneven spray patterns. Make sure to hold the can upright during shaking, and give it a few short bursts to clear the nozzle. This step guarantees you get an even flow of paint when you begin your test spray on the cardboard. Taking these precautions minimizes drips and sputters, resulting in a cleaner, more professional finish for your project. Properly shaken spray cans are crucial for ideal spray pattern testing. Additionally, performing a test spray on scrap material can help you fine-tune your spray technique before tackling your main project. Ensuring your spray can’s performance consistency can lead to better coverage and less waste during your painting process. Being aware of air quality factors such as dust or humidity can also impact the final appearance of your spray paint.
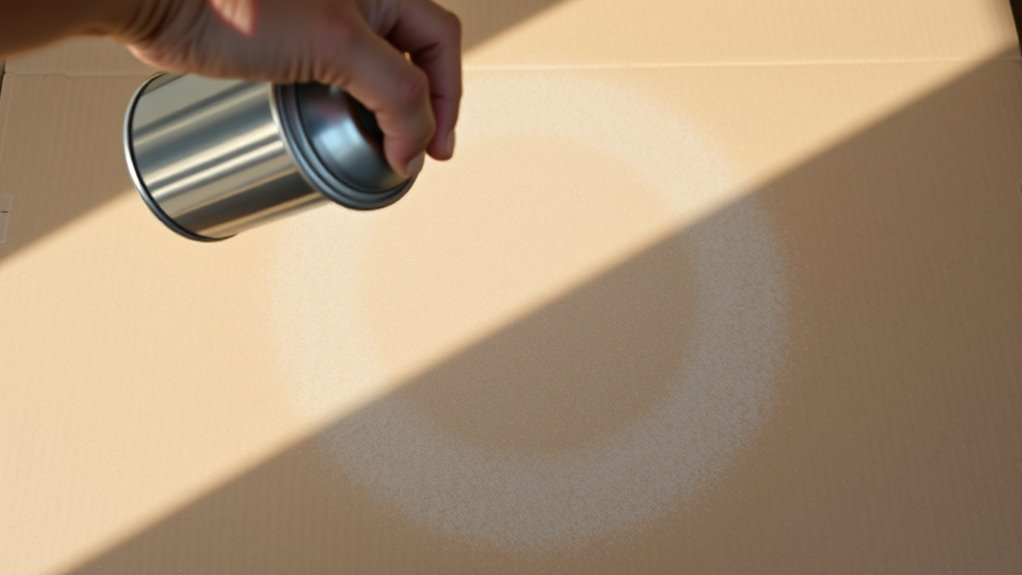
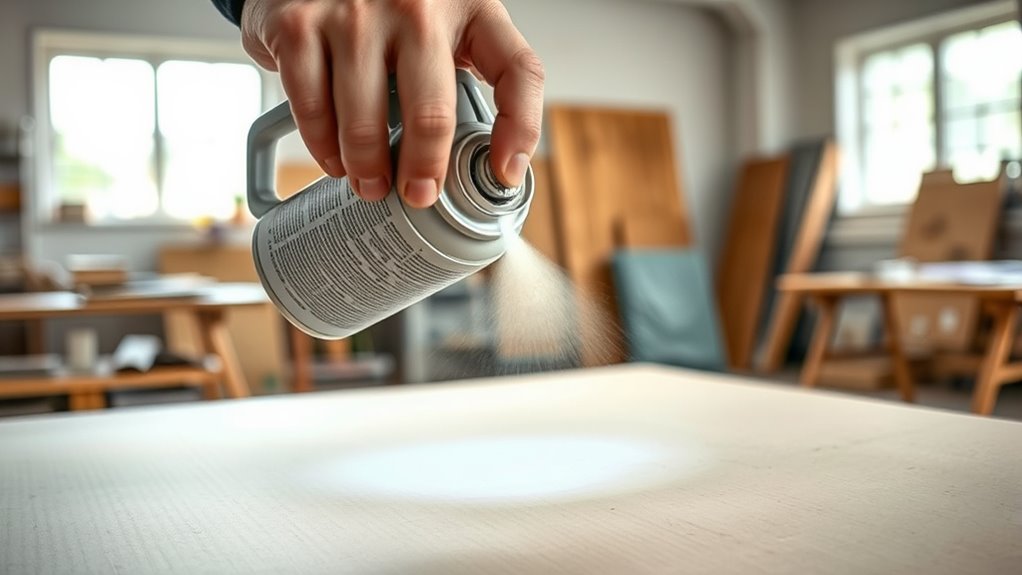
Hold the Can at the Correct Distance
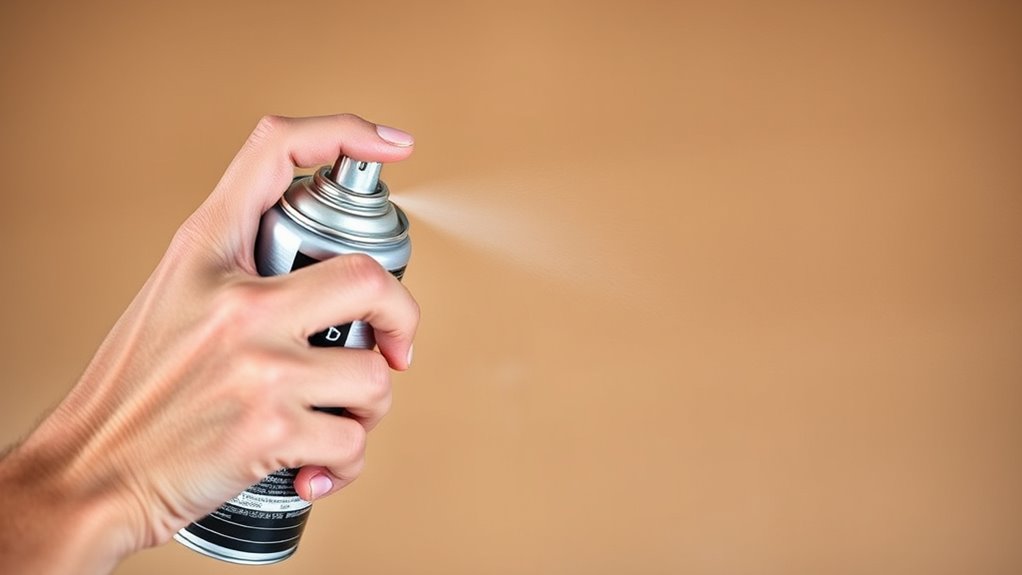
Holding the spray can at the correct distance is essential for achieving an even spray pattern. Typically, keep the can about 6-12 inches from the surface, depending on the spray paint type. Maintaining consistent distance guarantees better distance consistency, which directly impacts spray accuracy. If you hold the can too close, the paint may pool or drip; too far, and the spray becomes uneven and weak. Practice a steady, smooth motion, keeping the can perpendicular to the surface. Use your arm, not just your wrist, to maintain a consistent distance throughout the spray. Additionally, understanding filtration and pump protection principles can help you refine your technique for optimal results. Being mindful of material selection can also influence the spray pattern quality, especially on different surfaces. Regularly inspecting your spray equipment ensures consistent performance and helps prevent clogs or uneven spray flow. By paying attention to this, you’ll get a more uniform coat, reducing the need for touch-ups later. Proper distance control is key to professional-looking results and an even spray pattern.
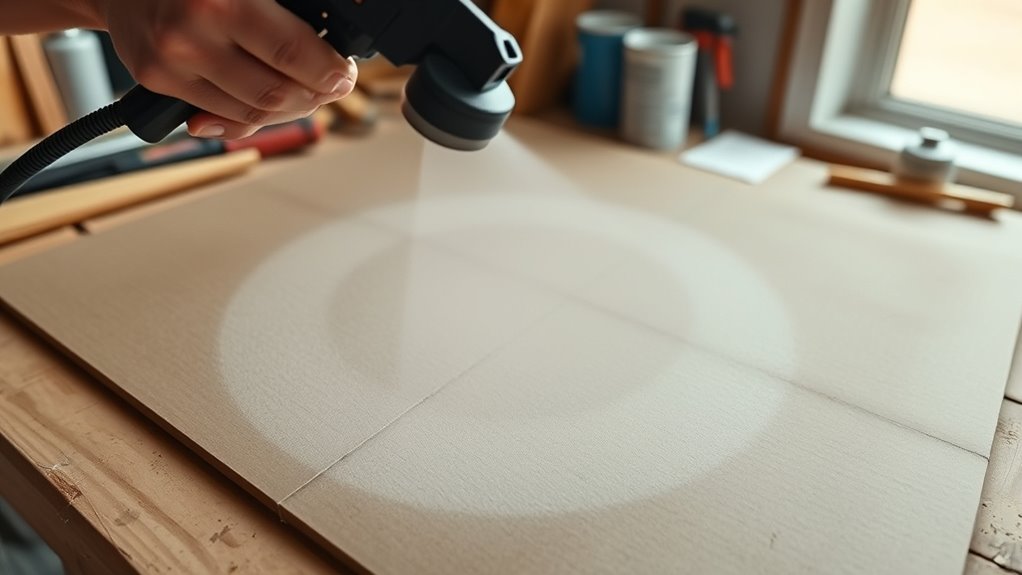
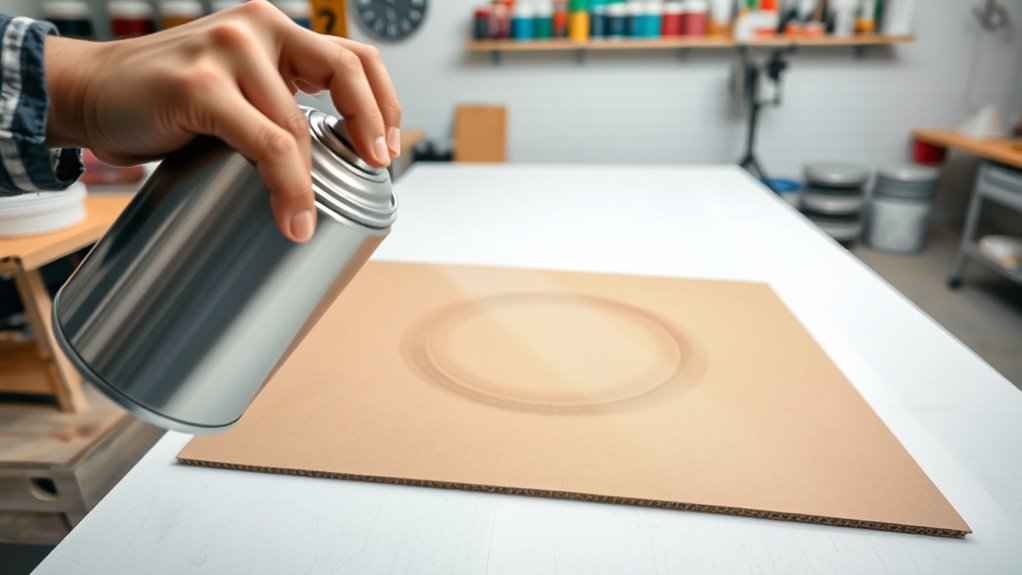
Test the Spray Pattern in a Controlled Area
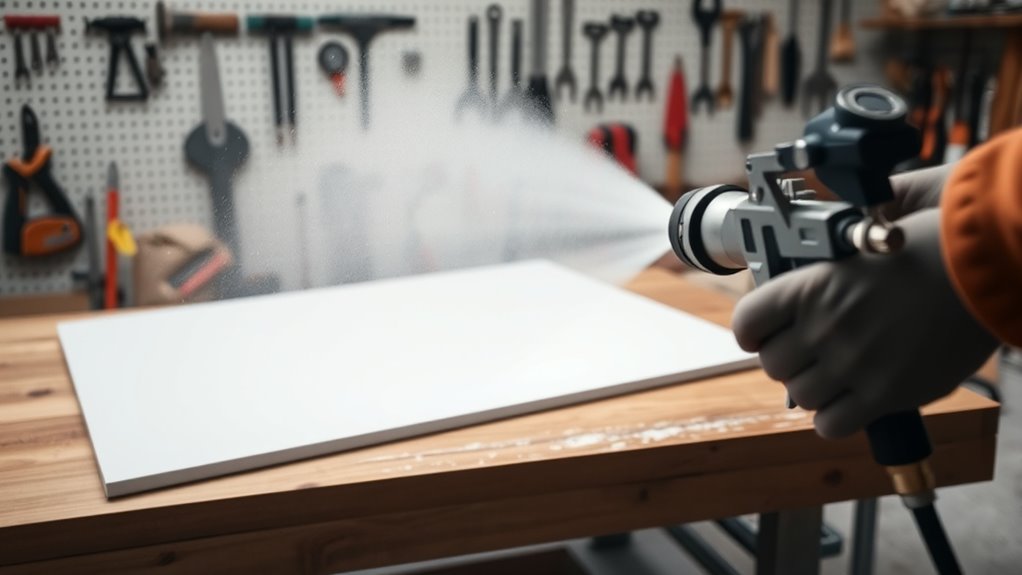
Before applying paint to your main surface, it’s important to test the spray pattern in a controlled area. Start by inspecting your spray nozzle for maintenance needs, making sure it’s clear and functioning properly. This helps prevent uneven coverage and paint splatters. Choose a well-ventilated space, as proper ventilation safety reduces the inhalation of fumes and overspray. Hold the spray can at the recommended distance and spray onto cardboard or a scrap surface. Observe the pattern’s consistency, coverage, and any drips or uneven dispersal. Adjust your technique or nozzle if necessary. Testing in a controlled area minimizes waste and ensures you’re comfortable with the spray’s behavior before tackling your project. Proper technique and understanding of HVAC system efficiency can also help optimize your painting process. Taking these precautions guarantees a smoother, safer painting process.
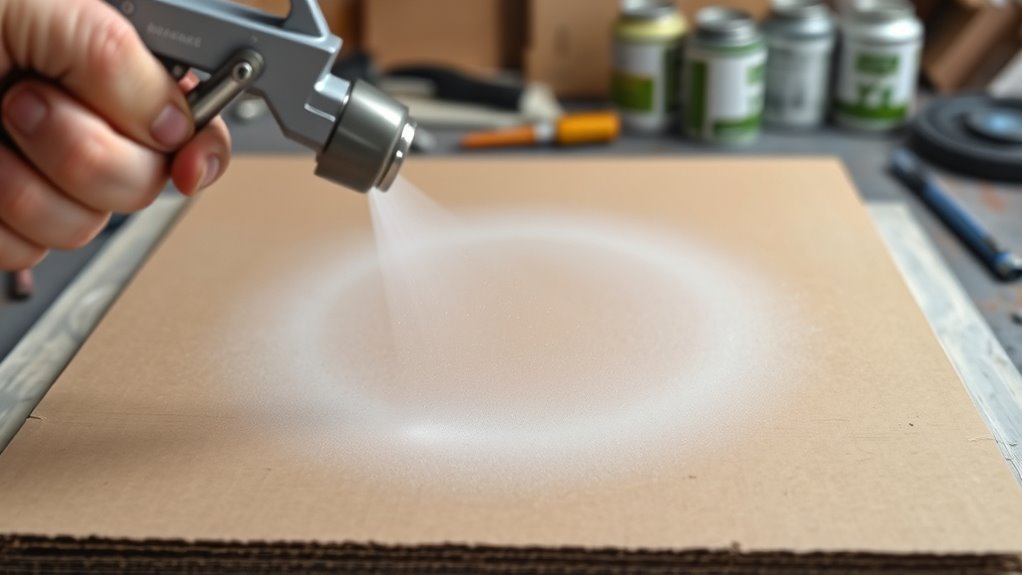
Observe the Dispersal and Coverage

You should carefully observe how the spray disperses across the cardboard to identify the spread pattern. Check if the spray covers the area evenly or if there are gaps and overlaps. Evaluating coverage consistency helps guarantee your application will be uniform and effective.
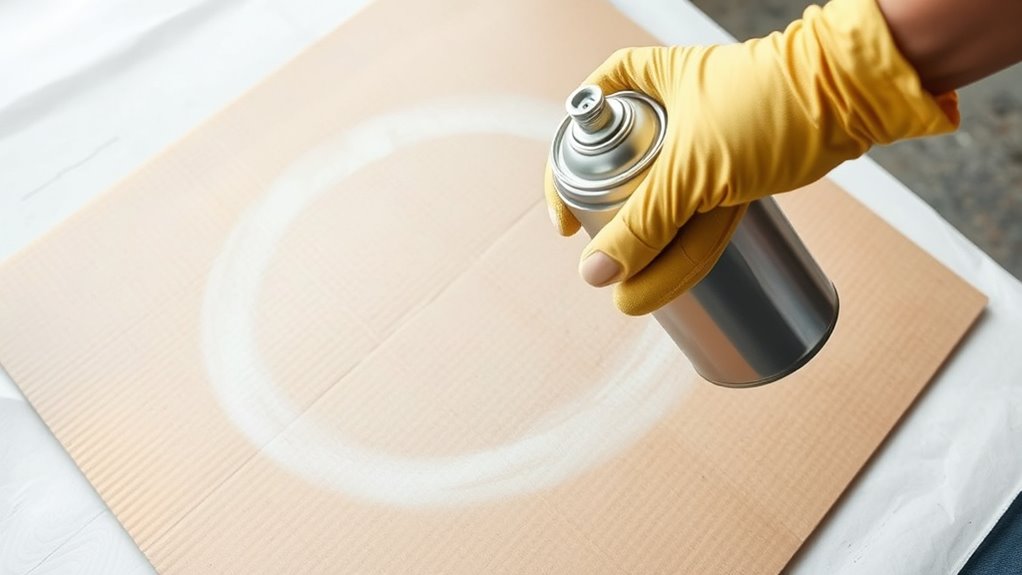
Check Spray Spread Pattern
Have you ever wondered how evenly your spray disperses? To check the spray spread pattern, hold the spray can at the recommended distance from the cardboard, then activate the spray in a smooth, continuous motion. Observe the dispersal to assess spray consistency; a well-defined pattern should be uniform, without drips or gaps. Look for pattern accuracy—ensure the spray forms a consistent shape, like a circle or line, without wandering or uneven edges. If the pattern looks uneven or inconsistent, adjust your distance or spray technique, and test again. Accurate pattern control is essential for a professional finish. By carefully observing the dispersal and coverage, you’ll ensure your spray pattern is reliable, giving you confidence before starting your actual project.
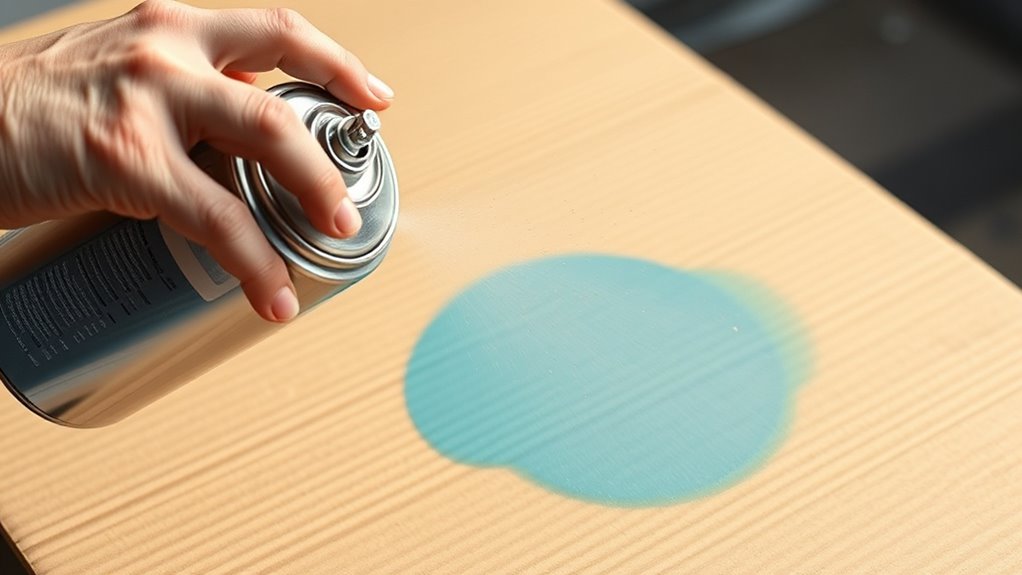
Evaluate Coverage Consistency
To evaluate coverage consistency, focus on observing how evenly the spray disperses across the surface. Pay attention to the spray nozzle’s performance—an uneven or sputtering spray may indicate a clogged or damaged nozzle. Verify the paint viscosity is appropriate; too thick or too thin paint can cause inconsistent coverage. Thin paint may lead to drips and uneven layers, while thick paint might clog the nozzle or produce spattering. Move your spray evenly across the surface, maintaining a consistent distance and speed. Check for areas that appear lighter or darker, which signal uneven dispersal. Adjust the spray nozzle or paint viscosity if needed. Consistent coverage ensures a smooth, professional finish, reducing the need for multiple coats or touch-ups later.
Adjust the Spray Technique if Necessary
If the spray pattern doesn’t look even or consistent on the cardboard, adjusting your technique can make a significant difference. Start by refining your spray technique—maintain a steady distance, move your hand smoothly, and keep a consistent speed. Next, check your nozzle adjustment; a clogged or misaligned nozzle can cause uneven spray. To improve the pattern, consider the following:
- Adjust the nozzle to increase or decrease the spray width.
- Maintain a consistent distance from the surface to avoid overspray or gaps.
- Use smooth, even strokes to distribute paint evenly.
Making these adjustments helps ensure your spray pattern is uniform, saving you time and material during your project. Proper technique and nozzle control are key to achieving a professional finish.
Practice on Scrap or Extra Cardboard
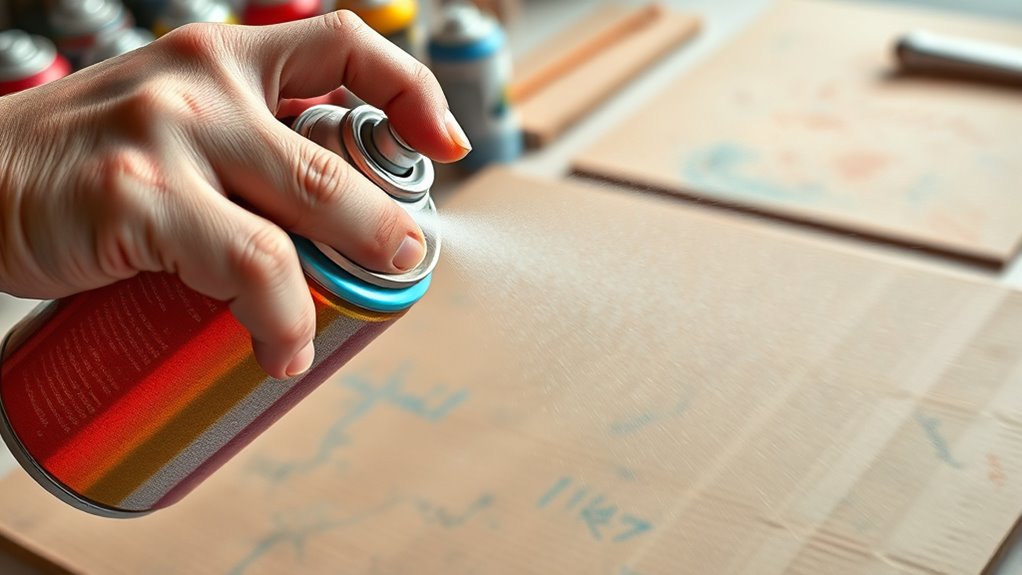
Practicing on scrap or extra cardboard allows you to refine your spray technique without risking your main project. This step is essential for maintaining spray paint safety, as it helps you avoid accidental overspray or drips that could damage your work surface. Use inexpensive or leftover pieces of cardboard with a similar surface to your actual project, ensuring proper cardboard selection. Testing on scrap helps you observe the spray pattern, adjust your distance, and control the spray pressure. It also gives you a chance to practice consistent movements for even coverage. By dedicating time to this practice, you’ll gain confidence and reduce mistakes during your project, making the entire process smoother and safer. Remember, practice makes perfect, and safety always comes first.
Make Final Checks Before Starting Your Project
Before you start spraying, double-check that your workspace is clean, well-ventilated, and free of obstacles. Make sure your paint nozzle is clean and properly attached to prevent drips or uneven spray. Confirm the spray consistency by testing on a scrap surface, adjusting your pressure if needed.
Always ensure your workspace is clean, ventilated, and free of obstacles before spraying.
Before beginning your project, do a quick visual inspection for:
- Properly tightened paint nozzle and nozzle guard
- Consistent spray pattern and no clogging
- Adequate protection for surrounding areas
These final checks help ensure smooth application, even coverage, and avoid mishaps. Taking a moment to verify your equipment and spray settings will save you time and frustration, giving you professional results.
Clean Up and Store Your Spray Paint Properly
Once you’ve completed your spray application, properly cleaning and storing your equipment helps maintain its performance and prolongs its lifespan. To ensure your spray paint stays in good condition, start with paint cleanup immediately after use. Remove excess paint from the nozzle and spray tip, and wipe down the can with a clean cloth. Proper storage involves sealing the lid tightly and keeping the can in a cool, dry place away from direct sunlight.
| Step | Tip |
|---|---|
| Paint cleanup | Use mineral spirits for thorough cleaning |
| Proper storage | Store upright to prevent leaks |
| Equipment maintenance | Regularly check for clogs and damage |
Following these steps guarantees your spray paint remains ready for future projects.
Frequently Asked Questions
How Do I Identify a Consistent Spray Pattern on Cardboard?
To identify a consistent spray pattern on cardboard, start by adjusting your spray distance to make certain of even coverage. Hold your spray gun at a steady distance, typically about 6-12 inches, and use the right nozzle selection for your project. Spray evenly across the surface, watching for uniform distribution without drips or gaps. Consistency comes from maintaining steady hand movement and proper settings, ensuring your pattern stays even throughout.
What Signs Indicate My Spray Pattern Needs Adjustment?
You’ll notice your spray pattern needs adjustment if it’s uneven, spattering, or inconsistent. These signs often point to spray nozzle maintenance issues or improper paint viscosity. Make sure your nozzle is clean and clear, and adjust the viscosity if the paint is too thick or thin. Regularly checking these factors helps maintain a smooth, even spray pattern, ensuring your project turns out flawless.
Can Environmental Factors Affect the Spray Pattern Test?
Ever wondered if environmental impact influences your spray pattern testing? You should know testing conditions matter more than you think. Wind, temperature, and humidity can subtly alter spray distribution, making your pattern look inconsistent. When you test in different environments, you risk misjudging your equipment’s performance. For accurate results, pick a controlled setting, minimizing environmental impact, so you can confidently perfect your spray before starting your project.
How Often Should I Test Spray Pattern During a Project?
You should test your spray pattern regularly during your project, especially if you’re using different paint types or nozzle settings. Frequent testing helps you catch spray pattern variations early and guarantees consistent application. Remember to maintain your paint nozzle properly, as poor nozzle maintenance can lead to uneven spray patterns. By staying vigilant and testing often, you’ll achieve a smoother, professional finish with fewer mistakes.
Is It Necessary to Test Spray Pattern With Different Spray Paints?
You should test spray patterns with different spray paints because each type varies in viscosity and consistency. This helps you identify if your spray nozzle needs maintenance or adjustments for peak performance. By testing, you can fine-tune your spray pattern, ensuring even coverage and preventing drips. Regular testing allows you to make necessary paint viscosity adjustments, giving you better control and a professional finish on your project.
Conclusion
By testing your spray pattern on cardboard, you guarantee precision, prevent mistakes, and gain confidence. You set the foundation, perfect your technique, and avoid surprises. You adjust your distance, refine your spray, and practice your strokes. You prepare your workspace, protect your surface, and store your paint properly. Doing these steps helps you finish your project smoothly, confidently, and flawlessly—creating a clean, professional look from start to finish.

A seasoned painter with over 15 years in the industry, Mike transitioned from hands-on painting projects to the digital world of paint sprayers. His extensive experience gives him a unique perspective on what users truly need when it comes to painting tools. As the Editor in Chief of Paint Sprayer Zone, Mike ensures that every piece of content not only provides value but also reflects the realities of painting — the challenges, the joys, and the intricate details.