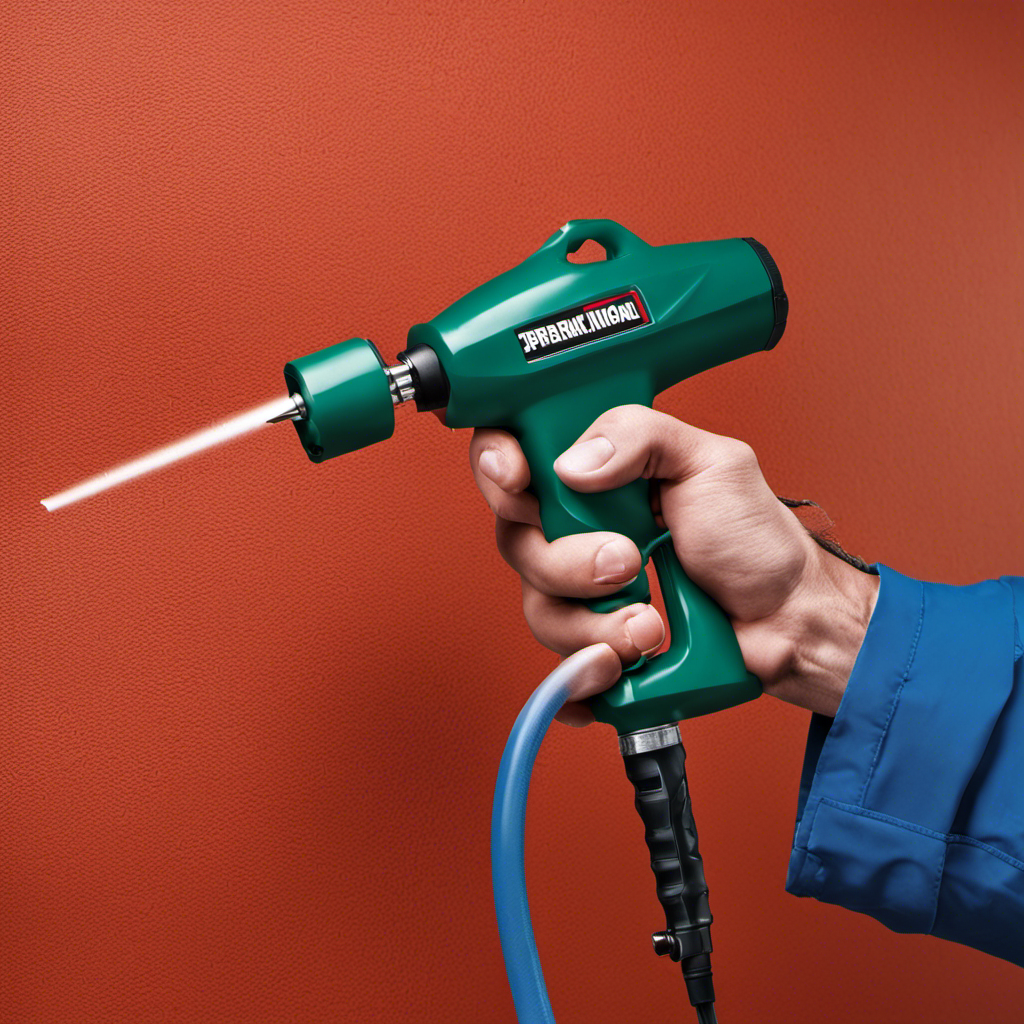
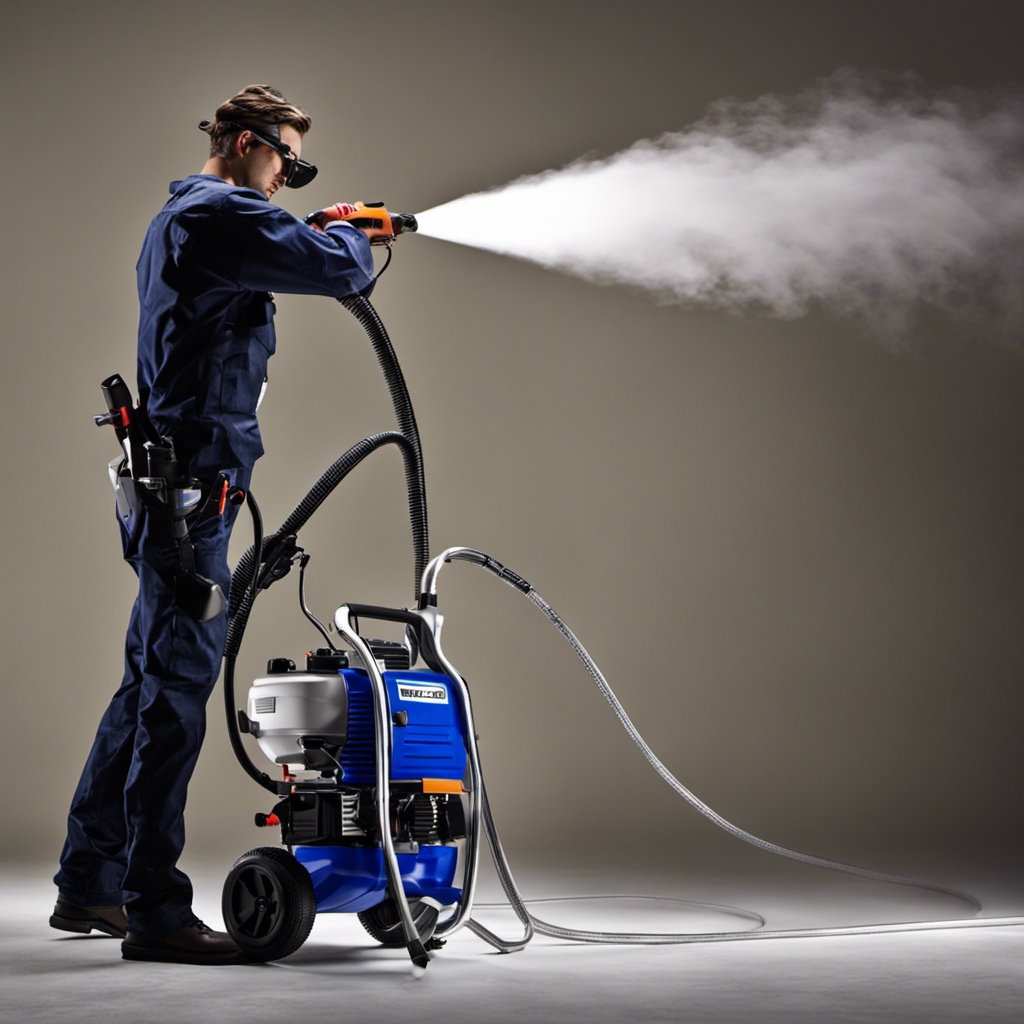
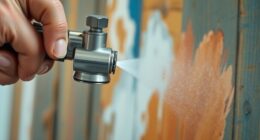
I have also experienced this situation – being prepared in front of a paint sprayer without air, all ready to start, only to discover that there is no paint in the hose. It can be a frustrating predicament, but do not worry, as I am here to help you learn how to prime your sprayer even when the hose is empty of paint.
In this article, I’ll walk you through each step in a professional, detailed, and technical manner, ensuring you have all the knowledge and skills to get the job done right.
Key Takeaways
- Priming is necessary to remove air from the paint sprayer hose and ensure a smooth and consistent paint flow.
- Checking for air bubbles in the paint flow and addressing them is important for a smooth spraying process.
- Purging the system by relieving pressure, detaching spray tip and filter, and running the pump helps remove air and debris for proper priming.
- Proper preparation, including cleaning the sprayer, checking for leaks, and ensuring the suction tube is immersed in paint, is crucial for successful priming.
Understanding the Priming Process
To understand the priming process, you need to know that it involves removing any air from the paint sprayer hose. This step is crucial to ensure a smooth and consistent paint flow.
One of the most common priming mistakes is not properly purging the air from the system, which can lead to inconsistent spraying and sputtering. Troubleshooting priming issues starts with checking for air in the system.
This can be done by turning on the sprayer and observing whether air bubbles are present in the paint flow. If air is detected, it is necessary to continue priming until the air is completely removed.
Checking for Air in the System
When it comes to airless paint sprayers, it’s crucial to have a system that is free from air bubbles.
In this discussion, we will explore the troubleshooting methods for identifying and resolving air bubble issues.
Additionally, we will delve into the importance of purging the system to eliminate any trapped air and ensuring proper priming to achieve optimal performance.
Air Bubble Troubleshooting
You can troubleshoot air bubbles in your airless paint sprayer by following these steps.
-
Check the paint consistency: Ensure that the paint you’re using is properly mixed and strained to remove any debris that could cause air bubbles.
-
Inspect the spray gun filter: The spray gun filter can become clogged with paint particles or debris, leading to air bubbles. Clean or replace the filter as necessary to ensure proper paint flow.
-
Check for leaks or loose connections: Air can enter the system through leaks or loose connections. Inspect all connections, hoses, and fittings for any signs of leaks or looseness, and tighten or repair as needed.
By addressing these potential causes of air bubbles, you can ensure a smooth and uninterrupted paint spraying process.
Once you have resolved any issues with air bubbles, it’s important to move on to the next step of purging the system to ensure proper priming and paint flow.
Purging the System
Once air bubbles have been addressed, it’s important to purge the system to ensure proper paint flow. Purging the system is a crucial step in airless sprayer maintenance and can help troubleshoot common priming issues.
To begin, I recommend turning off the sprayer and relieving pressure from the system by triggering the gun. Next, detach the spray tip and filter, and ensure that the prime valve is closed.
With a clean bucket nearby, turn on the sprayer and allow the pump to run until a steady stream of paint flows from the gun. This process flushes out any remaining air or debris in the system, ensuring proper priming for the next paint job.
Ensuring Proper Priming
To ensure proper priming, it’s important to detach the spray tip and filter before purging the system. This will prevent any clogs or blockages that could occur during the priming process.
Troubleshooting common issues during priming can be a frustrating task, but with the right techniques, it can be overcome. Here are three troubleshooting techniques to help you prime your airless paint sprayer effectively:
- Check for any air leaks in the system that may be causing a loss of pressure.
- Ensure that the suction tube is properly immersed in the paint to avoid any issues with paint flow.
- Inspect the intake valve to make sure it is not obstructed or damaged, as this can affect the priming process.
By following these troubleshooting techniques, you can overcome common issues and ensure a successful priming process.
Now, let’s move on to preparing the sprayer for priming without any paint in the hose.
Preparing the Sprayer for Priming
Before we can begin priming the airless paint sprayer with an empty hose, it is important to properly prepare the sprayer.
First, ensure that all necessary safety precautions are in place, such as wearing protective goggles and gloves.
Next, clean the sprayer thoroughly, removing any debris or residue that may interfere with the priming process.
Empty Hose Priming
If there’s no paint in the hose, you can still prime the airless paint sprayer. Empty hose priming is a method to troubleshoot common priming issues with airless sprayers. Here are three important steps to follow:
-
Check the intake tube: Ensure that the intake tube is securely connected to the sprayer. If it is loose or damaged, it may be preventing proper paint flow.
-
Purge the system: Start by turning off the sprayer and releasing the pressure. Then, remove the spray tip and trigger the gun to release any trapped air or debris. This will help clear any blockages in the system.
-
Flush the hose: Disconnect the hose from the sprayer and run water through it to flush out any remaining paint or clogs. This will ensure that the hose is clean and ready for use.
By following these steps, you can effectively troubleshoot and resolve priming issues even when there is no paint in the hose.
Now, let’s move on to the next section about airless sprayer preparation.
Airless Sprayer Preparation
When preparing the airless sprayer, it’s important to ensure that all components are clean and free of debris. Proper airless sprayer maintenance is crucial to avoid any issues during operation.
Before using the sprayer, I always inspect the gun, hose, and nozzle for any clogs or blockages. I make sure to clean them thoroughly and remove any paint residue or dirt. Additionally, I check the pump for any signs of wear and tear, and I lubricate the moving parts as needed.
Troubleshooting airless sprayer issues can be easier if the equipment is well-maintained. By taking these steps, I can ensure that my airless sprayer is in optimal condition and ready for use.
Now, let’s move on to connecting the sprayer to a water source to continue the setup process.
Connecting the Sprayer to a Water Source
To connect the sprayer to a water source, simply attach the hose to the designated inlet valve. This step is crucial in ensuring that the sprayer is properly connected and ready for use.
Once the hose is securely attached, you can proceed with adjusting the water pressure to your desired level. Here are a few important points to consider during this process:
- Ensure that the hose is tightly secured to prevent any leakage or loss of water pressure.
- Use a water pressure gauge to accurately measure and adjust the water pressure.
- Start with a lower pressure setting and gradually increase it until you achieve the desired spray pattern and coverage.
By following these guidelines, you can effectively connect your sprayer to a water source and adjust the water pressure for optimal performance.
Now, let’s move on to the next step of flushing out the hose to ensure clean and efficient operation.
Flushing Out the Hose
Once the hose is securely attached, you can proceed with running water through it to flush out any debris or contaminants. Flushing out the hose is an essential step in preparing the airless paint sprayer for use.
There are several flushing techniques and cleaning methods that can be employed to ensure that the hose is clean and free from any obstructions. One common method is to connect the sprayer to a water source and turn it on, allowing the water to flow through the hose and out of the sprayer nozzle. This helps to remove any residual paint or debris that may be present. It is important to flush the hose thoroughly to prevent clogs and ensure optimal performance.
Once the hose is clean, you can move on to setting the pressure and triggering the sprayer, which we will discuss in the next section.
Setting the Pressure and Triggering the Sprayer
Before you begin using the airless paint sprayer, it’s important to set the pressure and familiarize yourself with how to trigger the sprayer. To ensure a successful paint job, here are a few things to keep in mind:
-
Pressure Setting: Adjust the pressure according to the viscosity of the paint. Start with a low pressure and gradually increase until the desired spray pattern is achieved.
-
Triggering the Sprayer: Hold the sprayer nozzle about 12 inches away from the surface and press the trigger to start spraying. Move the sprayer in a steady, back-and-forth motion to ensure even coverage.
-
Troubleshooting: If the sprayer does not spray or the spray pattern is uneven, check for clogs in the nozzle or hose. Clean any obstructions and ensure the paint is properly mixed.
Now that you have set the pressure and learned how to trigger the sprayer, let’s move on to priming the sprayer with water.
Priming the Sprayer With Water
Now that you’ve set the pressure and learned how to trigger it, it’s time to prepare the sprayer by filling it with water.
Priming the sprayer with water is an essential step to ensure proper function and optimal paint application. To start, locate the prime/spray switch and set it to the prime position. This will allow water to flow through the system.
Next, connect the sprayer to a water source using a garden hose. Turn on the water and wait for it to flow through the sprayer until it is free of air bubbles. If you encounter any issues, such as a clogged nozzle or inconsistent water flow, refer to the troubleshooting guide provided by the manufacturer.
Once the sprayer is primed with water, you can smoothly transition into switching to paint and completing the priming process.
Switching to Paint and Completing the Priming Process
To complete the priming process, you’ll need to switch the sprayer from the prime position to the spray position. This is a crucial step in ensuring that the paint is properly distributed through the sprayer and onto the desired surface. Here are some switching techniques and troubleshooting tips to help you navigate this process smoothly:
-
Double-check the position: Before you start switching, make sure that the sprayer is turned off and the pressure is released. This will prevent any accidental paint spray during the switching process.
-
Follow the manufacturer’s instructions: Different airless paint sprayers may have slightly different switching techniques, so it’s important to consult the user manual for specific instructions. This will ensure that you switch the sprayer correctly and avoid any potential issues.
-
Test the spray pattern: After switching to the spray position, it’s a good idea to test the spray pattern on a scrap piece of material or cardboard. This will help you confirm that the paint is flowing smoothly and the sprayer is ready for use.
Frequently Asked Questions
Can I Use Any Type of Paint With an Airless Paint Sprayer?
Yes, you can use various types of paint with an airless paint sprayer. However, it is important to consider the compatibility of the paint with the sprayer, as different paints may have pros and cons when used with an airless paint sprayer.
How Long Should I Let the Water Run Through the Sprayer Before Switching to Paint?
First, make sure to clean the airless paint sprayer thoroughly. Troubleshooting airless paint sprayer issues can be frustrating, but with proper maintenance, it will work efficiently. Let the water run through the sprayer until it’s clear before switching to paint.
What Is the Purpose of Priming the Sprayer With Water Before Using Paint?
Priming an airless paint sprayer with water before using paint has several benefits. It helps to clean out any debris or residue from previous use, ensures smooth paint flow, and prevents clogging in the nozzle or hose. After use, properly cleaning the sprayer is essential for its longevity and optimal performance.
Can I Skip the Step of Flushing Out the Hose if There Is No Paint in It?
Can I skip cleaning the hose if there’s no paint? No, it’s crucial to flush out any residue or debris before priming. This ensures proper functioning and prevents clogs, leading to a smoother painting process.
How Often Should I Clean and Maintain My Airless Paint Sprayer to Ensure Optimal Performance?
I replace the filters in my airless paint sprayer every 3 months to ensure optimal performance. Common maintenance issues include clogged nozzles and worn seals, which should be addressed promptly to avoid downtime.
Conclusion
In conclusion, priming an airless paint sprayer without any paint in the hose may seem like a daunting task, but with the right steps, it can be easily accomplished.
By understanding the priming process and checking for any air in the system, you can ensure a smooth operation. Preparing the sprayer, connecting it to a water source, and flushing out the hose are crucial steps to achieve optimal results.
Lastly, priming the sprayer with water before switching to paint will guarantee a successful and efficient painting process. With these techniques, you can confidently tackle any painting project with your airless paint sprayer.
Franz came aboard the Paint Sprayer Zone team with a background in both journalism and home renovation. His articulate writing style, combined with a passion for DIY projects, makes him an invaluable asset. Franz has a knack for breaking down technical jargon into easy-to-understand content, ensuring that even the most novice of readers can grasp the complexities of paint sprayers.
