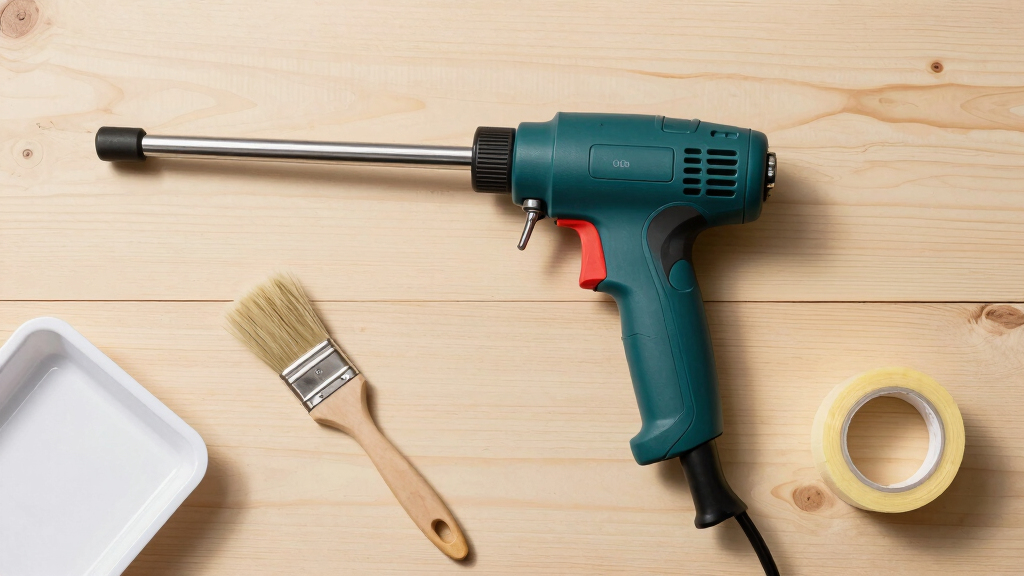

This guide demonstrates how to operate an electric paint sprayer for various DIY projects. It covers setup, application, and cleanup to ensure smooth operation and professional-looking results. Suitable for beginners with basic painting knowledge, this process takes about 1 to 2 hours depending on project size.

Get business pricing on tools and workshop supplies
- Business-only prices and quantity discounts
- Tax-exempt purchasing
- Multiple users, one account, clear invoices
Difficulty: Beginner | Time: 1-2 hours
What You’ll Need
Tools & Materials:
- Electric paint sprayer
- Protective gear (mask, goggles, gloves)
- Drop cloths or painter’s tarp
- Ladder or step stool (if needed)
- Stir stick or paint mixer
Knowledge:
- Basic painting skills
- Understanding of paint types and safety precautions
Read the manufacturer’s manual for your specific sprayer model before beginning. Prepare your work area in a well-ventilated space, and cover surfaces not to be painted.
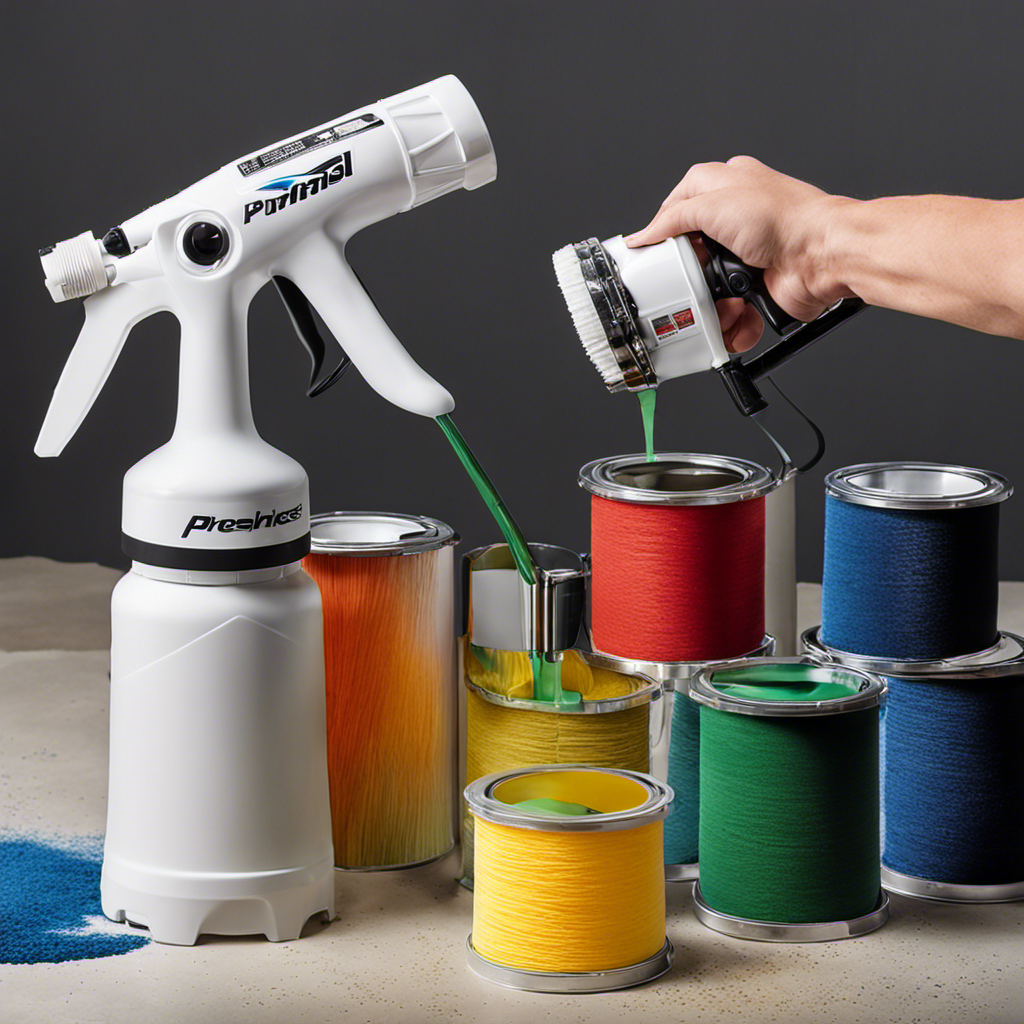
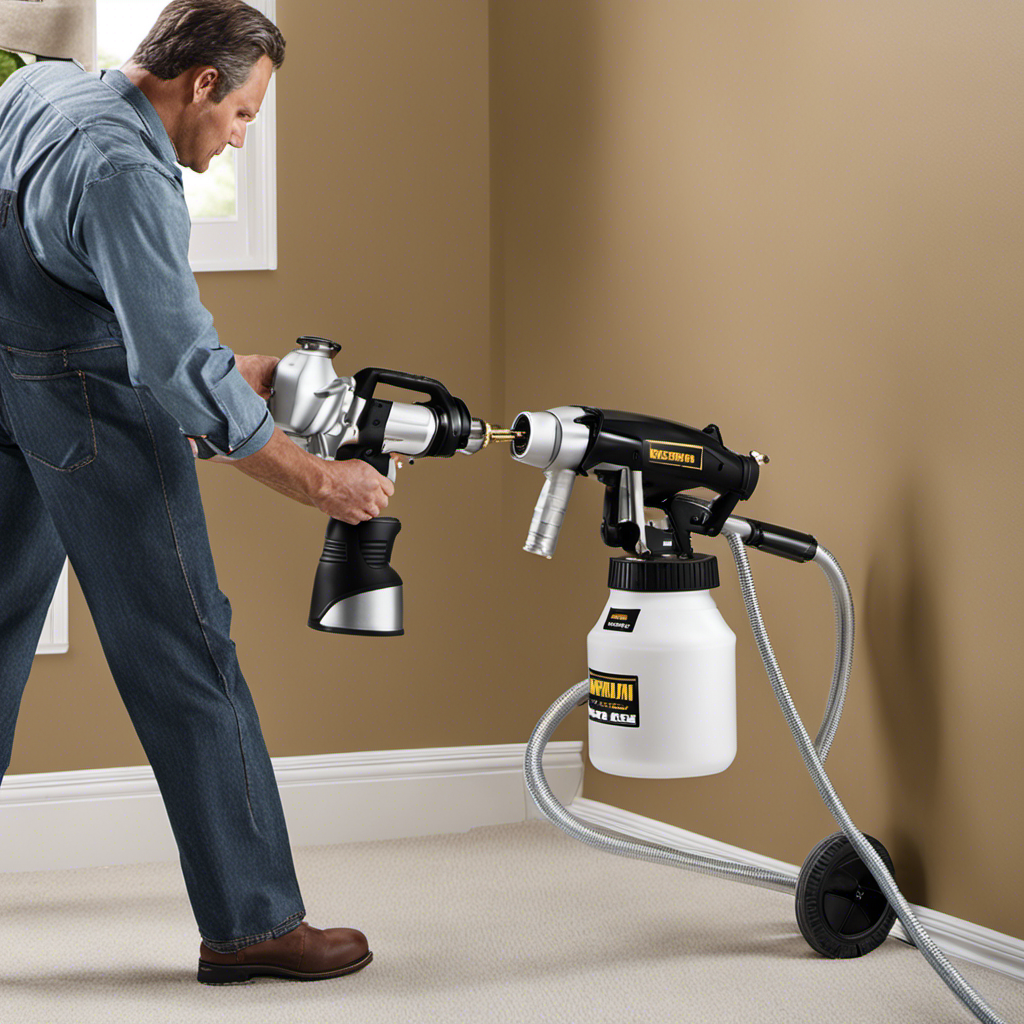
electric paint sprayer for DIY projects
As an affiliate, we earn on qualifying purchases.
As an affiliate, we earn on qualifying purchases.
Before You Start
Ensure the work area is clear and protected from overspray. Wear protective gear. Check that the sprayer is compatible with the type of paint you plan to use. Have all tools and materials ready before starting.
Step-by-Step Instructions
Step 1: Prepare the paint
Mix the paint thoroughly using a stir stick or paint mixer. Strain the paint through a fine mesh filter to remove debris or clumps that could clog the sprayer.
Tip: Use paint at the recommended thinning ratio specified by the sprayer manufacturer for best atomization and flow.
Check: Paint is smooth, free of lumps, and flows easily through a funnel or filter.
Step 2: Fill the sprayer’s paint container
Pour the prepared paint into the sprayer’s paint container, avoiding overfilling. Securely tighten the lid or cap on the container to prevent leaks.
Tip: Leave some space in the container for air circulation to maintain consistent spray flow.
Check: Container is filled without spills, and lid is securely in place.
Step 3: Adjust the spray settings
Turn on the sprayer and set the spray pattern (such as horizontal or vertical) and pressure according to your project needs, following the manufacturer’s instructions.
Tip: Start with a lower pressure setting and increase if needed for even coverage without overspray.
Check: Sprayer produces a consistent, even spray pattern with no sputtering or uneven flow.
Step 4: Test spray on a scrap surface
Hold the sprayer about 6-12 inches from a scrap piece of cardboard or similar surface and spray in a sweeping motion to test coverage and pattern.
Tip: Adjust pressure or spray width if the test pattern is uneven or too thin/overly thick.
Check: Test surface shows a uniform coat without drips, runs, or spattering.
Step 5: Spray your project surface
Hold the sprayer about 8-12 inches from the surface and move it in smooth, overlapping passes. Maintain a steady speed and perpendicular angle.
Tip: Keep the sprayer perpendicular to the surface and avoid stopping in the middle of a pass to prevent uneven coverage.
Check: Surface is evenly coated with no streaks, drips, or missed spots.
Step 6: Pause and reload as needed
Refill the paint container before it runs out, and continue spraying with consistent speed and pattern.
Tip: Avoid overfilling or running the sprayer dry, which can cause sputtering or inconsistent spray.
Check: Continued even coverage without interruptions or irregular spray patterns.
Step 7: Clean the sprayer after use
Disassemble the spray components as per the manual. Rinse the paint container and spray nozzle with water or appropriate solvent, then run clean water or solvent through the sprayer until clear.
Tip: Clean immediately after use to prevent paint from drying inside the system, making future cleaning easier.
Check: Sprayer operates smoothly without clogs or residual paint inside.
Common Mistakes to Avoid
- Applying paint too thick or not thinning properly — Follow the manufacturer’s thinning recommendations and strain the paint before filling the sprayer.
- Holding the sprayer too close or too far from the surface — Maintain a consistent distance of about 8-12 inches for even coverage, adjusting as needed during testing.
- Spraying in inconsistent overlapping motions — Use overlapping passes at the same angle and speed to avoid streaks and uneven coats.
- Neglecting cleaning after use — Clean the sprayer thoroughly immediately after each use to prevent clogs and prolong the tool’s lifespan.
Troubleshooting
Problem: Sprayer sputters or stops spraying
Solution: Check for clogs in the nozzle or filters. Clean the nozzle and filters thoroughly, then test spray again.
Problem: Uneven spray pattern or drips
Solution: Adjust the pressure setting and ensure the distance from the surface remains consistent. Clean the nozzle if blocked.
Problem: Paint leaks or is difficult to pump
Solution: Ensure all connectors are tight. Do not overfill the container. Check for cracks or damage in the container or hoses.
What Success Looks Like
The project surface is evenly coated with a smooth, consistent layer of paint, with no drips, runs, or missed spots. The sprayer operates smoothly without sputtering or clogging. The finish resembles a professional spray job.
Next Steps
Test the sprayer on scrap material first for practice. Start with small projects to build confidence. Continue to refine your technique with different surfaces and paint types. Refer to the sprayer manual for advanced tips and maintenance routines.
Frequently Asked Questions
Can I use latex paint in an electric spray gun?
Yes, but make sure to thin the latex paint according to the manufacturer’s recommendations to prevent clogging and ensure smooth spraying.
How do I prevent overspray?
Use proper distance, adjust pressure settings, and spray in controlled, overlapping strokes. Cover nearby surfaces to protect from overspray.
How often should I clean the sprayer?
Clean the sprayer immediately after each use to prevent paint from drying inside. For regular use, clean after every project or every few hours of operation.
What safety precautions should I take?
Wear protective gear such as masks, goggles, and gloves. Work in well-ventilated areas, and avoid inhaling fumes or paint mist.
Fall yard work Picks
leaf blowers
As an affiliate, we earn on qualifying purchases.