To quickly flush your paint sprayer between colors, first turn off and unplug it, then remove the spray tip and nozzle. Rinse all parts with water or solvent to clear residual paint. Fill the reservoir with clean water or a manufacturer’s recommended cleaner, and activate the sprayer to circulate the fluid through the system, spraying onto scrap material. Repeat with clean water until the runoff is clear, ensuring you’re ready for your next color. For detailed steps, keep exploring the process.
Key Takeaways
- Turn off, unplug, remove the spray tip, and clear residual paint from all components before cleaning.
- Fill the reservoir with water or cleaner and circulate through the system to flush out remaining paint.
- Spray onto scrap material to check for clogs or uneven spray, ensuring cleaning fluid reaches all parts.
- Switch to clean water and repeat circulation until the water runs clear, removing residual paint and color traces.
- Reassemble the spray tip and nozzle, then test spray on scrap to confirm a consistent, even pattern before next use.

Flushing your paint sprayer is an essential step to guarantee it functions properly and lasts longer. When you switch between colors, leftover paint can clog the system, affect spray quality, and compromise your finish. Proper cleaning ensures the paint consistency remains smooth and prevents blockages that can hinder spray pattern adjustment. If you neglect this step, you might notice uneven coverage, drips, or sputtering, which can be frustrating and time-consuming to fix later.
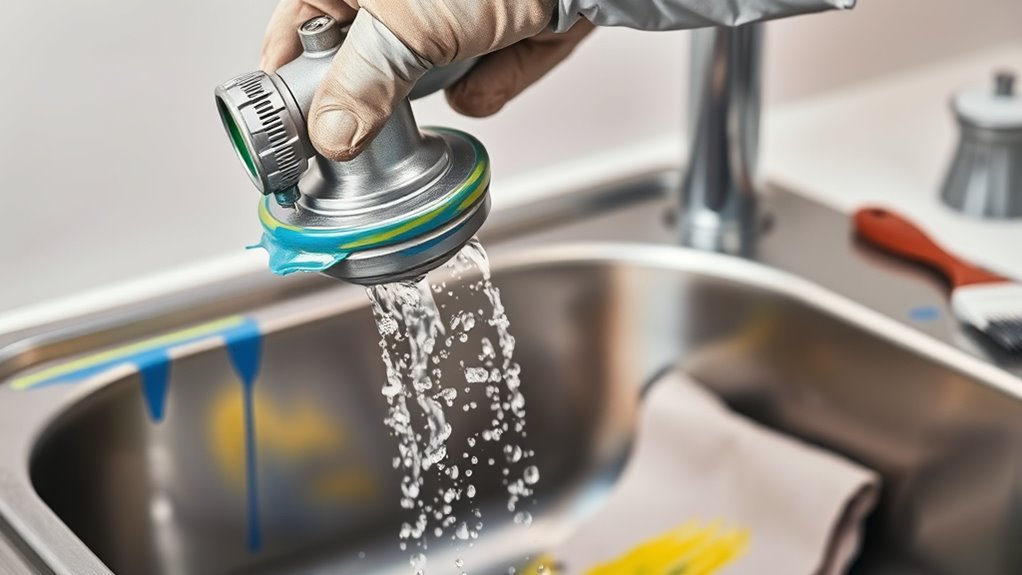
Start by turning off your sprayer and unplugging it from the power source. Remove the spray tip and nozzle, and carefully clear any remaining paint from these components. Rinse these parts with clean water or the appropriate solvent, depending on the type of paint you’re using. This step prevents hardened paint from drying inside the spray tip, which could distort the spray pattern and make adjustments difficult. Once the parts are clean, fill the paint reservoir with clean water or a cleaning solution recommended by the manufacturer.
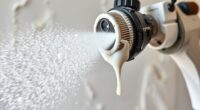
Activate your sprayer to circulate the cleaning fluid through the system. Keep moving the spray gun over a scrap piece of cardboard or drop cloth as you do this; it helps flush out residual paint and ensures the entire system is clear. This process also resets the paint consistency, making sure the next color you load flows smoothly without clogging or sputtering. During this cleaning, pay attention to any changes in spray pattern. If you notice uneven spray or irregular patterning, it may indicate residual paint or a clogged nozzle that needs further cleaning.
Running the cleaning solution through the system also helps maintain the color accuracy of your sprayer, ensuring that the next application matches the intended hue. After running the cleaning solution through the system for a few minutes, switch to clean water and repeat the process until the water runs clear. This step is vital to remove any traces of the previous color and paint residue, which could contaminate your new color or alter the spray pattern. Once the system is thoroughly rinsed, reassemble the spray tip and nozzle, and do a quick test spray on a piece of scrap material. Check the spray pattern adjustment—aim for a consistent, even distribution without splattering or streaks. If needed, fine-tune the spray pattern using the adjustment controls to achieve your desired coverage.
Frequently Asked Questions
How Often Should I Flush My Paint Sprayer During a Project?
You should flush your paint sprayer whenever you switch colors or if you notice paint residue affecting your next coat. Regular cleaning frequency depends on your project length and paint types, but it’s best to flush after each color change to prevent mixing issues. This helps maintain a smooth finish and prevents clogs. Staying consistent with cleaning guarantees your sprayer stays in good condition and produces quality results every time.
Can I Reuse Leftover Paint for Future Projects After Flushing?
You can reuse leftover paint for future projects, but consider storage considerations first. Make certain the paint is properly sealed in an airtight container to prevent drying out or skin formation. Stir the paint well before reuse to maintain consistency. Keep it in a cool, dry place away from sunlight. Be mindful of the paint’s age and condition; if it thickens or develops a bad smell, it’s best to dispose of it.
What Safety Precautions Are Necessary During the Cleaning Process?
Think of cleaning your paint sprayer as a battle against unseen enemies. You must wear protective gear like gloves, goggles, and a mask to shield yourself from harmful chemicals. Handle all cleaning agents carefully, following manufacturer instructions, and work in a well-ventilated area. This guarantees safety, prevents accidents, and keeps you protected from chemical exposure during the cleaning process. Always prioritize safety first.
Is It Necessary to Disassemble the Sprayer for Flushing?
You might wonder if disassembly is necessary during the cleaning process. Generally, for a quick flush between color changes, you don’t need to fully disassemble your sprayer. Just remove the nozzle and clean or rinse those parts thoroughly, then flush the system with water or solvent. Disassembly becomes essential only for deep cleaning or stubborn clogs. So, for routine flushing, minimal disassembly keeps your process quick and efficient.
How Do I Prevent Clogs During the Flushing Process?
Imagine your paint sprayer as a highway, and paint residue as traffic buildup. To prevent clogs during flushing, always dilute leftover paint with water or solvent, ensuring smooth flow. Clear out any blockages in the nozzle or filter beforehand. Regularly clean and inspect parts to avoid buildup. By maintaining a clean pathway, you’ll prevent clogs and keep your sprayer running efficiently, just like a well-maintained road keeps traffic flowing smoothly.
Conclusion
Now you know how to flush your paint sprayer between color changes quickly and effectively. Just follow these simple steps to keep your equipment in top shape and avoid muddy results. Regular cleaning saves you time and hassle down the line, so don’t let things get out of hand. Remember, a clean sprayer runs smoother and lasts longer—so stay on top of it, and you’ll be painting like a pro in no time.

Franz came aboard the Paint Sprayer Zone team with a background in both journalism and home renovation. His articulate writing style, combined with a passion for DIY projects, makes him an invaluable asset. Franz has a knack for breaking down technical jargon into easy-to-understand content, ensuring that even the most novice of readers can grasp the complexities of paint sprayers.