Painting your home has never been easier with the help of an airless paint sprayer, making flawless results achievable. Uncover the simple steps needed to achieve professional-looking outcomes effortlessly. Discover the secrets to achieving a perfect paint job without the stress. Benefit from expert tips and tricks to transform your home with ease and precision. Keep reading to learn how to elevate the look of your space with confidence and efficiency.
By properly preparing the surface, choosing the right primer, and utilizing the correct techniques, homeowners can achieve a flawless finish that will impress.
With the help of this guide, anyone can transform their house into a work of art with the convenience and efficiency of an airless paint sprayer.
Key Takeaways
- Proper surface preparation is essential for achieving a flawless finish.
- Use the airless paint sprayer with the correct technique for even coverage.
- Divide the walls into manageable sections for easier application.
- Clean and maintain the sprayer and other painting equipment for longevity.
Surface Preparation: Cleaning and Filling Imperfections
The homeowner should thoroughly clean the surfaces to remove dirt, grease, or loose paint before using an airless paint sprayer for a flawless finish. Cleaning techniques are essential to achieve optimal results.
By removing any debris or contaminants, the paint will adhere better and provide a smooth and even coat. Additionally, it is crucial to inspect the surfaces for cracks, holes, or imperfections and fill them in before painting. This ensures that the paint will not highlight any flaws and creates a seamless finish.
The homeowner can use various techniques to clean the surfaces, such as washing with soap and water, using a pressure washer, or sanding. By taking the time to properly prepare the surfaces, the homeowner can ensure a professional-looking result with their airless paint sprayer.
Choosing the Right Primer
To achieve a smooth and professional result, it is important to choose the right primer for the project when using an airless paint sprayer. The primer acts as a foundation for the paint, ensuring better adhesion and durability.
When selecting a primer, consider the type of surface you are painting. Different surfaces require different types of paint, such as oil-based or latex-based primers.
Additionally, safety precautions should be taken when using an airless paint sprayer. Wear protective goggles and a respirator to avoid inhaling paint particles. Make sure to work in a well-ventilated area and cover surrounding objects to prevent overspray.
Following these guidelines will help you achieve a flawless finish while keeping yourself safe.
Gathering the Necessary Equipment
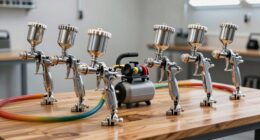
Gathering all the necessary equipment is crucial for a successful paint job. When it comes to airless paint sprayers, it’s important to compare different brands to find the one that suits your needs.
Some common issues that may arise during painting include clogs, uneven spray patterns, or difficulty in achieving proper coverage. Troubleshooting these issues can be easier with the right equipment. Look for sprayers with adjustable pressure settings and a wide spray pattern to ensure even application.
Additionally, consider the durability and reliability of the brand you choose. By comparing different brands and understanding their features, you can select an airless paint sprayer that will help you achieve a flawless finish.
Technique: Using the Airless Paint Sprayer
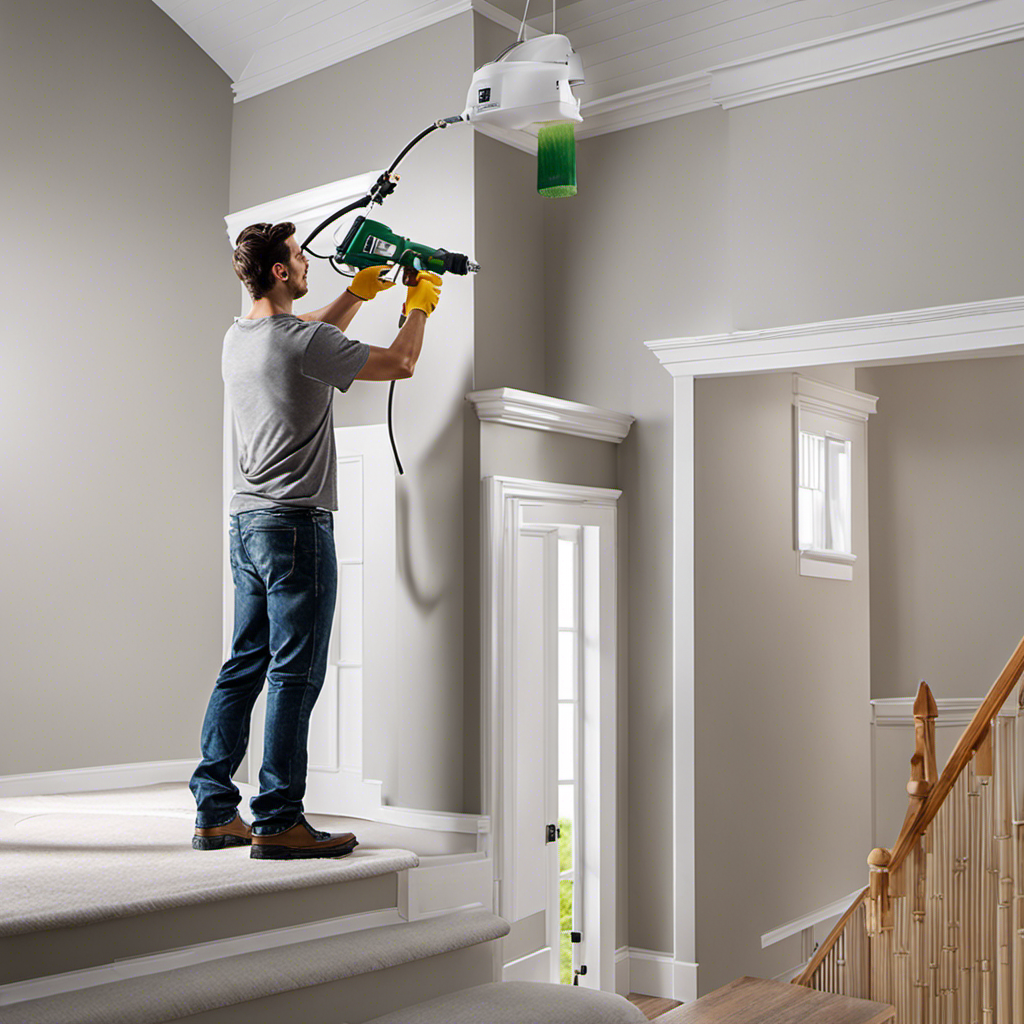
Utilizing proper technique, one can achieve an even and smooth application by maintaining a consistent distance from the surface and overlapping passes when using the airless paint sprayer.
- Maintain a steady pace and consistent speed throughout the application.
- Hold the sprayer at the correct distance and keep it parallel to the surface.
- Move the sprayer in a slow and steady motion, overlapping each pass by about 50%.
- Apply paint in even coats for a smooth and uniform result.
To achieve even coverage and maintain the sprayer’s performance, proper maintenance is crucial. Cleaning the sprayer thoroughly after each use prevents clogs or buildup. Flushing out the paint and storing the sprayer properly ensures longevity.
Additionally, rinsing brushes and rollers with warm water and mild soap removes excess paint, while storing brushes upside down or horizontally maintains their shape. By following these techniques and practicing regular sprayer maintenance, one can achieve professional-looking results and a flawless finish on any project.
Maintaining Consistent Distance and Parallel Motion
Maintaining a consistent distance from the surface and moving in a parallel motion are key techniques for achieving an even and smooth application using the airless paint sprayer.
By keeping the sprayer at a steady distance, typically around 12 to 18 inches, from the surface being painted, you can ensure consistent coverage and prevent paint from pooling or running.
Moving the sprayer in a parallel motion, overlapping each pass by approximately 50%, helps to distribute the paint evenly and eliminate streaks or lines.
Troubleshooting tips for maintaining a consistent distance and parallel motion include practicing on a test surface before starting the actual project, adjusting the sprayer’s pressure settings as needed, and using a slow and steady motion while painting.
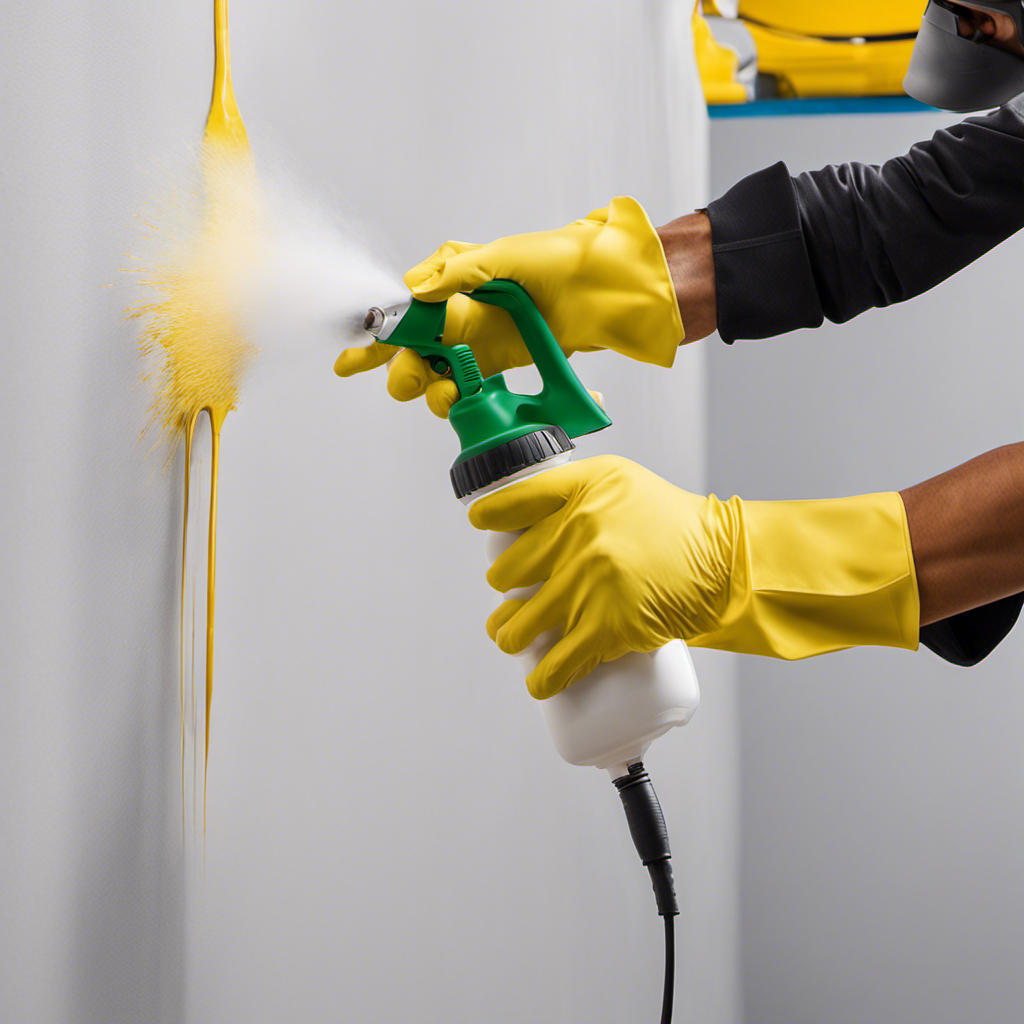
Common mistakes to avoid include holding the sprayer too close or too far from the surface, moving too quickly, and failing to overlap each pass properly.
Applying Paint: Trim and Edges
After mastering the techniques of maintaining consistent distance and parallel motion with an airless paint sprayer, it’s time to move on to the next step: applying paint to the trim and edges. This is a crucial part of achieving clean lines and a professional finish.
Here are some painting techniques to follow:
- Start by using a high-quality angled brush and masking tape to create crisp edges and define the trim.
- Apply the paint in even coats, using smooth and controlled strokes.
- Be mindful of not overloading the brush with paint, as this can lead to drips and uneven coverage.
- Remove the masking tape before the paint fully dries to prevent peeling.
Dividing Walls for Efficient Coating
To ensure efficient coating and optimal coverage, the walls should be divided into manageable sections using natural breaks or masking tape. This allows for better time management and ensures that each section receives the necessary attention and coats of paint. By dividing the walls, the painter can focus on one area at a time, applying the paint evenly and smoothly. To emphasize the importance of efficient division, consider the following table:
| Benefits of Efficient Division |
|---|
| 1. Allows for better time management |
| 2. Ensures even coverage and optimal results |
| 3. Reduces the risk of missing spots or overlapping strokes |
Applying Multiple Thin Coats
Applying multiple thin coats ensures that the paint is evenly distributed and allows for better coverage and a more professional-looking result. This technique is crucial in achieving optimal coverage and preventing overspray. By following this approach, painters can achieve a flawless finish on their walls.
To achieve this, painters should:
- Hold the sprayer at the correct distance and keep it parallel to the surface.
- Move the sprayer in a slow and steady motion, overlapping each pass by about 50%.
- Apply paint in even coats for a smooth and uniform result.
- Start with the trim and edges using a high-quality angled brush and masking tape for clean lines.
Cleaning and Maintenance of the Sprayer
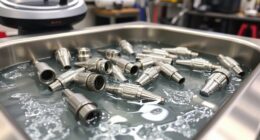
The painter should clean the sprayer thoroughly after each use to prevent clogs or buildup. Proper cleaning techniques are essential for maintaining the sprayer and ensuring its longevity.
Start by disconnecting the sprayer from the power source and removing the paint container. Use warm water and a mild detergent to clean the sprayer components, such as the nozzle, filter, and hose. Scrub away any paint residue or debris with a brush or cloth.
Rinse the components thoroughly and let them air dry before reassembling the sprayer. This will prevent any leftover paint or residue from clogging the sprayer and affecting its performance.
Regular cleaning and maintenance will help keep the sprayer in optimal condition and prevent any issues during future painting projects.
Celebrating the Professional-Looking Results
After completing the painting project, the homeowner admired the smooth and even results achieved with the airless paint sprayer. Excited about the professional-looking finish, they couldn’t wait to share their accomplishment with others.
They gathered their friends, family, and neighbors and provided them with tips and techniques on using an airless paint sprayer. They addressed frequently asked questions about using the sprayer on different surfaces, safety precautions, drying time, maintenance, and using different types of paint.
By sharing their knowledge and experience, they empowered others to achieve flawless results as well. The homeowner felt proud of their achievement and enjoyed celebrating the beautiful transformation of their home.
The airless paint sprayer had truly made the painting process efficient, easy, and rewarding.
Frequently Asked Questions
Can an Airless Paint Sprayer Be Used on Textured Surfaces?
An airless paint sprayer can be used on textured surfaces, but there are some pros and cons to consider.
The main advantage is that it can cover large areas quickly and provide an even coat. However, it may not be able to reach all the crevices and uneven areas of the texture, resulting in a less smooth finish.
It’s important to properly prepare the surface and choose the right nozzle size for the texture.
How Long Does It Take for the Paint to Dry After Using an Airless Paint Sprayer?
The drying time after using an airless paint sprayer can vary depending on several factors. These factors include the type of paint used, temperature, humidity, and thickness of the paint application. However, as a general guideline, most paints will dry to the touch within a few hours.
It is best to wait at least 24 hours before applying a second coat or allowing any contact with the painted surface. Following these best practices will ensure a durable and long-lasting finish.
Can I Use Water-Based Paint With an Airless Paint Sprayer?
Yes, you can use water-based paint with an airless paint sprayer. The advantages of using an airless paint sprayer for water-based paint include faster application, smoother finish, and more even coverage.
It is important to properly thin the paint according to the manufacturer’s instructions and adjust the pressure settings on the sprayer to achieve the desired results.
Always clean the sprayer thoroughly after each use to prevent clogs or buildup.
How Often Should I Clean the Sprayer to Prevent Clogs or Buildup?
To prevent clogs or buildup, it is important to clean the sprayer regularly. Like unclogging a drain, regular maintenance is key. Cleaning the sprayer after each use is recommended to keep it in optimal condition.
This preventive maintenance ensures that the sprayer continues to function efficiently and avoids any potential issues. The best cleaning methods involve thoroughly flushing out the paint and storing the sprayer properly. By following these steps, you can maintain the sprayer’s performance and extend its lifespan.
What Safety Precautions Should I Take When Using an Airless Paint Sprayer?
When using an airless paint sprayer, it’s important to take certain safety precautions.
First, wear appropriate protective gear such as goggles, gloves, and a respirator.
Ensure proper ventilation in the workspace to avoid inhaling fumes.
Before starting, inspect the sprayer for any damage or leaks.
Follow the manufacturer’s instructions for setup and operation.
During use, be mindful of the high-pressure spray and keep a safe distance from others.
Afterward, clean the sprayer thoroughly to prevent clogs and buildup, which are common issues with airless paint sprayers.
Conclusion
In conclusion, achieving a flawless finish when painting your house with an airless paint sprayer requires proper surface preparation, the right primer, and the necessary equipment.
By using the sprayer correctly, maintaining a consistent distance and speed, and applying multiple thin coats, you can ensure a professional-looking result.
Remember to clean and maintain the sprayer, and store brushes and rollers properly for future use.
So go ahead, grab that sprayer, and paint your way to a stunning transformation! You’ll be the talk of the town, turning heads with your anachronistic flair!
Happy painting!
Drenched in creativity and armed with a fountain pen, Isolde weaves words as gracefully as a painter strokes their canvas. A writer for Paint Sprayer Zone, her passion for colors, textures, and spaces finds a harmonious blend with her profound knowledge of painting tools and techniques.
Having grown up in a family of artists, Isolde’s tryst with paints began early. While her relatives expressed themselves on canvas, Isolde found her medium in words. She dedicated herself to chronicling the world of painting, understanding the nuances of each tool, and the artistry behind every spritz of a paint sprayer.
