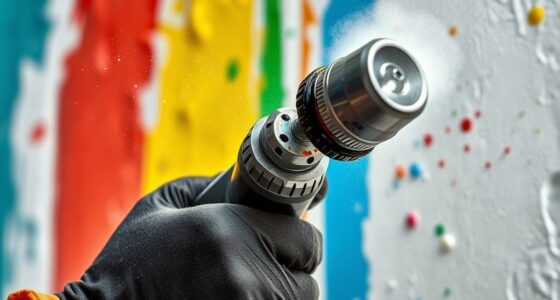

Using an airless paint sprayer can sometimes lead to errors like uneven application, dripping, streaking, and other imperfections. However, there’s no need to worry because this article provides you with the necessary solutions to correct these common issues.
By identifying the cause of the mistake and seeking guidance from professionals, you’ll be on your way to a flawless finish. From removing excess paint to proper surface preparation and applying a primer, this article will walk you through the steps to rectify your airless sprayer paint mistakes.
Key Takeaways
- Common airless sprayer paint mistakes include uneven paint application, drips, streaks, and poor surface prep.
- Identify the cause of the paint mistake, whether it’s a problem with the sprayer or improper technique.
- Seek advice from professional painters or the manufacturer of the airless sprayer for guidance on rectifying the mistake.
- Removing excess paint can be done by gently scraping off the excess, blotting with a damp cloth, and using a mild detergent or paint remover.
Uneven Paint Application
The homeowner noticed uneven paint application on the wall, causing them to seek advice on how to rectify the issue. Uneven paint application can be caused by various factors, such as improper technique, incorrect paint viscosity, or a malfunctioning sprayer.
To prevent uneven paint application, it is essential to practice proper spraying techniques, maintain the correct paint viscosity, and ensure the sprayer is functioning correctly. Achieving a smooth and even paint finish with an airless sprayer requires using overlapping strokes, maintaining a consistent distance from the surface, and adjusting the pressure settings accordingly.
It is also helpful to test the sprayer on a small area before starting the actual project to ensure the settings are correct. By following these techniques and taking preventive measures, it is possible to achieve a flawless and professional-looking paint finish.
Drips and Streaks
To address drips and streaks, the painter should assess the cause of the issue and seek guidance from professionals or the manufacturer.
Preventing drips and streaks begins with proper surface preparation. Ensure the surface is clean and free of dust or debris before painting. Use a high-quality paint that is suitable for the specific surface being painted.
When applying the paint, use smooth and even strokes, maintaining a consistent distance from the surface. Avoid overloading the brush or roller with paint, as this can lead to drips.
If drips or streaks occur, it is important to address them promptly. Wait for the paint to dry, then gently sand the affected area. Once smooth, apply a thin coat of paint to blend it with the surrounding area.
Poor Surface Prep
When addressing poor surface prep, it is important to thoroughly clean and remove any dust or debris before applying the paint. To ensure a successful paint job, follow these surface preparation techniques and understand the importance of surface cleanliness:
-
Clean the surface: Start by removing any loose paint or debris using a putty knife or scraper. Then, use a damp cloth or sponge to wipe down the surface, removing any dust or dirt. This will help the paint adhere properly and prevent any imperfections.
-
Repair any damage: If there are any cracks or holes, fill them with an appropriate filler and sand them smooth. This will ensure a seamless finish and prevent any future issues.
-
Prime the surface: Applying a primer is essential in creating a smooth and uniform base for the paint. It helps to seal the surface and provides better adhesion, resulting in a more durable and professional-looking paint job.
Identifying the Cause of Mistakes
Identifying the cause of mistakes involves analyzing whether the issue stems from faulty technique or a malfunctioning sprayer. When troubleshooting paint errors, it is essential to consider the possible causes of paint mistakes.
Some common causes include improper spraying technique, such as holding the sprayer too close or too far from the surface, using the wrong spraying pattern, or applying too much pressure. Additionally, a malfunctioning sprayer can lead to uneven paint application, clogs, or drips.
To determine the cause of the mistake, it is recommended to seek advice from professional painters or the manufacturer of the airless sprayer. They can provide guidance on rectifying the mistake and offer solutions to prevent future errors.
Seeking Guidance From Professionals
Seeking advice from professional painters or the manufacturer can provide valuable guidance on rectifying the mistake and preventing future errors. These experts have the knowledge and experience to assess the situation and offer effective solutions.
The benefits of professional advice include gaining insight into the cause of the mistake, learning proper techniques for paint application, and receiving recommendations for high-quality products.
When seeking guidance, it is important to consider a few tips for finding reliable professionals. First, ask for recommendations from friends, family, or neighbors who have had successful experiences with painters. Second, do research online and read reviews from previous clients. Finally, request references from the painter and follow up with those references to ensure their satisfaction with the work.
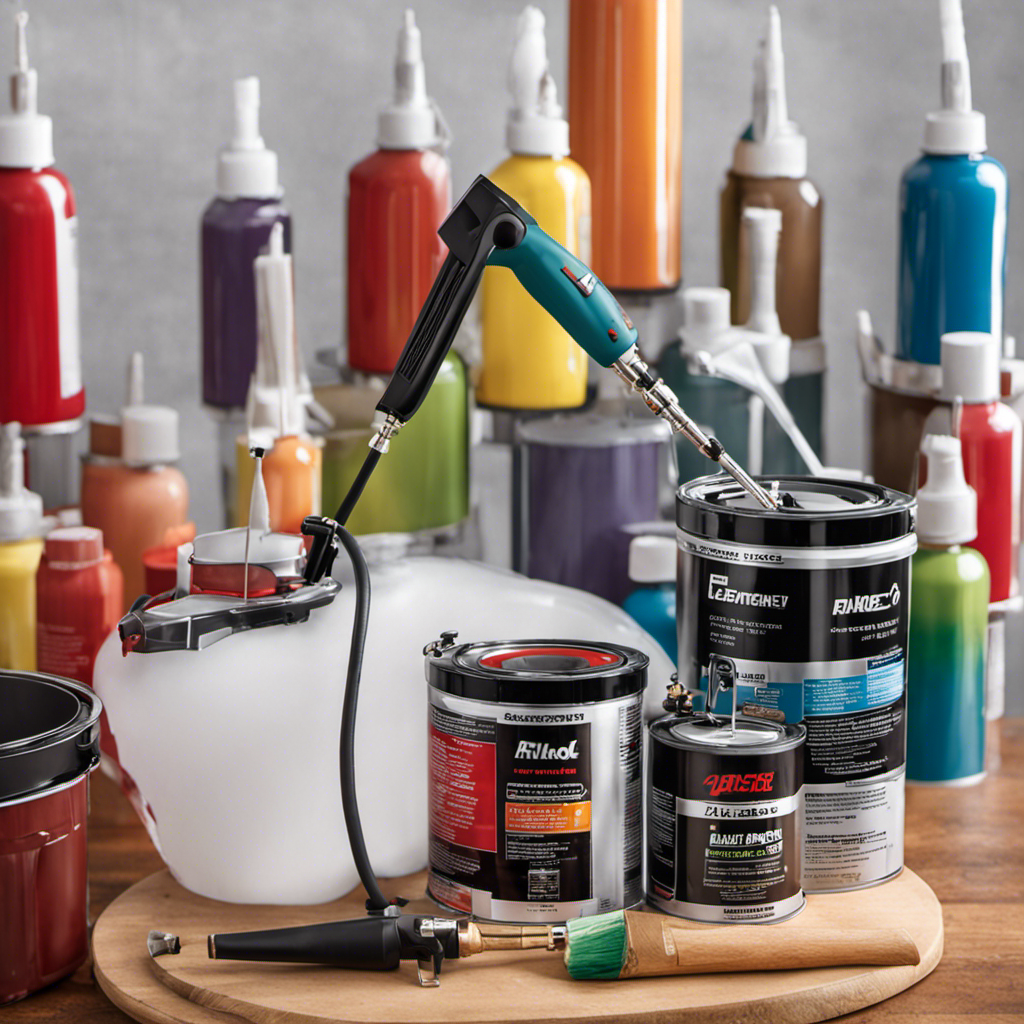
Removing Excess Paint
After seeking guidance from professionals, the next step in fixing airless sprayer paint mistakes is removing excess paint. This process involves gently scraping off any visible paint using a putty knife or plastic scraper. If the paint has dried, a commercial paint remover or mineral spirits can be used following the manufacturer’s instructions.
For wet paint spills, blotting with a damp cloth or sponge is recommended. Once as much paint as possible has been removed, the surface should be sanded using a fine-grit sandpaper or sanding block to smooth out any raised edges or uneven textures.
After sanding, it is crucial to choose the right primer for the surface and the desired paint color. Cleaning the surface thoroughly and applying the primer evenly using a paintbrush or roller will create a smooth and uniform base for the paint to adhere to, ensuring a flawless finish.
Proper Techniques for Removing Paint
To effectively remove excess paint, one should gently scrape off any visible paint using a putty knife or plastic scraper. This method ensures that the paint is removed without damaging the surface underneath.
However, when removing paint, it is important to use eco-friendly paint removal methods to minimize harm to the environment.
Here are three techniques for removing paint without damaging the surface:
-
Heat gun: Applying heat to the paint softens it, making it easier to scrape off. This method is effective for removing multiple layers of paint without causing damage.
-
Soy-based paint removers: These environmentally friendly products are non-toxic and biodegradable. They work by breaking down the paint, allowing it to be easily removed.
-
Citrus-based solvents: Made from natural citrus extracts, these solvents are effective at removing paint without causing surface damage. They are also non-toxic and have a pleasant scent.
Sanding the Surface
The painter gently sands the surface to smooth out any imperfections caused by the airless sprayer. Surface imperfections, such as drips, runs, or rough patches, can occur due to improper technique or equipment malfunction.
By carefully inspecting the painted surface, the painter identifies these imperfections and uses sanding techniques to rectify them. Using a fine-grit sandpaper or sanding block, the painter applies gentle pressure to smooth out raised edges or uneven textures.
This process ensures that the surface is even and ready for the next step of applying a primer. Surface preparation is crucial in correcting uneven application and achieving professional-looking results. By employing precise sanding techniques, the painter restores the surface to its desired smoothness, eliminating any visible imperfections.
Applying a Primer
After sanding the surface to correct any imperfections caused by airless sprayer paint mistakes, the next step is applying a primer. This crucial step ensures a smooth and uniform base for the paint to adhere to, resulting in a flawless finish.
To achieve the best results, follow these guidelines:
-
Choosing the right primer: Select a primer that is suitable for the type of surface and paint color you plan to use. Different primers are designed for specific surfaces, such as wood, metal, or drywall. Additionally, consider the compatibility of the primer with the paint you will be applying.
-
Proper application of primer: Before applying the primer, clean the surface thoroughly and remove any loose paint or debris. Follow the manufacturer’s instructions on the primer container for the recommended application method, whether it be using a paintbrush or roller. Apply the primer evenly and allow it to dry completely before proceeding with the painting process.
Preventing Future Mistakes and Seeking Professional Help
Maintaining the sprayer properly and seeking professional assistance are effective ways to prevent future mistakes and ensure a high-quality paint job.
To prevent paint spills, it is important to properly clean and maintain the sprayer after each use. This includes clearing any clogs and ensuring the paint viscosity and pressure settings are appropriate for the specific project.
Additionally, practicing proper spraying techniques, such as maintaining a consistent distance from the surface and using overlapping strokes, can help prevent accidental spills and ensure even coverage.
In some cases, it may be beneficial to hire professional painters for complex paint jobs or to fix any mistakes that may arise. Professional painters have the expertise to guide you in choosing the right paint, tools, and techniques for a flawless finish.
They can also provide valuable advice on surface preparation and help you avoid common pitfalls. By seeking professional help, you can learn from their experience and improve your painting skills for future projects.
Frequently Asked Questions
How Can I Prevent Uneven Paint Application When Using an Airless Sprayer?
To prevent uneven paint application when using an airless sprayer, there are a few steps you can take.
First, make sure to properly clean and maintain the sprayer to prevent clogs and malfunctions.
Additionally, use the right paint viscosity and pressure settings for the specific project to ensure even coverage.
Practice proper spraying techniques, such as maintaining a consistent distance from the surface and using overlapping strokes.
What Are Some Common Causes of Drips and Streaks When Using an Airless Sprayer?
When using an airless sprayer, common causes of drips and streaks can include improper technique, incorrect paint viscosity, and inadequate surface preparation.
It’s important to maintain a consistent distance from the surface, use overlapping strokes, and ensure the paint viscosity and pressure settings are appropriate for the project.
Properly cleaning and maintaining the sprayer, testing it on a small area, and seeking professional help can also help prevent drips and streaks.
What Are the Key Steps in Properly Preparing the Surface Before Using an Airless Sprayer?
Surface preparation is essential before using an airless sprayer. Best practices include thoroughly cleaning the surface and removing any loose paint or debris.
It is important to choose the right primer for the specific surface and paint color. The primer should be applied evenly using a paintbrush or roller, following the manufacturer’s instructions.
This creates a smooth and uniform base for the paint to adhere to, ensuring a flawless finish.
How Can I Identify Whether a Paint Mistake Is Due to a Problem With the Sprayer or Improper Technique?
To identify whether a paint mistake is due to a problem with the sprayer or improper technique, one should carefully assess the situation.
Observe the consistency of the paint application and look for any irregularities in the spray pattern. If the paint is being applied unevenly or there are consistent drips and streaks, it could indicate an issue with the sprayer.
On the other hand, if the mistake seems to be related to improper technique, such as incorrect distance or spraying speed, it suggests that the problem lies in the way the sprayer is being used.
What Are Some Signs That Indicate I Should Seek Guidance From Professional Painters or the Manufacturer of the Airless Sprayer?
When should one seek guidance from professional painters or the manufacturer of the airless sprayer?
Signs to look out for include persistent paint application issues, such as uneven paint coverage, excessive drips, streaks, or poor surface preparation.
Seeking professional help is recommended when troubleshooting tips and common mistakes have failed to resolve the problem.
Conclusion
In conclusion, fixing airless sprayer paint mistakes requires careful attention to detail and a knowledgeable approach. By identifying the cause of the mistake and seeking guidance from professionals or the manufacturer, one can effectively address common errors such as uneven paint application, drips, streaks, and poor surface preparation.
Removing excess paint, sanding the surface, and applying a primer are essential steps in rectifying the mistakes. Additionally, preventing future mistakes through proper cleaning and maintenance of the sprayer, using the right paint viscosity and pressure settings, and practicing proper spraying techniques is crucial.
Remember, mastering the art of painting is a journey of learning from mistakes and continuously improving skills. So, don’t be afraid to experiment and push the boundaries of your creativity!

Drenched in creativity and armed with a fountain pen, Isolde weaves words as gracefully as a painter strokes their canvas. A writer for Paint Sprayer Zone, her passion for colors, textures, and spaces finds a harmonious blend with her profound knowledge of painting tools and techniques.
Having grown up in a family of artists, Isolde’s tryst with paints began early. While her relatives expressed themselves on canvas, Isolde found her medium in words. She dedicated herself to chronicling the world of painting, understanding the nuances of each tool, and the artistry behind every spritz of a paint sprayer.