
To fix a clogged paint sprayer nozzle, start by inspecting the spray pattern for signs of uneven spray or sputtering, then disassemble the sprayer carefully. Remove the nozzle, check for dried paint or debris, and clean it with a small brush or softened solvent suited for your paint type. Reassemble, ensuring all parts fit snugly, then test your spray to see if the flow is restored. Continue with detailed tips to prevent future clogs.
Key Takeaways
- Turn off the sprayer, disconnect it, and carefully disassemble the nozzle to inspect for dried paint or blockages.
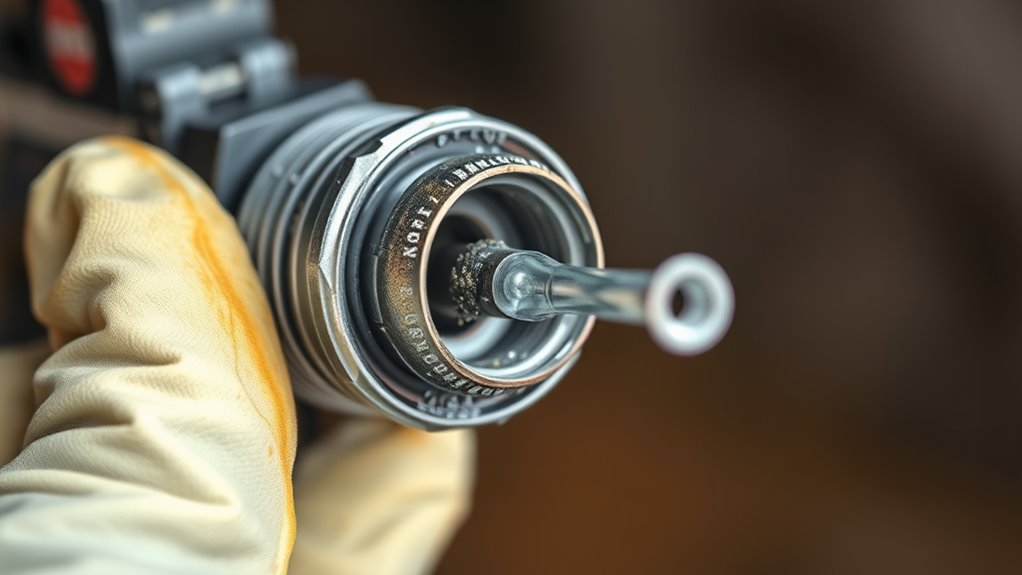
- Use a small brush or needle to gently remove debris and clear any obstructions inside the nozzle and internal channels.
- Soak the nozzle in a compatible solvent for 15-30 minutes to dissolve hardened paint residues.
- Rinse the nozzle thoroughly with clean water or solvent, then dry completely before reassembling.
- Reattach the nozzle securely, test the sprayer on a test surface, and adjust settings for an even spray pattern.
Identifying the Signs of a Clogged Nozzle
Sometimes, a paint sprayer’s nozzle becomes clogged, and you might notice uneven spray patterns or sputtering. These signs often indicate blockages that disrupt paint flow. Pay close attention to the paint consistency—if it’s too thick or thin, it can cause clogs. Also, consider the nozzle material; some materials are more prone to buildup or damage from dried paint. If you see uneven coverage or sputtering, it’s a clear sign the nozzle needs inspection. A clogged nozzle often produces inconsistent spray patterns, drips, or complete stops. Recognizing these signs early helps prevent further damage and ensures smooth operation. Regularly checking for these issues keeps your spraying consistent and your project on track. Additionally, understanding the contrast ratio of your equipment can help you optimize its performance for better results. Proper filtration and pump protection are essential in maintaining the nozzle and preventing future clogs. Moreover, monitoring the paint flow can help identify issues before they lead to a full clog, saving you time and effort. Being aware of tuning options and maintaining your equipment according to manufacturer specifications can further reduce the risk of nozzle blockages and ensure optimal performance. Regular cleaning of the nozzle and using appropriate paint viscosity also contribute significantly to preventing clogs and achieving a smooth spray.
Preparing Your Workspace and Tools

Before you begin fixing a clogged paint sprayer nozzle, it’s essential to prepare your workspace and tools to guarantee safety and efficiency. Start by clearing a clean, well-lit area with enough space to work comfortably. Next, gather your essential tools:
Ensure a tidy, well-lit workspace with essential tools ready for safe, efficient nozzle cleaning.
- Paint cleaning brushes and rags for paint mixing and cleanup
- Needle or small wire for clearing the nozzle
- Safety gloves and goggles to protect your hands and eyes
- A container for rinsing parts and cleaning solutions
Arrange these items within easy reach, ensuring your spray gun’s ergonomics are optimized to prevent strain during disassembly. Proper preparation minimizes mess, speeds up the process, and helps you focus on the task at hand. A well-organized workspace leads to more effective nozzle cleaning. Additionally, verify that your tools are properly maintained, as well-maintained equipment can prevent future clogs and ensure smooth operation. Regular maintenance routines can also help identify potential issues before they cause a blockage, saving time and effort during repairs. Maintaining your equipment’s performance can also extend its lifespan and improve overall results. To keep your tools in top condition, consider establishing a dedicated storage area to organize your equipment and supplies efficiently. Being aware of self-watering plant pots and their maintenance can also encourage you to keep all your gardening tools in optimal condition for better results.
Safely Disassembling the Paint Sprayer
Before you start disassembling, make sure your workspace is organized and clear of hazards. Carefully remove the components from the sprayer, inspecting each one for damage or blockages. This step guarantees you’re ready to identify and address the clog safely and effectively. Remember to handle each part gently to avoid damaging delicate equipment components. Additionally, consulting preventive maintenance can help identify potential issues before they cause clogs, saving time and effort in the long run. Implementing expert repairs when necessary can ensure your paint sprayer remains functioning optimally and reduce the likelihood of future clogs. Ensuring proper procedural knowledge can help avoid future clogs and prolong the life of your paint sprayer.
Prepare Workspace Properly
Have you prepared your workspace properly before disassembling your paint sprayer? Ensuring good workspace organization and safety precautions helps prevent accidents and makes the process smoother. Here are four essential steps:
- Clear the area of clutter to avoid tripping hazards and to keep tools accessible.
- Cover surrounding surfaces with drop cloths or plastic to protect from paint splatters.
- Gather all necessary tools and safety gear, such as gloves and goggles, beforehand.
- Work in a well-ventilated space to avoid inhaling fumes and ensure safety. Proper workspace setup can also help you maintain focus and efficiency during the disassembly process.
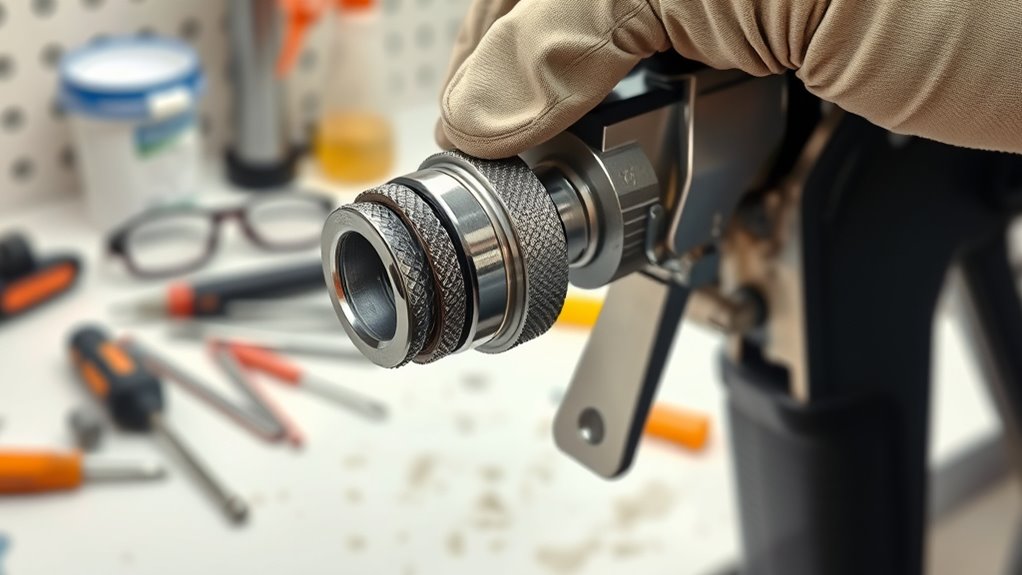
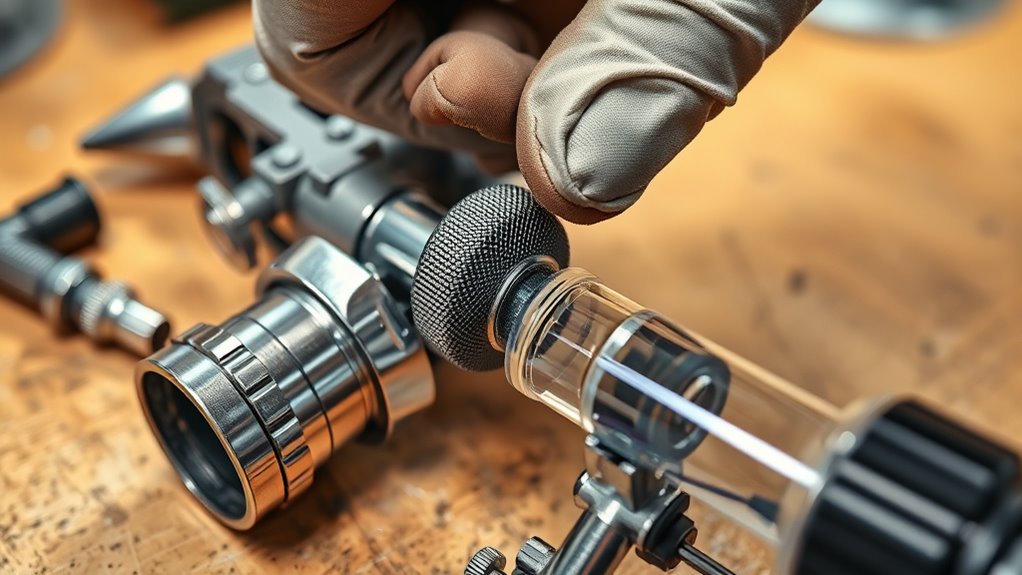
Remove and Inspect Components
To safely disassemble your paint sprayer, start by unplugging the unit to prevent accidental activation. Carefully remove the nozzle, paying attention to its material, as some nozzles are more fragile than others. As you take apart the components, inspect the nozzle and other removable parts for paint buildup or damage. Check the spray tip for clogs or wear, especially if the paint consistency was too thick or too thin. Look for cracks or deformities that could cause future clogging issues. Handle all parts gently to avoid damaging delicate materials. While inspecting, also note if any seals or gaskets need replacement. Properly removing and examining each component ensures you identify the cause of the clog and prepares your sprayer for thorough cleaning or repairs. Additionally, understanding GMC tuning principles can help maintain optimal spray performance and prevent future issues. Knowing the support hours for assistance can also be helpful if you encounter persistent problems during your maintenance. Regular inspection and maintenance, including cleaning techniques, can also help prevent clogging issues from recurring, saving you time and effort in the long run.
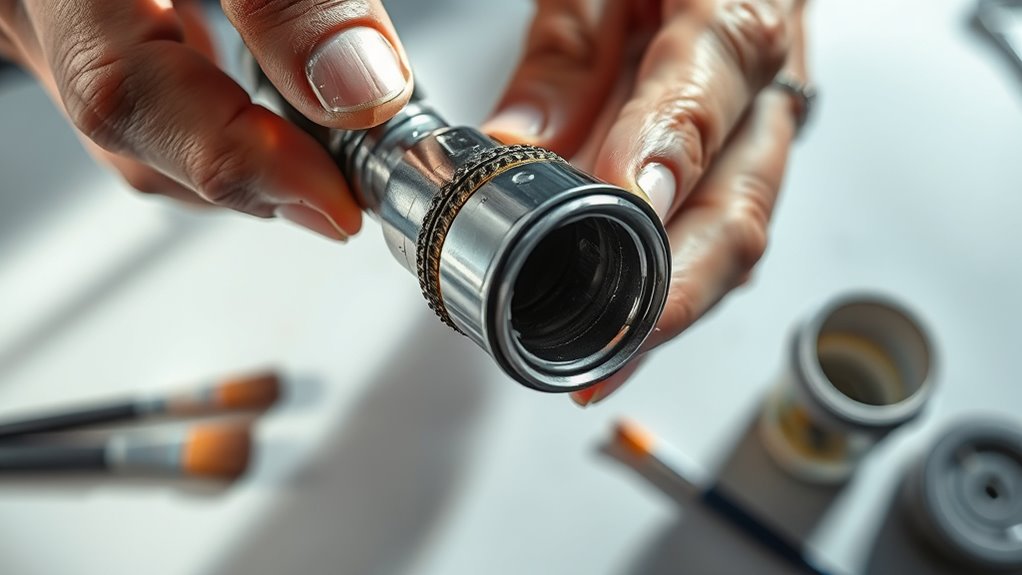
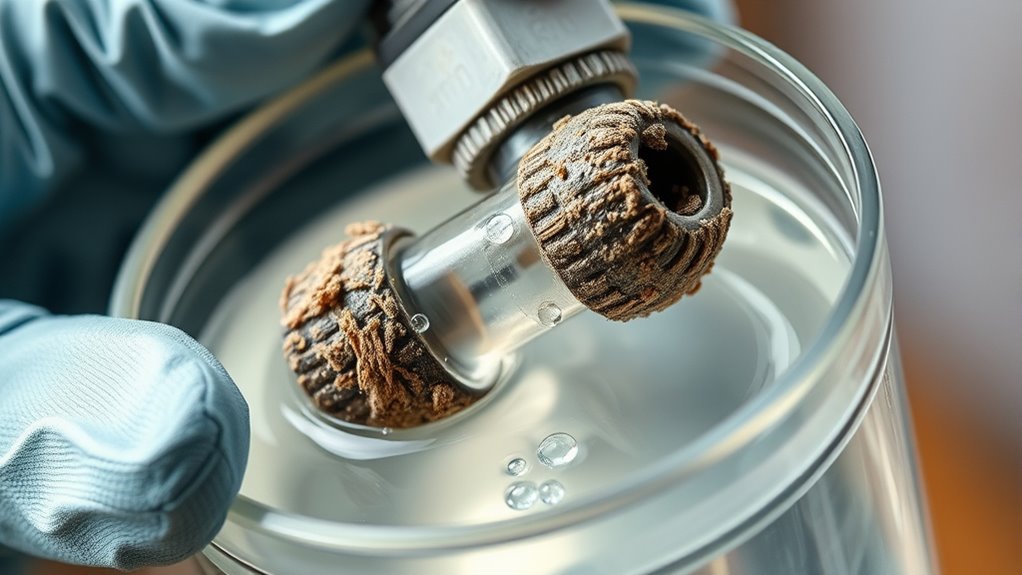
Inspecting the Nozzle for Blockages

Inspecting the nozzle for blockages is a crucial step in troubleshooting a clogged paint sprayer. Start by considering the nozzle design, as some shapes are more prone to clogging. Next, check the paint viscosity; thicker paint can cause blockages, especially if not thinned properly. Then, examine the spray pattern for uneven flow or drips, which indicate a blockage. Finally, look for any debris or dried paint around the nozzle opening. To do this effectively: 1. Remove the nozzle carefully. 2. Inspect the opening closely for dried paint or debris. 3. Check the nozzle’s internal channels for obstructions. 4. Confirm the nozzle design suits your current paint viscosity. Additionally, understanding paint formulations can help prevent future clogs by ensuring compatibility with your sprayer. Proper cleaning techniques and regular maintenance of your equipment can also significantly reduce the chances of blockages. Regularly inspecting your nozzle can help identify potential issues early before they lead to complete clogs, saving time and effort during painting projects. These steps help you identify if a blockage is present without damaging the nozzle.
Cleaning the Nozzle With Appropriate Tools
To effectively clean your nozzle, you need the right tools. Using a suitable brush helps remove stubborn paint residue without damaging the nozzle. Additionally, employing solvent cleaners can dissolve clogs and restore proper flow.
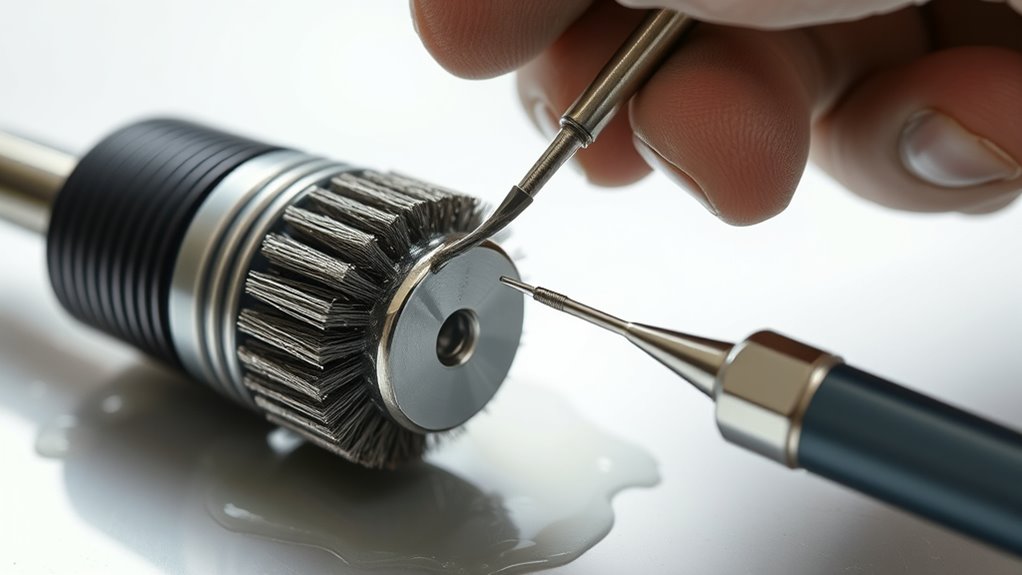
Subheading 1: Use the Right Brush
Using the right brush is essential for effectively cleaning your paint sprayer nozzle. Choosing the right brush ensures you don’t damage the nozzle or leave debris behind. When selecting a brush, consider these options:
- Small, stiff-bristled brush – ideal for removing dried paint from the nozzle tip.
- Soft-bristled brush – perfect for cleaning delicate parts without scratching.
- Nylon or plastic brushes – resistant to solvents and safe for various surfaces.
- Detail brushes – useful for cleaning hard-to-reach areas and ensuring thorough paint surface preparation.
Always use the appropriate brush for the task to prevent damage and maintain best spray performance. Properly cleaning with the right tools helps keep your sprayer in top shape for future projects.
Subheading 2: Employ Solvent Cleaners
After selecting the appropriate brush for cleaning your nozzle, applying solvent cleaners can effectively loosen and dissolve stubborn clogs. Use a solvent compatible with your paint sprayer technology and nozzle material to prevent damage. For example, acrylic-based solvents work well with stainless steel nozzles, while solvent choices for plastic nozzles should be gentler to avoid melting or warping. Apply the solvent directly to the clog or soak the nozzle if possible, allowing it to break down dried paint. Use a brush or soft cloth to gently scrub away loosened debris. Always follow the manufacturer’s instructions for solvent use and guarantee proper ventilation. Properly cleaning with compatible solvents restores functionality and reduces the risk of future clogs.
Using Solvents to Dissolve Clogs
When paint dries and hardens inside the nozzle, solvents can help break down the clog. The effectiveness depends on the paint thickness and nozzle material. To use solvents properly:
- Choose the right solvent based on the paint type—thinner for water-based paints, stronger solvents for oil-based finishes.
- Fill a container with the solvent and submerge the nozzle, soaking for 15-30 minutes.
- Gently scrub the nozzle with a soft brush to loosen stubborn deposits, avoiding damage to delicate nozzle material.
- Rinse thoroughly with clean solvent or water, then dry before reassembling.
Always consider the nozzle material to prevent corrosion or damage. Using the correct solvent ensures efficient clog removal without harming your equipment.
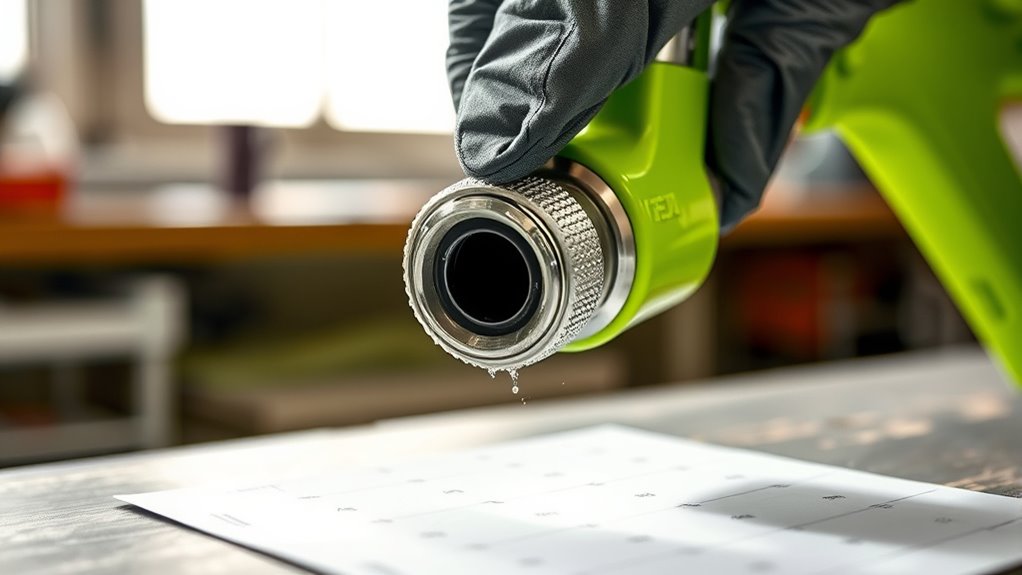
Reassembling the Sprayer and Checking for Proper Flow
Once you’ve thoroughly cleaned and dried the nozzle, it’s time to reassemble the sprayer. Carefully put the nozzle back into place, ensuring it fits snugly based on its material—metal or plastic—that affects durability and paint quality. Tighten all connections securely without over-tightening, which could damage the nozzle or housing. Before testing, check that the nozzle is aligned correctly to maintain even paint flow. Turn on the sprayer and observe the flow to ensure paint moves smoothly without interruptions or splattering. Proper reassembly guarantees the best paint quality, preventing future clogs caused by misaligned or loose parts. If flow seems inconsistent, revisit the nozzle and connections, making adjustments as needed for a steady, even spray.
Testing the Spray Pattern for Uniformity
To guarantee your paint sprayer is delivering an even coat, you need to test the spray pattern for uniformity. First, spray onto a test surface like cardboard or scrap wood. Check if the pattern is even and consistent. If not, consider these steps:
Test your spray pattern on cardboard to ensure even, consistent coverage for a flawless finish.
- Adjust your spray gun calibration to ensure proper spray width and flow.
- Confirm your paint color matching is accurate, avoiding uneven coverage.
- Observe if the pattern is circular or irregular, indicating nozzle issues.
- Make small adjustments and retest until the spray pattern is smooth and consistent.
Proper testing helps identify issues caused by nozzle clogs or misalignment, ensuring your final finish is flawless. This step is essential for achieving professional results and maintaining even paint distribution.
Preventative Maintenance to Avoid Future Clogs
Regular preventative maintenance is the best way to keep your paint sprayer running smoothly and prevent future clogs. Start by regularly inspecting and cleaning your paint sprayer filters to remove debris and guarantee proper airflow. Clean or replace filters as needed, following manufacturer guidelines. Using proper nozzle replacement techniques also helps prevent clogs; avoid forcing or improvising parts, and always use compatible nozzles. Before each project, flush the system with cleaning solution to clear residual paint and buildup. Check for wear and tear on parts, replacing them promptly. This routine upkeep reduces the risk of blockages and prolongs your sprayer’s lifespan. Consistent maintenance keeps your sprayer in prime condition, ensuring smooth operation and high-quality finishes every time.
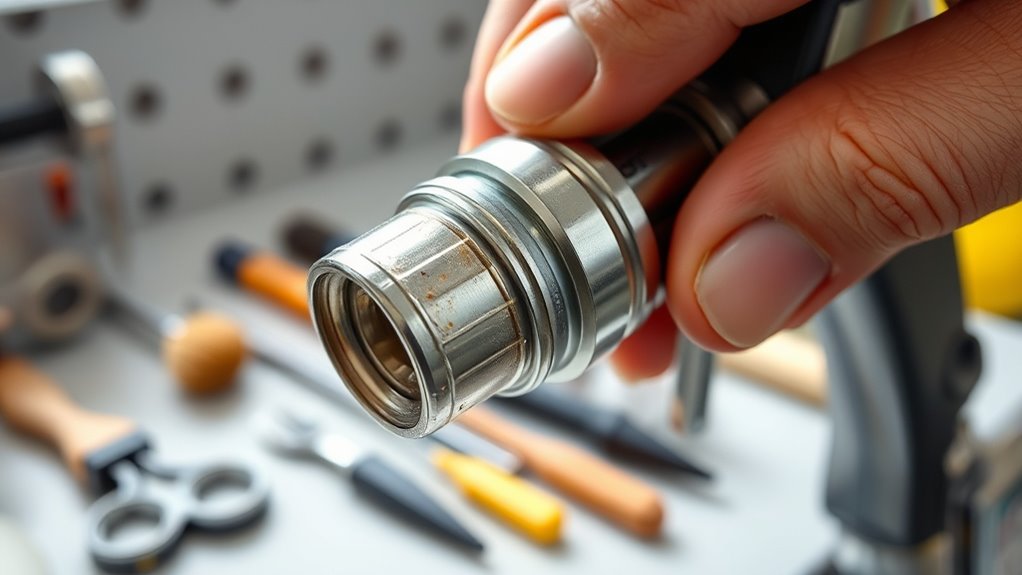
Troubleshooting Persistent Blockages
Persistent blockages can be frustrating, but identifying the root cause is key to fixing them effectively. If your nozzle keeps clogging despite recent maintenance, consider these steps:
Persistent blockages are frustrating; diagnosing the cause is essential for effective repairs.
- Check for dried paint or debris in the nozzle coating, which can cause persistent jams.
- Inspect the paint mixing process; uneven or thick paint can lead to blockages.
- Clean the nozzle thoroughly, ensuring no residual paint remains that could harden.
- Test with a different type of paint to see if viscosity issues are causing the blockage.
Frequently Asked Questions
Can Clogging Be Caused by Using the Wrong Type of Paint?
Clogging can definitely be caused by using the wrong type of paint, as it affects paint compatibility and application techniques. If you choose incompatible paint or don’t follow proper application methods, it can harden or thicken inside the nozzle, leading to clogs. Always check the paint’s compatibility with your sprayer and follow recommended application techniques to prevent clogging and guarantee smooth spraying.
How Often Should I Clean My Paint Sprayer to Prevent Clogs?
Regular maintenance schedule keeps your paint sprayer in top shape, preventing clogs before they start. You should clean your sprayer after every use, especially if you switch paint types or colors. Use proper cleaning tools like brushes and solvents, and take a few minutes to thoroughly clear out residual paint. This routine guarantees smooth operation, reduces downtime, and keeps your sprayer functioning perfectly, so you can focus on your project without interruptions.
Are There Specific Safety Precautions for Handling Solvents?
When handling solvents, you should always prioritize safety. Wear proper safety gear, including gloves, goggles, and a mask to protect your skin, eyes, and respiratory system. Guarantee good solvent ventilation in your workspace to disperse fumes and minimize inhalation risks. Never work near open flames or heat sources, and follow manufacturer instructions carefully. Taking these precautions helps prevent accidents and keeps you safe while working with potentially hazardous solvents.
What Are Alternative Methods if a Nozzle Cannot Be Disassembled?
Did you know that over 60% of DIYers face nozzle clogs without disassembly? If you can’t take apart your spray gun, try soaking the nozzle in warm water or vinegar as a simple DIY solution. Commercial cleaners are also effective but follow safety instructions. Use a needle or pin carefully to clear the blockage, avoiding damage. These methods can often restore your spray pattern without disassembly.
How Do Temperature and Humidity Affect Clog Formation?
Humidity effects and temperature impact can considerably influence clog formation. High humidity levels can cause paint to thicken, making it harder to flow and increasing the likelihood of clogs. Conversely, low humidity helps paint dry faster, reducing clog risk. Temperature changes can also affect paint consistency; too cold, and paint thickens, too hot, and it thins, both increasing clog chances. Keep your workspace controlled to minimize these issues.
Conclusion
With a little patience and the right approach, you’ll have your paint sprayer flowing smoothly again, like a well-oiled machine. Think of it as clearing a blocked stream—once free, the water rushes effortlessly, painting your project with precision. Regular maintenance keeps the flow steady and your workspace clutter-free. Soon, your sprayer will sing like a chorus, delivering flawless coats every time. Keep these tips in mind, and your painting journey will stay bright and trouble-free.

Franz came aboard the Paint Sprayer Zone team with a background in both journalism and home renovation. His articulate writing style, combined with a passion for DIY projects, makes him an invaluable asset. Franz has a knack for breaking down technical jargon into easy-to-understand content, ensuring that even the most novice of readers can grasp the complexities of paint sprayers.