
To diagnose edge build-up, first observe how your cut looks. Excess buildup often signals too much pressure or that your tool is too close to the surface, causing debris to cling. If edges are rough or tearing, you might be going too fast, generating heat and residues. Adjust the pressure for smooth control, slow down your speed, or fine-tune your tool distance. Continuing this process helps identify the root cause and improve your trim quality.
Key Takeaways
- Excess edge build-up often indicates high cutting speed or excessive pressure causing debris adhesion.
- Dull or improperly tensioned blades can lead to uneven edges and increased material residue.
- Too close or inconsistent tool distance can cause rough cuts and debris accumulation along edges.
- Signs like jagged edges and tearing suggest pressure issues, while uneven surfaces point to speed or distance problems.
- Regular calibration, maintenance, and testing small adjustments help differentiate whether pressure, speed, or distance is the main cause.
What Causes Edge Buildup on Your Trim Surfaces?
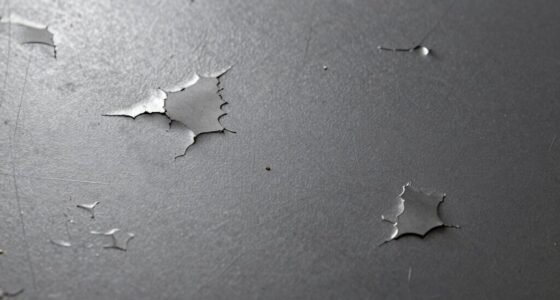
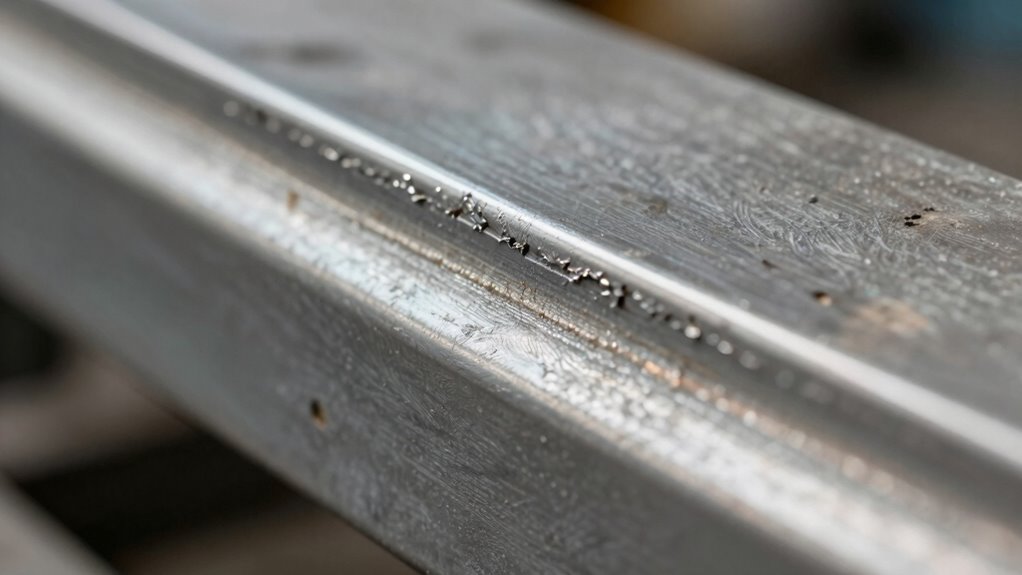
Ever wondered why edge buildup occurs on your trim surfaces? It mainly happens because of material adhesion, where resin, glue, or debris sticks to the edges during trimming. This buildup can be worsened by tool wear, which causes the blades or cutters to become dull or rough, making it harder to cut cleanly. When tools wear out, they don’t shear material smoothly, increasing friction and allowing residues to cling to the edges. Over time, as your tools degrade, buildup becomes more frequent and difficult to remove. Proper maintenance and selecting the right cutting tools help minimize material adhesion and reduce tool wear. Keeping blades sharp and clean ensures cleaner cuts, preventing excessive buildup and prolonging your equipment’s lifespan. Additionally, using appropriate cutting parameters like pressure, speed, and distance can help reduce the likelihood of buildup forming. Regular inspection and equipment maintenance are also crucial for optimal performance and minimizing edge buildup. Understanding the cutting process and how different factors interact can further help in preventing unwanted residue accumulation. Being aware of blade sharpness and maintaining it regularly is essential for consistent results and reducing buildup issues. Furthermore, choosing the correct cutting tools based on material type can greatly influence the amount of residue left behind.
How Does Pressure Affect Edge Quality and Build-Up?
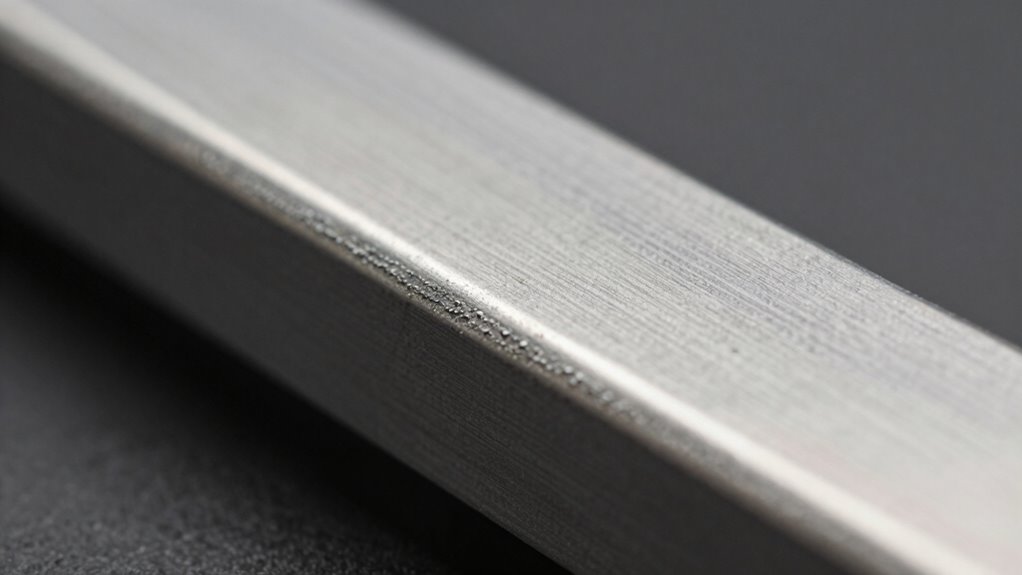
Applying too much pressure during trimming can directly impact the edge quality and increase buildup. Excessive pressure compresses the material, causing uneven edges and rough surfaces. These pressure effects can lead to jagged or chipped edges, reducing the overall smoothness of the trim. When you push too hard, you risk creating micro-damage that encourages debris accumulation and further build-up over time. Maintaining proper pressure guarantees a clean, consistent edge, which minimizes the chances of buildup caused by rough surfaces or uneven cuts. Light, controlled pressure allows the trimming tool to glide smoothly, preserving edge integrity and preventing material from sticking or collecting on the trim surface. Proper pressure management is essential for achieving high-quality edges with minimal buildup. Using the right oil for airless sprayers can also help reduce friction and ensure smooth operation, contributing to cleaner cuts and better edge quality. Additionally, understanding the material properties helps in adjusting pressure to prevent damage and buildup. Being aware of pressure control techniques further enhances the quality of the trim and reduces the likelihood of debris accumulation. Regularly inspecting your equipment and adjusting pressure settings accordingly can further optimize results and minimize build-up and debris. Moreover, adopting a holistic SEO approach in your maintenance routines can help identify and implement best practices for equipment longevity and performance.
Can Trimming Speed Lead to Edge Build-Up?

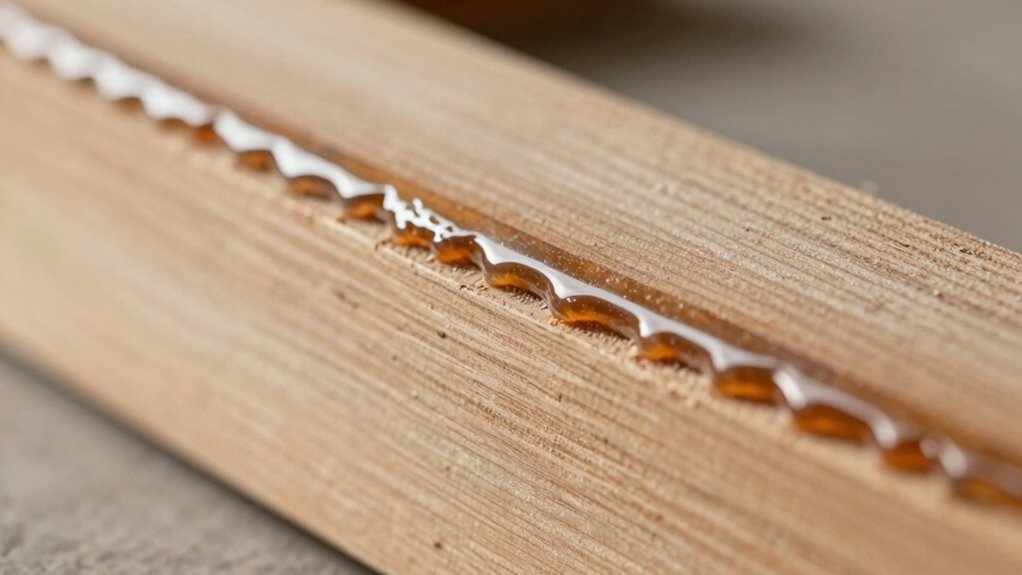
Does trimming speed influence edge build-up? Yes, your trimming speed can impact edge quality and lead to build-up. Moving too fast may cause uneven cuts, increasing friction and heat that promote residue accumulation. Conversely, trimming too slowly might result in over-trimming or rough edges, also affecting edge cleanliness. Additionally, maintaining the right cutting technique is essential to prevent excessive heat buildup and residue formation. Regularly inspecting blade sharpness helps sustain optimal cutting conditions and reduces the likelihood of build-up. Proper machine calibration ensures consistent cutting performance and helps avoid unnecessary heat and friction. To optimize trimming speed:
- Maintain a consistent pace for smooth cuts
- Avoid rushing through delicate areas
- Adjust speed based on material resistance
- Monitor edge quality regularly
- Incorporate quality control checks into your workflow
Controlling your trimming speed is crucial for managing heat buildup, which directly influences residue formation. Balancing your trimming speed helps prevent edge build-up by reducing unnecessary friction and heat. When you control your speed, you promote cleaner edges and minimize residue, ensuring a professional finish and reducing the need for rework. Proper speed management is vital for ideal edge quality.
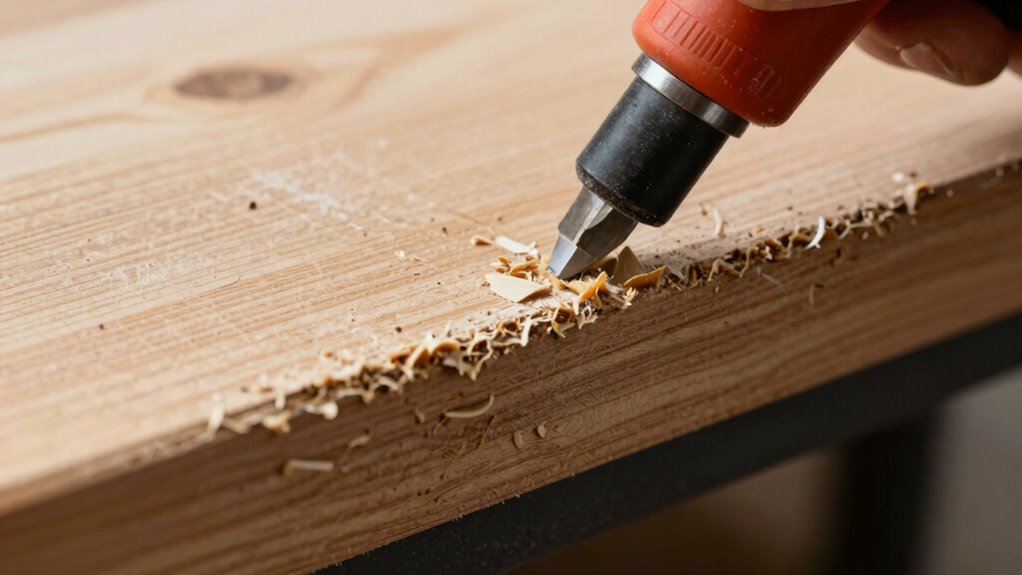
How Does Tool Distance Impact Edge Cleanliness?
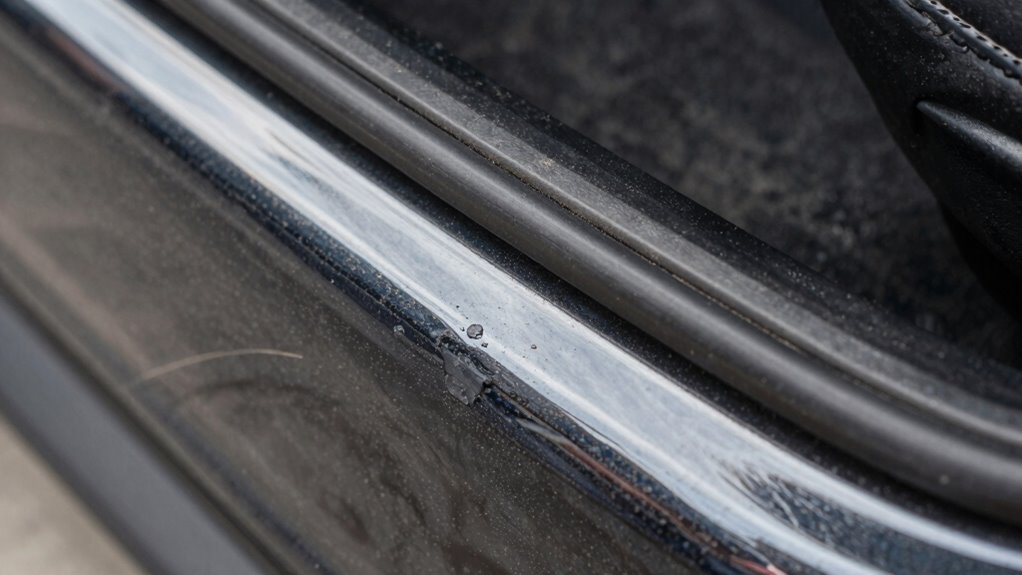
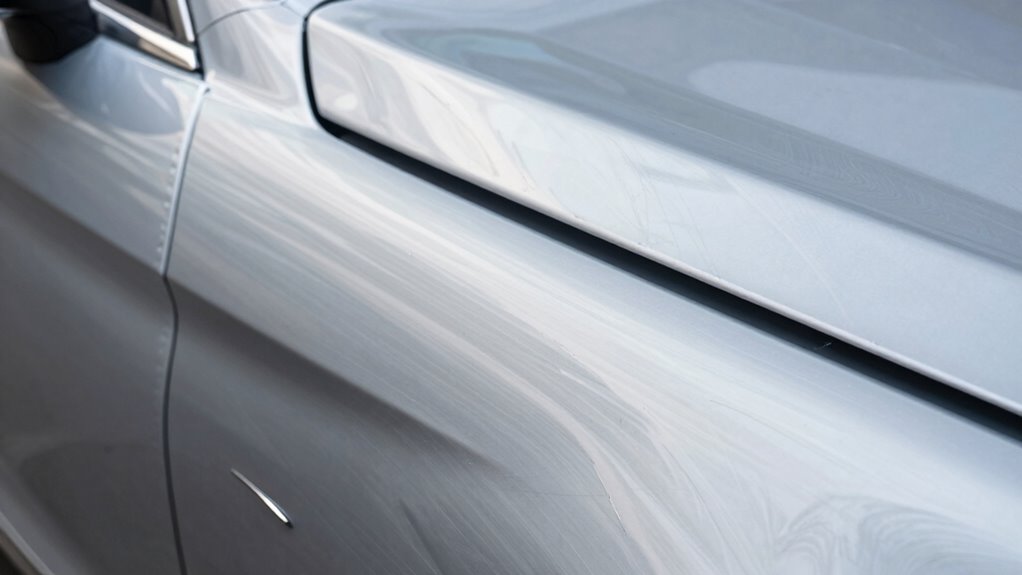
Maintaining the correct distance between the tool and the material surface plays a vital role in achieving clean, precise edges. If your tool is too close, it can cause excessive tool wear, leading to rough or uneven cuts over time. Conversely, if it’s too far, you might struggle with incomplete trimming or uneven edges, especially depending on the material type. Different materials have varying sensitivities to tool distance; softer materials require a precise gap to prevent tearing or smudging, while harder surfaces need consistent proximity to maintain a clean finish. Adjusting the tool distance correctly helps reduce build-up on the trim and guarantees a smooth, professional edge. Proper distance control minimizes tool wear, maximizes cutting efficiency, and improves overall edge cleanliness. Additionally, understanding how cutting parameters influence material interaction can further optimize your trimming process. Recognizing the importance of power tool adjustments ensures you can adapt settings for different tasks, leading to better results and longer equipment lifespan. Being aware of dust and debris management can also help maintain a cleaner work environment and prevent build-up issues that compromise edge quality. Maintaining a consistent tool distance also helps prevent material deformation, which can negatively affect the final appearance of the edge. Moreover, paying attention to feed rate can significantly impact the quality of the cut, ensuring a smoother finish and reducing the need for rework.
How to Recognize Signs That Pressure Is Causing Your Edge Problems

When pressure is too high during trimming, it often leaves obvious signs on your edges that can compromise their quality. You’ll notice an irregular edge profile, with rough or uneven surfaces that don’t match the material’s properties. Excessive pressure can cause tearing, chipping, or flattening of the edge, diminishing its durability. To identify if pressure is the culprit, look for these signs:
- Irregular, jagged edges inconsistent with material properties
- Excessive material removal or deformation
- Increased build-up of material or debris on the edge
- Visible compression or crushing along the edge profile
- Consistent workspaces can help you better regulate pressure and avoid these issues. Additionally, understanding cutting techniques and how they influence pressure application can improve your results. Proper tool setup also plays a critical role in maintaining control during trimming. Applying appropriate pressure control techniques can further reduce the risk of damaging the edge.
Maintaining appropriate pressure preserves the material’s integrity and ensures a clean, precise edge. Recognizing these signs early helps you adjust your technique before damage becomes permanent.
How to Tell if Speed Is the Culprit Behind Edge Build-Up?
Speed plays an essential role in edge build-up, as moving too quickly can prevent proper material removal and cause debris to accumulate along the edge. If you notice buildup despite correct pressure, your tool might be moving too fast. Check laser calibration to guarantee accuracy, as misalignment can cause uneven cuts and increased debris. Also, inspect your tool sharpening; dull blades often require higher speeds, leading to more buildup. Consider this table:
| Symptom | Possible Cause |
|---|---|
| Excess buildup | High cutting speed |
| Uneven cuts | Improper laser calibration |
| Dull edges | Need for tool sharpening |
| Debris accumulation | Moving too quickly |
Adjust your speed accordingly, ensuring your laser is calibrated and your tools are sharp. Slowing down allows for cleaner cuts and reduces edge build-up caused by speed.
How Tool Distance Contributes to Edge Buildup and How to Fix It
Excessive tool distance from the material surface can cause edge build-up because the laser or cutting tool struggles to maintain a consistent and clean cut. When your tool is too far away, it can lead to uneven heating or cutting, resulting in material buildup along the edges. To fix this, focus on proper tool maintenance to ensure accurate positioning. Also, consider material selection, since some materials are more sensitive to distance variations. Here are key points to remember:
- Keep the tool as close to the surface as possible for precision
- Regularly calibrate your equipment to maintain correct distance
- Use consistent material thickness to avoid unnecessary adjustments
- Adjust your setup based on material properties to prevent buildup
Maintaining proper tool distance minimizes edge buildup and improves cut quality.
Tips for Adjusting Pressure, Speed, and Distance to Get a Cleaner Cut
To achieve a cleaner cut, you need to fine-tune your pressure, speed, and distance settings. Start by adjusting the pressure levels to prevent excess buildup, then control your cutting speed for precision. Finally, optimize the distance between the tool and the material to improve edge quality and reduce debris.
Adjust Pressure Levels
Adjusting the pressure level on your trimmer is essential for achieving a clean, professional edge. Proper pressure control guarantees the blade makes consistent contact without digging in or skipping, reducing edge build-up. Focus on maintaining good tool alignment so the blade remains steady and cuts evenly. Too much pressure can cause uneven cuts and damage, while too little can result in missed spots. To fine-tune pressure:
- Use light, consistent pressure for better control
- Keep the tool aligned with the surface for even pressure distribution
- Adjust grip to avoid applying excessive force
- Test on a small area before working on the entire edge
Control Cutting Speed
Controlling your trimmer’s cutting speed plays a significant role in achieving a precise, clean edge. When you adjust your speed, consider material selection—different surfaces respond better at specific speeds. Softer materials may need a slower pace to prevent tearing, while harder surfaces can handle higher speeds for cleaner cuts. Using cutting lubricants can reduce friction, allowing for smoother, more controlled movement and preventing buildup. A consistent, moderate speed often yields the best results, minimizing edge build-up and ensuring a cleaner finish. Keep in mind that speeding up or slowing down too much can cause uneven cuts or excess debris. Experiment with your material type and lubricants to find the ideal speed. This approach helps you maintain control and achieve a professional, clean edge every time.
Optimize Distance Settings
Have you considered how your distance from the surface impacts the quality of your cut? Adjusting the distance affects material compatibility and edge sharpness, directly influencing your results. Too close, and you risk burn marks or dulling the blade; too far, and the cut becomes rough or incomplete. Finding the right balance ensures a cleaner cut with minimal edge build-up.
- Use manufacturer guidelines to set the ideal distance for your material
- Test small adjustments to observe changes in edge sharpness
- Maintain consistent distance during cuts for uniform results
- Remember that different materials may require different distance settings
Fine-tuning your distance setting helps prevent edge build-up, ensuring cleaner cuts and longer tool life.
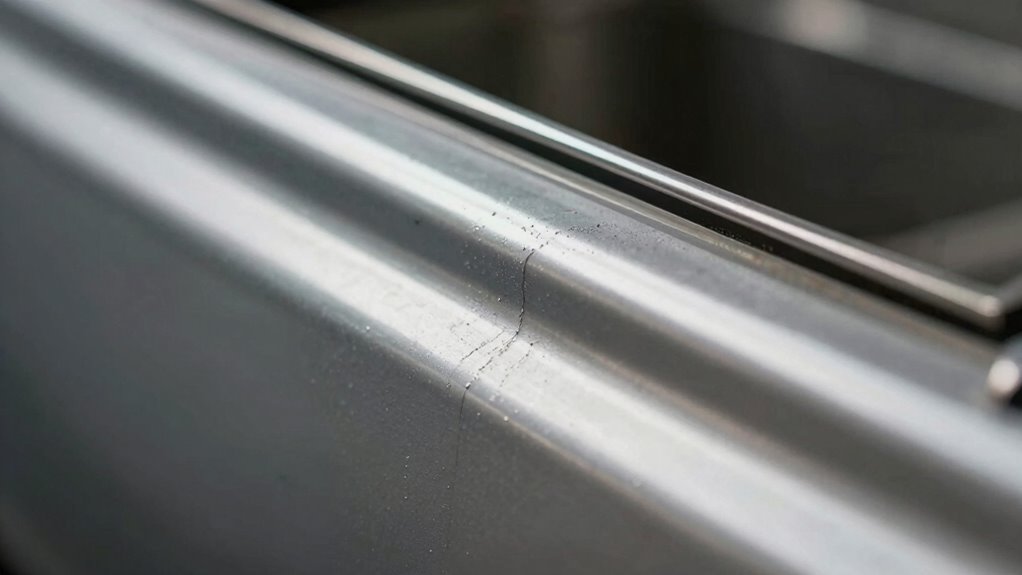
Troubleshooting Edge Build-Up: Which Adjustment Should You Try First?

When you notice edge build-up on your trim, the first step is to check the blade tension. Proper tension guarantees a clean cut and minimizes debris buildup. Next, evaluate your material selection; some materials are more prone to build-up and may require different settings or blades. Also, inspect your tool maintenance—dull blades or dirty tools can cause uneven cuts and excessive build-up. Adjust the tension if needed, ensuring the blade is neither too tight nor too loose. Consider switching to a blade designed for your specific material. Regularly cleaning and maintaining your tool prevents debris accumulation that contributes to edge build-up. Starting with these adjustments helps you identify whether the issue stems from improper tension, material choice, or maintenance, guiding you toward an effective solution.
Frequently Asked Questions
How Do Material Type and Surface Finish Influence Edge Build-Up?
Material type and surface finish considerably influence edge build-up by affecting material properties and surface textures. Harder materials with rougher textures tend to cause more build-up, as they adhere more easily to cutting edges. Softer or smoother surfaces reduce build-up, making trimming cleaner. You can minimize this issue by selecting materials with favorable properties and optimizing surface finishes, ensuring smoother trims and less maintenance.
Can Environmental Factors Like Humidity Affect Edge Quality?
Environmental factors like humidity can definitely affect edge quality. Higher moisture content in the environment can cause edge build-up, as the moisture interacts with the material and cutting tools. Temperature fluctuations also play a role, expanding or contracting materials and tools, which impacts the consistency of cuts. You should monitor humidity levels and temperature changes closely to prevent edge issues. Proper climate control helps maintain ideal conditions, reducing edge build-up and ensuring better trim quality.
What Role Do Cutting Tool Materials Play in Preventing Build-Up?
Back in the day, even your grandpa knew that tool materials matter. Today, you rely on cutting tool materials with superior coating effectiveness and high tool hardness to prevent build-up. These materials resist adhesion, reduce friction, and withstand heat, ensuring cleaner edges. Choosing the right material, like carbide or coated tools, helps you maintain consistent quality, minimize edge build-up, and boost your productivity.
How Does Machine Vibration Impact Edge Cleanliness?
Machine vibration impacts edge cleanliness by causing instability during trimming, which leads to inconsistent cuts and increased build-up. Vibration effects can loosen the cutting tool or create uneven pressure, making it harder to maintain a smooth edge. Ensuring machine stability minimizes these vibrations, resulting in cleaner edges and less build-up. Regular maintenance and proper setup help reduce vibration effects, keeping your trim precise and free of unwanted debris.
Are There Specific Maintenance Routines to Minimize Edge Build-Up?
Maintaining your equipment is like tending a garden—you need consistent care to keep it thriving. You should perform regular inspections for tool wear, ensuring blades stay sharp and clean. Proper operator training helps prevent excessive pressure or speed that causes build-up. Routine cleaning, lubrication, and calibration also minimize edge build-up. Following these maintenance routines keeps your trim sharp, reduces downtime, and extends your equipment’s lifespan.
Conclusion
By balancing pressure, speed, and distance, you’ll banish buildup and boost your trim’s beauty. Adjust thoughtfully, watch for warnings, and work wisely. With patience and precision, you’ll perfect your process, preventing problems before they start. Remember, small tweaks make a significant difference—so stay vigilant, tweak cautiously, and enjoy consistently cleaner, crisper cuts. With consistent care and clever corrections, you’ll conquer edge issues and craft flawless finishes every time.