TL;DR

Get business pricing on tools and workshop supplies
- Business-only prices and quantity discounts
- Tax-exempt purchasing
- Multiple users, one account, clear invoices
A DIY tip featured by Hunker uses a cut-to-size plywood board with two L-brackets to create a temporary surface over an open bathroom vanity drawer. The board can hold grooming items while in use, then be removed so the drawer can close; the source does not report testing, cost, or load limits.
Hunker has reported on a bathroom-storage tip from TikToker One Handy Momma: place a cut-to-size plywood board across an open vanity drawer to create a temporary surface for grooming items. The board is removed or stored when it is no longer needed, offering a way to use drawer space for an extra work surface without making a permanent change to the counter.
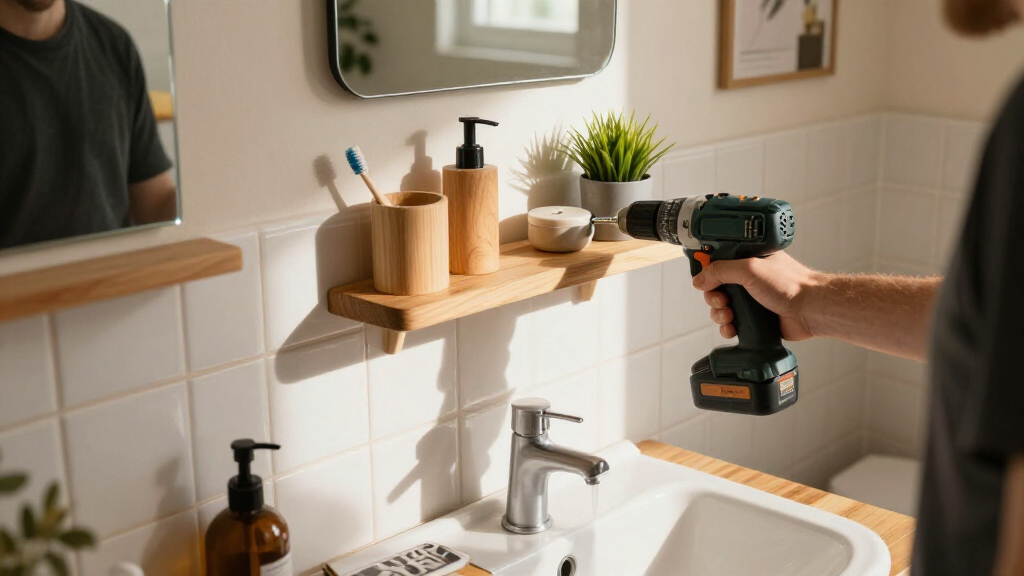
The proposed setup uses a board sized to rest on the side walls of an upper vanity drawer. The instructions call for measuring the drawer’s width and depth, cutting the plywood to fit, and attaching two L-brackets underneath, one near each side. The brackets are intended to hang over the drawer’s side walls and help keep the board in position while the drawer is open.
Hunker says the temporary surface can hold items needed during a bathroom routine, including a hairdryer, curling iron or cosmetics bag. When finished, the user can lift off the board and close the drawer. The report says a person with several drawers could measure across them for a larger board, but it gives no tested dimensions, weight capacity or assessment of whether every vanity design will support the arrangement.
The board can be left unfinished or customized with stain, paint or decoupage, according to the report. Hunker also suggests a water-resistant finish, such as penetrating oil or polyurethane, to reduce the risk of moisture damage. These are suggestions in the article, not a tested durability claim or a guarantee that the board will remain safe from water exposure.
A Removable Surface for Daily Routines
The idea addresses a familiar practical problem: a small or shared bathroom counter may already be occupied by toiletries and decorations when someone needs space to get ready. A removable board can provide a temporary place for items without requiring a new cabinet, permanent countertop work or a lasting change to the vanity. Its usefulness will depend on the drawer’s shape, construction and position, as well as how much space the user needs.
The approach also makes trade-offs visible. The drawer must stay open while the board is in use, and the added surface may be awkward in a tight bathroom or block access to the drawer. Because the source does not specify load testing, readers should not treat the suggestion as an engineered shelf or assume it can safely support heavy equipment. It is best understood as a household DIY idea whose fit and stability need to be checked for the individual vanity.
removable bathroom vanity countertop extension
As an affiliate, we earn on qualifying purchases.
As an affiliate, we earn on qualifying purchases.
How the Drawer-Top Idea Works
The report presents the board as a temporary extension rather than a permanent countertop addition. The user opens a drawer, rests the board across its sides, and uses the resulting surface before removing it. The creator’s social-media post is presented as the source of the idea; Hunker supplies the accompanying materials and steps. The source material does not provide independent testing or identify a particular vanity model.
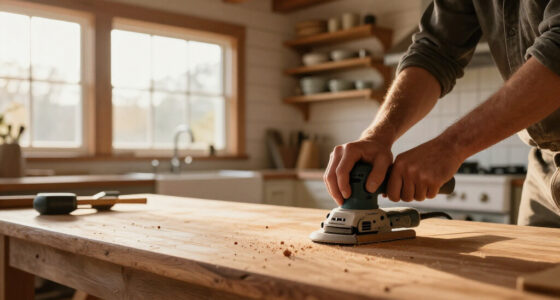
Materials listed include plywood, a measuring tape, a pencil or pen, a saw, two L-brackets, screws and a drill or screwdriver. Hunker suggests measuring the drawer before cutting and says the board should be large enough to rest on the drawer’s side walls. It also describes placing the brackets underneath the board near its left and right edges. The report does not give a plywood thickness, bracket size, screw length or detailed instructions for checking drawer construction, so those choices cannot be inferred as standardized specifications.
Hunker mentions an optional variation: placing a board over a sink basin to gain more surface area. It cautions that the surface should be completely dry, particularly if electrical devices will be used. That warning is relevant because water and powered grooming tools can create a serious hazard; the report does not provide a broader electrical-safety guide.
““This is my hack to give me extra countertop space when I need it!””
— One Handy Momma, in the TikTok post cited by Hunker
Fit, Stability and Load Limits
The report does not state how much weight the board can hold, whether the brackets have been tested, or how the design performs across different drawer materials and vanity styles. It also does not provide measurements, a price estimate, or information about how the creator’s particular setup was constructed beyond the described materials and steps. The suggestion that the drawer might close with the board still in place is conditional; compatibility will depend on the board and drawer dimensions.
There is no reported assessment of risks from an unsecured board shifting, damage to the drawer, or moisture affecting the plywood or finish. Readers should inspect their own vanity and use the surface cautiously rather than placing heavy or fragile items on it. If using the board near a sink, keep it and any electrical devices away from water, and do not use powered tools or appliances on a wet surface.
Check the Vanity Before Building
Hunker’s report does not announce a follow-up test or new development. For anyone considering the project, the next step described is to measure the intended drawer, check that its sides can support the board, and decide whether a removable surface suits the available space. The user would then cut the plywood, attach the brackets and test the fit cautiously before putting grooming items on it.
Any finish should be allowed to dry and cure according to its product instructions before the board is used in a bathroom. Keep the surface dry when electrical devices are involved, and remove the board if it shifts or the drawer appears strained. Whether the tip works well in a particular bathroom remains a matter of its layout and construction; the source offers no broader performance results.
Key Questions
What is the bathroom storage hack?
It uses a plywood board over an open vanity drawer as a temporary surface for items needed while getting ready. The board can be removed afterward so the drawer can close.
What materials does the report list?
Hunker lists plywood, a measuring tape, a pencil or pen, a saw, two L-brackets and screws, and a drill or screwdriver. It does not specify exact board or bracket dimensions.
Can the board stay in place when the drawer closes?
The report says it may be possible, depending on the setup. It does not establish that the board will fit every vanity, so measure and check the drawer before relying on that option.
Is the board safe to use with a hairdryer or curling iron?
The report names grooming devices as possible items for the surface but provides no load or heat testing. Keep electrical devices and the board completely dry and away from water; stop using the setup if it feels unstable.
Does the plywood need a finish?
Finishing is optional in Hunker’s instructions. The report suggests a water-resistant coating to help protect the wood from moisture, but it does not promise that any finish will prevent water damage.
Source: rss
Fall Picks
fall essentials
As an affiliate, we earn on qualifying purchases.