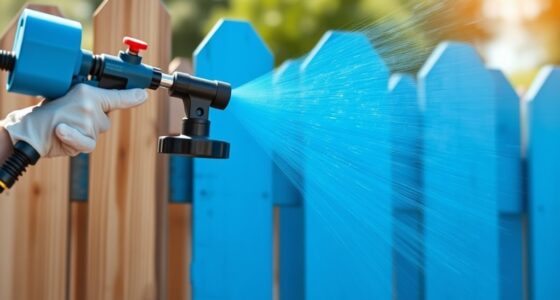
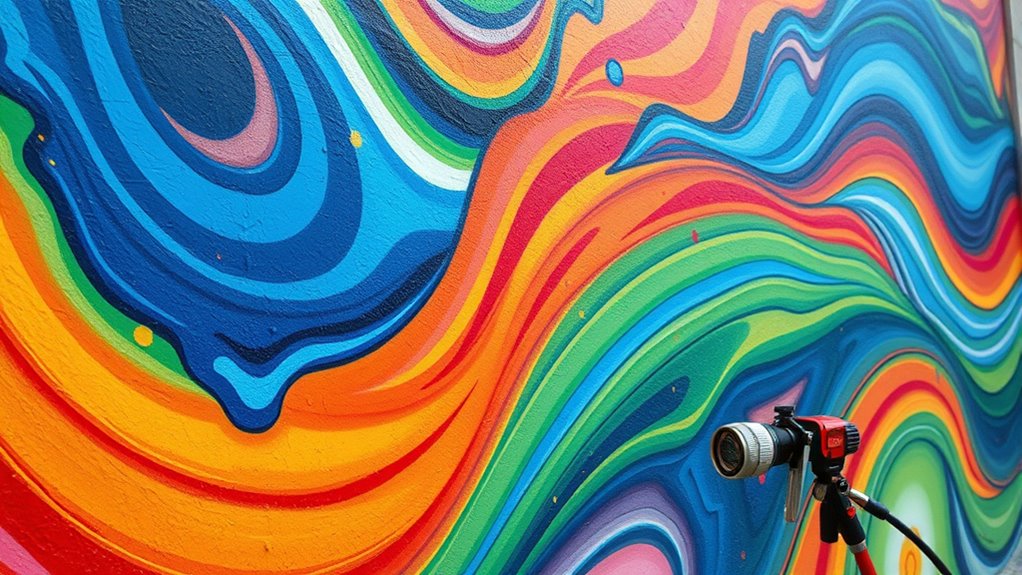
To create stunning DIY wall murals with a paint sprayer, start by selecting high-quality paints and the right equipment. Prep your wall with cleaning, repairs, and primer. Use masking for sharp edges and stencils for intricate designs. Experiment with layering colors, blending for smooth gradients, and adding textures for a 3D effect. Avoid drips by maintaining consistent technique. For detailed tips and creative ideas, exploring further will help you master professional results.
Key Takeaways
- Use masking techniques with painter’s tape and stencils for sharp, detailed mural designs.
- Layer colors creatively with gradual blending and gradients for depth and dimension.
- Incorporate textures and 3D effects by adjusting spray patterns and using stippling or masking.
- Prepare surfaces thoroughly with cleaning, patching, and priming for smooth, long-lasting murals.
- Maintain your sprayer by cleaning regularly and calibrating settings to achieve precise, professional results.
Selecting the Right Paint and Equipment for Your Murals
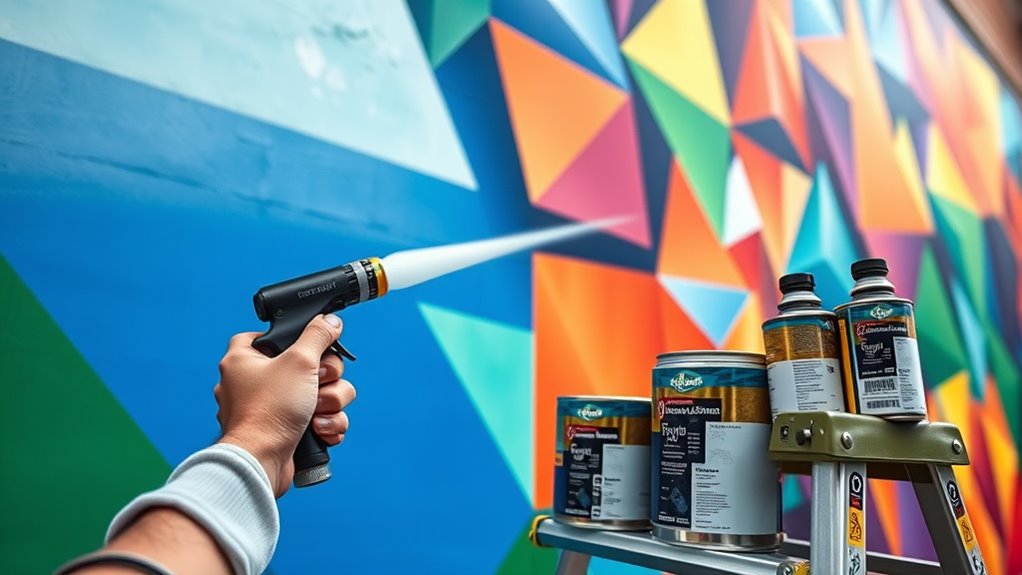
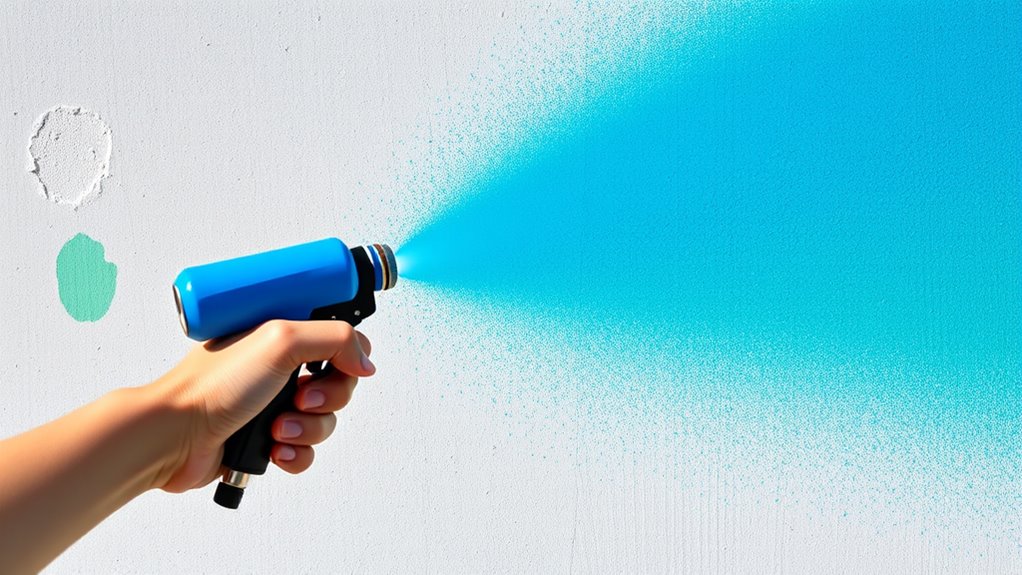
Choosing the right paint and equipment is essential for creating a successful wall mural. Your choice of paint impacts color contrast and how well the design pops. Opt for high-quality acrylic or latex paints with good opacity to guarantee vibrant colors and smooth coverage. Pay attention to paint viscosity; a medium viscosity works best with a spray gun, providing a balance between flow and control. Thinner paints may clog your sprayer, while thick paints can cause uneven spray patterns. Additionally, select appropriate spray tips based on your project’s detail level—smaller tips for fine lines, larger ones for broad areas. Using the right equipment and paint properties helps you achieve crisp lines, consistent color contrast, and a professional-looking mural. Proper paint selection is crucial for achieving lasting and visually appealing results.
Preparing Your Wall Surface for a Flawless Finish
Before applying your mural, make sure to clean the wall thoroughly to remove dust and grease. Repair any holes or imperfections, then sand the surface smooth for a better finish. Finally, apply a primer to guarantee paint adhesion and a flawless look. Incorporating proper surface preparation techniques can significantly enhance the durability and appearance of your mural. Taking the time to understand city dynamics and local conditions can also help you choose the best materials for your specific environment. Additionally, selecting the right grocery savings strategies can help you budget for high-quality paints and tools.
Surface Cleaning Essentials
To achieve a smooth, professional-looking wall mural, thorough surface cleaning is essential. Proper wall preparation starts with removing dust, dirt, and grease that can interfere with paint adhesion. Use a gentle detergent solution or a mixture of water and mild soap to clean the surface, paying attention to corners and textured areas. Rinse the wall with clean water afterward to eliminate residue. It’s important to assess the surface texture—rough or uneven areas might trap dust or oils, so ensure these are thoroughly cleaned. Additionally, conducting a compliance check ensures your preparation meets industry standards for quality. Taking the time to carefully prepare the surface helps prevent paint peeling and ensures your mural remains vibrant over time. Proper surface adhesion is critical for long-lasting results and a flawless finish. Incorporating a surface primer can further enhance paint adherence, especially on challenging surfaces. Skipping or skimping on surface cleaning can lead to imperfections, uneven paint coverage, or peeling down the line.
Repair and Sanding
Once your wall surface is clean and free of dust and grease, it’s time to address any imperfections that could show through your mural. Start by repairing holes or cracks with spackle or joint compound, then sand smooth to ensure an even surface. This step improves texture enhancement and prevents uneven paint application. Next, consider these key points:
- Sand repaired areas until flush with the wall for seamless texture blending.
- Use a fine-grit sandpaper to avoid scratches that could affect paint adhesion.
- Wipe away dust thoroughly after sanding to ensure a clean surface.
- Inspect for any remaining rough spots or bumps, sanding as needed for a flawless finish.
- Regularly monitoring your progress with app-based tracking tools can help maintain consistency in your prep work and overall mural project.
- Proper repair and sanding also supports the longevity and durability of your painted mural, ensuring it remains vibrant over time.
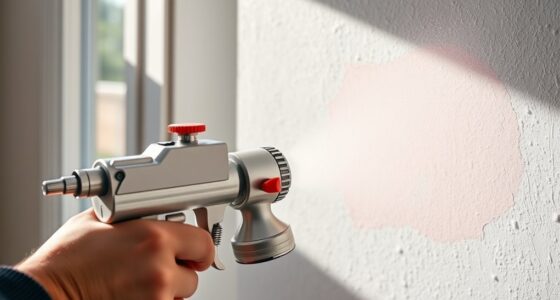
Primer Application Tips
Applying primer is a crucial step in ensuring your mural looks smooth and vibrant. Using proper primer techniques helps create an even surface, enhancing paint adhesion and preventing issues like peeling or peeling. Before applying primer, make sure your surface preparation is thorough: clean the wall, remove dust, and fix any cracks or holes. When applying primer, use smooth, even strokes with your paint sprayer, maintaining a consistent distance from the wall. Avoid over-priming, which can cause drips or uneven coverage. Proper surface preparation paired with effective primer techniques guarantees a flawless base, making your mural pop with rich color and sharp detail. Additionally, understanding air purifier maintenance can inspire playful and engaging design elements within your mural to connect with a broader audience. Regularly inspecting your paint sprayer for clogged nozzles ensures optimal performance and a smooth application process. Keep in mind that support hours for equipment or assistance may vary depending on your location, so planning ahead can help avoid delays. Proper surface preparation is also essential for achieving a professional-looking finish, as it sets the foundation for all subsequent painting steps.
Creating Intricate Designs With Stencils and Masks

Choosing the right stencils is key to achieving detailed designs, so pick ones that match your vision and skill level. Masking helps you stay precise when working with complex patterns, ensuring clean edges and crisp lines. Experiment with layering colors creatively to add depth and dimension to your mural. Using techniques from self watering plant pots can inspire innovative ways to manage paint flow and achieve smooth gradients in your mural. Additionally, incorporating mindfulness techniques can help you maintain focus and patience during detailed painting processes. Recognizing the importance of attention in creative practice can further enhance your precision and overall outcome, supported by understanding individual personality traits that influence your working style. Incorporating electric bike maintenance tips can also provide insights into patience and attention to detail, which are valuable in large-scale mural projects.
Selecting Effective Stencils
Selecting effective stencils is crucial for creating intricate wall murals that look professional and polished. To guarantee success, consider these factors:
- Stencil durability – Choose stencils made from sturdy materials like mylar or plastic for repeated use and clean lines.
- Design complexity – Opt for stencils that match your skill level; intricate designs may require more precise cutting or pre-made templates.
- Size and detail – Larger stencils work better for bold patterns, while smaller, detailed stencils suit delicate designs.
- Ease of cleaning – Select stencils that are easy to wash and maintain, ensuring they stay in good condition for multiple projects.
- Planning and preparation – Incorporate design planning to ensure your stencil choices align with your overall mural vision and layout.
Masking for Precision
To achieve crisp, detailed wall murals, masking techniques are essential for maintaining sharp edges and intricate patterns. You’ll want to use masking tape to carefully cover areas you don’t want painted, ensuring clean lines. For complex stencil designs, secure the stencil firmly and mask around its edges with masking tape to prevent bleed-through. Think of it as creating a barrier that guides your sprayer, giving you control over each detail. Visualize this setup:
| Masking Tape Application | Stencil Design Placement |
|---|---|
| Precise edges along borders | Centered, flush against wall |
| Tape sealing stencil edges | Masking tape protecting background |
| Ensuring tight adhesion | Creating negative space |
| Removing tape smoothly | Revealing sharp, clean lines |
This method guarantees your mural’s intricate details stay crisp and professional. Additionally, understanding the importance of AI in marketing can help you explore new ways to promote your artwork effectively. Using proper masking techniques can also extend the lifespan of your mural by preventing paint bleed and ensuring longevity.
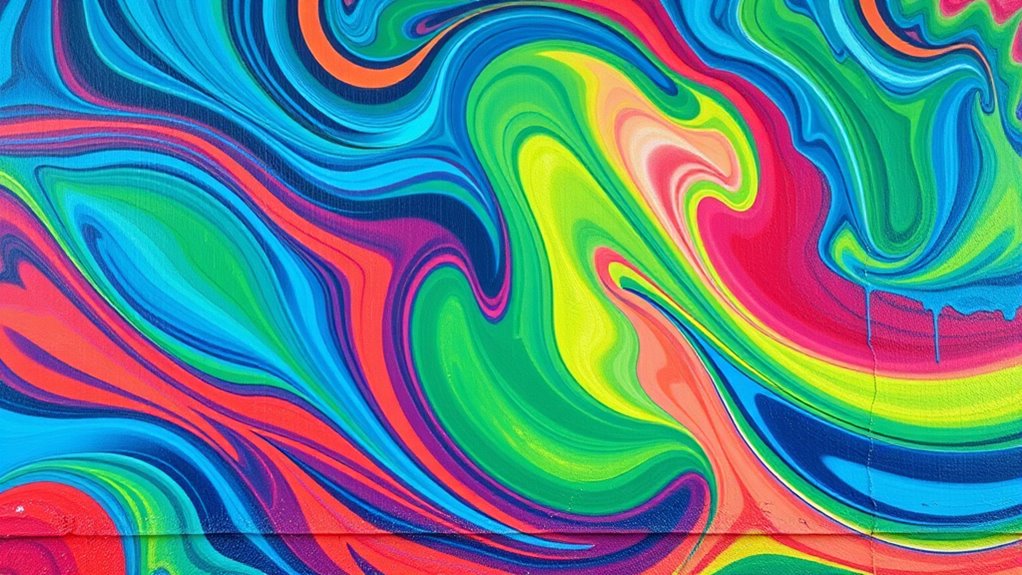
Layering Colors Creatively
Layering colors creatively allows you to build complex, eye-catching designs that stand out. Using paint layering techniques, you can create depth and dimension by blending colors seamlessly. Incorporate stencils and masks to add intricate patterns and shapes. Here are some tips to enhance your design:
- Start with a light base color, then gradually layer darker shades for contrast.
- Use stencils to mask areas and create sharp, defined edges.
- Experiment with color blending by softly overlapping hues for smooth transitions.
- Apply multiple thin coats of paint to build richness without drips or uneven texture.
- Monitor your paint application and drying times to prevent smudging and achieve clean results, especially when working with layered color blending techniques.
Using Gradient and Blending Techniques for Depth
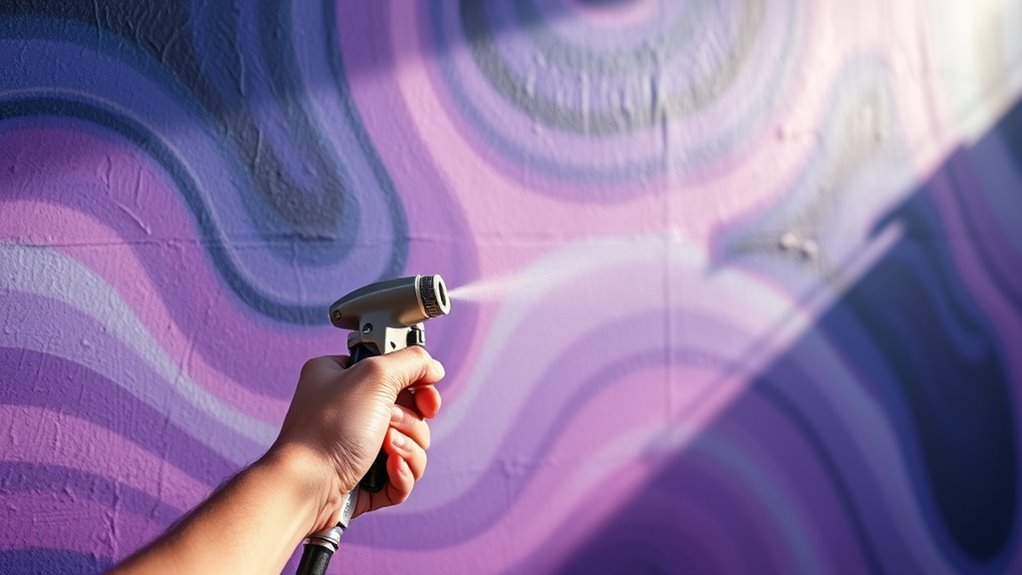
Using gradient and blending techniques can transform a flat wall into a dynamic, immersive mural. With color blending, you create smooth gradual transitions between shades, adding depth and dimension. Start by choosing related colors and gradually blending them using your paint sprayer’s settings. Blend techniques involve layering colors from light to dark or vice versa, which enhances the sense of perspective. Keep your spray consistent and move steadily to avoid harsh lines. To achieve seamless blends, work quickly while the paint is wet, blending edges softly. Practice on a scrap surface first to perfect your control. Mastering these techniques allows you to add realistic depth and vibrancy, making your mural visually engaging and professional-looking. Additionally, experimenting with different color combinations can further enhance the visual impact of your artwork, while understanding air purifier features can help maintain a healthy environment during your creative process.
Incorporating Textures and 3D Effects With Your Sprayer
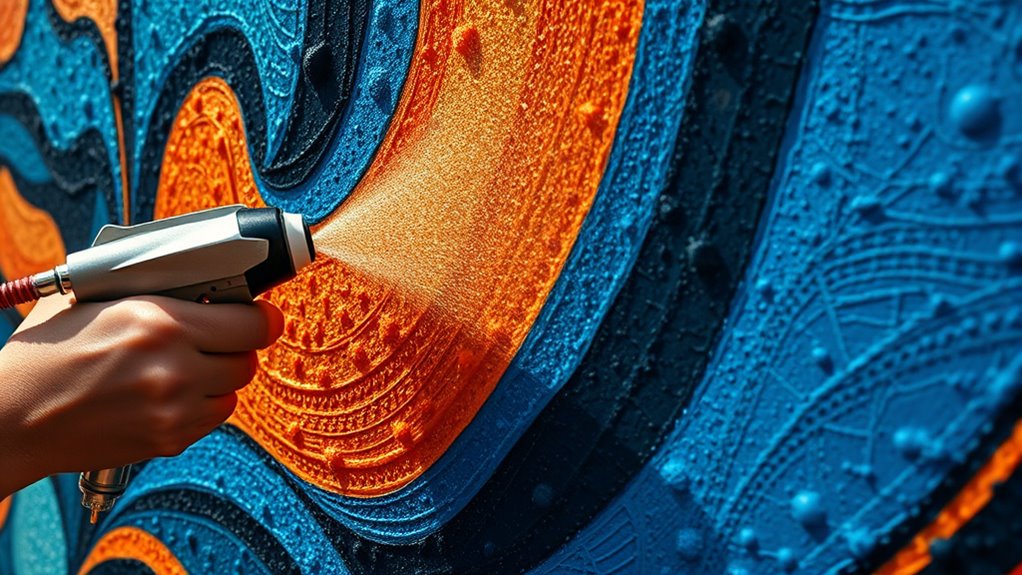
Adding textures and 3D effects with your spray painter can considerably enhance the realism and visual interest of your mural. To create striking textural effects and 3d illusions, consider these techniques:
- Layered Spraying: Build depth by layering different spray patterns, highlighting shadows and highlights.
- Stippling or Spattering: Use quick, light sprays or flicks for rough textures that mimic natural surfaces.
- Varying Pressure and Distance: Adjust your spray gun’s pressure and distance to produce different textures and depth.
- Masking for Relief: Mask certain areas to add raised or recessed 3d effects, creating a tactile surface.
Experiment with these methods to bring your mural to life, making your designs pop with realistic textural effects and eye-catching 3D illusions.
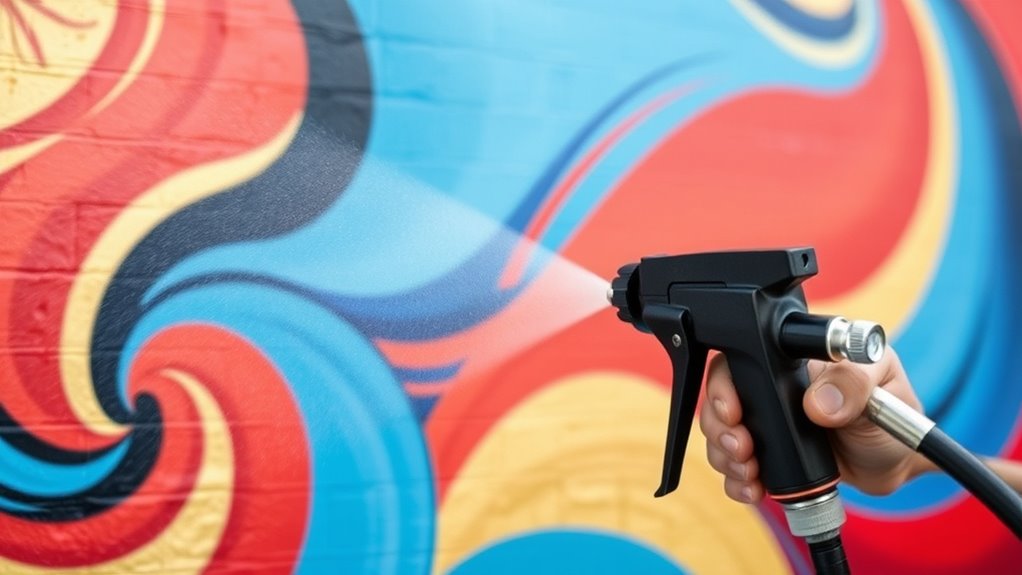
Achieving Perfect Lines and Borders With Masking Tape
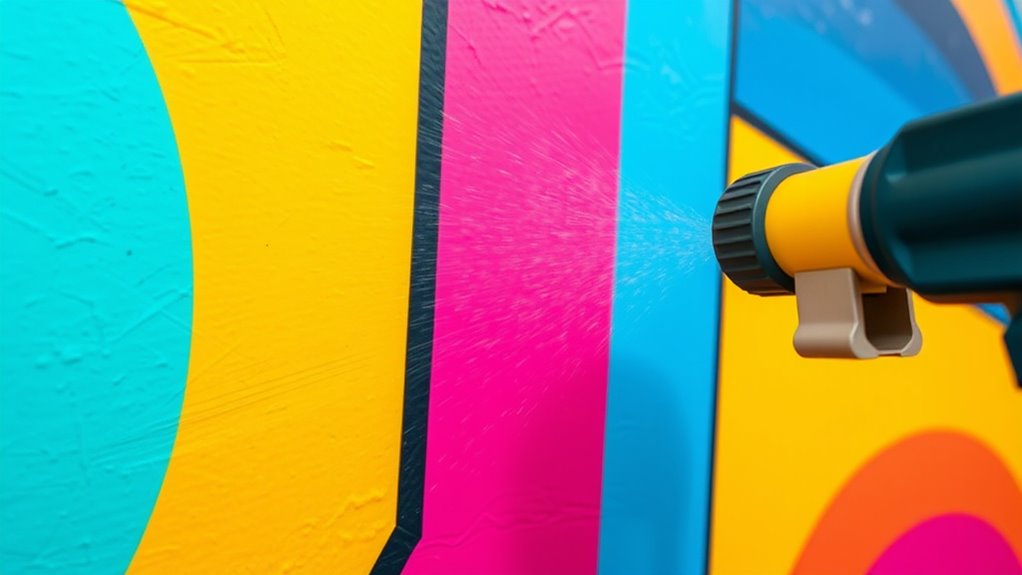
To get crisp lines and clean borders, you’ll want to master tape application techniques that prevent paint bleed. Using precise masking strategies guarantees your design stays sharp and professional-looking. When it’s time to remove the tape, do so carefully to avoid damaging your fresh paint job.
Tape Application Techniques
Achieving clean, sharp lines and borders with masking tape requires careful preparation and precise technique. To guarantee a professional finish:
- Apply edge sealing by pressing down the tape firmly along the border to prevent paint bleed.
- Use a steady hand to lay the tape straight, avoiding wrinkles or gaps.
- Wait for the paint to dry slightly before tape removal to prevent smudging.
- When removing tape, do so slowly at a 45-degree angle to achieve crisp edges and minimize paint lifting.
Proper edge sealing locks the paint in, while careful tape removal preserves sharp borders. Taking your time during application and removal makes all the difference in creating flawless mural lines.
Precision Masking Strategies
Mastering precision masking starts with selecting the right tape for your project, such as painter’s tape designed for clean edge work. Use it to create crisp lines for borders or to separate different wall sections, guaranteeing sharp boundaries for your mural. For color blending, carefully mask areas to avoid accidental overlaps, allowing smooth transitions between shades. When working with stencil design, tape down the stencil firmly, then mask around it to prevent paint seepage. To achieve perfect borders, press the tape down firmly and smooth out any bubbles. This careful masking ensures clean lines, prevents paint bleed, and enhances the overall professional look of your mural. Precision masking is essential for refined details, whether blending colors or executing intricate stencil patterns.
Removing Tape Properly
Ever wondered how to remove painter’s tape without ruining your crisp lines? Proper tape removal is key to achieving sharp borders. To do this effectively, consider these steps:
- Wait until the paint is just slightly dry but not fully cured. This prevents smudging or peeling.
- Gently peel back the tape at a 45-degree angle to minimize stress on the paint edge.
- Use your fingers or a plastic spatula to lift the tape slowly, maintaining even tension.
- If you encounter resistance, loosen the tape slightly and reapply gentle pressure.
Good tape removal ensures the tape’s adhesion doesn’t cause damage or lift paint. Taking your time preserves the clean, professional look of your mural’s borders.
Experimenting With Multiple Colors and Layering
Experimenting with multiple colors and layering can add depth and vibrancy to your wall mural, transforming a simple design into a dynamic piece of art. Start by practicing color mixing to create shades that complement each other. When using your paint sprayer, vary the spray pattern to achieve different effects—wider for backgrounds, finer for details. Layer colors carefully, allowing each to dry slightly before adding the next to prevent smudging. Using contrasting hues in overlapping layers can make elements pop, while blending similar tones adds subtle shifts. Keep your spray distance consistent and control your pressure to maintain clean lines. With patience and experimentation, you’ll develop a rich, textured mural that reflects your unique style.
Tips for Avoiding Common Mistakes and Drips
When applying multiple layers of paint, it’s easy to end up with unwanted drips or uneven finishes. To prevent this, follow these tips:
- Keep your spray distance consistent to avoid over-application, which causes drips.
- Regularly check and maintain your brush, especially brush maintenance, to smooth out edges and prevent streaks.
- Properly mix your paint, ensuring even color and consistency, reducing the risk of uneven layers.
- Apply thin coats, allowing each layer to dry fully before adding the next, minimizing drips and sags.
Staying mindful of your spray technique and maintaining your tools will help you achieve a professional-looking mural without common mistakes.
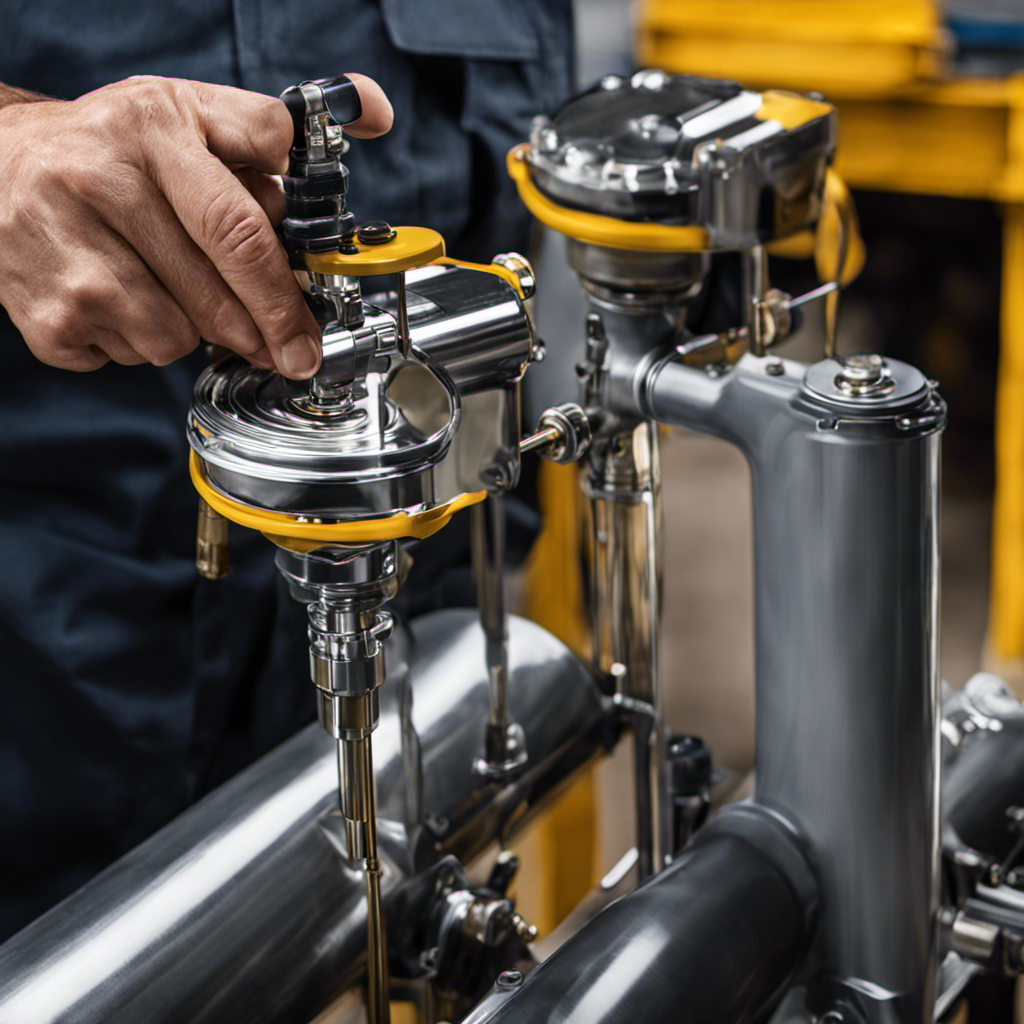
Cleaning and Maintaining Your Paint Sprayer
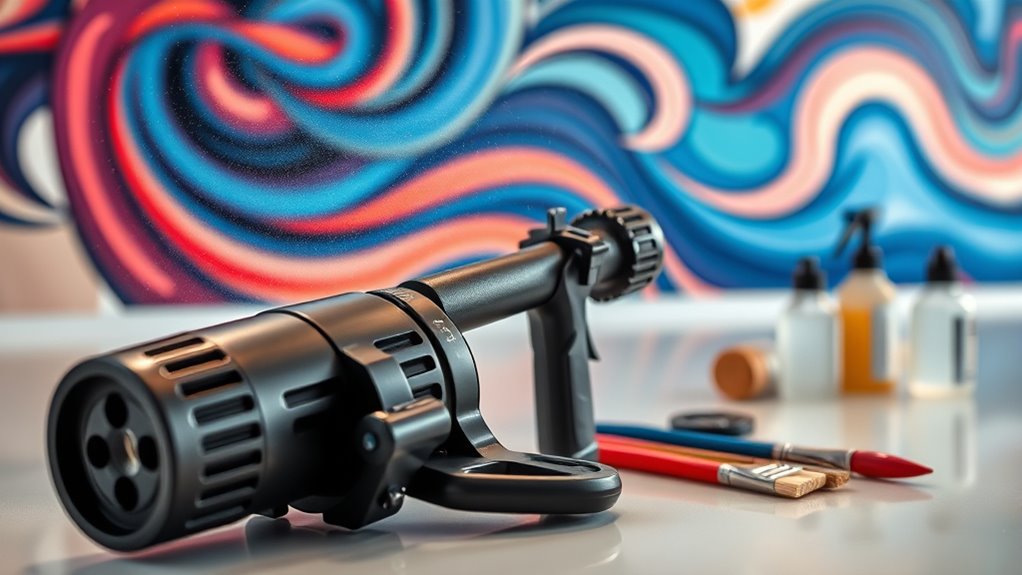
Properly cleaning and maintaining your paint sprayer is essential for consistent performance and a professional finish. Regular cleaning routines prevent paint buildup that can clog nozzles and affect spray quality. After each use, flush the system with solvent or water, depending on your paint type. Additionally, check and calibrate your equipment to ensure even coverage and ideal spray patterns. Proper maintenance extends your sprayer’s lifespan and keeps it operating smoothly. Here’s a quick visual for maintenance:
| Task | Purpose |
|---|---|
| Clean after each use | Prevent clogs, maintain spray quality |
| Check calibration | Ensure even paint distribution |
| Inspect for wear | Avoid leaks, improve durability |
| Store properly | Protect against damage |
Adhering to these routines guarantees your mural projects stay flawless.
Inspiring Ideas for Unique and Personalized Murals
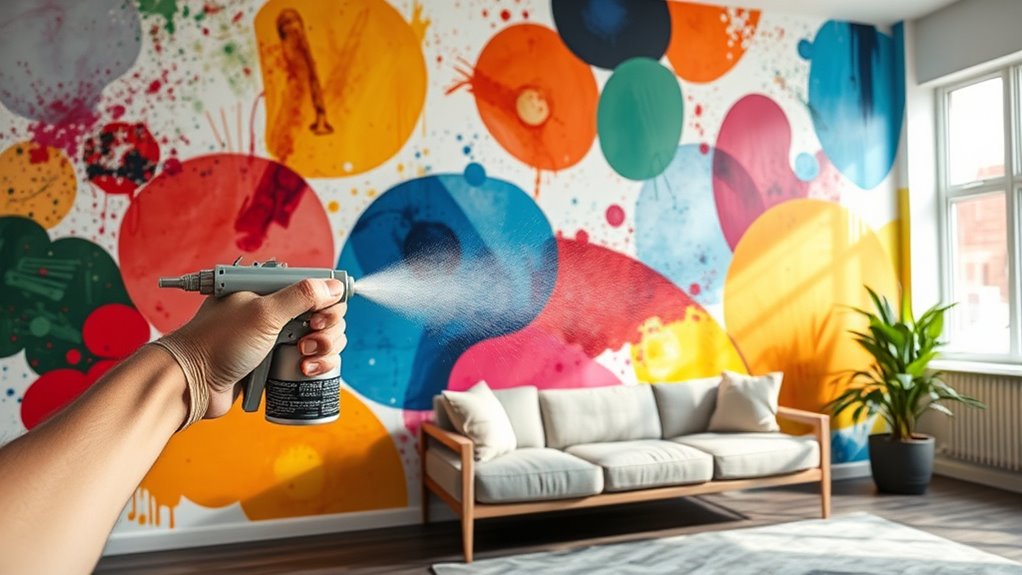
Looking for ways to make your mural truly stand out? Use mural inspiration and color theory to create something personal and eye-catching. Here are four ideas to spark your creativity:
- Theme your mural around your passions, like nature, music, or travel, to add meaning.
- Experiment with bold color combinations based on color theory to evoke specific moods or energy.
- Incorporate abstract patterns or geometric shapes for a modern, dynamic look.
- Add personal touches such as quotes, symbols, or favorite images that reflect your personality.
Frequently Asked Questions
How Can I Prevent Overspray When Using a Paint Sprayer Indoors?
To prevent overspray when using a paint sprayer indoors, you should focus on masking techniques and controlling paint thickness. Cover nearby surfaces with painter’s tape and plastic sheeting thoroughly. Adjust the sprayer’s pressure and spray distance to achieve a fine, even coat, which helps reduce overspray. Keep the paint thickness consistent, avoiding overly thick layers that increase the risk of excess spray. This guarantees a cleaner, professional-looking finish.
What Safety Equipment Should I Wear During Mural Painting?
When you’re painting a mural, you should always wear protective gear like a mask, goggles, and gloves to shield yourself from fumes and paint splatters. Make certain proper ventilation tips are followed, such as opening windows and using fans, to reduce inhalation of harmful vapors. This safety equipment helps you stay safe and comfortable while working with a paint sprayer indoors, giving you peace of mind during your creative project.
How Do I Correct Mistakes or Smudges on a Mural?
Like an artist refining their masterpiece, you can correct mistakes or smudges on your mural with simple touch-up techniques. First, let the paint dry completely. Then, use a small brush to carefully blend or cover imperfections, mimicking the original strokes. For smudge correction, gently wipe with a damp cloth or lightly sand rough spots. Patience is key—think of it as polishing a gem to reveal its true brilliance.
Can I Create Metallic or Special Finishes With a Paint Sprayer?
You can definitely create metallic finishes and special effects with a paint sprayer. By choosing the right metallic or specialty paints and adjusting your spray settings, you’ll achieve smooth, reflective surfaces or textured effects. Thin your paints appropriately, practice on scrap material first, and experiment with different spray patterns. This allows you to add dazzling metallic accents or unique textures, elevating your mural’s visual impact with professional-looking, creative finishes.
How Long Does It Typically Take to Complete a Wall Mural?
Oh, the timeless mystery of mural timing—everyone’s favorite question! You’ll find that the time estimation for completing a wall mural varies wildly, depending on your mural planning, complexity, and size. While some projects might take a day or two, others could stretch into a week. Remember, rushing can ruin the details, so take your time, plan well, and enjoy the creative process. Patience makes perfect murals!
Conclusion
Now that you’ve mastered the art of DIY wall murals with a paint sprayer, go ahead—turn your bland walls into masterpieces. Who knew that chaos, paint drips, and a few questionable stencil choices could lead to such “artistic” brilliance? Just remember, in the world of murals, perfection is overrated—embrace the quirks, celebrate the splatters, and proudly display your “unique” creation. After all, what’s art without a little messy, glorious imperfection?

A seasoned painter with over 15 years in the industry, Mike transitioned from hands-on painting projects to the digital world of paint sprayers. His extensive experience gives him a unique perspective on what users truly need when it comes to painting tools. As the Editor in Chief of Paint Sprayer Zone, Mike ensures that every piece of content not only provides value but also reflects the realities of painting — the challenges, the joys, and the intricate details.