
To de-winterize your sprayer, start by thoroughly cleaning all parts with water and appropriate cleaning agents to remove residues. Inspect hoses, nozzles, and the tank for any damage, and repair or replace as needed. Calibrate pressure and other settings carefully, then run a water test to check for leaks or blockages. Conduct final troubleshooting and maintenance steps to make certain everything functions perfectly, setting you up for a successful season—stay with us to learn more about each step.
Key Takeaways
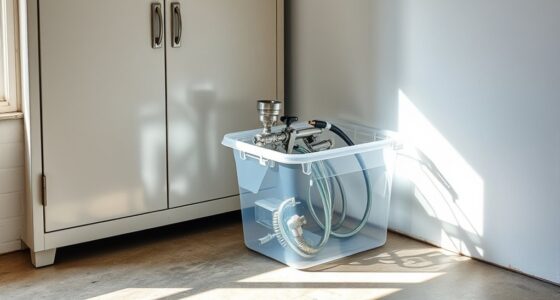
- Flush the tank, hoses, and nozzles with clean water to remove any residual chemicals and prevent contamination.
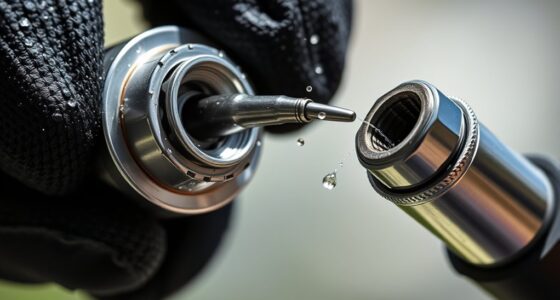
- Inspect and repair hoses, nozzles, filters, and electrical components for damage or wear.
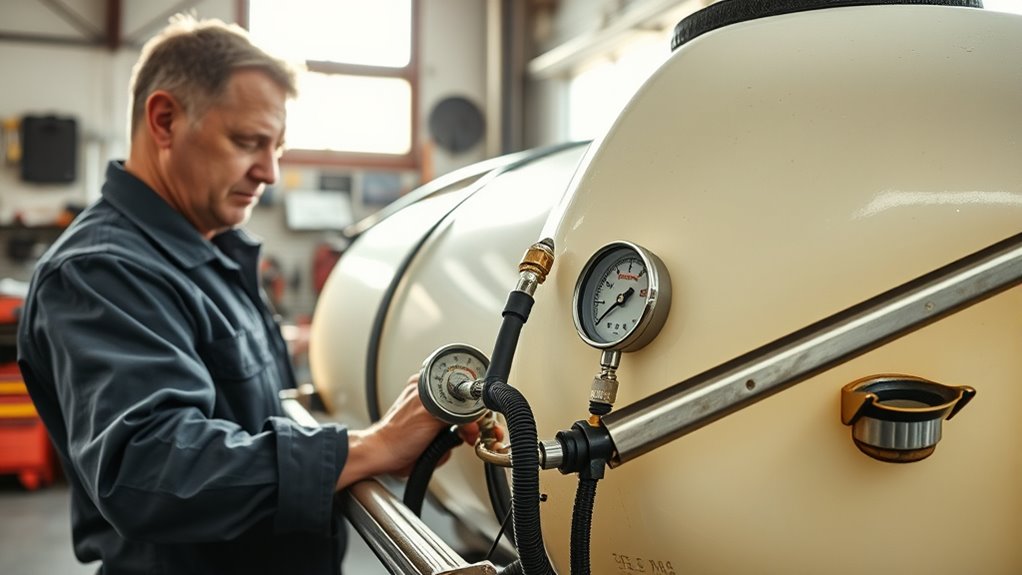
- Refill lubricants, calibrate pressure settings, and verify pump operation for accurate application.
- Conduct a water-only test spray to check for leaks, blockages, or operational issues.
- Document maintenance activities and ensure the sprayer is fully prepared for chemical application season.

After months of winter storage, it’s time to de-winterize your sprayer so you can get it ready for the upcoming season. The first step is to thoroughly clean the equipment to make sure it’s free of any residues that could cause problems during use. Chemical cleaning is essential here; you’ll want to flush out the tank, hoses, and nozzles with clean water. If you used any chemicals during the last season, make sure to remove all traces to prevent contamination or corrosion. Use appropriate cleaning agents recommended by the manufacturer or designed for agricultural equipment. Pay close attention to stubborn residues, and consider using brushes or pressure washers to reach hard-to-clean areas. Proper chemical cleaning not only keeps your sprayer functioning efficiently but also extends its lifespan.
Once you’ve completed the cleaning process, you need to perform a thorough equipment inspection. Check the tank for cracks, leaks, or signs of wear. Look over the hoses for any bulges, cracks, or brittleness—damaged hoses can lead to leaks or inconsistent spraying. Examine all nozzles and filters to ensure they are clear of debris and functioning correctly. Clogged or damaged nozzles can ruin your application accuracy, so replace any that are worn or broken. Also, inspect the pump for proper operation, listening for unusual noises or signs of malfunction. If you find any issues during inspection, address them immediately—repair or replace parts as needed. This step is essential because it prevents failures during application and guarantees your sprayer delivers uniform coverage.
In addition to cleaning and inspection, check the sprayer’s pressure and calibration settings. Proper calibration guarantees that you’re applying the right amount of chemicals, which is indispensable for both efficacy and safety. Refill any lubricants or oils as recommended by the manufacturer, and ensure all moving parts are operating smoothly. Don’t forget to verify the condition of the electrical components if your sprayer has them, including wiring and switches. Once everything has been cleaned, inspected, and maintained, run a test spray with water to confirm the system is working correctly. This final step helps you identify any leaks, blockages, or operational issues before you start spraying chemicals. Additionally, ensuring your equipment is well-maintained can contribute to equipment longevity and reliable performance throughout the season.
Frequently Asked Questions
When Should I De-Winterize My Sprayer for Optimal Performance?
You should de-winterize your sprayer in early spring, once temperatures stay above freezing consistently. This timing aligns with your spring maintenance routine and guarantees your equipment is ready for use. Follow storage tips by thoroughly cleaning and draining the sprayer beforehand. Check hoses and seals for damage, and refill with appropriate fluids. De-winterizing at the right time prevents issues and keeps your sprayer in top condition for the season ahead.
Can I De-Winterize My Sprayer Myself or Should I Hire a Professional?
You can definitely handle de-winterizing your sprayer yourself with some DIY maintenance, but if you’re unsure or want to guarantee it’s done correctly, professional service is a smart choice. Doing it yourself saves money and time, but a professional guarantees thorough cleaning and inspection, preventing potential issues. Consider your experience, the sprayer’s complexity, and how confident you feel to decide whether to DIY or hire a pro.
What Are Common Signs Indicating My Sprayer Needs De-Winterizing?
Your sprayer’s crying out for help—don’t ignore these signs! If you notice clogs, sluggish pump performance, or visible corrosion, it’s time for de-winterizing. These issues point to the need for spring readiness and storage maintenance. Failing to address them can turn your equipment into a useless paperweight. Regularly inspecting and cleaning your sprayer guarantees it stays in top shape, ready for action whenever you need it.
Are There Specific Products Recommended for Cleaning After Winter Storage?
You should use cleaning agents specifically designed for sprayers, like mild detergent or a commercial cleaning solution, to thoroughly cleanse your equipment after winter storage. Make certain to flush out any residual chemicals and rinse well. Follow storage tips like draining all liquids and lubricating moving parts before storing. These steps help prevent corrosion and guarantee your sprayer is prepared for the season ahead, prolonging its lifespan.
How Often Should I De-Winterize My Sprayer During the Season?
You should de-winterize your sprayer at the start of each spraying season, especially after storage. Regular storage maintenance and equipment inspection guarantee your sprayer functions properly and prevents damage. Check hoses, seals, and filters for cracks or clogs, and flush out any residual chemicals. Performing these steps every season helps maintain peak performance, reduces downtime, and extends your equipment’s lifespan. Don’t forget to clean and lubricate moving parts during de-winterization.
Conclusion
Now that you’ve de-winterized your sprayer, it’s ready to work when you need it most. Remember, a stitch in time saves nine, so don’t delay in maintaining your equipment. Regular upkeep guarantees your sprayer stays reliable and lasts longer, saving you time and money down the line. By taking care of it now, you set yourself up for a successful season ahead. Keep your tools in top shape, and they’ll serve you well all year round.

Franz came aboard the Paint Sprayer Zone team with a background in both journalism and home renovation. His articulate writing style, combined with a passion for DIY projects, makes him an invaluable asset. Franz has a knack for breaking down technical jargon into easy-to-understand content, ensuring that even the most novice of readers can grasp the complexities of paint sprayers.