To clean your HVLP sprayer’s cups, needles, and nozzles, disconnect the spray gun and empty the paint. Rinse the cup with water or thinner, then wipe away residue with a soft brush. Remove the nozzle and soak it in solvent, scrubbing stubborn deposits gently. Clear the air cap and passages with brushes or compressed air. Proper cleaning after each use prevents buildup and guarantees smooth operation—you’ll discover more tips if you keep exploring.
Key Takeaways
- Disassemble and rinse the cup with water or thinner, then dry thoroughly to prevent buildup.
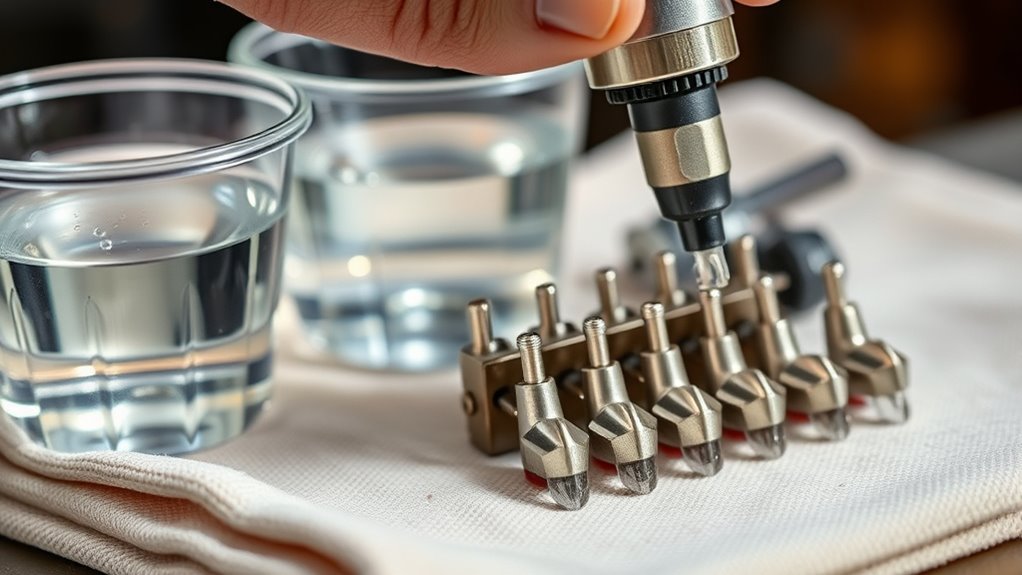
- Remove and soak the nozzle in solvent, then clean with a soft brush or specialized tool.
- Wipe the needle clean, inspect for damage, and ensure proper alignment during reassembly.
- Take out the air cap, soak in solvent, and clear passages with small brushes or compressed air.
- Regularly clean all components and dry thoroughly to maintain spray quality and prolong equipment lifespan.
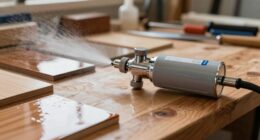
Cleaning your HVLP sprayer after each use is crucial to keep it functioning properly and guarantee smooth results every time. Proper sprayer maintenance begins with thorough cleaning techniques that prevent clogs, corrosion, and uneven spray patterns. When you’re finished working, don’t skip this step; it’s essential to prolong the lifespan of your equipment and ensure consistent performance.
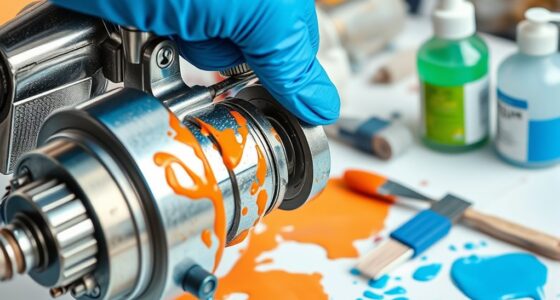
Start by disconnecting the spray gun from the air supply and emptying any remaining paint or coating from the cup. Rinse the cup with an appropriate solvent—water for water-based paints, or a suitable thinner for oil-based products. Use a soft brush or cloth to wipe away residue, paying attention to corners and hard-to-reach areas. Clear, dry cups reduce the risk of buildup that could compromise future spray jobs.
Next, focus on cleaning the nozzle and needle, which are critical components for achieving a fine, even spray pattern. Carefully remove the nozzle and soak it in solvent, then use a soft brush or a specialized cleaning tool to remove stubborn deposits. Be gentle to avoid damaging the precision parts. For the needle, wipe it clean and inspect for any bends or wear that could affect spray quality. To prevent clogs, always keep the needle clean and aligned correctly during reassembly.
The air cap and fluid passages also require attention. Remove the air cap and soak it in solvent, then use a small brush or compressed air to clear any obstructions. Make sure all passages are free of paint or debris to maintain proper airflow and atomization. For thorough cleaning, consider using specialized cleaning kits designed for HVLP sprayers, which often include small brushes and cleaning needles tailored for intricate parts.
Additionally, understanding the proper cleaning techniques is essential to avoid damage and ensure all components are thoroughly maintained. Throughout your sprayer maintenance routine, avoid rushing. Use proper cleaning techniques to reach every crevice, ensuring no residue is left behind. Dry all parts thoroughly before reassembling to prevent rust or corrosion. Regular cleaning not only improves spray quality but also reduces wear and tear on your equipment. By incorporating these cleaning techniques into your routine, you’ll keep your HVLP sprayer in top condition, helping you achieve professional results, every time.
Frequently Asked Questions
How Often Should I Replace the Spray Nozzles?
You should replace spray nozzles when you notice signs of wear, clogging, or a decrease in spray quality. Regular nozzle maintenance is essential, but a good replacement schedule is every 6 to 12 months, depending on usage. If you see cracks, corrosion, or inconsistent spray patterns, replace the nozzle immediately to guarantee peak performance. Proper maintenance and timely replacement help maintain spray consistency and prolong your sprayer’s lifespan.
Can I Use Household Cleaners to Clean the Sprayer?
You shouldn’t use household cleaners to clean your HVLP sprayer because they might contain chemicals that damage the equipment or affect future paint jobs. Instead, opt for manufacturer-recommended cleaning solutions. Always prioritize chemical safety by wearing gloves and goggles, and make certain proper ventilation. Using the right cleaners prevents damage and keeps your sprayer functioning smoothly, so you get professional results every time.
What Safety Precautions Are Necessary During Cleaning?
You should always wear protective gear and guarantee proper ventilation when cleaning your HVLP sprayer. Even if it seems unnecessary, chemicals can be harmful through skin contact or inhalation. Always wear gloves, goggles, and a mask to protect yourself. Work in a well-ventilated area to avoid inhaling fumes. Taking these precautions keeps you safe and prevents health issues, making your cleaning process both effective and safe.
How Do I Prevent Clogging in the Spray Cup?
To prevent clogging in the spray cup, make certain your paint has the right viscosity; too thick, and it’s prone to clogging. Regularly clean and replace filters to keep debris out of the system. Stir the paint thoroughly before use, and strain it if necessary. Proper filter maintenance and adjusting paint consistency help maintain smooth flow, reducing the risk of clogs during spraying.
Is It Necessary to Disassemble the Entire Sprayer for Cleaning?
You don’t need to disassemble the entire sprayer every time you clean it. Usually, a thorough cleaning of the cups, needles, and nozzles suffices, especially with regular cleaning frequency. Disassembly requirements depend on how often you spray and the material used. For routine maintenance, just clean the accessible parts. However, deep cleaning or troubleshooting might require partial disassembly to make certain all components are free of clogs and residue.
Conclusion
Now that you’ve thoroughly cleaned your HVLP sprayer, you’re practically the superhero of spray guns, ready to tackle any project without a hitch. Remember, neglecting proper cleaning can turn your precision tool into a rusted relic overnight! So, take those extra minutes to rinse, disassemble, and dry everything properly. With your sprayer spotless and well-maintained, you’ll achieve flawless finishes every time — definitely a game-changer in your painting arsenal!

Franz came aboard the Paint Sprayer Zone team with a background in both journalism and home renovation. His articulate writing style, combined with a passion for DIY projects, makes him an invaluable asset. Franz has a knack for breaking down technical jargon into easy-to-understand content, ensuring that even the most novice of readers can grasp the complexities of paint sprayers.