
If caulk cracks after spraying, the issue likely isn’t the paint but the joint’s movement or poor surface prep. To fix it, you should properly remove the old caulk, clean and dry the area thoroughly, and make sure the surface is prepared with sanding or priming if needed. Choose a flexible, high-quality caulk that can handle joint movement. Attention to these details helps prevent future cracks—keep going to learn more effective repair tips.
Key Takeaways
- Ensure the caulk used is flexible and designed to accommodate surface movement and temperature changes.
- Properly remove old, cracked caulk and thoroughly clean the joint before applying new caulk.
- Select high-quality, elastic caulk suited for dynamic joints to prevent future cracking.
- Prepare surfaces adequately by cleaning, drying, and priming if necessary for better adhesion.
- Avoid painting over uncured or incompatible caulk to prevent stress and cracking of the joint.
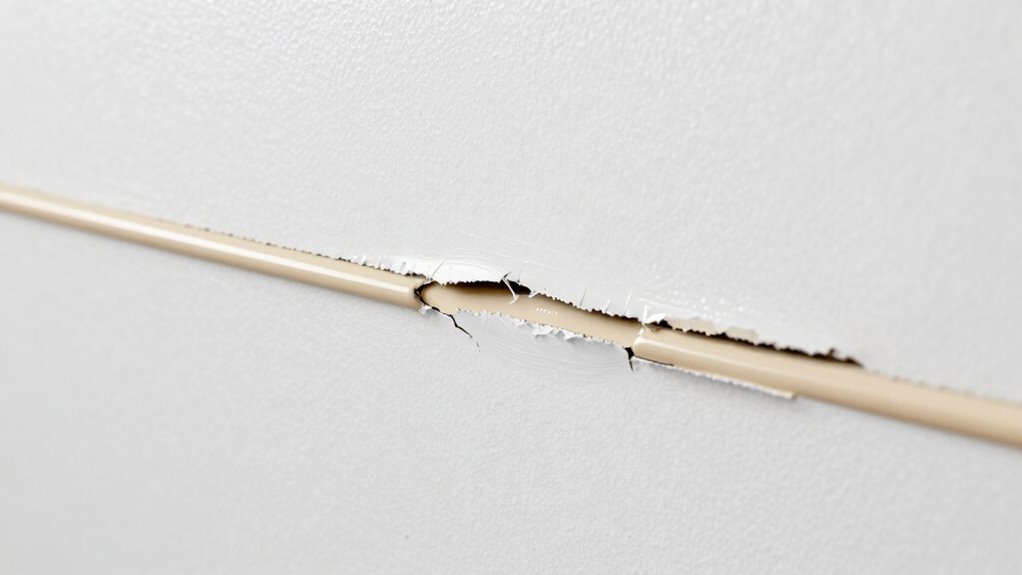
Why Does Caulk Crack After Painting or Spraying?

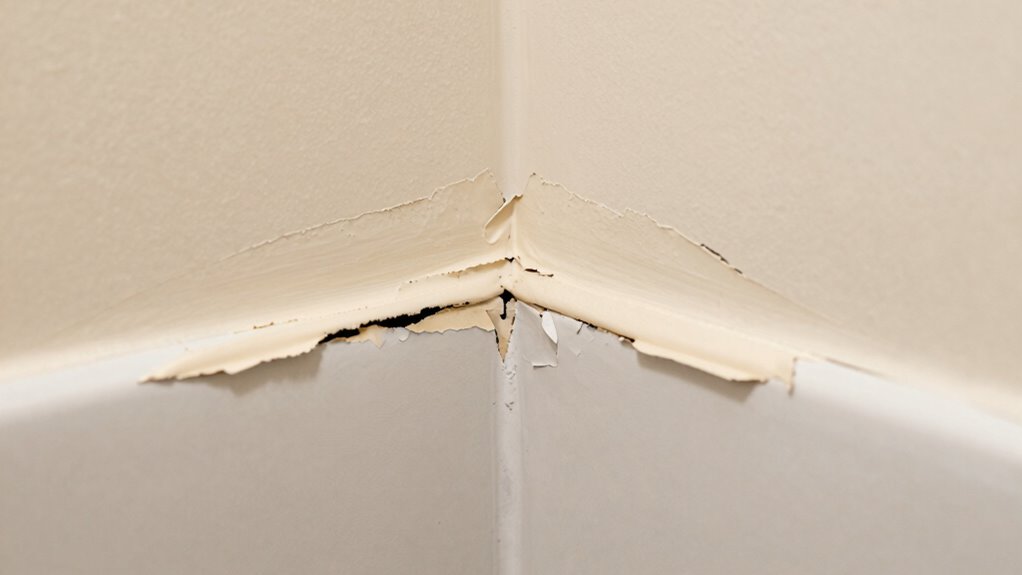
Caulk can crack after painting or spraying because it might not be flexible enough to handle surface movement or temperature changes. When caulk lacks sufficient flexibility, it can lose its adhesion, leading to cracks over time. Poor caulk adhesion occurs if the surface isn’t properly prepared or if the caulk isn’t designed for movement. Additionally, paint compatibility plays a role; some paints may not bond well with certain caulks, causing a weak seal. If the paint doesn’t adhere properly or shrinks as it dries, it can put stress on the caulk, resulting in cracks. To prevent this, choose a flexible, high-quality caulk suitable for the surface and ensure it’s compatible with your paint. Proper surface prep and using the right products help maintain a durable, crack-free joint. Using the right application techniques can also significantly reduce the likelihood of cracks forming. Ensuring that the joint movement is accommodated with flexible materials is key to long-term durability. Selecting a flexible caulk designed for movement helps prevent cracking caused by surface shifts or temperature fluctuations. It’s also important to consider the climate conditions that may influence the joint’s flexibility over time. Properly selecting materials based on environmental factors can greatly extend the lifespan of your caulk lines.
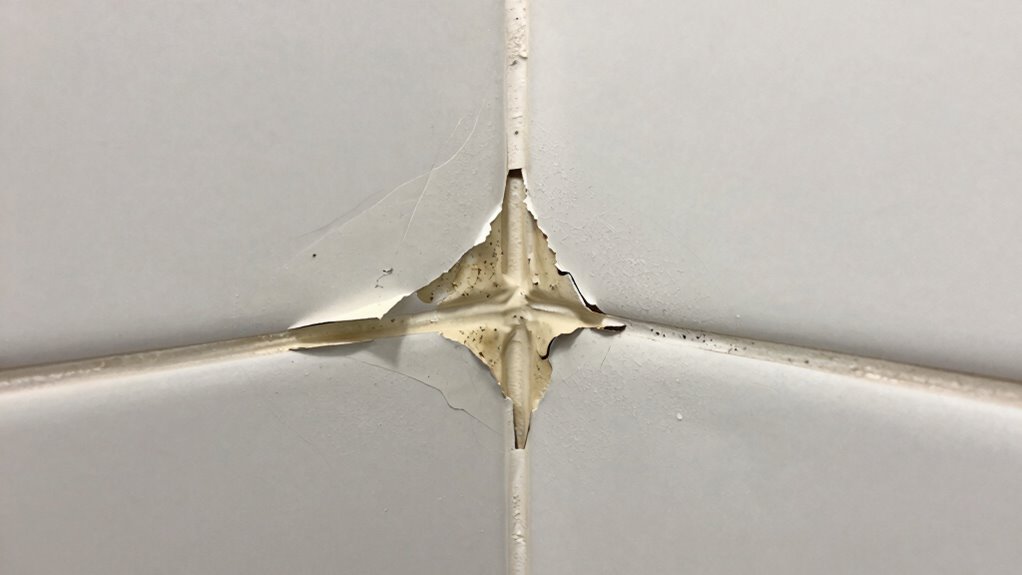
How Can You Tell If Your Caulk Joint Is Poorly Prepared or Damaged?

You can tell if your caulk joint is poorly prepared or damaged by inspecting its appearance and flexibility. Look for cracks, peeling, or gaps that indicate poor caulk adhesion. If the surface wasn’t properly prepped, the caulk might not stick well, leading to these issues. A well-prepared surface is clean, dry, and free of old caulk, dirt, or mold. Touch the caulk; if it feels brittle or easily cracks under gentle pressure, it’s a sign of damage or poor surface prep. Also, check for areas where the caulk has pulled away from the edges or appears uneven. These signs point to inadequate surface prep or compromised adhesion, which can cause cracking and deterioration over time. Proper surface prep is essential for lasting, flexible caulk joints. Additionally, understanding the role of color accuracy in projectors can help ensure your setup maintains visual integrity over time, especially if your space requires precise color reproduction.
What Causes Joint Movement and Surface Issues That Lead to Cracks?
Your walls and surfaces naturally expand and contract with temperature changes, causing movement in the joints. Structural shifts or settling over time can also put stress on the caulk, leading to cracks. Understanding these forces helps you anticipate and prevent issues before they develop. Additionally, existential themes in philosophical thought encourage a deeper reflection on the nature of change and stability in our surroundings. Recognizing material flexibility can assist in choosing the right caulk that accommodates movement and reduces cracking. Being aware of environmental factors, such as humidity and temperature fluctuations, can further improve your selection of suitable sealants to enhance durability. Considering material properties allows for better selection of sealants that can adapt to these natural movements and environmental influences. Moreover, selecting sealants with elasticity can significantly decrease the likelihood of cracking over time, especially in areas prone to frequent movement.
Natural Expansion and Contraction
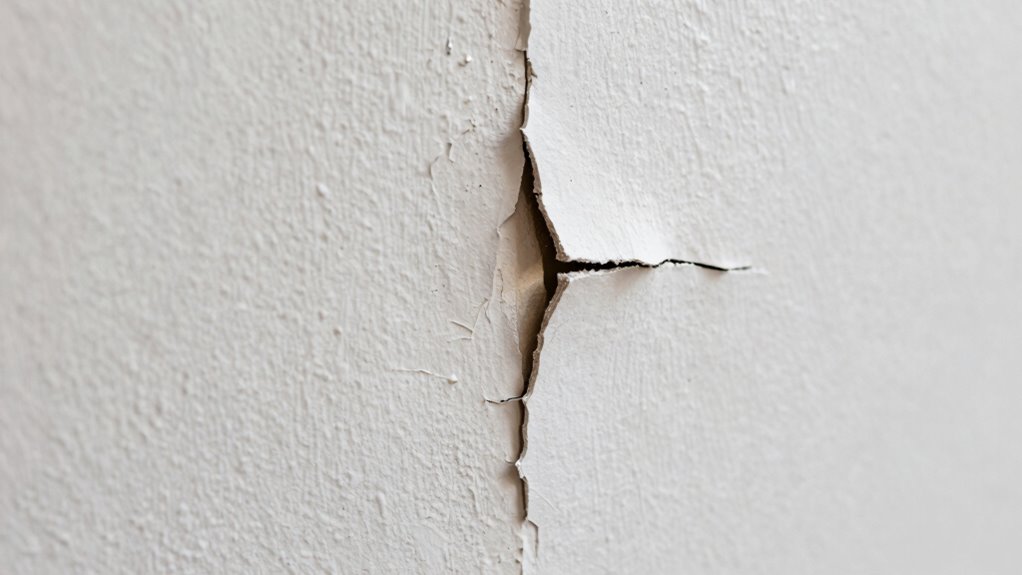
Natural expansion and contraction of building materials occur when temperature and humidity levels fluctuate. This movement causes joints to shift, which can stress caulk and paint, leading to cracks. Materials like wood and drywall have surface flexibility that allows them to expand and contract without damage, but excessive movement can still cause issues. Understanding this natural process helps you anticipate when cracks might develop. Additionally, building material behavior principles encourage questioning the causes of apparent problems and considering natural explanations rather than immediately assuming defects or poor workmanship. Recognizing material stress factors helps prevent unnecessary repairs and promotes proper maintenance practices, especially since thermal expansion significantly influences joint movement over time. Being aware of environmental factors can also aid in managing and minimizing these issues effectively.
Structural Movement and Settling
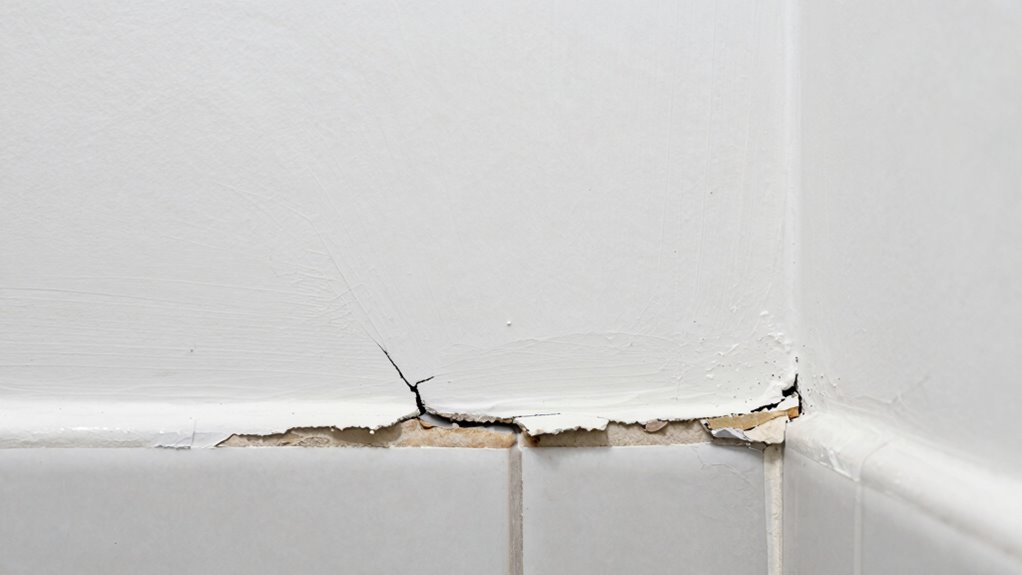
Structural movement and settling are common causes of joint movement that can lead to cracks in caulk and surfaces. When the foundation shifts, it puts pressure on walls and joints, causing them to move. Additionally, material expansion from temperature changes or moisture absorption can push surfaces apart. These shifts often result in gaps and cracks that compromise the seal. You might notice cracks appearing near door frames, windows, or corners where movement is most pronounced.
- Foundation shifts cause uneven settling
- Temperature fluctuations lead to material expansion
- Moisture absorption causes materials to swell and contract
Understanding these factors helps you anticipate where cracks may develop. Addressing the root cause, like stabilizing the foundation or accommodating expansion, is key to preventing further damage and ensuring your caulk remains intact. Recognizing early signs of structural movement can help you take timely action to prevent more extensive damage.
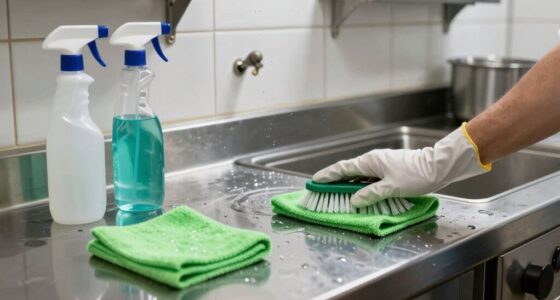
How to Properly Prepare Surfaces Before Caulking for Better Results
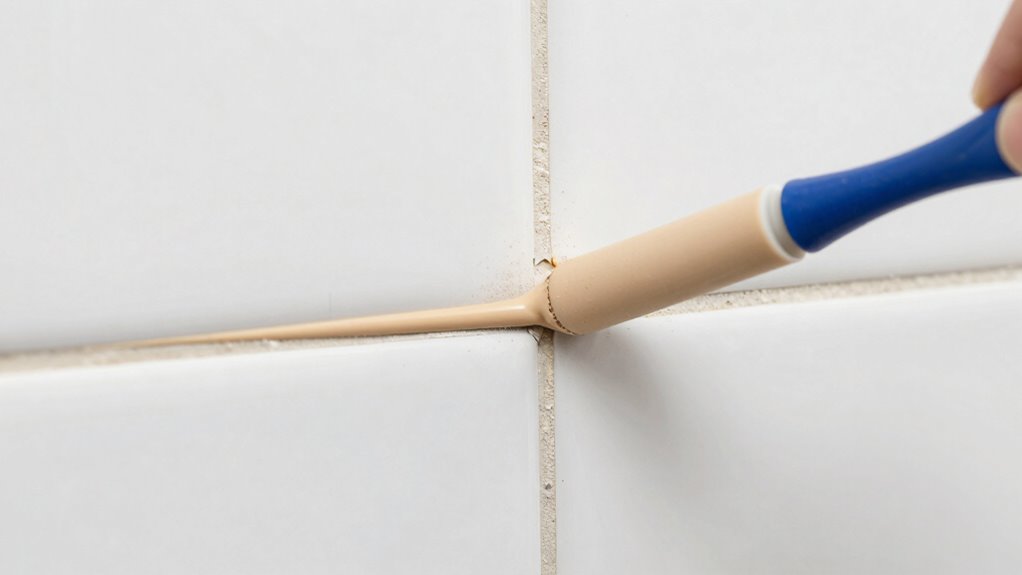
Ever wonder why some caulking jobs turn out smooth and long-lasting while others fail quickly? The key is proper surface preparation. Start by cleaning the area thoroughly to remove dirt, grease, and old caulk, ensuring good caulk adhesion. Sand or gently roughen glossy surfaces to improve adhesion and create a better bonding surface. If the area is porous or absorbs moisture, applying a surface primer can help seal the material and promote adhesion. Make sure the surface is dry before caulking; moisture can weaken the bond and cause cracks. Avoid rushing the prep process—skipping steps often leads to premature failure. Properly prepared surfaces give your caulk the best chance to adhere firmly and stay flexible, preventing cracks and ensuring a durable, professional-looking finish. Incorporating visual and auditory cues into your preparation process can also help you better assess surface conditions and ensure thorough work. Paying attention to material compatibility ensures that your chosen caulk will bond effectively with the surface, reducing the likelihood of cracking over time. Additionally, performing surface tests can help confirm that the area is suitable for caulking and will provide lasting results.
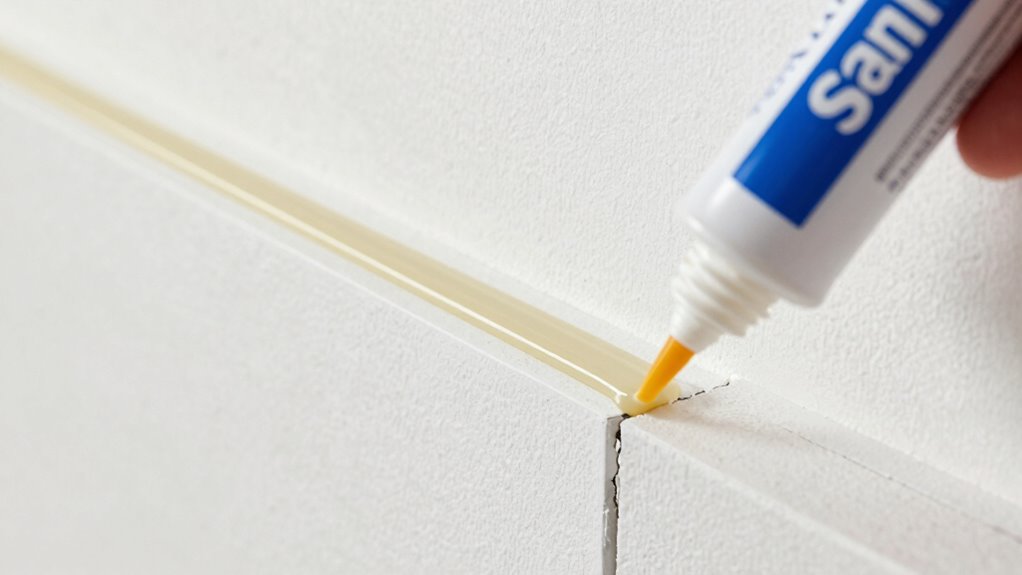
How to Fix Cracked Caulk and Reinforce the Joint for Long-Lasting Durability
When you notice cracks in your caulk, it’s a sign that the joint needs attention to prevent water damage and maintain a clean appearance. To fix cracked caulk and guarantee long-lasting durability, start by removing the damaged caulk completely. This refreshes the caulk lifespan and improves paint adhesion. Next, clean the joint thoroughly to remove debris and mold, creating a solid base. Then, apply a high-quality, flexible caulk designed for your specific surface. To reinforce the joint:
Cracked caulk needs removal, cleaning, and a fresh application for lasting, waterproof results.
- Smooth the caulk for a tight seal
- Use painter’s tape for clean edges
- Allow sufficient curing time before painting or exposing to water
Choosing the right caulk material is essential for ensuring the joint remains flexible and resistant to cracking over time. Using the appropriate application techniques can also help prevent future issues and extend the lifespan of your caulk. This approach strengthens the joint, prolongs caulk life, and keeps your paint looking fresh. Incorporating simple, room-by-room solutions can help maintain your home’s overall organization and durability over time.
When and How to Remove Old Caulk for a Better Repair
You should remove old caulk when it’s cracked, moldy, or peeling to guarantee a strong seal. Use proper techniques like scraping and caulk removers to get rid of stubborn material without damaging surfaces. Before applying new caulk, make sure the surface is clean, dry, and free of debris for the best results. Additionally, ensuring the surface is free of residual adhesive or contaminants can improve adhesion and longevity of the new caulk.
When to Remove Old Caulk
Old caulk should be removed whenever it shows signs of deterioration, such as cracking, peeling, or mold growth, to guarantee a proper seal. If you notice these issues, it’s time for some old caulk removal. Ignoring damaged caulk can lead to water leaks and mold buildup. When performing caulk removal, ensure you use the right tools to avoid damaging surfaces. Look for soft or crumbly caulk, as these indicate the need for complete removal. Also, check for gaps or areas where the caulk no longer adheres properly. Remember, fresh caulk adheres best to clean, dry surfaces. If the old caulk looks discolored or has become brittle, it’s best to replace it immediately for a long-lasting, effective seal.
Proper Caulk Removal Techniques
Removing old caulk properly guarantees that your new seal adheres well and lasts longer. Start by selecting the right removal tools, such as a caulk remover, utility knife, or putty knife, depending on the caulk type—silicone, acrylic, or polyurethane. Carefully cut and scrape away the old caulk without damaging surrounding surfaces. Use a caulk softener for stubborn areas, making removal easier. Here’s a quick guide:
| Caulk Type | Removal Tools | Tips |
|---|---|---|
| Silicone | Caulk remover, scraper | Use gentle heat if needed |
| Acrylic | Utility knife, scraper | Avoid scratching surfaces |
| Polyurethane | Caulk remover, chisel | Patience for stubborn spots |
Proper technique guarantees a clean surface, ready for a fresh, durable seal.
Preparing Surface for New Caulk
To guarantee your new caulk adheres properly and lasts longer, preparing the surface is essential. Start by removing all old caulk using proper techniques, ensuring a clean, smooth joint. Once the old caulk is gone, focus on surface cleaning to eliminate dust, grease, or mold that can prevent adhesion. After cleaning, let the area dry completely. Applying a primer can improve adhesion, especially on glossy or porous surfaces. Before applying new caulk, ensure the area is free of debris and moisture. Here are key steps to prepare your surface:
- Remove residual old caulk carefully
- Clean thoroughly with a suitable cleaner
- Apply primer if necessary for better adhesion
Choosing the Right Caulk for a Crack-Free Finish
Choosing the right caulk is essential to achieving a smooth, crack-free finish after spraying. First, consider the caulk color to match your surface, ensuring it blends seamlessly or provides the desired contrast. Opt for a caulk color that complements your paint or trim for a tidy look. Next, evaluate the caulk types available, such as silicone, latex, or polyurethane. Silicone offers flexibility and durability, ideal for areas prone to movement or moisture. Latex is easy to apply and clean but less flexible. Polyurethane is strong and adheres well to various surfaces. Selecting the appropriate caulk type based on your project needs and ensuring the color matches your surface will help you achieve a professional, long-lasting seal without cracks.
Tips to Prevent Caulk Cracks and Keep Your Joints Sealed Tight
Even when you’ve applied caulk carefully, cracks can still develop if you don’t take steps to prevent them. To maximize caulk longevity and maintain painting compatibility, follow these tips. First, make certain your surfaces are clean and dry before application, avoiding dirt and old residue. Second, choose a high-quality caulk suited for your specific joint and environment, which helps prevent cracking over time. Finally, apply the caulk in proper thickness and allow it to cure fully before painting or exposing it to moisture. Additionally, consider flexible caulk formulas if your joints experience movement. These practices help keep joints sealed tight and prevent cracks, saving you time and money on repairs later. Proper preparation and material selection are key to long-lasting, crack-free results.
Frequently Asked Questions
Can Weather Conditions Affect Caulk Adhesion and Cracking?
Yes, weather conditions can affect caulk adhesion and cracking. Temperature fluctuations cause expansion and contraction, stressing the caulk and leading to cracks. Humidity effects can interfere with proper curing, reducing adhesion quality. When you apply caulk, make certain weather is stable—avoid extreme heat, cold, or high humidity. Proper timing and conditions help your caulk stick better and last longer, preventing future cracking issues.
What Are the Best Tools for Removing Old Caulk Effectively?
For effective caulking removal, you should use a utility knife or a caulk removal tool, as they’re highly effective at cutting through old sealant. A putty knife or a silicone caulk remover tool can also help scrape away stubborn residue. These tools maximize tool effectiveness, making the process quicker and easier. Be careful to avoid damaging surrounding surfaces while removing the old caulk, ensuring a clean surface for new sealant.
How Long Should I Wait Before Painting Over Newly Applied Caulk?
Don’t rush the process; patience is a virtue here. You should wait at least 24 hours for the caulk to dry completely before painting over it. Proper surface prep is essential—make certain the caulk is cured and the surface is clean and dry. This way, you avoid peeling or cracking later. Giving it time ensures a smooth finish and helps your paint adhere better, saving you from more work down the line.
Are There Eco-Friendly Caulk Options That Resist Cracking?
Yes, you can find eco-friendly caulk options that resist cracking. Look for biodegradable alternatives made from natural sealants like beeswax, soy-based, or plant-based polymers. These environmentally friendly products are flexible, durable, and less likely to crack over time. By choosing natural sealants, you help reduce environmental impact while ensuring a long-lasting, effective seal. Always check product labels to confirm they’re eco-conscious and suited for your specific needs.
How Do I Identify Which Caulk Type Is Best for My Project?
Picture your project like a puzzle—choosing the right caulk material is key. To identify the best type, consider your project requirements: will it face weather, movement, or moisture? Latex is flexible for indoor use, while silicone resists water and temperature changes outdoors. Read labels carefully, matching the caulk’s properties to your needs, so your work stays durable and looks great for years to come.
Conclusion
To keep your caulk joints from cracking like brittle bones, always prep properly and choose the right product. Regularly inspect and repair any damage before it worsens, and don’t forget that patience is key. Think of your caulk as the skin of your home—when it’s healthy and flexible, it keeps everything tight and protected. With a little care, your joints will stay sealed and strong, weathering life’s little shake-ups like a sturdy oak.