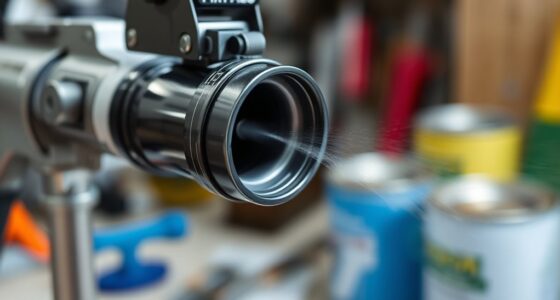
Airless spray technology has transformed indoor painting, providing a sleek and effective method. These sprayers can achieve professional, even results while significantly reducing the time and energy needed compared to traditional brush and roller techniques. They can easily cover large areas quickly, without the usual marks left by brushes or rollers.
Whether you’re a DIY enthusiast or a professional painter, using an airless sprayer will ensure a seamless finish on any surface. In this article, we’ll provide a step-by-step guide on how to use an airless sprayer for effortless interior house painting.
Key Takeaways
- Achieve smooth and professional-looking results
- Save time and effort compared to using brushes and rollers
- Cover large areas quickly and efficiently
- Reduce the risk of brush strokes and roller marks

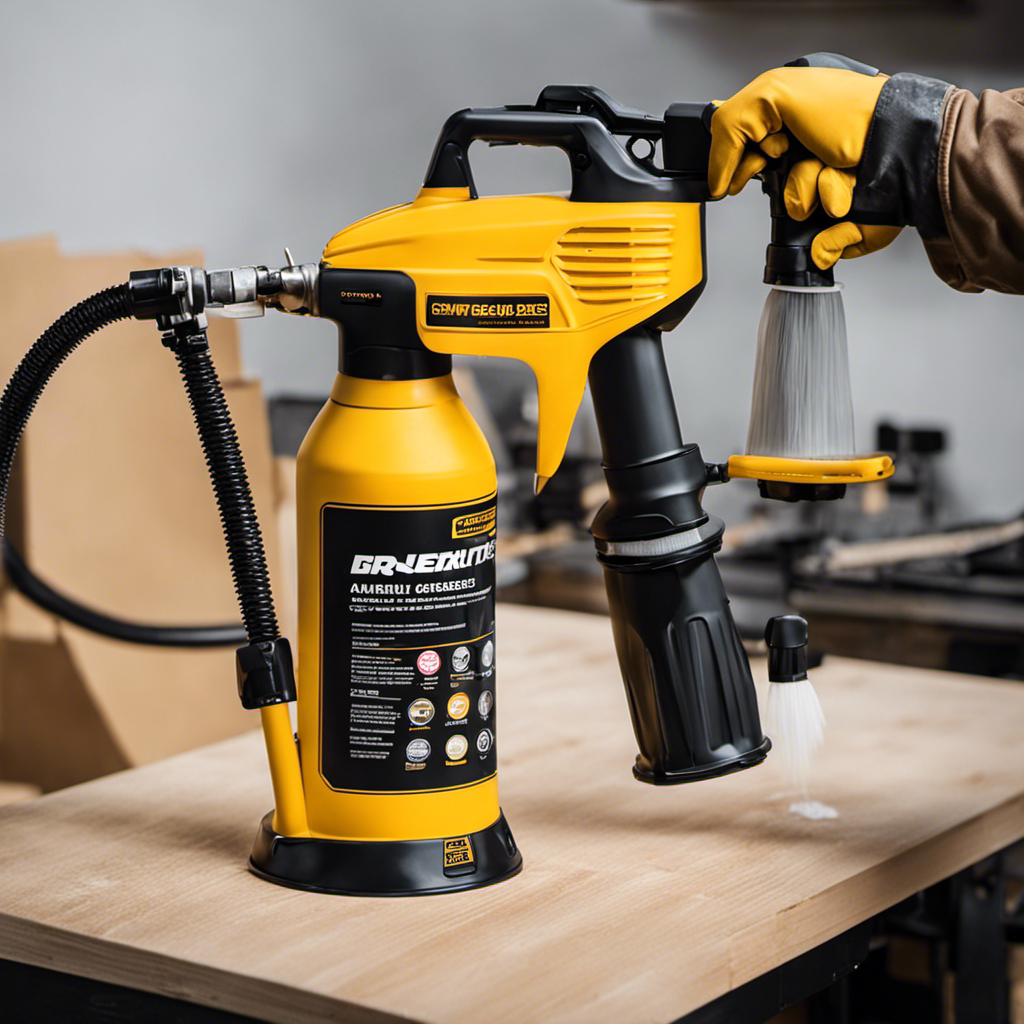
HomeRight C800971 Super Finish Max, Includes 3 Brass Spray Tips, 3 Spray Patterns, Easy to Clean HVLP Paint Sprayer, Great for Furniture, Cabinets, Trim & More, Sprays Stains, Sealers & Latex Paints
- Versatile DIY Paint Sprayer: Ideal for furniture, cabinets, and more
- Multiple Spray Patterns: Horizontal, vertical, and round options
- Adjustable Material Flow: Control output for different projects
As an affiliate, we earn on qualifying purchases.
As an affiliate, we earn on qualifying purchases.
Benefits of Using an Airless Sprayer for Interior House Painting
Using an airless sprayer for interior house painting allows homeowners to achieve smooth and professional-looking results while saving time and effort compared to using brushes and rollers. The advantages of using an airless sprayer include its efficiency in covering large areas quickly and evenly, reducing the risk of brush strokes and roller marks.
Unlike brushes and rollers, airless sprayers are suitable for various types of paint and surfaces. They provide a consistent, uniform coat of paint, resulting in a high-quality finish. With an airless sprayer, homeowners can complete their painting projects in less time, allowing them to move on to other tasks or enjoy their newly painted space sooner.
The efficiency of an airless sprayer makes it a valuable tool for any interior house painting project.
Gathering the Necessary Materials and Equipment
To gather the necessary materials and equipment for painting, one should choose paint colors that complement their home decor and lighting. It is important to take safety precautions and ensure that the right paint colors are selected. Here are the steps to gather the required items:
-
Choose paint colors: Select colors that match the overall theme and style of your home. Consider the lighting in each room to ensure the paint colors will look their best.
-
Gather the equipment: Collect an airless sprayer, paint trays, brushes, rollers, drop cloths, and painters tape. These tools will help you achieve a professional finish.
-
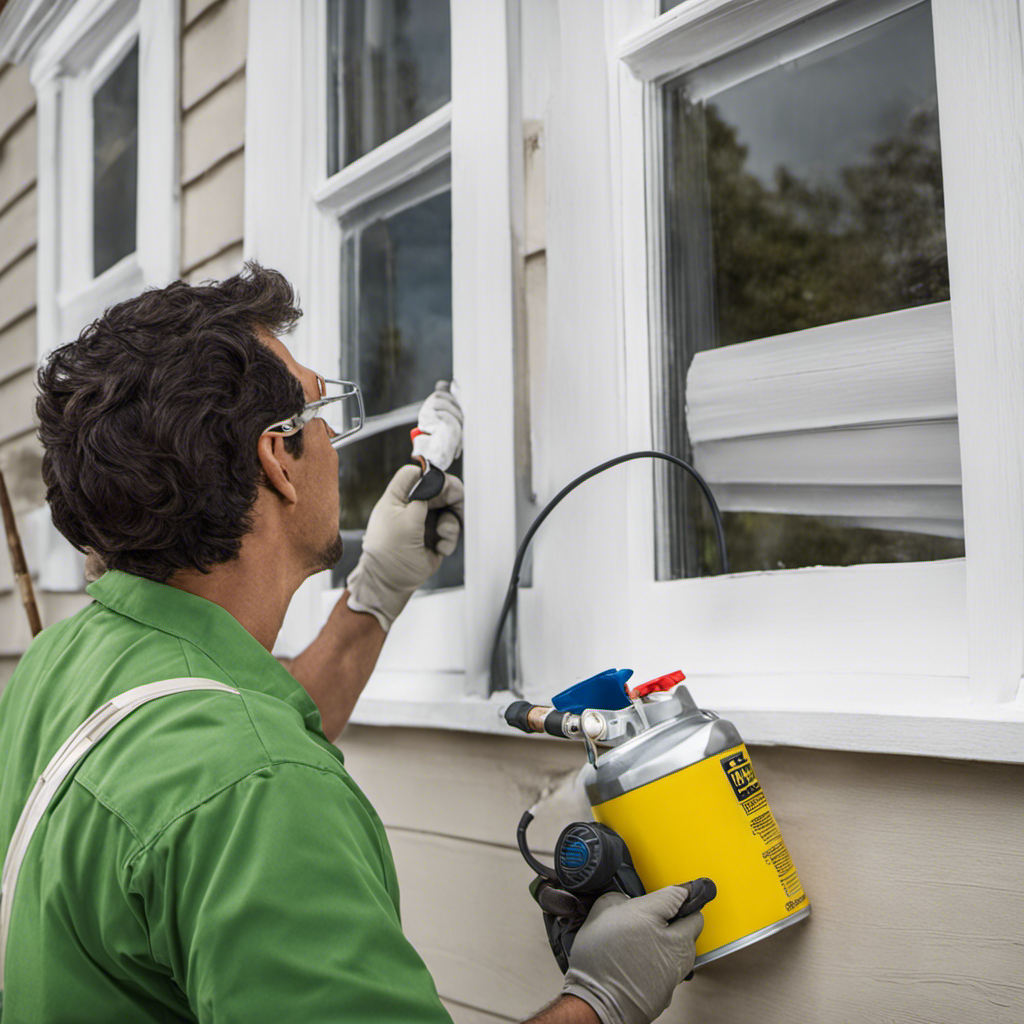
Ensure safety: Don’t forget to have protective gear such as a mask, goggles, and gloves. These will protect you from any potential health hazards while painting.
Preparing the Surface for Painting
The painter begins by cleaning the walls with a mild detergent or specialized wall cleaner. This step is crucial to ensure a smooth and clean surface for painting.
After cleaning, the painter inspects the walls for any cracks or holes that need repair. Using spackling compound or patching compound, they fill in these imperfections and smooth them out with sandpaper.
Once the walls are repaired, the painter removes any existing wallpaper if necessary. This process involves using a wallpaper scoring tool to create small holes in the wallpaper, then applying a wallpaper remover solution and scraping off the wallpaper with a putty knife. Removing wallpaper can be time-consuming and may require multiple applications of the remover solution.
Once the walls are repaired and the wallpaper is removed, the surface is ready for painting.
Setting Up and Adjusting the Airless Sprayer
After adjusting the pressure on the sprayer, the painter begins painting from the top down to ensure a smooth and even flow of paint. This technique helps prevent drips and ensures consistent coverage.
To troubleshoot common issues with airless sprayers and achieve even paint coverage, consider the following:
-
Check for clogs: Clear any clogs or blockages that may be affecting the spray pattern by using a cleaning solution or a small brush to remove any debris.
-
Adjust the spray tip size: Different spray tip sizes produce different spray patterns. Adjusting the tip size can help achieve the desired coverage and prevent overspray.
-
Hold the sprayer at the correct distance: Maintaining a distance of 12-18 inches between the sprayer and the surface helps achieve better control and an even application of paint.
Painting Techniques for a Seamless Finish
Using long, smooth strokes and overlapping each stroke slightly, the painter ensures consistent coverage and a seamless finish. These painting techniques are essential for achieving a professional-looking result.
By applying the paint in this manner, the painter ensures that there are no visible brush strokes or uneven areas on the surface. The overlapping of strokes helps to blend the paint and create a smooth, uniform appearance.
It is important to maintain a steady and controlled hand movement while painting to avoid any drips or smudges. Additionally, using the correct amount of paint on the brush or roller is crucial to prevent excess paint from accumulating and creating an uneven finish.
Tips for Maintaining the Airless Sprayer
To ensure optimal performance and extend its lifespan, regular cleaning and maintenance of the airless sprayer is crucial. Here are some tips for maintaining the airless sprayer and troubleshooting spray issues:
-
Clean the sprayer after each use: Flush out any remaining paint by running a cleaning solution through the sprayer. Remove the spray tip and filters, and clean them thoroughly.
-
Check for clogs: If you notice a decrease in the spray pattern or uneven spraying, check for clogs in the spray tip or filters. Use a small brush or needle to remove any debris.
-
Adjust the pressure: If the paint is not spraying evenly, adjust the pressure on the sprayer to achieve a smooth flow. Too much pressure can cause overspray, while too little pressure can result in an uneven finish.
Cleaning Up and Removing Protective Coverings
He carefully removes the protective coverings and cleans up the paint splatters. Cleaning techniques are essential after painting with an airless sprayer.
To remove stains, start by wiping away any excess paint with a damp cloth or sponge. For dried or stubborn stains, use a mild detergent mixed with warm water. Gently scrub the affected area using a soft brush or sponge. Rinse with clean water and pat dry.
If there are still lingering stains, repeat the process or use a specialized paint remover according to the manufacturer’s instructions. It is important to clean up any spills or drips immediately to prevent them from drying and becoming harder to remove.
Inspecting and Touching Up for a Professional Result
After cleaning up and removing the protective coverings, it is important to inspect the painted surface and touch up any areas that may require additional attention. Properly inspecting and touching up the paintwork will ensure a professional-looking result.
Here are some techniques for touching up and common touch up mistakes to avoid:
-
Techniques for Touching Up:
- Use a small brush or touch-up sprayer to apply the paint precisely and blend it with the existing paint.
- Feather the edges of the touch-up area to create a seamless transition between the new and old paint.
- Allow the touch-up paint to dry completely before assessing if additional coats are needed.
-
Common Touch Up Mistakes to Avoid:
- Applying too much paint, which can result in a noticeable bump or uneven texture.
- Not matching the color accurately, leading to a visible difference in shade.
- Neglecting to clean the touch-up area properly, resulting in poor adhesion.
Frequently Asked Questions
Can an Airless Sprayer Be Used for Exterior House Painting as Well?
Using an airless sprayer for exterior house painting has its pros and cons.
The main advantage is that it allows for quick and efficient coverage of large areas.
However, it may not be suitable for all surfaces and weather conditions.
To achieve a professional finish, it’s important to adjust the sprayer’s pressure and apply multiple thin coats.
Additionally, proper surface preparation, such as cleaning and repairing, is crucial.
Regular maintenance of the sprayer is also necessary to ensure optimal performance.
How Long Does It Take for the Paint to Dry Between Coats When Using an Airless Sprayer?
When using an airless sprayer, the drying time between coats of paint can vary depending on factors such as humidity and temperature. Generally, it is recommended to wait at least 2-4 hours before applying another coat.
However, it is important to read the manufacturer’s instructions for the specific paint being used, as some may require longer drying times.
Proper cleaning and maintenance of the airless sprayer is crucial to ensure optimal performance. Common mistakes to avoid include not cleaning the sprayer thoroughly after each use and neglecting regular maintenance tasks such as checking for clogs and replacing worn parts.
Are There Any Special Precautions or Safety Measures to Take When Using an Airless Sprayer?
When using an airless sprayer, there are several precautions and safety measures to keep in mind.
It is important to wear protective gear such as a mask, goggles, and gloves to protect against paint fumes and potential splatters.
Additionally, make sure to properly clean and maintain the sprayer to prevent clogs or malfunctions.
It is also recommended to work in a well-ventilated area and avoid inhaling paint particles.
Following these precautions will help ensure a safe and successful painting experience.
Can an Airless Sprayer Be Used With Different Types of Paint, Such as Oil-Based or Water-Based?
An airless sprayer can be used with different types of paint, including oil-based and water-based. It is suitable for various surfaces such as walls, ceilings, and furniture.
To achieve a smooth finish, it is important to adjust the pressure on the sprayer for an even flow of paint. Using long, smooth strokes and overlapping each stroke slightly will ensure consistent coverage.
Maintaining a distance of 12-18 inches between the sprayer and the surface is also crucial.
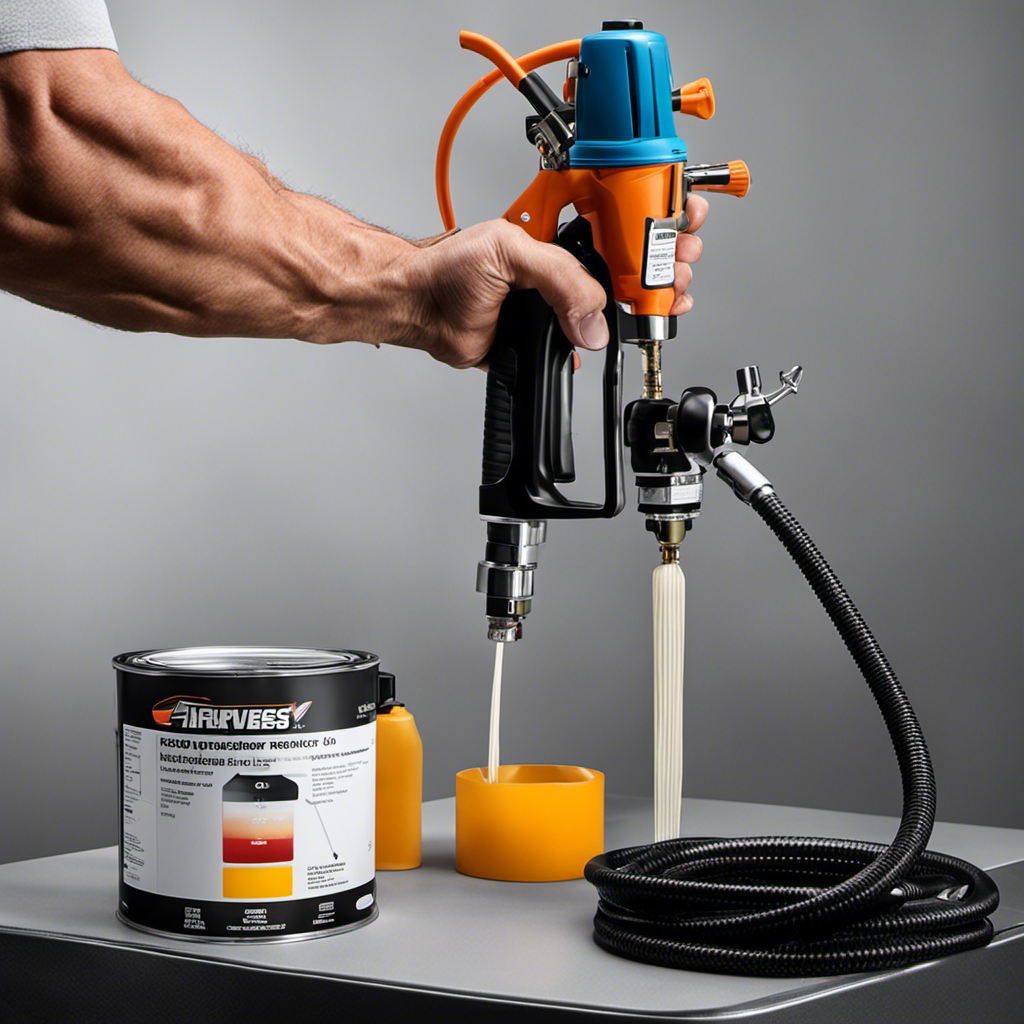
Is It Necessary to Thin the Paint Before Using It in an Airless Sprayer?
Thinning paint for an airless sprayer is important for achieving proper paint consistency. It ensures that the paint flows smoothly through the sprayer and provides an even application. Thinning the paint allows for better control and reduces the risk of clogging or uneven coverage.
It is necessary to follow the manufacturer’s instructions and recommendations when determining the appropriate thinning ratio for your specific paint and sprayer. Taking the time to thin the paint properly will result in a professional-looking finish.
Conclusion
In conclusion, using an airless sprayer for interior house painting is like having a magical painting wand in your hands. It effortlessly transforms your walls into works of art, leaving no room for imperfections.
With its lightning-fast speed and flawless coverage, you’ll finish your painting projects in record time, making your friends and neighbors green with envy.
Say goodbye to tedious brush strokes and roller marks, and say hello to a professional finish that will make you feel like a master painter.
Don’t miss out on this game-changing tool for your next painting adventure!

Drenched in creativity and armed with a fountain pen, Isolde weaves words as gracefully as a painter strokes their canvas. A writer for Paint Sprayer Zone, her passion for colors, textures, and spaces finds a harmonious blend with her profound knowledge of painting tools and techniques.
Having grown up in a family of artists, Isolde’s tryst with paints began early. While her relatives expressed themselves on canvas, Isolde found her medium in words. She dedicated herself to chronicling the world of painting, understanding the nuances of each tool, and the artistry behind every spritz of a paint sprayer.