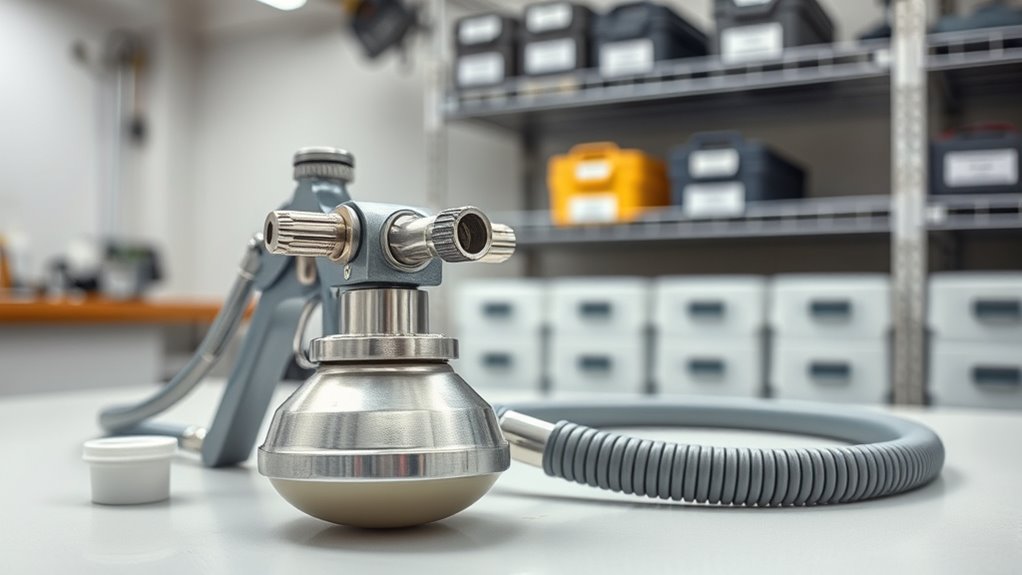
You should clean your paint sprayer after each use to prevent clogs and maintain performance. It’s important to flush out the system when switching colors or paint types to avoid contamination. Clean thoroughly before extended storage to prevent dried paint and damage. Also, inspect your sprayer regularly for signs like uneven spray or dripping, which indicate a need for cleaning. Continuing this routine ensures your sprayer stays in top shape and lasts longer—learn more about the best practices that keep your equipment running smoothly.
Key Takeaways
- Clean immediately after each use to prevent paint drying and clogging, especially with thicker paints.
- Flush and clean the sprayer thoroughly when switching colors or paint types to avoid contamination.
- Perform routine cleaning and inspections after every few uses or at least once a week for regular projects.
- Disassemble and clean all parts before extended storage to prevent buildup and corrosion.
- Clean the sprayer whenever you notice uneven spray patterns, splattering, or reduced pressure to maintain optimal performance.
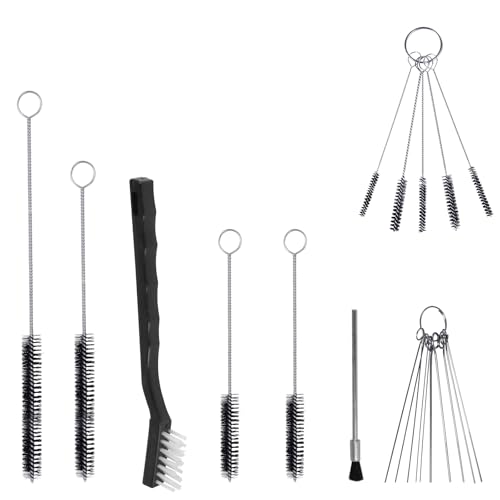
17pcs Multi-Purpose Spray Gun Cleaning Kit,Nylon Brushes Paint Gun Cleaning Kit Mini Brushes & Needles for Clean Airbrush Nozzles Spray Guns Tattoo Equipment (17)
★ This handy spray guns cleaning kit is all you need to keep your spray guns clean and…
As an affiliate, we earn on qualifying purchases.
As an affiliate, we earn on qualifying purchases.
After Each Use
After each use, you should clean your paint sprayer thoroughly to prevent paint from drying inside the system. This helps maintain consistent spray quality and prevents clogs caused by dried paint. When cleaning, pay attention to paint thickness, as thicker paints are more prone to clogging and may require extra flushing. Regular cleaning also minimizes nozzle wear, ensuring the nozzle stays sharp and delivers an even spray. If you neglect cleaning, paint residue can build up, leading to uneven coverage and increased nozzle wear over time. Proper cleaning after every use preserves your sprayer’s performance, extends its lifespan, and keeps your projects looking professional. Additionally, understanding the effects of dried paint on your equipment can help you adopt better maintenance practices. This is especially important when working with performance upgrades that might alter how your equipment handles different types of paint. Taking a few minutes to clean your equipment immediately after use is a small investment that pays off in the long run. Regular cleaning also reduces the likelihood of needing costly repairs caused by clogged nozzles, saving you time and money. Being aware of how dried paint impacts your equipment’s components can help you develop more effective cleaning routines. Incorporating proper maintenance techniques can further enhance the longevity and reliability of your paint sprayer.
17pcs Multi-Purpose Spray Gun Cleaning Kit,Nylon Brushes Paint Gun Cleaning Kit Mini Brushes & Needles for Clean Airbrush Nozzles Spray Guns Tattoo Equipment (17)
★ This handy spray guns cleaning kit is all you need to keep your spray guns clean and…
As an affiliate, we earn on qualifying purchases.
As an affiliate, we earn on qualifying purchases.
When Switching Colors or Paint Types

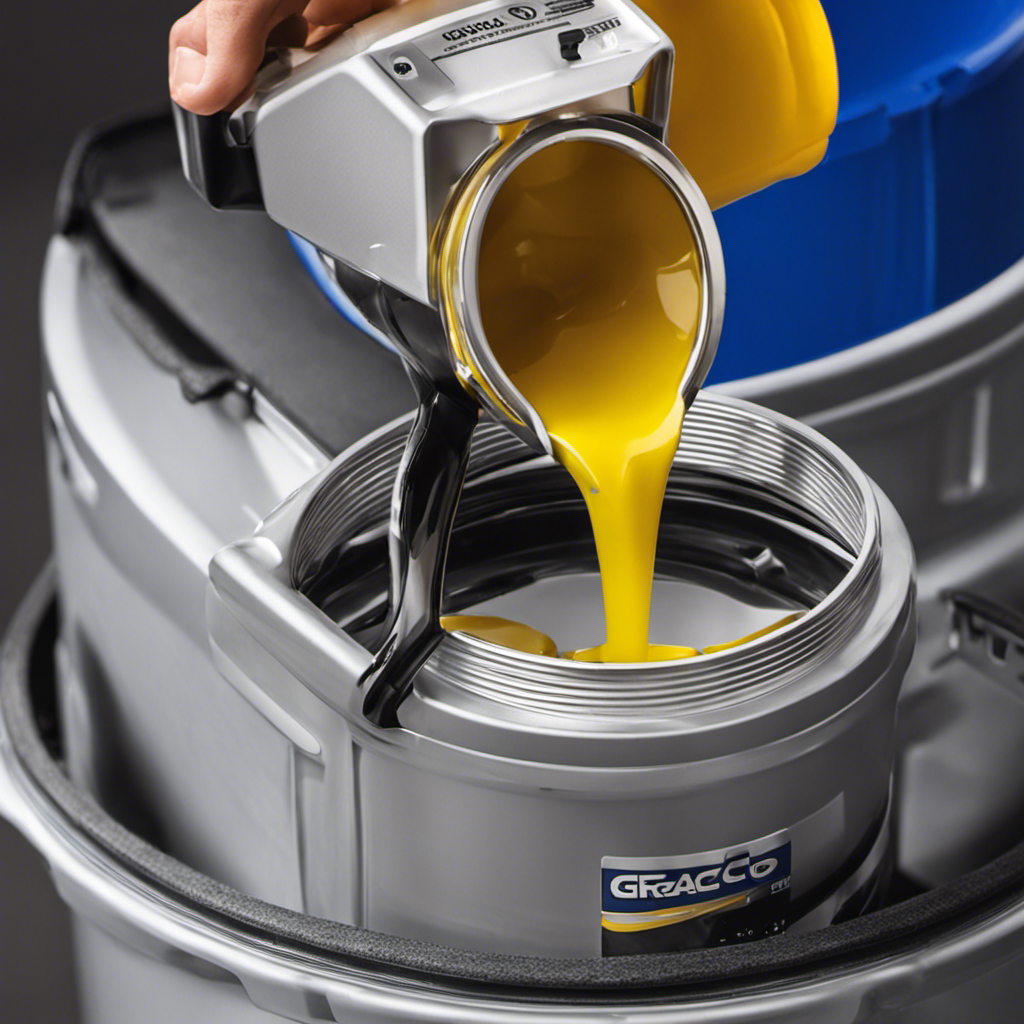
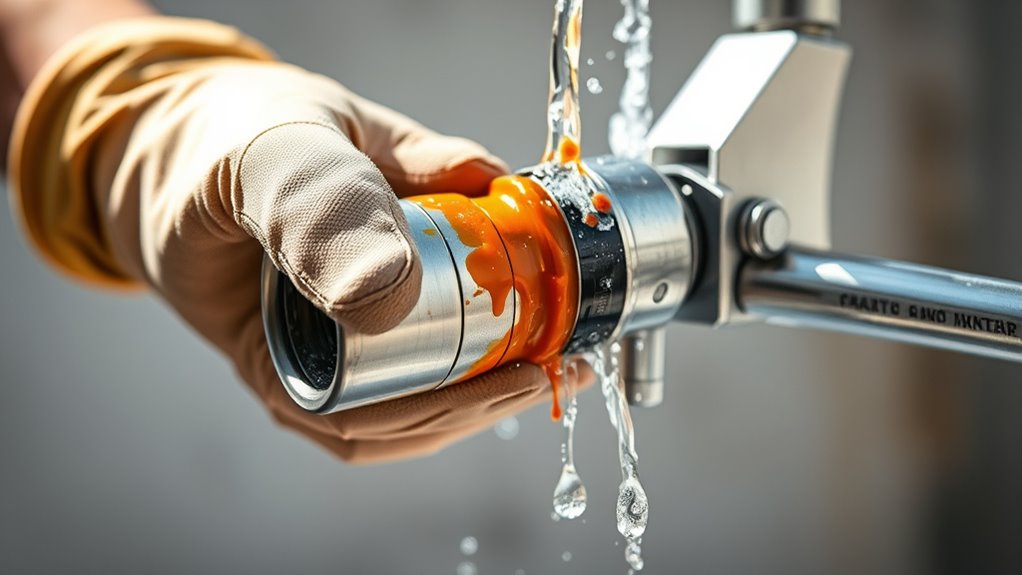
When switching colors or paint types, you need to thoroughly flush out the remaining paint to prevent mixing. Use the appropriate solvent for the paint you’re cleaning out, and carefully inspect the sprayer for any residues. This process guarantees a clean start and maintains the quality of your next project. Incorporating proper cleaning techniques can also extend the lifespan of your paint sprayer and ensure consistent performance over time. Additionally, understanding the types of paint used can help determine the most effective cleaning method for your equipment. Being aware of paint chemistry differences can aid in selecting the right cleaning procedures for various equipment components, especially considering different cleaning agents suitable for each paint type.
Flush Remaining Paint
To guarantee your paint sprayer functions smoothly and prevent color contamination, it’s essential to flush out any remaining paint before switching colors or paint types. This process helps maintain proper equipment calibration and ensures consistent application. Start by running clean solvent or water through the system, depending on the paint you used. Pay attention to paint viscosity, as thick or stubborn residuals can clog the nozzle or affect spray patterns. Proper flushing removes old paint thoroughly, reducing the risk of mixing unwanted colors or finishes. It also prevents buildup that could impair equipment performance. Always double-check that no residual paint remains in the lines or tip before switching, ensuring your sprayer operates efficiently and delivers a professional finish every time. Regular maintenance, including GMC tuning techniques, can also help keep your equipment in optimal condition for consistent results. Additionally, understanding the paint compatibility and using appropriate cleaning agents further enhances your sprayer’s longevity and performance. Incorporating proper cleaning practices is vital for maintaining the efficiency of your sprayer, ensuring longevity and optimal results over time.
Use Appropriate Solvent
Using the appropriate solvent is essential when switching between colors or paint types, as it guarantees thorough cleaning and prevents contamination. Always choose a solvent compatible with your sprayer and the paint you’re using. This ensures effective removal of residual paint and maintains equipment longevity. Be mindful of solvent safety; handle it in well-ventilated areas, wear gloves, and avoid inhaling fumes. Proper solvent disposal is equally important—never pour leftover solvent down drains or onto the ground. Instead, follow local regulations for disposal, and consider using designated disposal containers. Using the correct solvent not only protects your equipment but also ensures a safer working environment. Regularly using the right solvent will keep your sprayer functioning efficiently and extend its lifespan. Additionally, understanding paint compatibility can help prevent issues related to improper cleaning and equipment damage. Proper cleaning techniques, including the use of appropriate solvents, are vital for maintaining your sprayer’s performance over time.
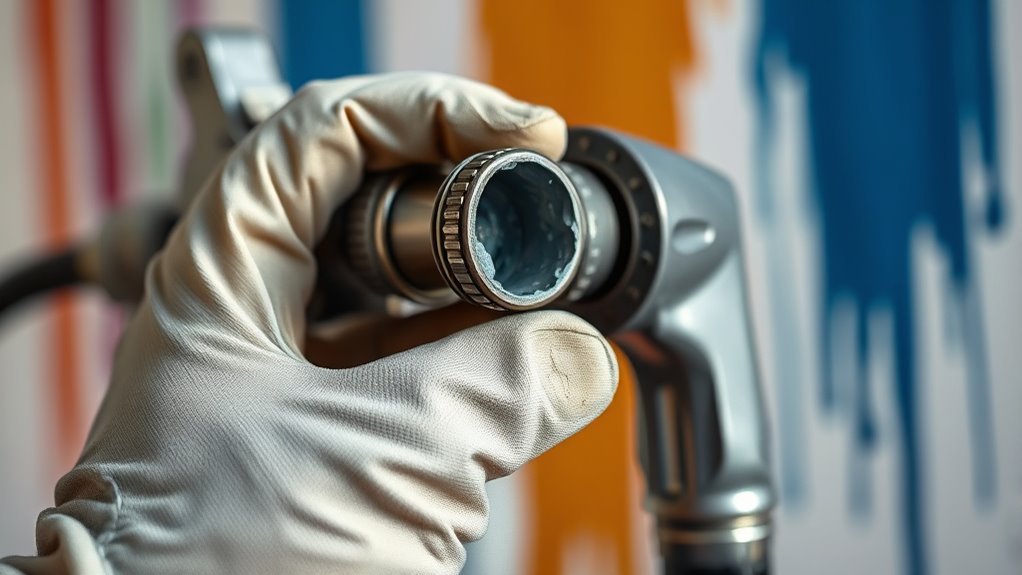
Inspect for Residues
After choosing the right solvent and cleaning your sprayer thoroughly, it’s important to inspect for any leftover residues before switching colors or paint types. Paint residue can cause color mixing or clogs, so carefully check all parts of your sprayer, including the nozzle and fluid passages. Use a flashlight or mirror to spot any hidden buildup. If you find any residual paint, clean those areas again to prevent buildup and guarantee smooth operation. Regular inspection helps maintain ideal spray quality and prolongs your equipment’s lifespan. Buildup prevention is key—residues can harden and become difficult to remove if ignored. Proper cleaning and filter maintenance ensure your sprayer stays in top condition. Additionally, inspecting the nozzle and fluid passages for blockages can prevent spray inconsistencies and ensure optimal performance. Incorporating routine inspection procedures can help identify issues early and avoid costly repairs. By taking this step, you ensure your sprayer remains clean, functional, and ready for your next project, saving you time and effort in the long run.
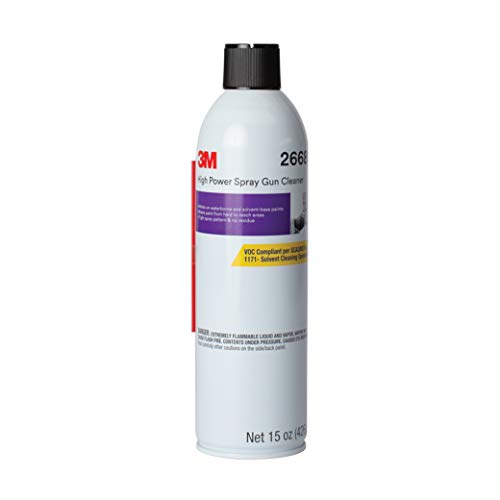
3M High Power Spray Gun Cleaner, 26689, 15 oz, Remove Paint and Coatings from Automotive Industrial Spray Equipment, Pack of 1
PAINT SPRAY GUN CLEANER – Features a powerful cleaning formula in an easy-to-use aerosol can with wand that…
As an affiliate, we earn on qualifying purchases.
As an affiliate, we earn on qualifying purchases.
For Extended Storage Periods
When you’re planning to store your paint sprayer for an extended period, thorough cleaning becomes even more critical. Residual paint can harden inside the system, risking damage and reducing future paint quality. To guarantee your sprayer remains in top condition, disassemble and clean all parts, paying close attention to nozzles and filters. Use the appropriate cleaning solutions to remove any leftover paint, preventing clogs and corrosion. Proper cleaning also enhances user safety, reducing the risk of accidental chemical exposure or mishandling when you resume use. Taking these steps ensures your equipment stays reliable, safe to operate, and delivers ideal results when you’re ready to paint again. Additionally, understanding industry transformations can help you adapt your maintenance routine to incorporate new technologies and best practices. Implementing modern cleaning techniques can further improve the longevity and performance of your sprayer. Incorporating AI-driven diagnostics can help identify potential issues before they become major problems, saving time and cost. Regularly inspecting the internal components of your sprayer can detect early signs of wear and tear, extending its lifespan. For example, using advanced filtration systems can help maintain consistent paint flow and prevent pump damage. Store the sprayer in a clean, dry environment, and consider applying a protective lubricant if recommended by the manufacturer. Taking these steps ensures your equipment stays reliable, safe to operate, and delivers ideal results when you’re ready to paint again.

Neiko Tooluxe 31209L Air Spray Gun Cleaning Kit (22 Piece)
[COMPLETE]: Full set with 22 pieces for cleaning and maintenance of any air spray paint gun to ensure…
As an affiliate, we earn on qualifying purchases.
As an affiliate, we earn on qualifying purchases.
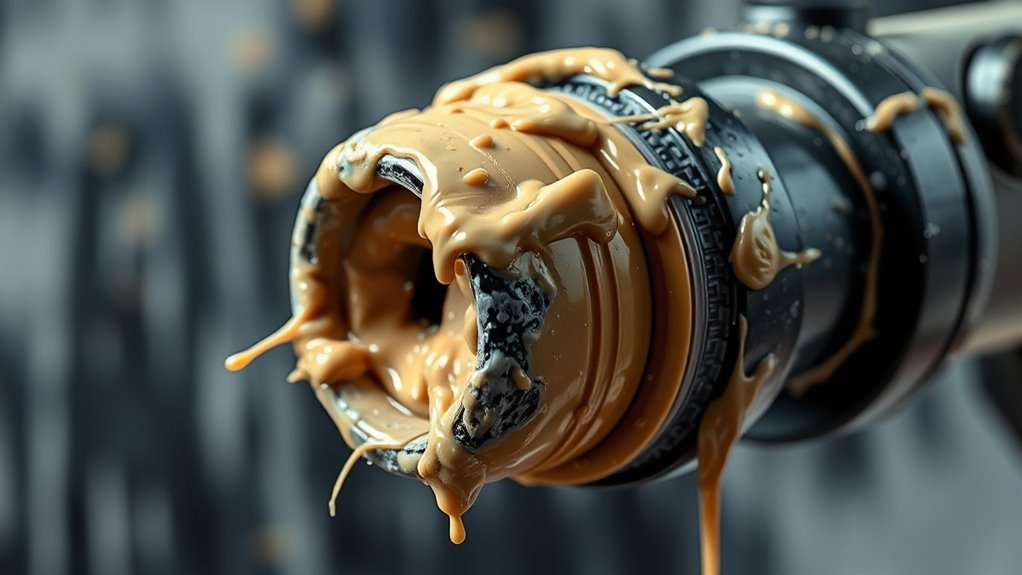
When You Notice Clogging or Spray Issues
Clogging or spray issues are clear signs that your paint sprayer needs immediate cleaning. When you notice uneven spray patterns, splattering, or drips, it’s time to check your maintenance routines and guarantee paint compatibility. Ignoring these signs can damage your equipment and affect your finish. Regularly inspecting and cleaning the nozzle and filters prevents buildup that causes clogs. Use the table below to identify common causes and solutions:
| Issue | Cause |
|---|---|
| Uneven spray or splattering | Clogged nozzle or filter |
| Paint not mixing smoothly | Incompatible paint or thick coating |
| Loss of pressure or flow | Blocked or dirty intake valve |
Address these issues promptly to maintain peak performance and extend your sprayer’s lifespan. Proper maintenance routines and cleaning techniques ensure your equipment remains in optimal condition and performs reliably over time. Additionally, understanding sound healing science can inspire more mindful and effective care practices for your tools.
Regularly for Preventative Maintenance
To keep your paint sprayer functioning smoothly and prevent issues before they start, performing regular preventative maintenance is vital to incorporate into your routine. Regular checks promote paint safety by reducing the risk of leaks or malfunctions that could cause accidents. Consistently calibrate your equipment to guarantee even spray patterns and accurate material flow, which saves you time and material. Clean parts thoroughly after each use to prevent buildup and corrosion, extending your sprayer’s lifespan. Inspect hoses, filters, and seals for signs of wear or damage, replacing them as needed. By staying on top of maintenance, you minimize downtime, improve spray quality, and keep your equipment operating at peak efficiency. Preventative care ultimately saves you effort and money while ensuring safe, consistent results.
After Heavy or Thick Coats
After applying heavy or thick coats, you should flush the sprayer immediately to prevent clogs. It’s also important to clean it thoroughly before storing to keep it in good condition. Doing this guarantees your sprayer stays ready for the next project with no issues.
Flush Immediately After Use
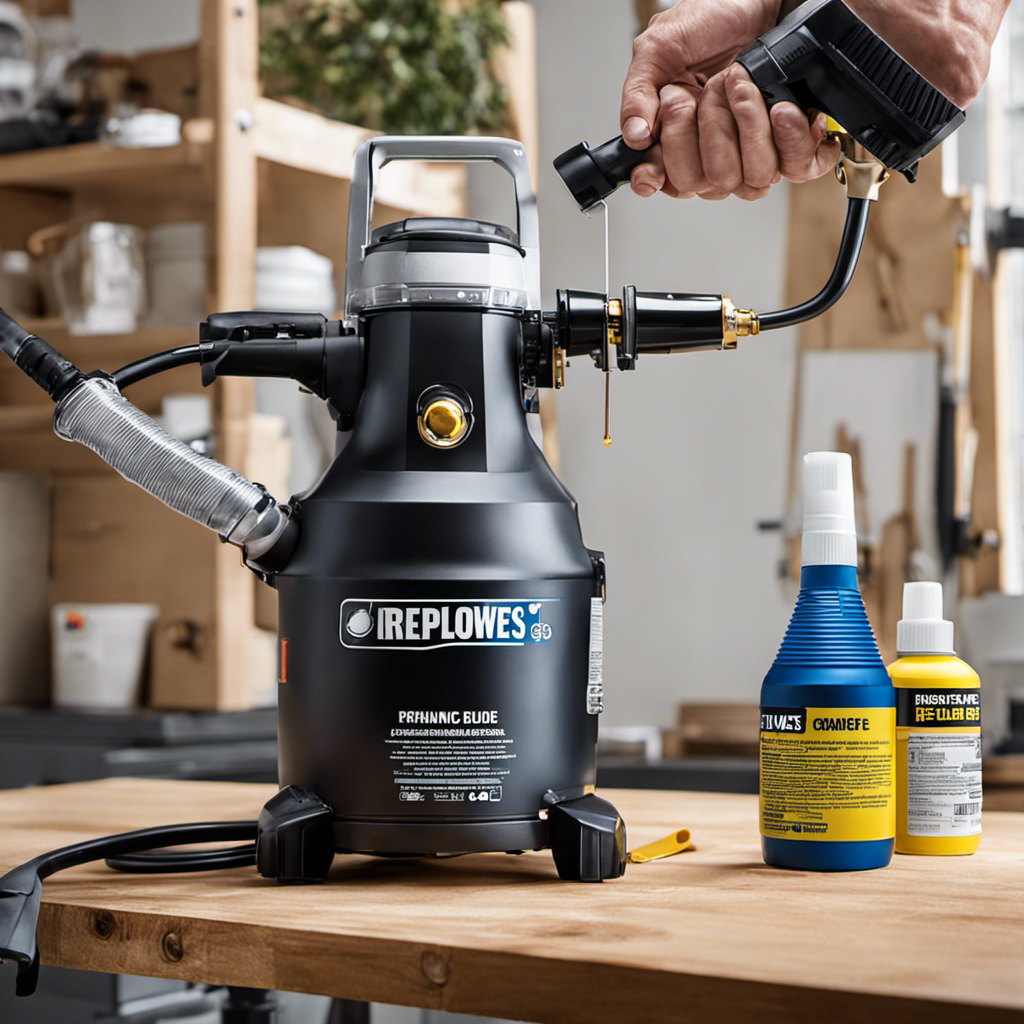
When you’ve finished spraying with heavy or thick coats, it is vital to flush your paint sprayer immediately. This step is essential for proper paint sprayer maintenance and helps prevent clogs or damage caused by dried paint. By flushing right after use, you reduce the cleaning frequency needed later, making maintenance easier and more efficient. Use the appropriate solvent or water, depending on your paint type, and run it through the system until it runs clear. Don’t neglect this quick step; it preserves your equipment’s longevity and ensures consistent performance on future projects. Skipping this step can lead to buildup, which complicates cleaning later and shortens your sprayer’s lifespan. Always prioritize immediate flushing after heavy coats to keep your sprayer in top condition.
Clean Thoroughly Before Storage
Even if you’ve already flushed your sprayer after use, it’s essential to give it a thorough cleaning before storing, especially after applying heavy or thick coats. Residual paint can clog parts and affect future spray quality. Take time to clean the nozzle and hoses, ensuring no dried paint remains. This step helps maintain proper paint sprayer calibration and ensures consistent spray pattern adjustment later. Use appropriate cleaning solutions based on your paint type. After cleaning, inspect the spray pattern and calibrate if needed. Proper storage prevents clogs and damage, saving you time on future projects.
| Step | Action | Result |
|---|---|---|
| Flush Remaining Paint | Run solvent or water through sprayer | Clears residual paint |
| Disassemble Parts | Remove nozzle and filters | Easier cleaning |
| Clean Components | Scrub with brushes and solvents | Prevents clogs |
| Check Calibration | Test spray pattern and adjust | Ensures consistent results |
| Store Properly | Keep in a dry, sealed container | Maintains sprayer lifespan |
Frequently Asked Questions
Can I Clean My Paint Sprayer With Household Cleaning Products?
You can’t rely on household cleaners to clean your paint sprayer safely. These products often contain harsh chemicals that may damage the equipment or cause safety issues. Instead, use manufacturer-recommended cleaning solutions, and follow safety precautions like wearing gloves and eye protection. Proper cleaning after each use guarantees clogs and ensures your sprayer stays in good condition, saving you time and money in the long run.
What’S the Best Method for Cleaning a Commercial-Grade Paint Sprayer?
Imagine your commercial-grade paint sprayer as a powerhouse that needs superhero-level maintenance! To keep it in top shape, follow a strict maintenance schedule and cleaning frequency. Use warm water, specialized cleaning solutions, and thorough rinses after each use. Disassemble parts carefully, scrub stubborn paint, and make certain every nook is spotless. With this method, your sprayer will perform like a champion, ready to tackle any project with flawless precision!
How Do I Clean My Sprayer if I Used Oil-Based Paint?
When cleaning your sprayer after using oil-based paint, you should focus on oil-based cleanup using solvent techniques. First, empty the remaining paint and run solvent like mineral spirits or paint thinner through the system to break down residual paint. Then, disassemble parts and use a brush to clean nozzles and filters. Finish by flushing the system with clean solvent, ensuring all paint residues are thoroughly removed for peak performance.
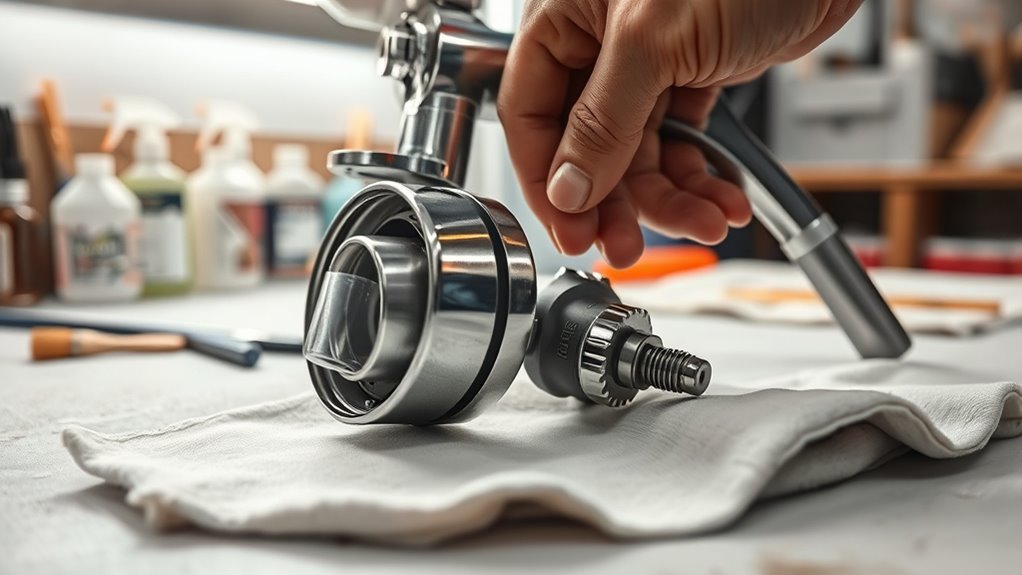
Is It Necessary to Disassemble the Entire Sprayer for Cleaning?
You might think disassembly procedures are complex, but they’re straightforward and essential for thorough cleaning. You don’t need to dismantle your entire sprayer every time; focus on parts that contact paint, like the nozzle and filters. Regular cleaning frequency depends on usage, but for oil-based paints, take apart and clean after each project to prevent clogs. This keeps your sprayer in top shape and ensures smooth operation.
How Long Can Paint Sit in the Sprayer Before Cleaning Is Required?
If your paint sit in the sprayer longer than the recommended drying time, it can clog the system and affect performance. Typically, you should clean the sprayer immediately after finishing your project, especially if you plan to take a break longer than a few hours. Even if the paint hasn’t dried completely, cleaning helps prevent buildup. Regular cleaning guarantees smooth operation and prevents long-term damage, so don’t delay after each use.
Conclusion
So, ironically, the more you avoid cleaning your paint sprayer, the more you’ll wish you’d kept up with maintenance. Skipping regular cleanings might save a few minutes now, but it’ll cost you plenty in clogged nozzles and uneven finishes later. Think of it as your tool’s way of reminding you who’s boss—by forcing you to do double the work. Stay ahead, keep it clean, and enjoy flawless results every time.

A seasoned painter with over 15 years in the industry, Mike transitioned from hands-on painting projects to the digital world of paint sprayers. His extensive experience gives him a unique perspective on what users truly need when it comes to painting tools. As the Editor in Chief of Paint Sprayer Zone, Mike ensures that every piece of content not only provides value but also reflects the realities of painting — the challenges, the joys, and the intricate details.