
To thaw your frozen paint sprayer safely, first turn it off and unplug it to prevent electrical hazards. Move it to a warm, indoor environment, using blankets or insulation if needed. Let it thaw naturally, avoiding direct heat sources for gentle warming. After it thaws, check for residual water and drain if necessary. Before using again, test the sprayer with a small paint load to ensure proper functioning. Continue to learn more tips to get your sprayer back in perfect shape.
Key Takeaways
- Turn off, unplug, and carefully clean the sprayer to remove any residual paint or debris before thawing.
- Move the sprayer to a warm, indoor environment and use insulation to prevent further freezing.
- Allow the sprayer to thaw naturally at room temperature, avoiding direct heat sources.
- Check for residual water inside the equipment and drain it gently to prevent ice buildup.
- Test the sprayer with a small paint load to ensure proper operation before full use.

Wagner Spraytech 0503070 FURNO 700 Digital Heat Gun, 2 Nozzles & Temperature Setting Ranging 125áµ’F to 1300áµ’F, Electric Heat Gun for Paint Removal, Bending PVC, Crafts and More
DIGITAL TEMPERATURE HEAT GUNS: The Wagner FURNO 700 variable temperature heat gun features precise temperature settings ranging from…
As an affiliate, we earn on qualifying purchases.
As an affiliate, we earn on qualifying purchases.
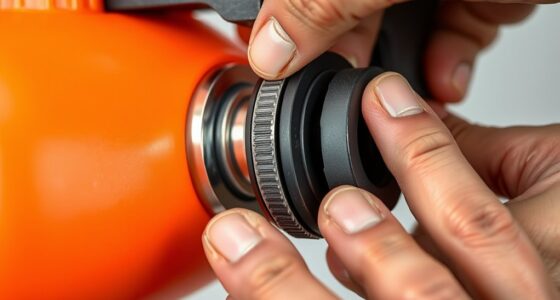
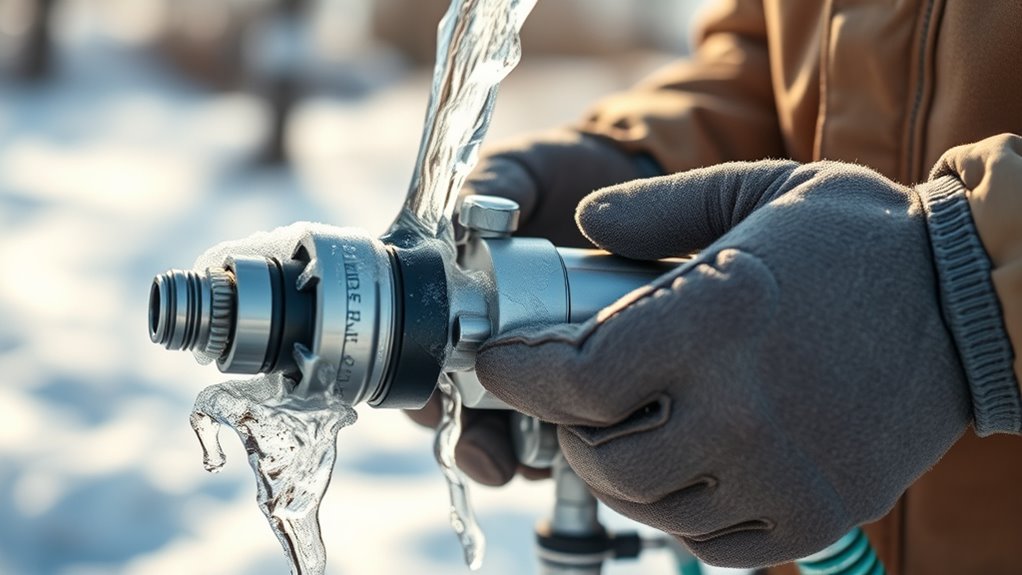
Turn Off and Unplug the Sprayer
Before you begin thawing your frozen paint sprayer, make sure to turn it off and unplug it from the power source. Safety precautions are essential to prevent electrical hazards or accidental activation. Never attempt to use a paint remover or any chemical solvent while the sprayer is plugged in or still running, as this could cause damage or injury. Disconnecting it guarantees no power runs through the device, reducing the risk of shock. Check the spray gun, hoses, and motor for residual paint or debris, and remove any loose material carefully. Taking these steps before thawing helps protect you and the equipment, making the process safer and more effective. Additionally, understanding home safety practices can help you better assess the appropriate methods for thawing and maintaining your equipment. Proper handling procedures, including electrical safety, are crucial during this process to prevent accidents. Always prioritize safety to avoid mishaps during the thawing process. Proper equipment maintenance can also prevent issues caused by freezing and ensure your sprayer functions correctly when needed.

Wagner Spraytech 0518080 Control Spray Max Corded Hvlp Paint Sprayer, 120 Vac, 5 A, 510 W, 80 Cfm, 2.7 Psi, 19 L D by 12-Inch H, Multicolor
HVLP PAINT SPRAYER: The Control Spray Max paint sprayer uses high volume, low pressure technology to atomize materials…
As an affiliate, we earn on qualifying purchases.
As an affiliate, we earn on qualifying purchases.
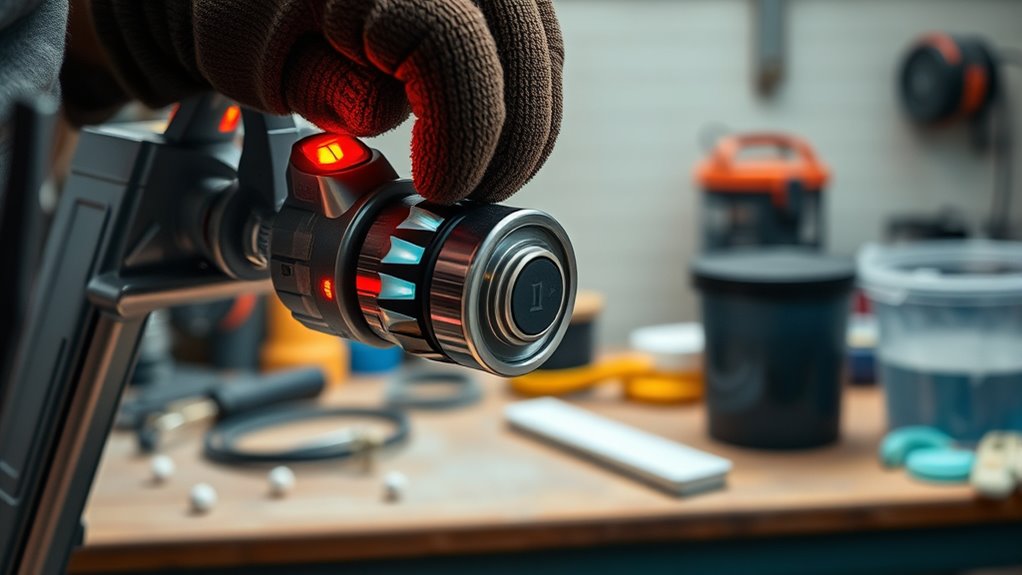
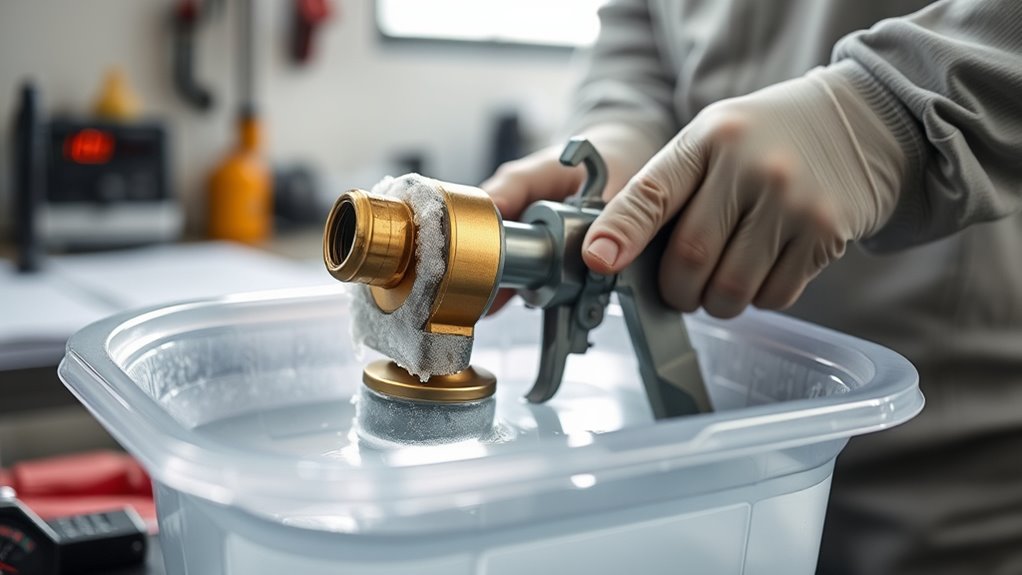
Move to a Warm Environment
Once you’ve turned off and unplugged your paint sprayer, the next step is to move it to a warmer environment. Proper temperature control is essential to prevent further freezing and to promote even thawing. Find a space with stable, moderate temperatures—like a heated garage or indoor room—away from drafts or cold windows. To improve insulation, consider using blankets, towels, or foam insulation around the sprayer. These insulation techniques help retain heat and protect the equipment from rapid temperature fluctuations. Keep the sprayer upright and avoid direct heat sources, which could damage components. Moving it to a warmer environment with good insulation ensures a safer, more controlled thaw process, reducing the risk of damage and making subsequent cleaning and use easier. Proper temperature management is crucial for preventing damage to sensitive components during the thawing process, especially considering the Self Watering Plant Pots that rely on consistent moisture for plant health. Additionally, understanding the importance of exploration can remind us that sometimes venturing into new environments helps us discover optimal conditions for maintenance and repair.

17pcs Multi-Purpose Spray Gun Cleaning Kit,Nylon Brushes Paint Gun Cleaning Kit Mini Brushes & Needles for Clean Airbrush Nozzles Spray Guns Tattoo Equipment (17)
★ This handy spray guns cleaning kit is all you need to keep your spray guns clean and…
As an affiliate, we earn on qualifying purchases.
As an affiliate, we earn on qualifying purchases.
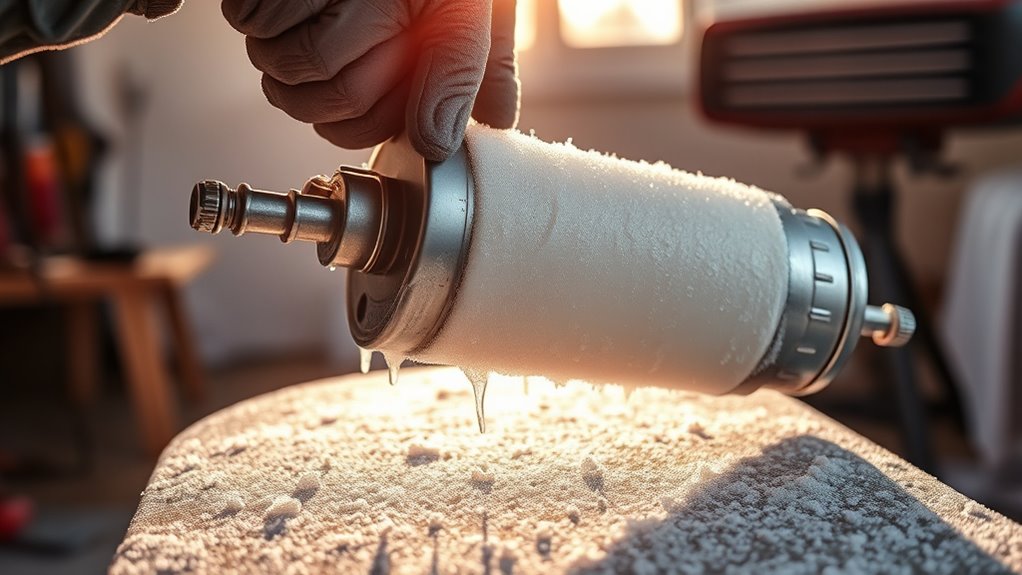
Allow the Paint Sprayer to Thaw Naturally
Allowing the paint sprayer to thaw naturally is the safest way to prevent damage. It reduces the risk of cracking or warping components while guaranteeing the paint removal process doesn’t worsen. Patience is key; give the equipment time to warm up gradually. During this period, you can perform routine equipment maintenance, like inspecting hoses or cleaning nozzles, to prepare for future use. Keep the sprayer in a warm, dry spot away from direct heat sources. Doing so also helps avoid introducing moisture that could cause corrosion. Remember, rushing the thawing process can lead to costly repairs or replacement. Taking your time ensures the sprayer stays in good condition and ready for your next project. Proper exfoliation of residual paint and debris can also make cleaning easier afterward. Additionally, understanding paint sprayer components can help identify potential issues early, saving time and money. Being familiar with the hyundai tuning options available for different models can also inspire future upgrades and maintenance. Connecting with manufacturer guidelines and safe thawing techniques further ensures the longevity of your equipment. Incorporating knowledge of field recording techniques can also help in maintenance routines and troubleshooting. Patience now saves time and money later.

Qianly Airless Sprayer Wind Screen Protective Shield Rustproof Spraying Machine Parts Spray Paint Protection Cover for Spraying Work, 17cmx9.5cm
【Effective Protection】: The design helps avoid paint splash and reduces the risk of pollution, ensuring a cleaner and…
As an affiliate, we earn on qualifying purchases.
As an affiliate, we earn on qualifying purchases.
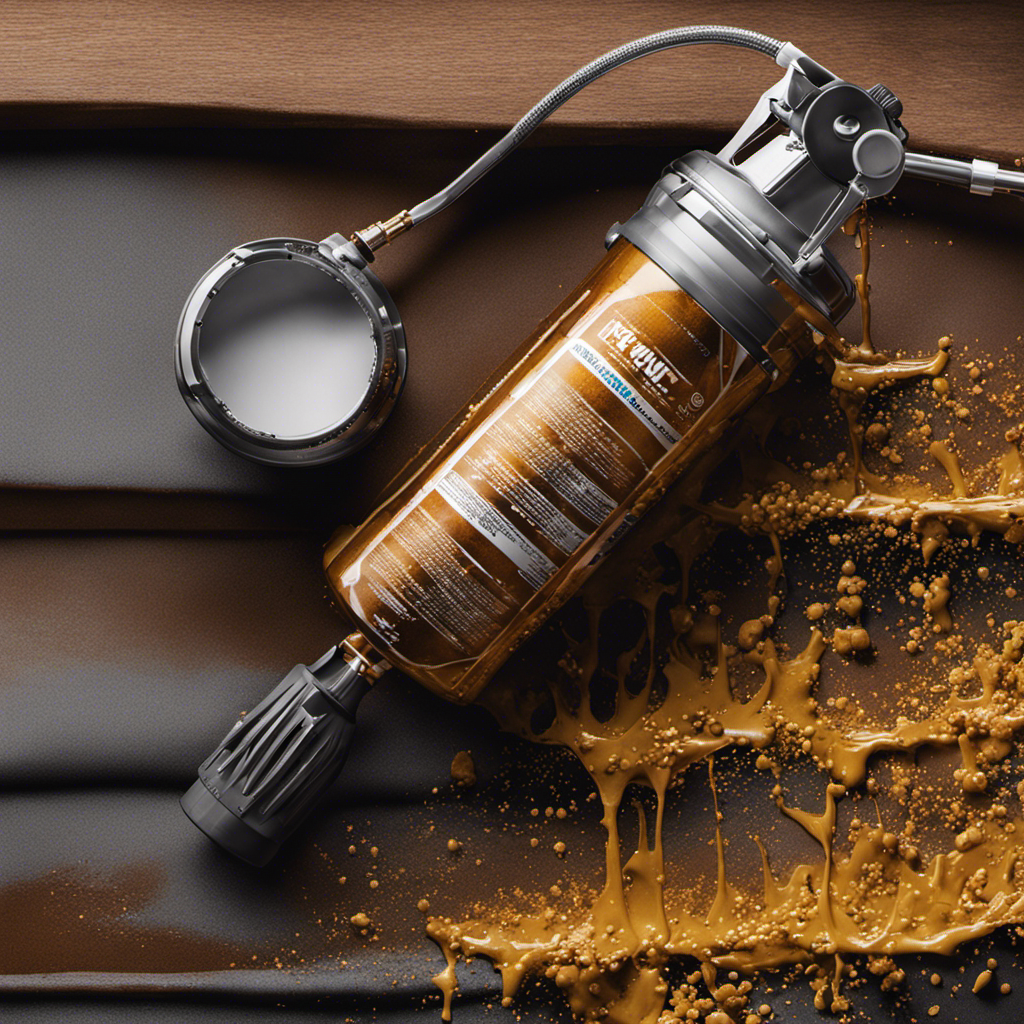
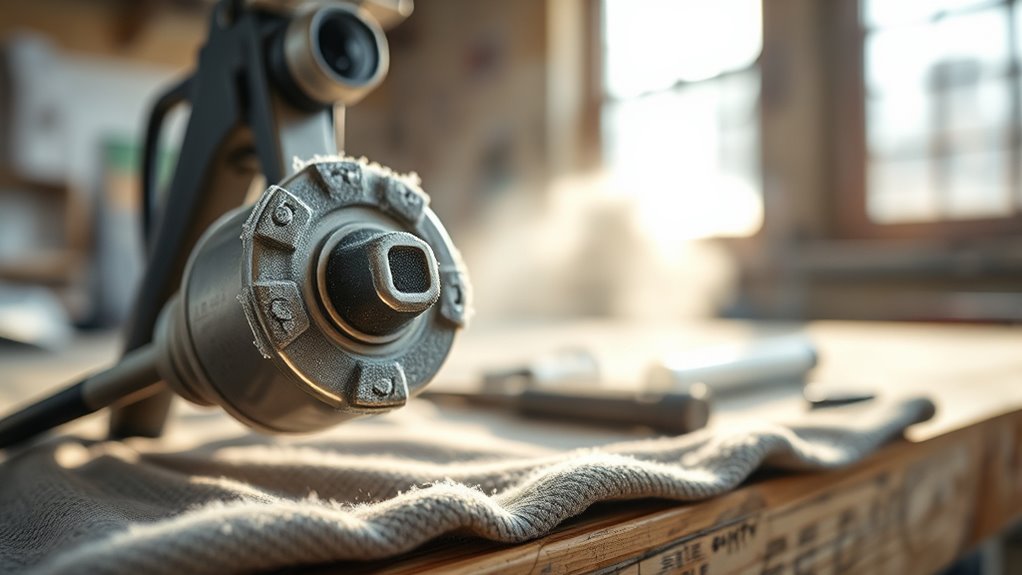
Check for Residual Water and Drain if Necessary
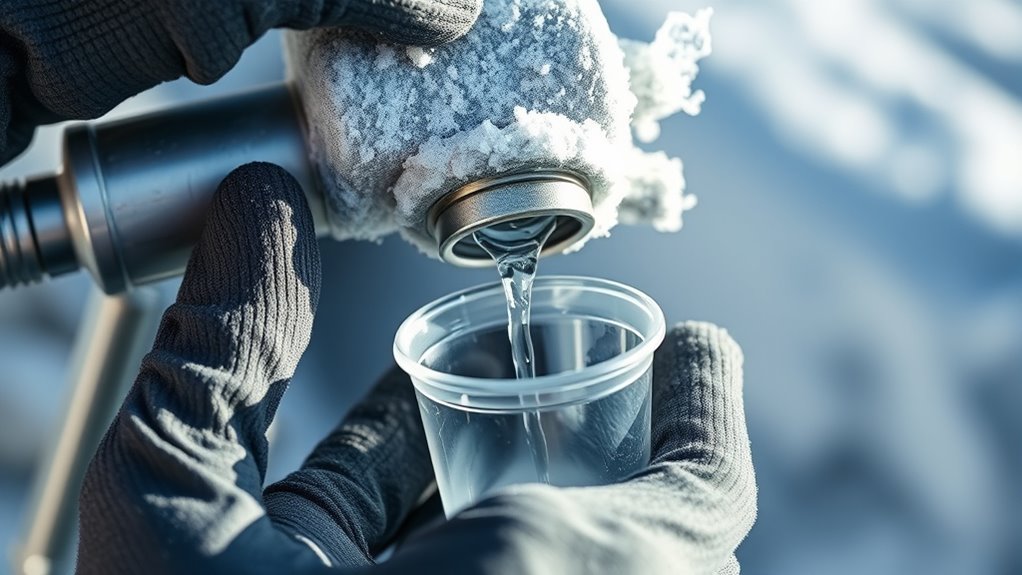
After giving the paint sprayer time to thaw naturally, it’s important to check for any residual water inside the equipment. Residual water can freeze and cause damage if not eliminated. Perform a drainage check by carefully opening the drain plug or removing the cap at the lowest point of the sprayer. If you notice any lingering water, drain it out completely. This step prevents ice buildup and ensures the sprayer is dry before storage or use. Be cautious not to force any parts if they resist; instead, gently loosen and allow the water to escape. Removing residual water now helps protect your sprayer from corrosion and freezing issues, keeping it in good condition for future projects. Regular maintenance, such as filter replacement, is also crucial to ensure optimal performance when you resume using the sprayer. Additionally, inspecting the internal components periodically can help identify potential issues early and prolong the life of your equipment. Properly storing in a dry environment minimizes moisture exposure and reduces the risk of freezing damage. To further prevent freezing, consider using antifreeze solutions or insulating the sprayer during harsh weather conditions. For added protection, consider storing your sprayer in a dry, temperature-controlled environment to minimize the risk of freezing.
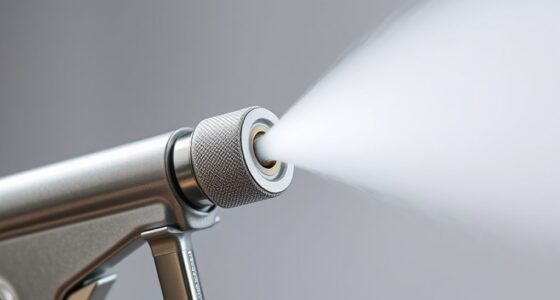
Test the Equipment Before Use
Before using your thawed paint sprayer, it’s vital to test it to verify it’s functioning properly. This step ensures your paint mixture flows smoothly and your spray pattern is even. Start by filling the hopper with a small amount of paint and turning on the sprayer. Observe the spray pattern—look for consistent coverage without sputtering. Check the nozzle for any blockages or irregular spray. Make sure the pressure is steady and the paint flows without interruption. Adjust settings if necessary. Testing helps identify issues caused by freezing or thawing, preventing mishaps during your project. Proper equipment function is essential for a professional finish. Taking this quick step saves time and ensures a smooth, professional finish. Remember, a properly tested sprayer produces better results and avoids costly mistakes.
Frequently Asked Questions
Can I Use a Heat Gun to Speed up Thawing?
Using a heat gun to speed up the thawing process might seem tempting, but it’s risky. A heat gun can produce intense heat that could damage your paint sprayer’s components or cause uneven thawing. Instead, opt for gentle methods like room temperature or warm water, which are safer. If you choose to use a heat gun, keep it at a safe distance and move it constantly to avoid overheating and guarantee proper thawing.
What Precautions Should I Take During the Thawing Process?
Did you know improper thawing can cause equipment damage or personal injury? During the thawing process, you should wear proper PPE like gloves and goggles to protect yourself. Make certain of good ventilation to avoid inhaling fumes or vapors. Avoid direct heat sources like a heat gun or flame, and never force thawing with sharp objects. Taking these precautions helps keep you safe and prevents damage to your paint sprayer.
How Long Does It Typically Take to Thaw a Frozen Paint Sprayer?
Thawing a frozen paint sprayer usually takes a few hours, depending on the temperature effects and the extent of freezing. You should allow the device to warm gradually at room temperature, avoiding direct heat sources. During paint removal, cold temperatures can thicken the paint, making it harder to spray. Patience is key; rushing the process can damage the sprayer or affect paint quality.
Is It Safe to Use the Sprayer Immediately After Thawing?
Is it safe to use your sprayer immediately after thawing? Think of it like a symphony needing tuning—your sprayer requires calibration first. After thawing, check the paint consistency and guarantee the components aren’t frozen or clogged. Rushing in could damage the sprayer or affect your work’s quality. Take a few moments to calibrate and test spray, ensuring ideal performance before diving into your project.
Should I Replace Any Parts After Freezing and Thawing?
After freezing and thawing your paint sprayer, you should inspect it for damage before replacing any parts. Freezing can cause cracks or leaks, impacting performance. Proper paint sprayer maintenance involves checking seals, hoses, and the nozzle for wear or damage. To prevent freezing damage in the future, store your sprayer in a climate-controlled area. Regular maintenance guarantees longevity and reliable operation, avoiding costly repairs from unnoticed freeze-related damage.
Conclusion
As you gently bring your frozen paint sprayer back to life, imagine the warmth of the sun melting away the icy chill. Feel the anticipation rise as you prepare to create again, the tool ready in your hands, whispering promises of smooth, vibrant strokes. With patience and care, you’ve restored its spirit—ready to turn your vision into reality. Now, grasp it firmly, and let your creativity flow freely once more.

A seasoned painter with over 15 years in the industry, Mike transitioned from hands-on painting projects to the digital world of paint sprayers. His extensive experience gives him a unique perspective on what users truly need when it comes to painting tools. As the Editor in Chief of Paint Sprayer Zone, Mike ensures that every piece of content not only provides value but also reflects the realities of painting — the challenges, the joys, and the intricate details.