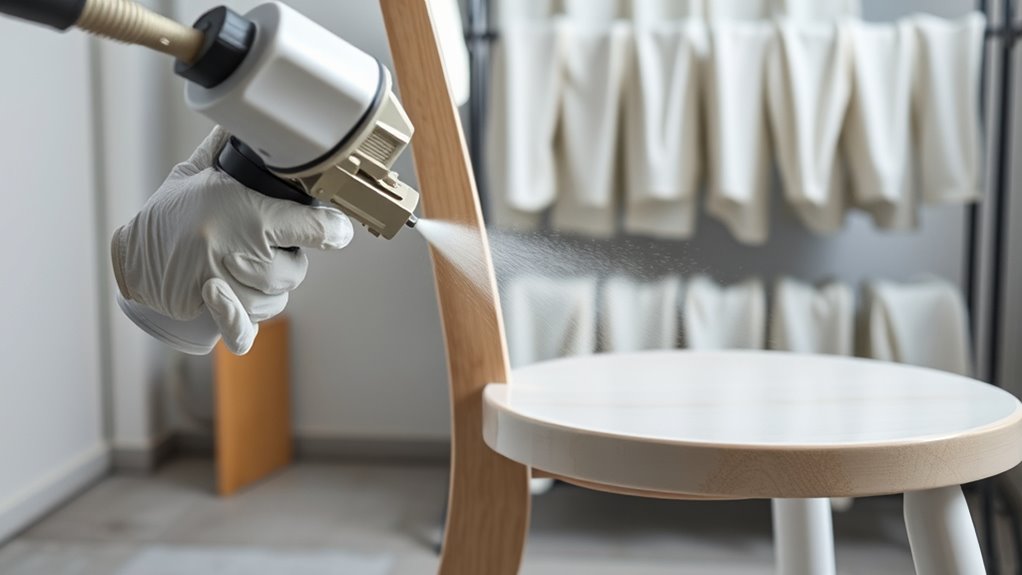
To get a professional finish when spray painting furniture, choose quality spray paint suited for your material and select the right spray gun, like HVLP or airless. Properly clean and sand your surface before applying thin, even coats with steady, overlapping motions, maintaining about 6-12 inches distance. Protect surrounding areas with drop cloths and tape details. For best results, learn how to manage drips, dry coats thoroughly, and care for the finish afterward to guarantee a flawless look that lasts.
Key Takeaways
- Properly clean and sand the furniture surface to ensure smooth, adhesion-ready prep before spraying.
- Choose the right spray paint and tools, such as fine-nozzle HVLP guns, for detailed or large areas.
- Apply multiple thin, even coats with steady, overlapping strokes to prevent drips and achieve a flawless finish.
- Protect surrounding areas with drop cloths and masking tape to maintain sharp edges and a professional look.
- Allow sufficient drying and curing time between coats for durability and a smooth, professional result.

WORKPRO 700W Airless Paint Sprayer, 2900PSI High Efficiency Thinning-Free Electric Paint Sprayer with Extension Rod, Paint Sprayer for Home Interior, Exterior, Furniture, Fence & Ceilings
EFFICIENT SPRAY, LESS WORK: Powered by a 700W motor, this airless paint sprayer delivers up to 2900 PSI...
As an affiliate, we earn on qualifying purchases.
Choosing the Right Spray Paint and Tools
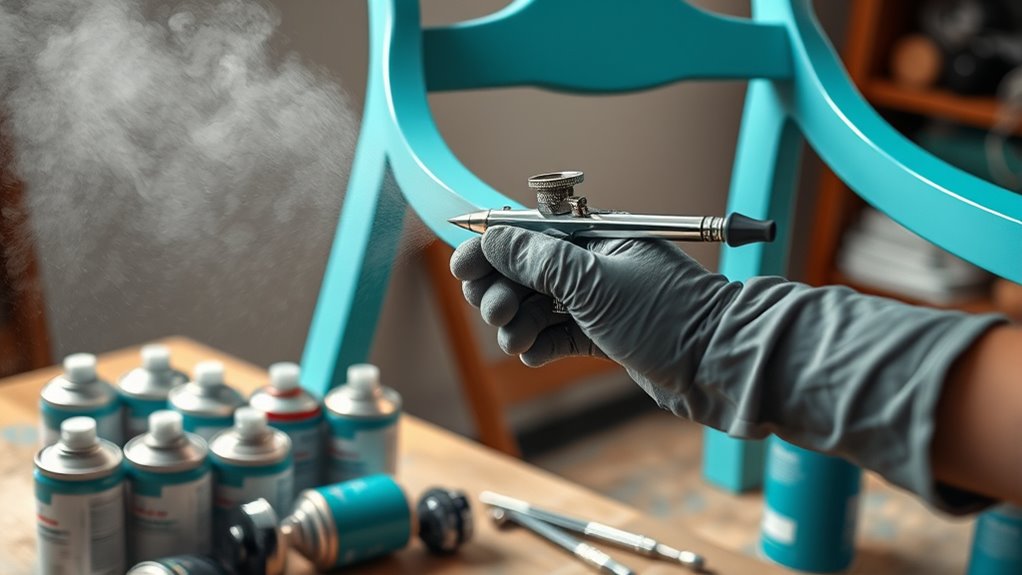
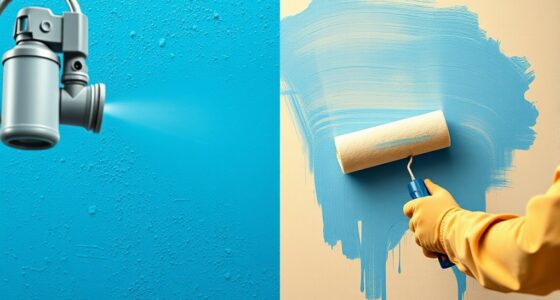
When selecting spray paint and tools for furniture, it’s essential to think about the type of finish you want and the material of your piece. Your color selection plays a big role in achieving the look you envision, whether you prefer bold, vibrant hues or subtle, muted tones. Consider spray gun types carefully—manual, airless, or HVLP guns—each offering different control and spray patterns suited for various projects. For detailed or small areas, a fine-nozzle spray gun works best, while larger surfaces benefit from wider spray patterns. Quality spray paint ensures smooth coverage and durability. Matching the right spray gun type with your chosen color and project size helps create a professional finish, making your furniture look polished and well-crafted. Additionally, selecting the appropriate spray paint material can influence the longevity and appearance of your finished piece. Using the right self watering plant pots can also help maintain the overall aesthetic and functionality of your space, especially if you are incorporating greenery into your design. Understanding the benefits of automation in painting techniques can also help you achieve a flawless coat and avoid common issues like drips or uneven coverage. Incorporating proper ventilation and safety measures is vital for a safe and effective painting process, especially in enclosed spaces.

VEVOR 750W Stand Airless Paint Sprayer, 3000PSI High Efficiency Electric Airless Sprayer, Fine and Even Painting Effect, Handheld Paint Sprayers for Home Interior and Exterior Furniture and Fences
Efficient Painting: Our stand airless paint sprayer is equipped with a powerful 750W motor, capable of delivering up...
As an affiliate, we earn on qualifying purchases.
Preparing Your Furniture Surface
Before you begin spray painting, it’s crucial to properly prepare your furniture surface to guarantee a smooth, durable finish. Start by thoroughly cleaning the surface to remove dust, grease, and dirt—using a mild cleaner or soap and water. Once dry, evaluate the surface for imperfections. Use appropriate sanding techniques to smooth out rough areas, remove old paint, or eliminate gloss. Lightly sand with fine-grit sandpaper to create a slightly textured surface, enhancing paint adhesion. Be sure to sand in the direction of the grain and wipe away dust afterward with a tack cloth. Proper surface cleaning and sanding set the foundation for a flawless spray paint job, ensuring your finished furniture looks professional and lasts for years. Additionally, understanding Honda Tuning principles can inspire you to approach your project with precision and care, similar to optimizing vehicle performance. Remember that the horsepower of electric dirt bikes can relate to the strength of your tools and techniques, making your project more effective. Paying attention to lifestyle habits such as patience and attention to detail can also significantly improve your results. Moreover, staying informed about AI integration in smart devices can help you choose the right tools and accessories to achieve a high-quality finish. Incorporating gelato flavors and techniques can also inspire creative color choices and finishes for your furniture, adding a unique touch.

Graco Airless Paint Sprayer | DIY Designed for Interior or Exterior Projects | TrueCoat One TrueAirless Electric Sprayer 26DTC1
ALWAYS-ON DESIGN – Continuous operation keeps the sprayer primed and ready to spray at all times, so you...
As an affiliate, we earn on qualifying purchases.
Protecting Surrounding Areas and Finishing Touches

To guarantee a clean and professional-looking finish, you need to safeguard the surrounding areas from overspray and drips. Use drop cloths to cover floors and nearby furniture, preventing paint from ruining your space. Apply masking tape carefully around edges, handles, and any details you want to keep paint-free. This step ensures sharp lines and a polished look. Taking these precautions offers peace of mind, so you can focus on your perfect finish without worry. Protecting your environment makes the project more satisfying and less stressful. Remember, a little prep work goes a long way in achieving professional results. Additionally, understanding home organization and proper space management can inspire eco-friendly practices in your painting projects by emphasizing sustainable methods. Being aware of spoilage signs in materials like paint or supplies can help maintain quality and safety throughout your project. Incorporating vetted survival gear tips into your workspace organization can also promote safety and preparedness during your DIY projects. Regularly inspecting your supplies ensures you’re using glycolic acid correctly and safely, which can be beneficial for maintaining healthy skin during your project breaks.

Graco Magnum 262800 X5 Stand Airless Paint Sprayer, Blue
Just right for DIY Homeowners and Remodelers looking for more power and mobility when tackling larger projects
As an affiliate, we earn on qualifying purchases.
Proper Technique for Applying Spray Paint
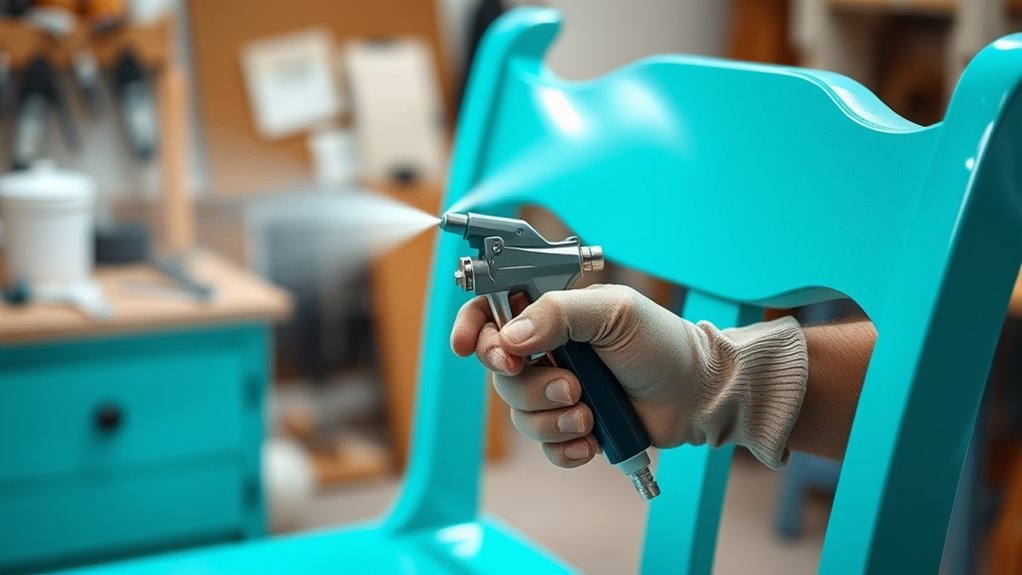
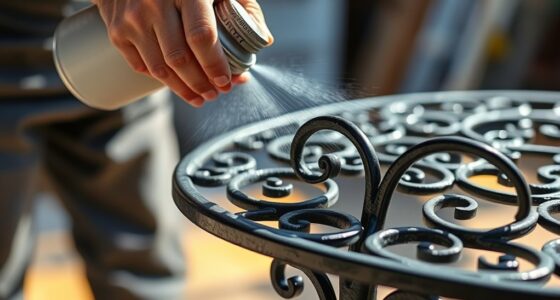
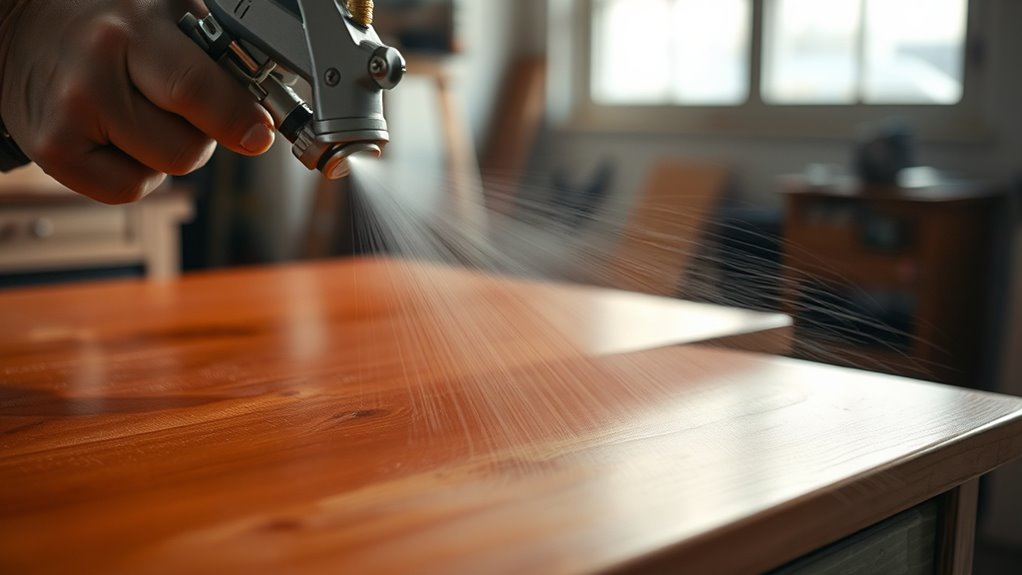
Once you’ve protected your workspace and prepared your spray paint, it’s time to focus on applying it correctly. Start by holding the spray can about 6-12 inches from the surface, maintaining a steady, even motion. Keep your movements smooth and overlapping slightly to avoid streaks or uneven coverage. Remember, spray paint safety is vital—wear a mask and ensure good ventilation. When selecting your color, choose hues that complement your furniture and consider how they’ll look under different lighting. Don’t press the nozzle too hard; apply light, multiple coats rather than thick layers to prevent drips and runs. Consistent technique and attention to detail will help you achieve a professional-looking finish with vibrant, durable color.
Achieving a Smooth and Even Coating
To achieve a smooth and even coating, start with proper surface preparation to remove any imperfections. Use an ideal spray technique, keeping the gun at the right distance and moving steadily. Apply your paint in correct layers, allowing each to dry before adding the next for a flawless finish. Ensuring proper air quality during painting can help achieve better results and reduce the risk of uneven coating. Additionally, maintaining consistent power consumption of your spray equipment can ensure optimal performance and a professional finish. Monitoring gadget efficiency can also contribute to achieving a uniform application and extending the lifespan of your tools. Being aware of retail hours can help you plan your shopping for supplies without unnecessary delays.
Proper Surface Preparation
Achieving a smooth and even coating starts with proper surface preparation, which is essential for a professional-looking finish. When you prepare the surface correctly, you guarantee ideal surface adhesion and paint compatibility, preventing peeling or uneven coverage. Start by thoroughly cleaning the furniture to remove dirt, grease, and old paint. Sand the surface to create a smooth, even texture that helps the paint stick better. Fill any cracks or holes for a flawless finish. Lightly sanding between coats enhances adhesion. Remember, a well-prepared surface boosts your confidence and results. Incorporating proper sanding techniques can further improve the final outcome and ensure a long-lasting, high-quality paint job. Additionally, understanding surface preparation methods can help you achieve a more durable and professional finish, making your project more successful. To optimize your results, consider the right primer that suits your furniture material for an even better bond and finish. As advancements like AI integration continue to influence manufacturing and customization, adopting precise preparation techniques becomes even more important to match modern standards.
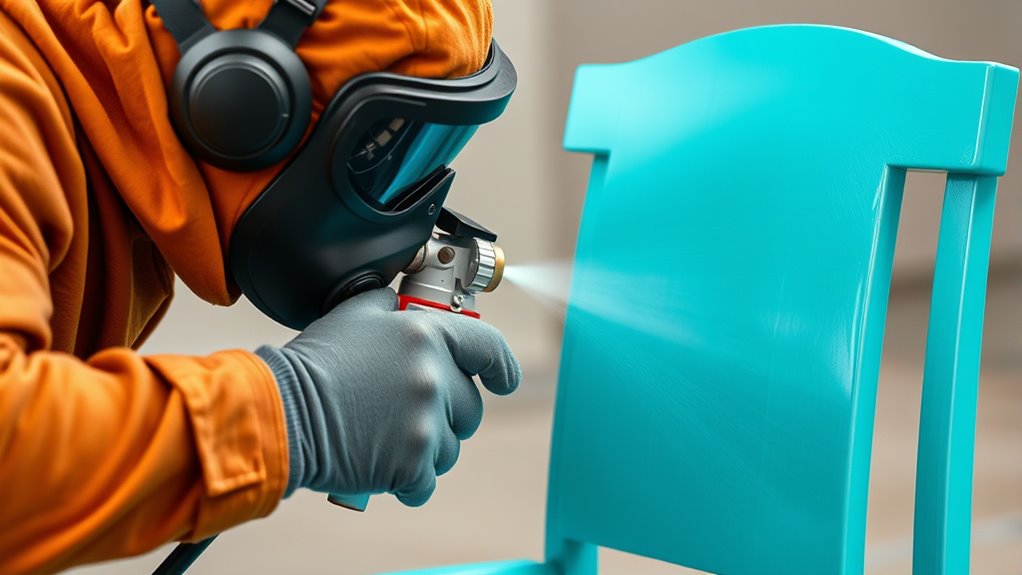
Optimal Spray Technique
Using the right spray technique is key to getting a smooth, even coat on your furniture. To achieve this, maintain a consistent distance of about 6-12 inches from the surface and use smooth, steady motions. When choosing spray paint types, consider whether you prefer oil-based or water-based paints, as each requires different techniques for optimal results. For detailed areas, a brush might be better, but for larger surfaces, spray painting creates a more uniform finish. You can also decide between brush vs roller for touch-ups or textured effects, but spray offers the most professional look. Remember, practice helps refine your technique and avoid drips. The table below highlights key preferences to help you choose the right tools for your project.
| Brush vs Roller | Spray Paint Types |
|---|---|
| Better for detail work | Oil-based for durability |
| Faster for large surfaces | Water-based for quick drying |
| Precise control needed | Achieves smooth, even coat |
Additionally, selecting the appropriate airless paint sprayer can greatly improve your results by providing consistent pressure and coverage. Proper preparation and technique are essential for a flawless finish. Developing a consistent spray pattern can help you avoid uneven coatings and drips, ensuring a professional-looking result.
Correct Application Layers
Applying your paint in thin, even layers is essential for a smooth and professional finish. This approach prevents drips, minimizes uneven color, and guarantees better adhesion. Use proper brush techniques, such as gentle, consistent strokes, to blend colors seamlessly and avoid harsh lines. Multiple light coats build depth and richness without compromising the surface. Patience is key—wait for each layer to dry fully before applying the next. This method helps you achieve a flawless, polished look. Remember, layering gradually allows you to control the finish and correct minor imperfections early. Focus on maintaining a steady hand and even pressure to enhance color blending and consistency. With careful application, your furniture will look beautifully smooth and professionally painted, leaving a satisfying, durable result.
Managing Drips and Runs

Drips and runs are common issues that can ruin the smooth finish you’re aiming for when spray painting furniture. To avoid them, focus on drip prevention by applying light, even coats and maintaining a consistent distance from the surface. Keep your spray can moving steadily; stopping or lingering increases the risk of excess paint and runs. If you notice a drip forming, immediately lift the spray gun or can and stop spraying temporarily. For run control, lightly feather over areas where paint begins to pool, smoothing out the excess before it sets. Always check your work frequently and address drips or runs as soon as you see them—quick action prevents larger flaws. With careful technique and attention, you’ll achieve a flawless, professional finish.
Drying, Curing, and Additional Coats
Once you finish spraying, it’s vital to follow proper drying techniques to prevent smudges and uneven finishes. You should also consider ideal curing conditions, like temperature and humidity, to guarantee your paint sets correctly. If needed, applying additional coats at the right time can give your furniture a smoother, more durable finish.
Proper Drying Techniques
After you finish spraying your furniture, it is vital to let the paint dry thoroughly before handling or adding additional coats. Proper drying ensures a smooth, professional finish and prevents imperfections. To achieve this, focus on humidity control; too much moisture slows drying and can cause runs or bubbles. Use effective ventilation techniques to circulate air and speed up the process. Keep the workspace well-ventilated, but avoid direct drafts that can disturb the paint. Resist the urge to touch or recoat until the surface feels completely dry to the touch. Patience is key—rushing drying can ruin your work. Once dry, you may need to lightly sand before applying additional coats. Taking these steps guarantees a flawless, durable finish that lasts.
- Feel the satisfaction of a perfectly dried surface
- Avoid costly mistakes and rework
- Experience the joy of professional quality
- Celebrate your transformed furniture
Optimal Curing Conditions
Ensuring your painted furniture cures properly is the next essential step to achieving a durable, professional finish. Environmental factors like temperature, humidity, and airflow greatly influence curing time. Ideally, you want a dry, dust-free space with consistent temperature, around 70°F (21°C), and low humidity to promote ideal curing. High humidity can extend curing time and cause uneven finishes, while drafts can introduce particles or cause paint to dry unevenly. Allow sufficient curing time based on your paint type; some finishes need 24 hours, others up to a week. Avoid handling or exposing the surface to moisture during this period. Proper curing ensures the paint hardens fully, resulting in a smooth, long-lasting, professional-looking finish.
Applying Additional Coats
Applying additional coats is a crucial step to achieve a smooth, even finish on your furniture. Multiple coats improve layer adhesion and ensure the paint’s transparency is consistent, preventing uneven spots. Patience between coats allows each layer to dry properly, avoiding streaks or drips. When applying the next coat, inspect for smoothness and coverage, addressing any imperfections promptly. Remember, thin, even layers build better adhesion and reduce the risk of runs. Properly curing each coat ensures durability and a professional look.
- Feel the satisfaction of a flawless, mirror-like surface
- Watch the color deepen and richness emerge
- Experience the confidence of durable, long-lasting finish
- Enjoy the pride in your beautifully transformed furniture
Tips for Maintaining and Caring for Your Finished Piece
To keep your spray-painted furniture looking its best, regular cleaning and proper handling are essential. Use gentle cleaning brushes or a soft cloth to remove dust and dirt without scratching the surface. Avoid harsh chemicals that could damage the finish; instead, opt for mild soap and water. Furniture polishing can help maintain the shine and protect the paint from wear. Apply polish sparingly, following the product instructions, to prevent buildup. Always handle your furniture carefully, avoiding sharp or heavy objects that might chip or scratch the paint. Keep it out of direct sunlight to prevent fading. Periodic maintenance will ensure your piece stays vibrant and durable for years to come, preserving your professional spray paint job.
Frequently Asked Questions
How Long Should I Wait Before Using My Spray-Painted Furniture?
You should wait for the spray-painted furniture to dry completely before using it. Typically, the drying time depends on the paint type, but most spray paints dry within 1-2 hours. However, you need to permit a proper curing period, which can take up to 2-3 weeks for the finish to harden fully. During this time, avoid heavy use to ensure the paint bonds well and lasts longer.
Can Spray Paint Be Used on All Types of Furniture?
Imagine transforming your furniture into a stunning centerpiece—spray paint can do that, but not on all types. You should consider the various types of paint and furniture materials you’re working with. Some materials, like metal or plastic, respond beautifully, while delicate wood finishes may need special prep or primer. Knowing your furniture’s material helps you choose the right spray paint, ensuring a flawless, lasting finish.
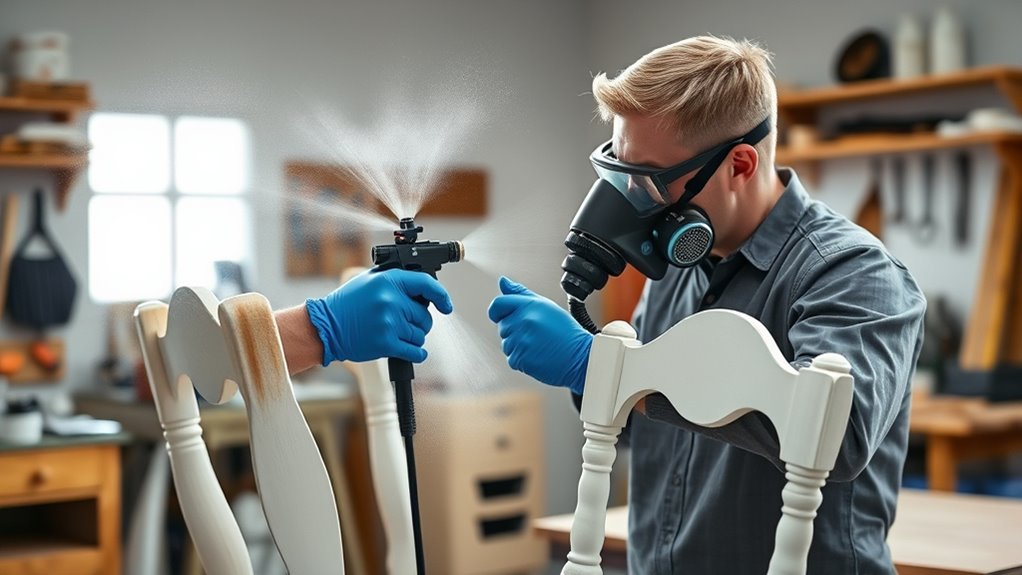
What Safety Precautions Should I Take During Spray Painting?
During spray painting, you should prioritize safety by wearing protective gear like a mask, goggles, and gloves to avoid inhaling fumes or getting paint on your skin. Make certain proper ventilation by working outdoors or in a well-ventilated area, and use ventilation tips like opening windows and using fans. These precautions help protect your health and improve the quality of your finish. Always follow manufacturer safety instructions for the best results.
How Do I Remove Spray Paint if I Make a Mistake?
Ever notice how a simple mistake can turn into a lesson? When you need paint removal or error correction, act quickly. Use a damp cloth or sponge to wipe away fresh spray paint before it dries. For stubborn spots, carefully apply a paint remover designed for your surface. Sand gently if needed. Remember, quick action saves time and guarantees your project stays flawless, turning errors into opportunities for a perfect finish.
Is It Necessary to Sand Between Coats for a Professional Finish?
You might wonder if sanding between coats is necessary for a professional finish. Sanding techniques help improve paint adhesion and smooth out imperfections, ensuring each coat bonds well. Lightly sanding with fine-grit sandpaper between coats removes dust and creates a better surface for the next layer. Skipping this step can lead to uneven texture or peeling, so for the best results, always sand lightly between coats to achieve a flawless, durable finish.
Conclusion
Think of your finished furniture as a blank canvas, ready to tell your story. With patience and the right techniques, your spray-painted piece becomes a shining gem in your space—a symbol of your creativity and effort. Every smooth coat and careful touch reflects your dedication, turning a simple project into a lasting masterpiece. Embrace the process, and let your work symbolize your unique style and craftsmanship, shining bright for years to come.

A seasoned painter with over 15 years in the industry, Mike transitioned from hands-on painting projects to the digital world of paint sprayers. His extensive experience gives him a unique perspective on what users truly need when it comes to painting tools. As the Editor in Chief of Paint Sprayer Zone, Mike ensures that every piece of content not only provides value but also reflects the realities of painting — the challenges, the joys, and the intricate details.