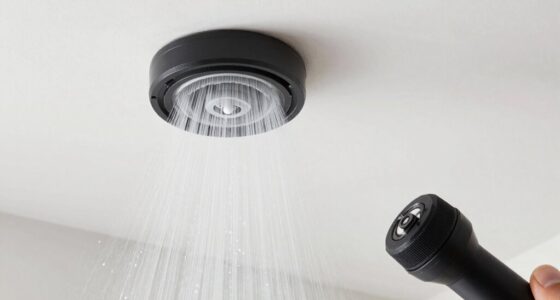

If your handheld sprayer spits or sprays unevenly, the first thing you should check is the filter. Turn off the sprayer, unplug it, and release the system pressure. Locate the filter, usually near the nozzle or inside the wand, and carefully remove it. Clean any dirt, debris, or mineral buildup using warm water and a soft brush. If the issue persists, there might be more involved fixes—continue exploring for better results.
Key Takeaways
- Turn off and unplug the sprayer before inspecting to ensure safety and system depressurization.
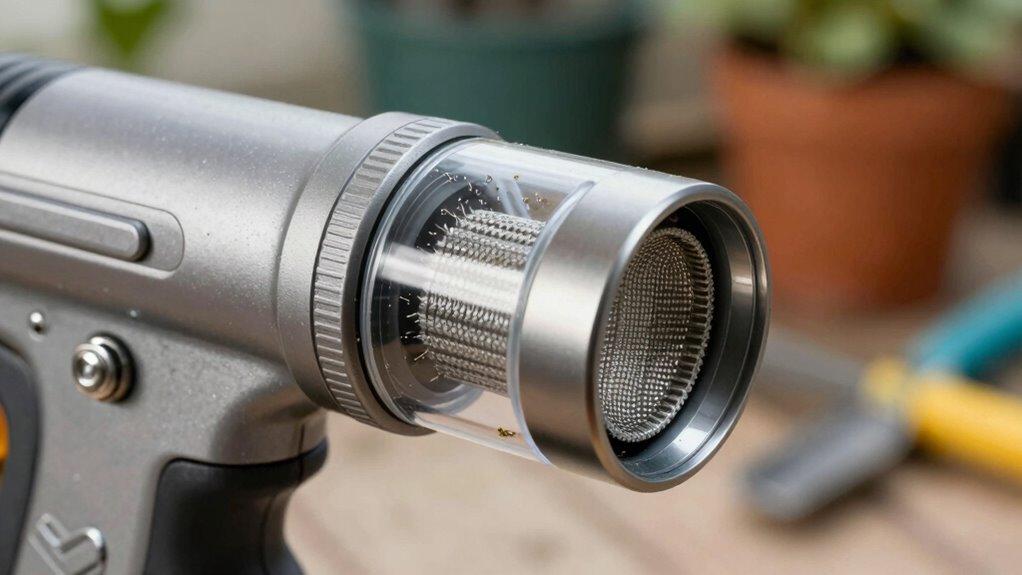
- Locate the filter, typically near the nozzle or within the wand assembly, and remove it carefully.
- Examine the filter for dirt, debris, or mineral buildup that could cause spitting.
- Clean the filter thoroughly with warm water and a soft brush; use vinegar for stubborn deposits.
- If cleaning doesn’t improve performance, consider replacing the filter to restore proper flow.

When your handheld sprayer starts spitting or unevenly distributing liquid, the first thing you should do is check the filter. Many issues with sprayers stem from clogged or dirty filters that restrict proper flow. Performing simple filter maintenance can often solve the problem without the need for expensive repairs or replacements. Troubleshooting tips like inspecting the filter regularly can save you time and frustration, ensuring your sprayer works efficiently whenever you need it. Additionally, incorporating connected equipment and proper maintenance routines can help monitor and improve your sprayer’s performance over time. Start by unplugging the sprayer and releasing any pressure in the system. Locate the filter—it’s usually found near the nozzle or within the wand assembly. Remove it carefully, keeping in mind that some filters are threaded or secured with small clips. Once removed, examine the filter for debris, clogs, or buildup. If it looks dirty or blocked, cleaning it thoroughly with warm water and a soft brush can often restore proper flow. For stubborn grime, a mild vinegar solution can help break down mineral deposits or stubborn residue. Avoid using harsh chemicals that could damage the filter material. Regular filter maintenance is vital to prevent recurring issues. Even if the filter appears clean, it’s good practice to inspect it periodically, especially if you notice changes in spray pattern or pressure. A clean filter ensures smooth liquid flow, reduces strain on the pump, and prolongs the lifespan of your sprayer. If cleaning doesn’t improve performance, the filter may need replacing. Many filters are affordable and easy to swap out, making it a quick fix to restore peak function. Troubleshooting tips also involve checking other components if the filter isn’t the culprit. Ensure the nozzle isn’t clogged, the pressure settings are correct, and there are no leaks or damaged parts. Sometimes, the problem isn’t with the filter but with the internal seals or the pump. However, starting with a clean filter is the simplest and most effective first step. It’s a common oversight that many overlook during troubleshooting, but it often makes a significant difference.
Frequently Asked Questions
How Often Should I Clean the Filter on My Handheld Sprayer?
You should clean the filter on your handheld sprayer during your maintenance schedule, which ideally is every 2 to 4 weeks. Regular filter inspection helps prevent clogs and guarantees smooth operation. If you notice any reduced spray or spitting, check the filter immediately. Keeping the filter clean not only prolongs the life of your sprayer but also maintains consistent spray performance, making your tasks more efficient.
Can a Clogged Filter Cause Uneven Spray Patterns?
A clogged filter can cause serious spray inconsistency, turning your perfect mist into a wild, uneven rush of liquid. When the filter’s blocked, it restricts flow, leading to inconsistent spray patterns that frustrate your project. Regularly checking and cleaning the filter prevents this chaos, ensuring your handheld sprayer delivers a smooth, even spray every time. Don’t let a clogged filter sabotage your work—keep it clean for flawless results.
What Type of Filter Is Compatible With My Sprayer Model?
You should look for filters compatible with your specific sprayer model, which often means checking the manufacturer’s recommendations or user manual. Many sprayer models use standard filter sizes, like 100-mesh or 150-mesh, but compatibility varies. To guarantee proper function, verify the filter’s size, type, and material match your sprayer’s specifications. This way, you prevent clogs and achieve even spray patterns, keeping your sprayer working smoothly.
Is It Safe to Use Water With Mineral Deposits in the Filter?
A stitch in time saves nine, so addressing water quality is key. Using water with mineral deposits in your filter isn’t recommended because mineral buildup can clog your sprayer and reduce efficiency. It’s safer to use clean, filtered water to prevent damage. Regularly inspect and clean your filter to avoid mineral deposits, ensuring your sprayer performs effectively and lasts longer.
How Do I Replace the Filter if It’s Damaged?
To replace a damaged filter, first assess the damage to determine if it’s beyond repair. If it is, turn off the sprayer and carefully remove the old filter following your device’s instructions. Then, insert the new filter securely, ensuring it fits properly. Perform a filter replacement by checking for proper sealing and function. Regular damage assessment helps prevent future issues and keeps your sprayer working smoothly.
Conclusion
If your handheld sprayer keeps spitting, start by checking that filter. Imagine you’re watering your garden, and suddenly the spray sputters. You quickly inspect the filter, find it’s clogged with debris, and clean it out. Once cleared, your sprayer works smoothly again. Just like that, a simple filter check can save you time and frustration. So next time your sprayer falters, remember: fixing the filter might be the quick fix you need.