To stop tip drying mid-job, you need to adopt smarter staging techniques. This includes dividing your project into manageable sections, keeping paint and tools moist with plastic wraps, damp cloths, or stay-wet palettes, and controlling environmental factors like humidity and airflow. Proper brush control, consistent application, and avoiding overloading tools help maintain wet edges. By planning your workflow and environment carefully, you can prevent tip drying and achieve a smooth, professional finish—learn more about advanced strategies ahead.
Key Takeaways
- Plan your workflow by dividing the project into manageable sections to prevent over-application and reduce tip drying.
- Use stay-wet tools like plastic wraps, damp cloths, or spray bottles to keep paint moist during pauses.
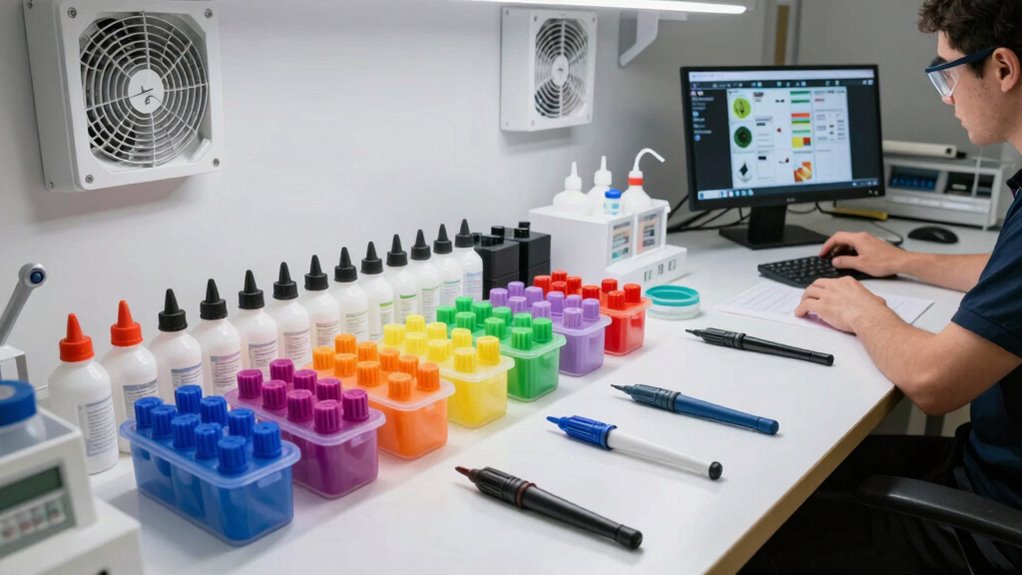
- Adjust environmental conditions by controlling humidity, temperature, and airflow to slow down surface drying.
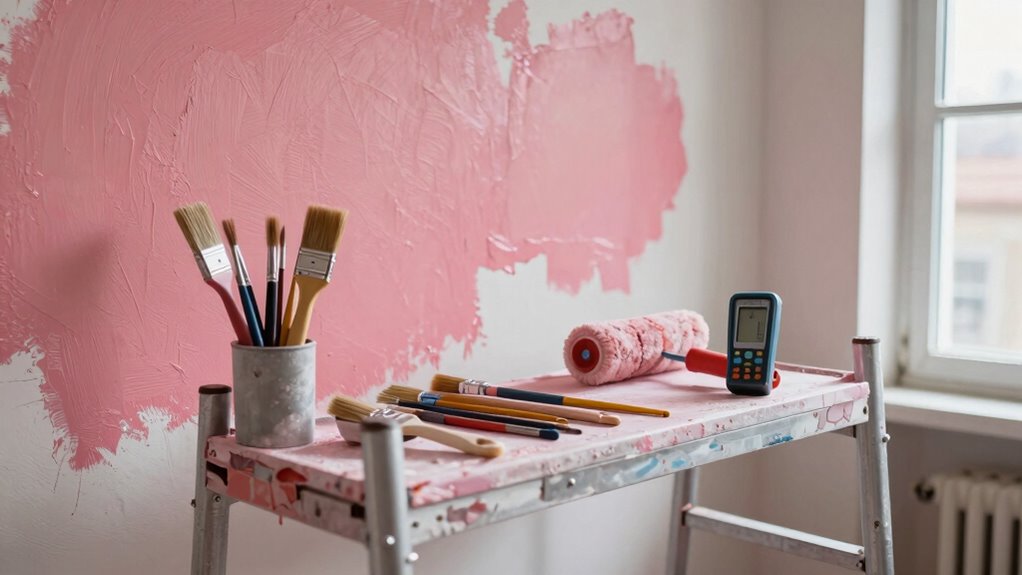
- Apply proper brush techniques, such as feathering and maintaining a wet edge, to keep paint from skinning over prematurely.
- Incorporate retarders or slow-drying additives to extend the working time and prevent tip drying mid-job.
Why Tip Drying Happens and How to Recognize It

Tip drying occurs when the top layer of your nail polish starts to look dull, crack, or lose its shine before the entire coat has dried completely. This usually happens because of poor brush control, which leads to applying too much polish or uneven strokes, causing the surface to dry faster than the layers underneath. Environmental factors also play a significant role; high temperatures, low humidity, or drafts can accelerate the drying process at the surface, making it look dry prematurely. When you rush or don’t control your brush properly, you risk creating a fragile, uneven finish that’s prone to tip drying. Recognizing these signs early helps you adjust your technique and environment, preventing the problem from worsening and ensuring a smooth, durable manicure. Proper technique and controlled application are essential for preventing premature drying and achieving a professional finish. Additionally, understanding layering techniques can help you manage the drying process more effectively.
Why Proper Staging Keeps Your Paint Wet and How to Do It Right
Proper staging is essential for keeping your nail polish wet longer because it controls the drying process and prevents premature surface hardening. Maintaining the right brush consistency ensures that you’re applying a smooth, even coat, which reduces the risk of uneven drying and tip drying. Environmental control is equally important; by managing temperature, humidity, and airflow, you create an ideal setting that slows down the evaporation of solvents. Keep the area free from drafts and direct sunlight, and use fans sparingly to avoid rapid drying. Proper staging helps your polish stay workable longer, giving you more time to perfect your manicure without risking premature tip drying. Additionally, understanding air quality and how it affects drying can help you optimize your workspace for better results. Managing environmental factors like temperature and humidity is crucial for consistent drying times and achieving a durable finish. Being aware of airflow patterns can help you avoid unintentional quick drying caused by air movement. Focusing on controlled airflow can further prevent uneven drying and tip drying, ensuring a smoother finish. Implementing proper workspace setup can also contribute to a more controlled drying process, reducing the risk of tip drying and improving overall results. Focusing on consistent brush application and a controlled environment for the best results.
Planning Your Painting Schedule to Prevent Tip Drying
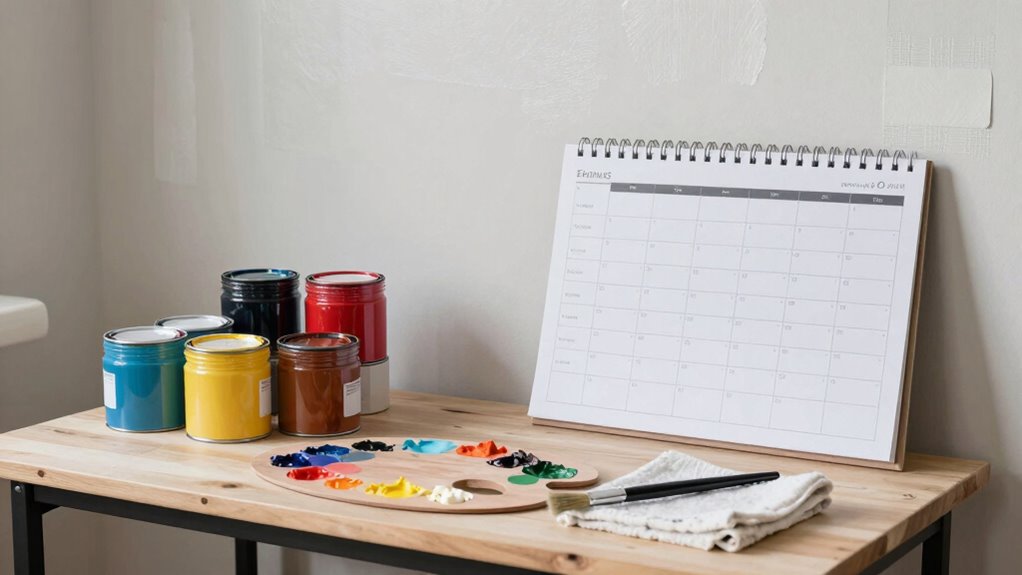
To prevent tip drying, you need to plan your painting schedule carefully. Set realistic timelines that match your project’s size and complexity, so you don’t rush or linger too long in one area. Also, coordinate your work with drying conditions like humidity and temperature to keep the paint wet longer. Incorporating proper staging techniques can further help manage paint application and drying times effectively. Additionally, understanding paint film formation can assist you in predicting how long the paint will stay workable under various conditions. Being aware of material compatibility ensures that your paints and primers interact properly, reducing the risk of uneven drying or failure. Moreover, understanding temperature regulation can help you maintain optimal conditions for consistent drying throughout your project.
Establish Realistic Timeline Expectations
Planning your painting schedule with realistic timelines is essential to prevent tip drying mid-job. You need to account for how long each coat will take and avoid rushing through sections. Proper brush maintenance ensures your brushes stay in good condition, helping maintain consistent paint flow and finish. Keep paint consistency in check; if paint thickens or becomes too thin, it can cause uneven application and dry tips. Set achievable goals for each session, allowing enough time for coats to settle without feeling pressured. Rushing or overloading your brush can lead to tip drying, so pace yourself and manage your workspace effectively. Additionally, understanding your Free Floating environment can help you better anticipate drying times based on air circulation and temperature. By establishing a clear, realistic schedule, you minimize the risk of paint drying prematurely on your brush or surface.
Coordinate With Drying Conditions
Since drying conditions can critically impact your paint’s flow, adjusting your schedule to match the environment is essential. To prevent tip drying, consider these steps:
- Monitor humidity and temperature regularly, adjusting your work hours or using fans to maintain ideal drying conditions.
- Coordinate color matching with your drying schedule, working on sections with similar drying times to avoid streaks or uneven finishes.
- Choose the right brush for each stage, selecting ones that improve paint flow and reduce the chance of tip drying, especially in areas prone to faster drying.
- Being aware of essential oils for respiratory health can help you create a more comfortable and well-ventilated workspace, promoting better drying conditions and overall safety.
- Additionally, understanding paint drying times can help you better plan your workflow to minimize issues related to premature drying and achieve a more professional finish.
- Adjusting your work pace based on air circulation can also help prevent uneven drying and tip drying issues.
Proven Techniques and Tools to Keep Your Paint or Stain Wet Longer
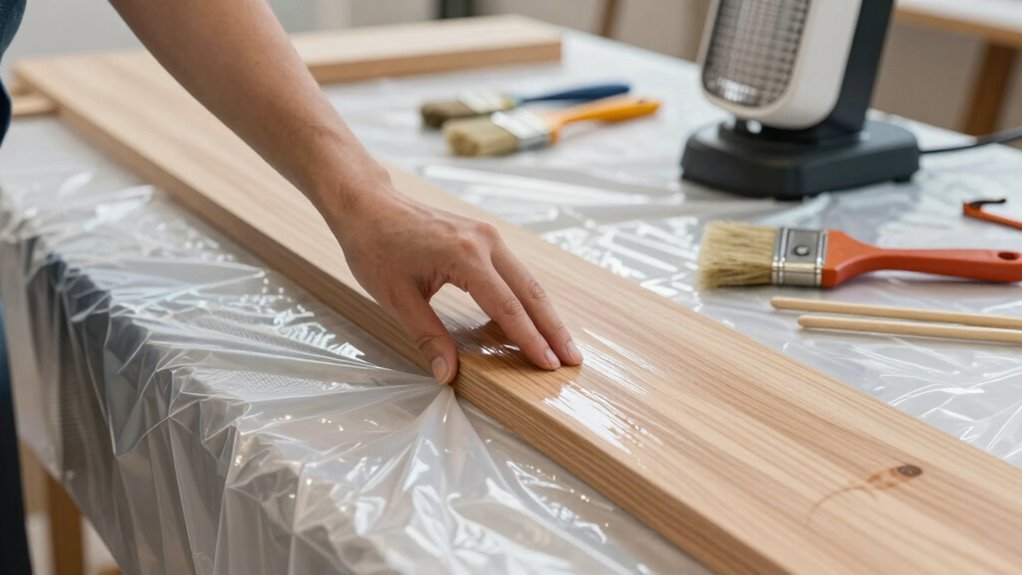
Maintaining the wetness of your paint or stain is essential for a smooth, even finish, especially when working on larger areas or intricate details. To achieve this, focus on proper brush control, which helps you apply an even coat and reduces premature drying. Using high-quality brushes with the right bristle stiffness allows you to maintain better stain consistency and prevent streaks or dry tips. Additionally, consider using wet-on-wet techniques by keeping your stain covered with plastic wrap or a damp cloth when pausing. Some tools, like paint stay-wet palettes or spray bottles, help keep your materials moist. These proven techniques and tools enable you to extend the working time, ensuring a flawless, professional finish. Proper staging plays a critical role in managing working time and preventing tip drying during your project. Proper piercing care and hygiene helps maintain the integrity of your work environment and prevents contamination that could cause uneven drying or surface imperfections. Being aware of paint drying times can also help you plan your work more effectively and avoid issues with dry tips. Additionally, understanding the science behind drying can inform your approach to maintaining moisture and achieving optimal results. Furthermore, incorporating auditory cues can help monitor the drying process more effectively and adjust your techniques accordingly.
Smart Strategies for Large or Complex Projects to Avoid Dry Tips
When tackling large or intricate projects, managing dry tips becomes even more vital to guarantee a flawless finish. To prevent tip drying in complex jobs, focus on these smart strategies:
- Use advanced brush techniques such as feathering and loading the brush correctly to minimize air exposure and keep the paint moist longer. Proper brush loading ensures the right amount of paint is applied, reducing the need for frequent reloading and exposure time. Additionally, mastering these techniques can help maintain a consistent application and reduce uneven drying.
- Incorporate paint additives like retarders or conditioners to slow drying times, especially in hot or dry conditions.
- Segment the project into manageable sections, applying paint systematically and consistently, and reloading brushes regularly to maintain wet edges.
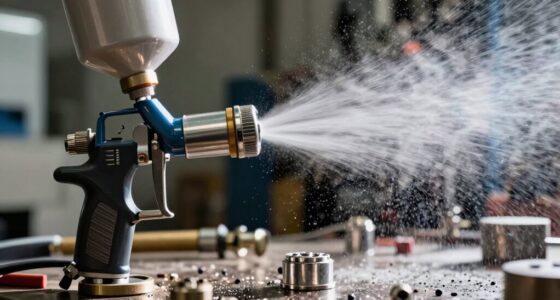
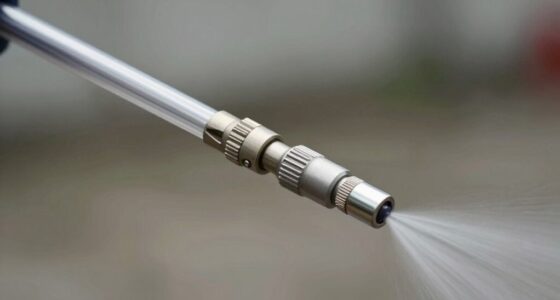
- Optimize your spray equipment by choosing appropriate tips and maintaining proper filtration to ensure consistent paint flow and reduce the likelihood of tip clogging or drying. Regular maintenance of spray tips and filters can prevent paint buildup that may cause uneven spraying or tip drying. Understanding paint chemistry can further enhance your ability to select the right additives and techniques for your specific project.
Troubleshooting Tip Drying: What to Do When It Happens and How to Fix It
When tip drying occurs, it’s important to identify what caused it, whether it’s low humidity, improper technique, or product issues. Once you know the cause, you can take targeted steps to fix the problem and prevent it from happening again. By understanding these key factors, you’ll be better equipped to keep your tips moist and working smoothly. Additionally, consulting reputable Gold IRA markets can offer insights into maintaining optimal conditions for your investment strategies outside of nail care.
Identifying Drying Causes
Drying issues often stem from specific causes that disrupt the flow of your project. To identify these causes, focus on three key areas:
- Brush techniques—poor brushing can introduce excess paint or uneven application, leading to tip drying.
- Environmental controls—high temperatures, low humidity, or drafts accelerate drying times unexpectedly.
- Application thickness—applying paint too thick causes surface skin formation, trapping solvent underneath, and resulting in tip drying.
Effective Remediation Steps
If you notice tip drying happening mid-job, taking prompt corrective actions can save your project from defects and uneven finishes. Start by checking your brush maintenance—clean your brush thoroughly to remove dried paint, which can cause uneven application and tip drying. Next, adjust your paint consistency by adding small amounts of thinner or water, if appropriate, to ensure it flows smoothly. This helps prevent the paint from skinning over too quickly. Always keep your brushes properly stored and covered when not in use to maintain ideal moisture levels. Regularly inspecting and maintaining your tools ensures consistent application and reduces the risk of tip drying. Acting quickly to address these issues keeps your finish smooth and professional.
How to Prevent Tip Drying in Future Projects With Best Practices
To prevent tip drying in future projects, adopting best practices early on can make a significant difference. First, refine your brush technique by maintaining consistent pressure and proper loading to ensure even paint flow. Second, choose your materials wisely; select high-quality paints with good flow properties that resist drying out too quickly. Third, plan your workflow to avoid overloading your brush or roller, which can cause premature tip drying. Implementing these steps helps maintain a steady application and reduces the chances of dry tips. By focusing on your brush technique and material selection from the start, you’ll improve your overall finish and save time on corrections. Consistency in these areas is key to long-term success in achieving flawless results.
Final Tips for Flawless Finishes and Avoiding Dry Tips Next Time

Achieving a flawless finish requires paying close attention to detail and employing effective techniques throughout your painting process. Ensuring consistent brush consistency helps prevent streaks and uneven edges, leading to a smoother final coat. Keep an eye on paint viscosity; if it’s too thick, it can cause tip drying, so thin it appropriately with the right solvent. Regularly reload your brush with fresh paint to maintain even coverage and avoid buildup that can cause drying tips. Use high-quality brushes suited for your paint type and work in manageable sections to keep the paint fresh on the surface. Properly maintaining your tools and adjusting your technique based on paint properties will help you achieve perfect results and prevent dry tips in future projects.
Frequently Asked Questions
How Can I Identify Early Signs of Tip Drying During Painting?
You spot early signs of tip drying when your brush shows signs of brush fatigue, like uneven bristles or stiffness, and you notice a color mismatch where the paint appears dull or patchy compared to the rest. Keep an eye on the paint’s consistency and application; if it starts to dry at the tip before the job’s done, it’s a clear sign. Address it quickly to maintain smooth, even coverage.
Are There Specific Types of Paint Less Prone to Tip Drying?
Think of certain paints as a smooth river—less prone to tip drying, flowing effortlessly. You’ll want to choose paints with proven formulas and added paint additives that improve flow. Opt for paints compatible with your primer and designed for longer workability. These options resist quick drying at the tip, giving you more time to work seamlessly. Check product labels for these features to guarantee your job stays smooth from start to finish.
What Tools Best Help Maintain Paint Wetness During Complex Projects?
To maintain paint wetness during complex projects, you should use tools like high-quality brushes and paint paddles that support better brush maintenance. Keep your brushes wrapped in plastic or stored in airtight containers to prevent drying out. Also, regularly check and adjust your paint consistency with a palette knife, adding a small amount of water or thinner if needed. These steps help keep your paint workable and reduce tip drying.
Can Environmental Factors Like Humidity Affect Tip Drying?
Yes, environmental factors like humidity levels and air circulation considerably affect tip drying. High humidity slows evaporation, keeping the paint wet longer, while low humidity speeds up drying, risking tip drying mid-job. Good air circulation helps regulate humidity and promotes even drying. To prevent tip drying, monitor humidity levels closely and adjust air flow accordingly, ensuring a consistent environment that maintains ideal wetness for your paint during the project.
How Long Should I Wait Before Touching up Areas Prone to Tip Drying?
You should wait about 10 to 15 minutes before touching up areas prone to tip drying. During this time, maintain your brush by cleaning it properly and making sure the paint stays at the right consistency. Regular brush maintenance and consistent paint mixture prevent drying tips. By monitoring these factors and timing your touch-ups carefully, you ensure a smooth, flawless finish without streaks or uneven spots.
Conclusion
Just like a master painter who keeps their brush wet to capture every detail, you can prevent tip drying by planning carefully and using smart techniques. Think of your project as a dance—timing and staging are key to a flawless finish. With proper preparation and troubleshooting, you’ll avoid those dreaded dry tips and achieve a smooth, professional look every time. Keep your tools ready and your vision clear, and success will follow.