
If your paint sprayer clogs mid-project, turn it off and relieve pressure first. Remove the nozzle and check for dried paint or debris; gently clean or soak it in warm soapy water. For system-wide blockages, flush the entire setup with water or suitable cleaner. Regular maintenance and proper paint thinning prevent future clogs. To guarantee smooth spray flow and tackle stubborn blockages effectively, keep exploring the best troubleshooting tips.
Key Takeaways
- Turn off the sprayer, relieve pressure, and disconnect power before inspecting the nozzle.
- Remove the nozzle and check for visible blockages or dried paint, then clean with a brush or wire.
- Use a needle or specialized tool to clear tiny nozzle holes carefully, following manufacturer guidelines.
- Flush the entire paint system with water or appropriate cleaner to remove accumulated debris or dried paint.
- Regularly clean and maintain the sprayer, strain paint before use, and use recommended thinning agents to prevent future clogs.
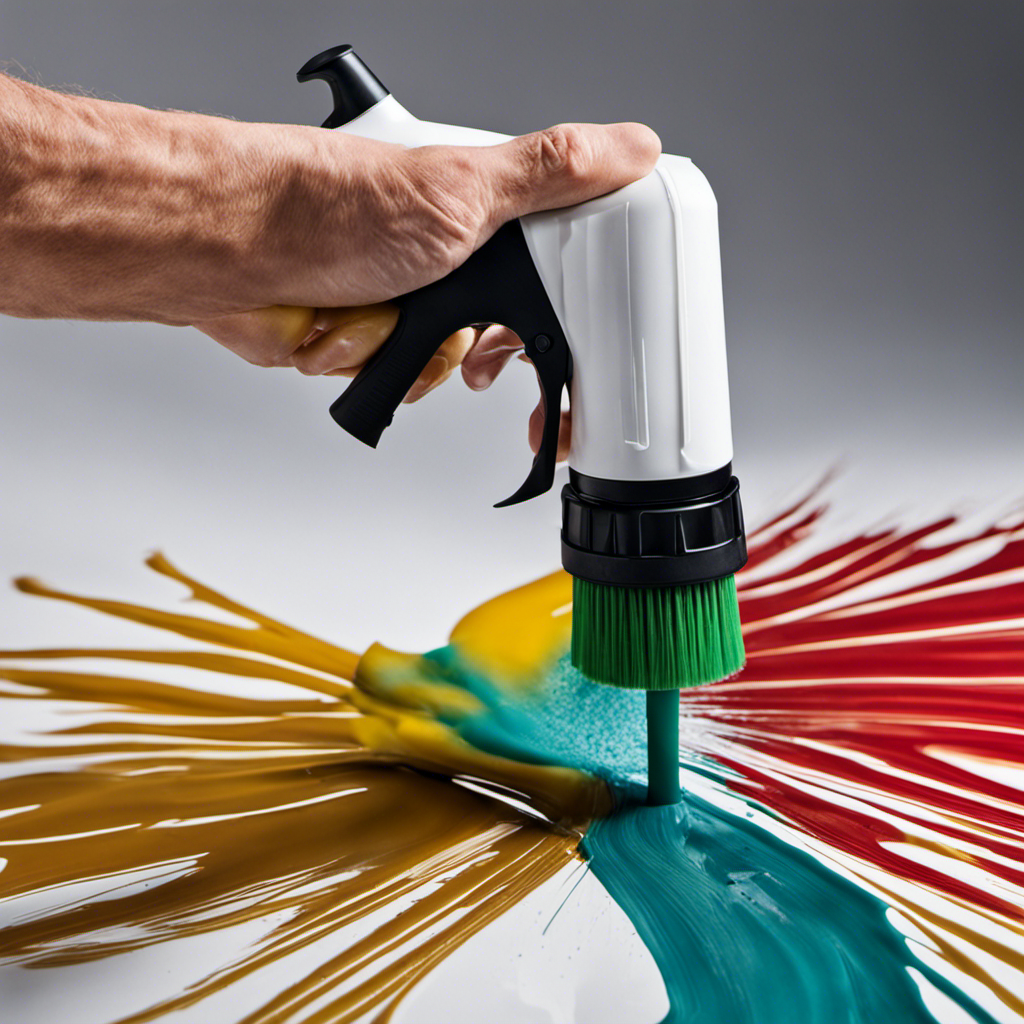
Ever wonder why your drain suddenly slows or backs up? Well, the same thing can happen with your paint sprayer. When you’re mid-project and notice paint isn’t flowing smoothly, it’s often due to a paint flow issue caused by a nozzle blockage. Understanding this common problem can save you time and frustration, especially when you’re in the middle of a painting job.
A nozzle blockage can halt your paint sprayer’s flow, causing uneven coverage and frustration.
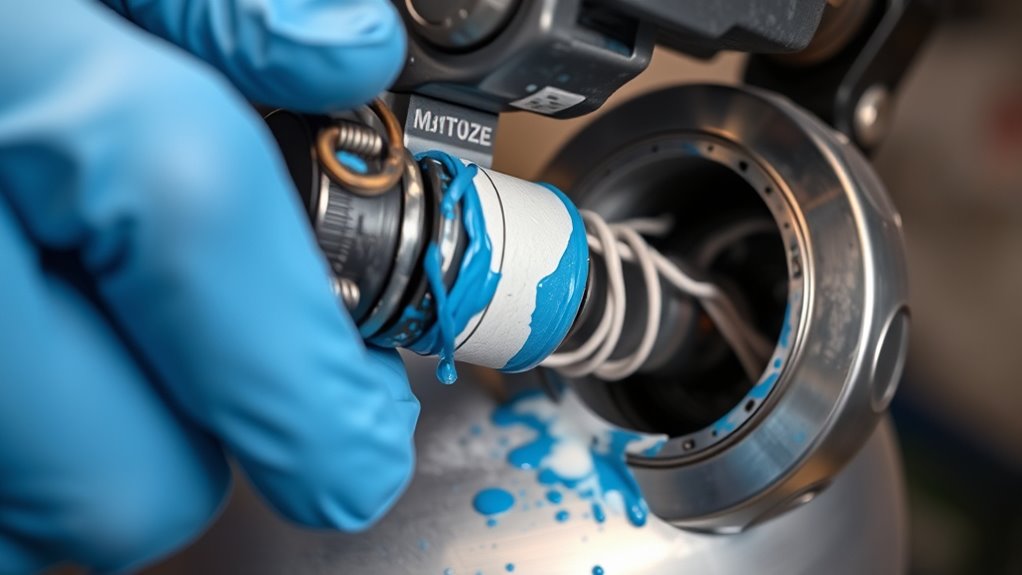
A nozzle blockage is typically the culprit behind inconsistent spray patterns or sudden stops in paint flow. Over time, dried paint, debris, or thickened material can clog the tiny openings in your sprayer’s nozzle. When these openings are blocked, paint can’t pass through freely, leading to uneven coverage or complete stoppage. To troubleshoot this, first, turn off your sprayer and relieve the pressure in the system to prevent spillage. Carefully remove the nozzle, and inspect it for any visible blockages or dried paint. Sometimes, the blockage is obvious—clumps of paint or debris stuck in the opening.
Next, clean the nozzle thoroughly. Use a brush or a small wire to gently dislodge any debris. If dried paint is stubborn, soaking the nozzle in warm, soapy water or a solvent recommended by the manufacturer can loosen it up. Be cautious not to damage the nozzle during cleaning. For more stubborn blockages, a needle or a specialized cleaning tool can help clear the tiny holes. Always check the manufacturer’s instructions for cleaning procedures to avoid damaging the nozzle or affecting its spray pattern.
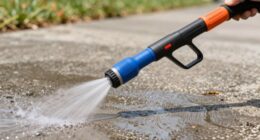
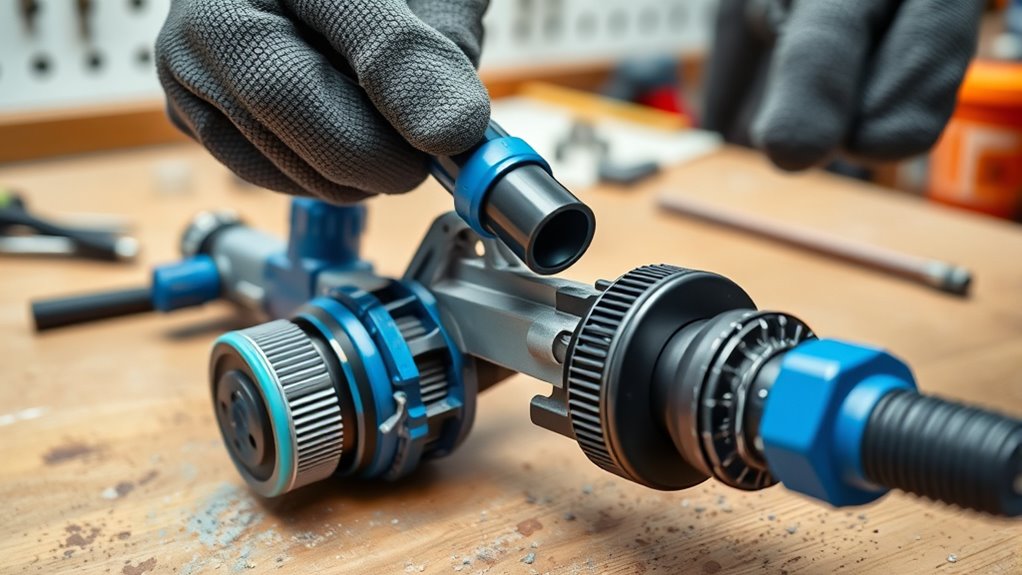
While focusing on the nozzle, don’t forget to inspect the paint flow system. Sometimes, clogs can form further up the line, especially if thick paint or debris has traveled through the system. If you notice a reduction in paint flow even after cleaning the nozzle, flush the entire system with water or a cleaning solution suitable for your sprayer. This process can clear out any residual blockages that might be restricting flow.
Prevention is key. Regularly cleaning your nozzle during breaks or after completing a project prevents buildup. Use the recommended thinning agents to keep paint at the right consistency, reducing the risk of clogs. Also, strain your paint before pouring it into the sprayer to catch debris that could cause future blockages. Additionally, understanding sprayer components and their maintenance needs can help you identify issues early and keep your equipment functioning smoothly. By staying vigilant and maintaining your equipment properly, you’ll keep the paint flow steady and avoid mid-project interruptions. Remember, a little preventative care goes a long way in ensuring your painting project stays smooth from start to finish.
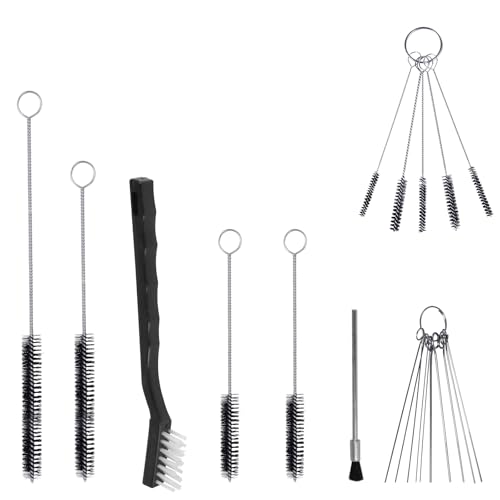
17pcs Multi-Purpose Spray Gun Cleaning Kit,Nylon Brushes Paint Gun Cleaning Kit Mini Brushes & Needles for Clean Airbrush Nozzles Spray Guns Tattoo Equipment (17)
★ This handy spray guns cleaning kit is all you need to keep your spray guns clean and…
As an affiliate, we earn on qualifying purchases.
As an affiliate, we earn on qualifying purchases.
Frequently Asked Questions
How Often Should I Clean My Paint Sprayer to Prevent Clogs?
You should stick to a regular maintenance schedule to keep your paint sprayer clog-free. Cleaning frequency depends on your project, but generally, clean your sprayer after every use or every few hours of continuous work. This prevents buildup and guarantees smooth operation. If you’re working with thick or pigmented paints, clean more frequently. Consistent maintenance helps avoid clogs and prolongs your sprayer’s lifespan, saving you time and frustration.
What Types of Paint Are Most Likely to Cause Clogs?
You’re wondering which paints are most likely to cause clogs. Oil-based paints tend to thicken as they dry, increasing the risk of blockages, especially if not thinned properly. Latex paints can also cause clogs if they contain debris or aren’t stirred thoroughly before spraying. To avoid issues, always strain your paints and follow manufacturer recommendations, regardless of whether you’re using oil-based or latex paints.
Can I Use Household Cleaning Products to Clear a Clog?
Imagine your paint sprayer as a busy highway, and a clog as a traffic jam. You might think household cleaners are a quick fix, but they’re like using a firehose to clear a small obstacle—they can cause chemical risks and damage your equipment. Instead, opt for proper cleaning solutions designed for paint sprayers. This keeps your project safe and your sprayer running smoothly without risking harmful chemical reactions.
How Do I Identify a Clogged Filter Versus Other Issues?
To identify a clogged filter, start with a filter inspection to check for debris or buildup. If you notice reduced flow or uneven spraying, it’s likely a flow restriction caused by the clog. Remove the filter and examine it closely; if it’s dirty or blocked, cleaning or replacing it will restore proper flow. Regular filter inspection helps prevent these issues and keeps your sprayer working smoothly.
Is It Safe to Continue Spraying With a Partial Clog?
Continuing to spray with a partial clog isn’t safe because it can cause safety concerns and affect paint consistency. You might notice uneven spray, increased pressure, or splattering, which could lead to accidents or damage your equipment. It’s best to stop and clear the clog before proceeding. Doing so guarantees safe operation and maintains the quality of your finish, saving you time and preventing costly repairs later.

LE LEMATEC Air Compressor Regulator & Flow Control Valve with Pressure Gauge – for Pneumatic Tools, Spray Painting, Tire Inflation, 1/4 NPT, 0-150 PSI
Precise Air Flow Control for Consistent Results: This inline air flow control valve features an integrated 0-150 PSI…
As an affiliate, we earn on qualifying purchases.
As an affiliate, we earn on qualifying purchases.
Conclusion
Now that you know how to troubleshoot and clear clogs, your paint sprayer will be ready to conquer any project. Think of it as taming a wild steed—you just need patience and the right tools. Remember, every clogged nozzle is just a puzzle waiting to be solved. With these tips, you’ll keep your project flowing smoothly, turning obstacles into opportunities. So go ahead, paint with confidence—your masterpiece awaits, just beyond the next clog!

SRQ Disposable Paint Spray Cup System for HVLP and LVLP Paint Guns, Standard 20-Ounce (600ml) Kit with 50 Mixng Cups and Lids System, 1 Hard Cup with Retainer Ring and 20 Plugs, 3 Connectors
Paint System Kit: Disposable paint spray cup system includes 50 standard 20 oz (600ml) cup liners, 50 lids…
As an affiliate, we earn on qualifying purchases.
As an affiliate, we earn on qualifying purchases.
17pcs Multi-Purpose Spray Gun Cleaning Kit,Nylon Brushes Paint Gun Cleaning Kit Mini Brushes & Needles for Clean Airbrush Nozzles Spray Guns Tattoo Equipment (17)
★ This handy spray guns cleaning kit is all you need to keep your spray guns clean and…
As an affiliate, we earn on qualifying purchases.
As an affiliate, we earn on qualifying purchases.

Franz came aboard the Paint Sprayer Zone team with a background in both journalism and home renovation. His articulate writing style, combined with a passion for DIY projects, makes him an invaluable asset. Franz has a knack for breaking down technical jargon into easy-to-understand content, ensuring that even the most novice of readers can grasp the complexities of paint sprayers.