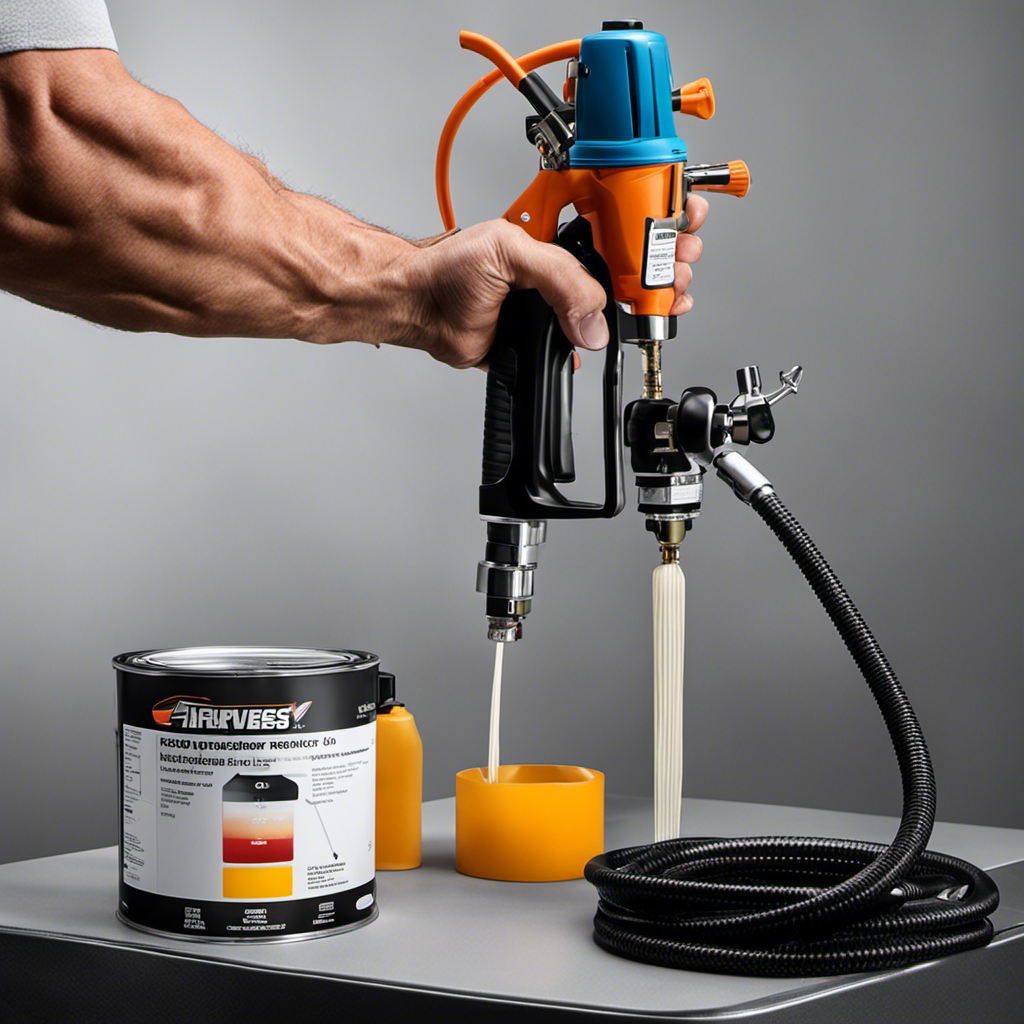

Are you searching for a solution to the problem of clogged paint sprayers? Your search ends here with the arrival of the Graco 360 Airless Paint Sprayer. Crafted with precision, this efficient tool is designed to provide impeccable results. However, it’s important to note that even top-of-the-line devices may experience clogging issues occasionally.
In this article, we will explore the most effective troubleshooting techniques and preventive measures to keep your Graco sprayer running smoothly. Don’t let clogs slow you down – discover the secrets to maintaining optimal performance and achieving professional-quality finishes every time.
Key Takeaways
- Troubleshooting tips include checking power supply, priming and flushing properly, verifying paint viscosity, and inspecting for clogs or blockages.
- Prevention tips include straining paint before pouring, cleaning filters and nozzles regularly, using appropriate paint viscosity, following prevention techniques, and performing regular maintenance.
- Identify and remove clogs by checking the spray tip, suction tube, and filter for debris or obstructions.
- Disassemble and clean the sprayer by removing the spray gun, tip guard, and filter housing, inspecting and cleaning the filter, and using a cleaning solution or solvent to remove paint residue and unclog the system.
Common Causes of Clogs in Graco Airless Paint Sprayer
Common causes of clogs in the Graco Airless Paint Sprayer include debris or obstructions in the spray tip, suction tube, and filter. These clogs can occur when paint particles or other contaminants accumulate in these components, hindering the smooth flow of paint.
To prevent clogs, it is important to strain the paint before pouring it into the sprayer, as this removes any larger particles that could cause blockages. Regularly cleaning the filters and nozzles is also crucial to prevent clogs.
Troubleshooting tips for clogs include releasing the pressure and removing the spray tip, suction tube, and filter to clean them thoroughly with warm, soapy water or a suitable cleaning solution.
How to Identify and Locate Clogs in the Sprayer
To identify and locate clogs in the sprayer, a user should thoroughly inspect the spray tip, suction tube, and filter for any debris or obstructions. Here are the troubleshooting tips for clogs in the sprayer:
-
Release pressure and remove paint: Remove the spray tip and guard, detach the suction tube, and clean all components with warm, soapy water or a suitable cleaning solution.
-
Disassemble and clean the sprayer: Remove the spray gun, tip guard, and filter housing. Inspect the filter for clogs or debris and clean or replace if necessary. Clean the spray tip and filter by using a small wire brush or toothpick to remove blockages and rinsing with warm water.
-
Use a cleaning solution or solvent: Enhance the effectiveness of the sprayer by using a cleaning solution or solvent such as warm water and mild detergent or a commercial paint sprayer cleaner. Follow safety precautions, wear protective gear, and work in a well-ventilated area.
Step-By-Step Guide to Removing Clogs From Graco Airless Paint Sprayer
The first step in removing clogs from the Graco airless paint sprayer is to release the pressure and remove the spray tip and guard.
To prevent clogs in the Graco airless paint sprayer and maintain a clog-free system, there are a few important tips to keep in mind.
Firstly, it is crucial to strain the paint before pouring it into the sprayer to remove any debris or impurities.
Additionally, regular cleaning of filters and nozzles is essential to prevent any build-up that can lead to clogs.
Using the appropriate paint viscosity and following prevention techniques such as priming and flushing properly can also help to avoid clogs.
Lastly, performing regular maintenance, including disassembling and cleaning the sprayer, can ensure optimal performance and prevent future clogs.
Proper Disassembly and Cleaning Techniques for the Sprayer
After releasing the pressure and removing the spray tip and guard, the user can proceed to disassemble and clean the sprayer by removing the spray gun, tip guard, and filter housing.
Inspect the filter for clogs or debris and clean or replace if necessary.
Clean the spray tip and filter by using a small wire brush or toothpick to remove blockages and rinsing with warm water.
Use a cleaning solution or solvent such as warm water and mild detergent or a commercial paint sprayer cleaner to enhance the effectiveness of the sprayer.
By following these cleaning techniques and maintenance tips, the user can ensure optimal performance and prevent future clogs.
It is important to disassemble the sprayer and clean all components thoroughly, paying special attention to the filter and spray tip.
Using a cleaning solution or solvent can further remove any paint residue and unclog the system.
Regular cleaning and maintenance will help keep the sprayer in top condition and prevent any disruptions during painting projects.
Using Cleaning Solutions and Solvents to Unclog the System
Using a cleaning solution or solvent, the user can enhance the effectiveness of the sprayer and ensure optimal performance by removing paint residue and unclogging the system.
It is recommended to use eco-friendly cleaning solutions to minimize environmental impact. When using cleaning solvents, safety precautions must be followed to protect oneself. This includes wearing protective gear such as gloves and goggles, and working in a well-ventilated area to avoid inhaling fumes.
Before applying the cleaning solution or solvent, the sprayer should be disassembled to access all components that may have paint residue or clogs. After applying the cleaning solution, the components should be thoroughly cleaned with a soft brush or cloth.
Once the cleaning process is complete, the sprayer should be reassembled and tested to ensure that it primes correctly and there are no leaks or unusual noises. By using proper cleaning solutions and following safety precautions, the user can keep the sprayer in optimal condition and avoid future clogs.
Reassembling and Testing the Sprayer After Cleaning
Once the cleaning process is complete, the user should reassemble and test the sprayer to ensure that it primes correctly and there are no leaks or unusual noises. Here are the reassembling techniques and testing procedures to follow:
-
Reassembling the Sprayer:
a. Attach the spray gun, hose, pump, and spray tip guard back to their respective positions.
b. Ensure that all connections are secure and tightened properly.
c. Double-check that all components are correctly aligned and fitted. -
Testing the Sprayer:
a. Check if the sprayer primes correctly by following the manufacturer’s instructions.
b. Adjust the spray pattern if necessary, making sure it is even and consistent.
c. Inspect the sprayer for any leaks or unusual noises while operating.
Best Practices for Preventing Future Clogs in Graco Airless Paint Sprayer
After reassembling and testing the Graco airless paint sprayer, it is crucial to implement best practices for preventing future clogs. Proper paint maintenance and equipment maintenance are key to ensuring the longevity and optimal performance of the sprayer. Here are some recommended practices:
-
Straining paint: Before pouring the paint into the sprayer, strain it to remove any impurities that could potentially cause clogs.
-
Regular cleaning: Clean the filters and nozzles of the sprayer regularly to prevent any buildup or blockages.
-
Use appropriate paint viscosity: Ensure that the paint being used has the correct viscosity for the specific sprayer model to prevent clogs.
-
Follow prevention techniques: Adhere to the manufacturer’s guidelines and recommendations for operating and maintaining the sprayer.
-
Seek professional help: If you encounter persistent clogging issues or are unsure how to address a problem, it is advisable to seek assistance from a professional.
When to Seek Professional Help for Persistent Clogging Issues
If persistent clogging issues arise, it is advisable for the user to seek professional help. When troubleshooting persistent clogging in a Graco airless paint sprayer, there are certain signs that indicate it’s time to consult professionals.
These signs include:
- Recurring clogs despite regular cleaning and maintenance.
- Clogs that cannot be cleared using standard cleaning methods.
- Clogs that cause a significant decrease in spray performance or quality.
When faced with these issues, it is best to seek the expertise of professionals who have the knowledge and experience to diagnose and resolve complex clogging problems. They can assess the situation, identify any underlying issues, and provide appropriate solutions to ensure optimal performance of the paint sprayer.
Frequently Asked Questions
How Often Should I Clean the Filters and Nozzles of My Graco Airless Paint Sprayer?
Cleaning frequency for the filters and nozzles of a Graco airless paint sprayer depends on usage and paint type. However, it is generally recommended to clean them after each use to prevent clogs and ensure optimal performance.
Best cleaning practices include rinsing the filters and nozzles with warm water or a suitable cleaning solution, using a small wire brush or toothpick to remove any blockages, and performing regular maintenance to keep the sprayer in top condition.
Can I Use Any Type of Cleaning Solution or Solvent to Clean My Paint Sprayer?
Using alternative solvents for cleaning a paint sprayer is not recommended. It is important to follow proper cleaning techniques to ensure the longevity and performance of the equipment.
When cleaning a Graco airless paint sprayer, it is best to use a cleaning solution or solvent that is specifically designed for paint sprayers, such as warm water and mild detergent or a commercial paint sprayer cleaner.
This will effectively remove paint residue and unclog the system without causing any damage to the sprayer.
Are There Any Specific Safety Precautions I Should Take When Using Cleaning Solutions or Solvents?
When using cleaning solutions or solvents to clean a paint sprayer, there are some important safety precautions to take.
It is crucial to follow the manufacturer’s instructions and wear appropriate protective gear, such as gloves and goggles, to prevent any contact with the cleaning solution.
Additionally, it is important to work in a well-ventilated area to avoid inhaling any fumes.
After cleaning, it is essential to properly dispose of the cleaning solution according to local regulations to ensure environmental safety.
What Should I Do if I Notice Leaks or Unusual Noises After Reassembling and Testing My Sprayer?
If leaks or unusual noises are noticed after reassembling and testing the sprayer, there are a few steps that can be taken to prevent further issues.
First, check all connections and fittings to ensure they are tight and secure.
Next, inspect the seals and O-rings for any signs of damage or wear, and replace them if necessary.
Finally, verify that the spray tip and filter are clean and free from any debris or obstructions.
Are There Any Specific Types of Paint That Are More Prone to Causing Clogs in the Sprayer?
Types of paint can vary in their composition and viscosity, which can affect the likelihood of clogs in a sprayer. Some types of paint, such as thick or textured paints, may be more prone to causing clogs due to their higher viscosity.
Additionally, paints with a high concentration of solids or particles, like metallic or glitter paints, may also increase the risk of clogs.
It is important to consider the type of paint being used and adjust the cleaning frequency accordingly to prevent clogs in the sprayer.
Conclusion
In conclusion, troubleshooting and preventing clogs in the Graco Airless Paint Sprayer is an essential task for optimal performance. By following the provided tips and techniques, users can easily identify and remove clogs, ensuring a smooth and efficient painting experience.
However, for those who enjoy the thrill of unexpected clogs and the frustration that comes with them, ignoring these preventive measures will surely bring a tear to their eye.
So, remember to take care of your Graco Airless Paint Sprayer and bid farewell to those pesky clogs. Happy painting!

Drenched in creativity and armed with a fountain pen, Isolde weaves words as gracefully as a painter strokes their canvas. A writer for Paint Sprayer Zone, her passion for colors, textures, and spaces finds a harmonious blend with her profound knowledge of painting tools and techniques.
Having grown up in a family of artists, Isolde’s tryst with paints began early. While her relatives expressed themselves on canvas, Isolde found her medium in words. She dedicated herself to chronicling the world of painting, understanding the nuances of each tool, and the artistry behind every spritz of a paint sprayer.