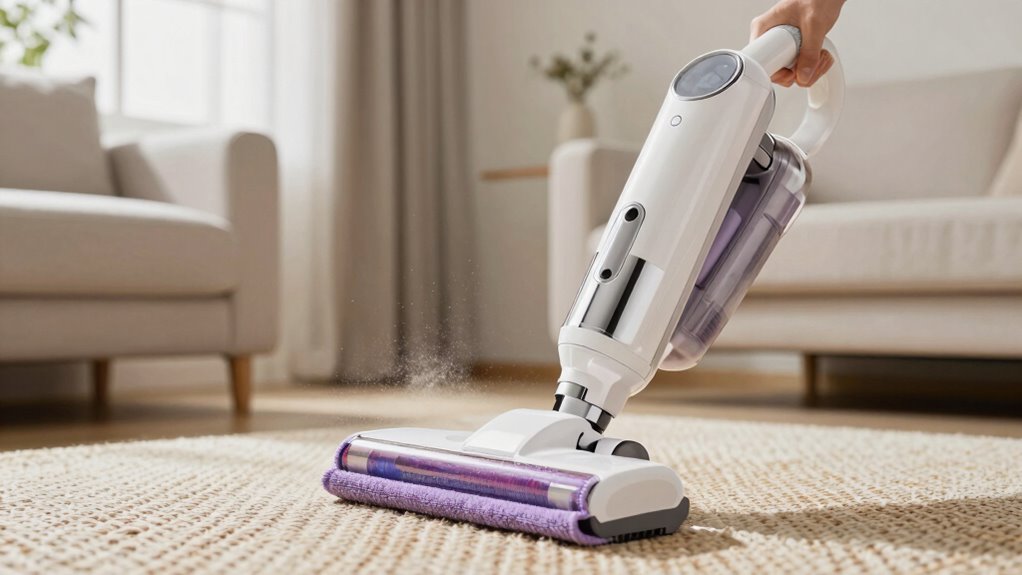
To stop dust before it starts, always start with tack-wiping surfaces to loosen particles without kicking up debris. Then, immediately follow with thorough vacuuming to trap the loosened dust and prevent it from settling or becoming airborne. Using the right tools in this sequence guarantees dust is effectively removed, improving air quality. Keep in mind common mistakes and proper techniques to maximize your dust control method—if you want to learn more, stay tuned.
Key Takeaways
- Use tack cloths first to loosen dust from surfaces before vacuuming to prevent resettling particles.
- Follow tack wiping immediately with vacuuming to remove loosened dust and reduce airborne allergens.
- Always dust from top to bottom to avoid recontaminating cleaned surfaces during the process.
- Incorporate HEPA-filtered vacuums for efficient removal of dust and prevent spreading particles back into the air.
- Maintain proper air circulation and humidity levels to minimize dust resuspension during cleaning.
Why Dust Keeps Settling and How to Stop It
Dust keeps settling because it’s constantly generated from everyday activities, like cleaning, walking, and even breathing. These activities release airborne particles that linger in the air before settling onto surfaces, causing dust accumulation. The tiny particles, often made of skin cells, fabric fibers, and dirt, are light enough to stay suspended temporarily but eventually fall due to gravity. This continuous cycle explains why dust keeps settling despite regular cleaning. To reduce dust buildup, you need to interrupt this cycle by capturing airborne particles before they settle. Simple steps like using a vacuum cleaner with a HEPA filter and wiping surfaces regularly can make a significant difference. Additionally, understanding how airborne particles behave and settle helps you develop a strategy to keep your space cleaner longer.
How Dust Settles and Becomes Airborne

Particles become airborne when activities disturb settled dust or generate new debris. As you move through a space, air circulation stirs up dust that has settled on surfaces. This process causes dust particles to lift into the air, making it easier to inhale or spread throughout the room. Dust accumulation on surfaces increases the likelihood of particles becoming airborne during routine activities like sweeping, vacuuming, or cleaning. Proper air circulation can either help settle dust faster or, if uncontrolled, keep it suspended longer. Understanding how dust moves and settles helps you target problem areas and control airborne dust. Implementing proper ventilation strategies can further reduce dust circulation and improve indoor air quality. Keeping surfaces clean minimizes dust buildup, reducing the amount that can be disturbed and become airborne, ultimately improving indoor air quality. Innovative European cloud servers are designed to enhance energy efficiency and security, contributing to healthier indoor environments by supporting sustainable solutions. Additionally, implementing effective dust control strategies can significantly reduce airborne particles and improve overall air quality.
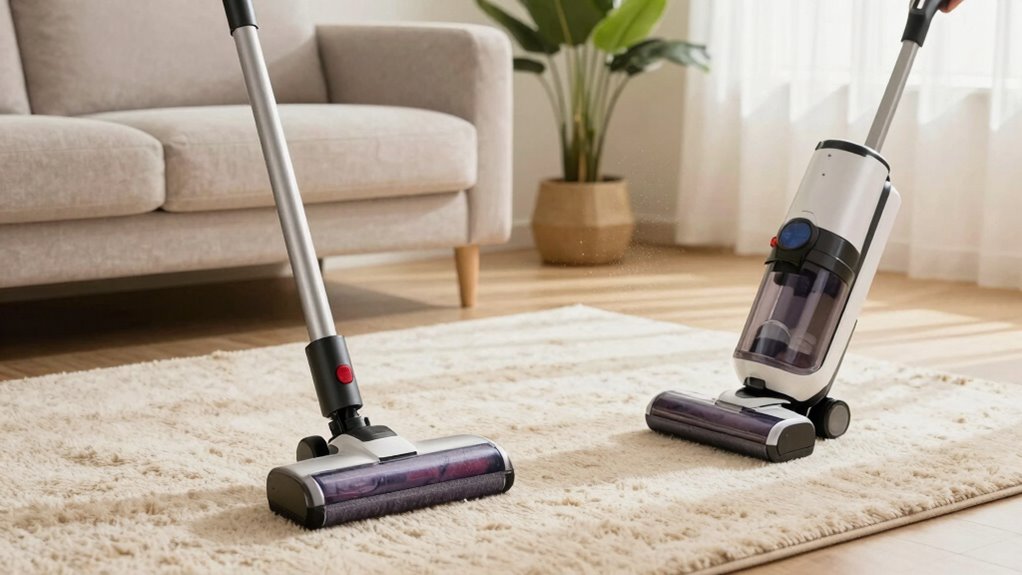
What You Need for Effective Dust Cleaning

To clean dust effectively, you need the right tools, like microfiber cloths and a good vacuum with a HEPA filter. Mastering effective dusting techniques, such as gentle wiping and working from top to bottom, makes a big difference. Using proper equipment ensures that dust and allergens are captured efficiently rather than spread around. A well-designed outdoor space that incorporates natural elements can also reduce dust accumulation indoors by promoting better airflow. Incorporating air purification devices can further improve indoor air quality and reduce dust levels. With the proper equipment and methods, you can keep dust at bay before it becomes a problem. Additionally, understanding indoor air quality can help you identify areas where dust and allergens tend to accumulate.
Proper Cleaning Tools
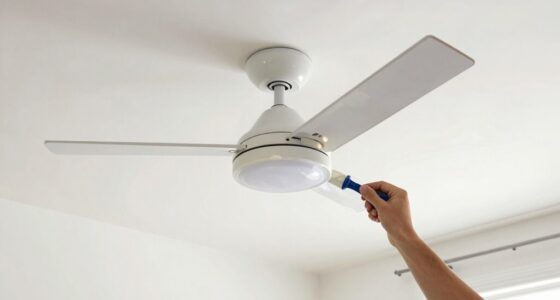
Have you ever wondered what tools make dust cleaning truly effective? When it comes to DIY cleaning and dust prevention, having the right tools is essential. A microfiber cloth is your best friend for trapping dust without spreading it around. A good vacuum with a HEPA filter guarantees you remove dust from carpets and hard surfaces thoroughly. Use extendable dusters for hard-to-reach spots like ceiling fans and vents. An air blower can also help clear dust from delicate electronics or tight corners. Don’t forget a sturdy dustpan and brush for quick cleanups on hard floors. Investing in these tools makes your dust prevention efforts more efficient, keeping your space cleaner and healthier with less effort. Proper tools are the foundation of effective dust cleaning routines, especially when considering filtration to improve indoor air quality. Sound healing science indicates that incorporating specific frequencies or tools can enhance cleaning effectiveness and promote a healthier environment. Additionally, choosing tools that align with eco-friendly practices can help reduce your environmental footprint. Being mindful of the air quality during cleaning can further improve your indoor environment and overall health. Incorporating effective cleaning methods that prioritize proper tool use can also significantly boost your dust control efforts.
Effective Dusting Techniques
Using the right tools is only part of effective dust cleaning; applying proper dusting techniques makes all the difference. Start by dusting from the top down, preventing airborne particles from settling on already cleaned surfaces. Use a microfiber cloth or a damp duster to trap dust and dust mites effectively, rather than just moving dust around. When tackling surfaces, avoid dry dusting, which stirs up airborne particles. Instead, gently wipe surfaces to reduce dust mite buildup and prevent allergens from becoming airborne. Pay special attention to areas prone to dust accumulation, such as vents, blinds, and stuffed furniture. Incorporating proper dusting techniques into your routine can further improve air quality by ensuring your space is well-maintained and free of dust. Regularly cleaning with these techniques minimizes airborne particles and dust mites, creating a healthier environment and reducing allergy triggers. Additionally, vintage-inspired cleaning tools can enhance your dusting routine while complementing your retro home decor. Ensuring your tools are made from body-safe materials helps prevent irritation and maintains a healthy living space.
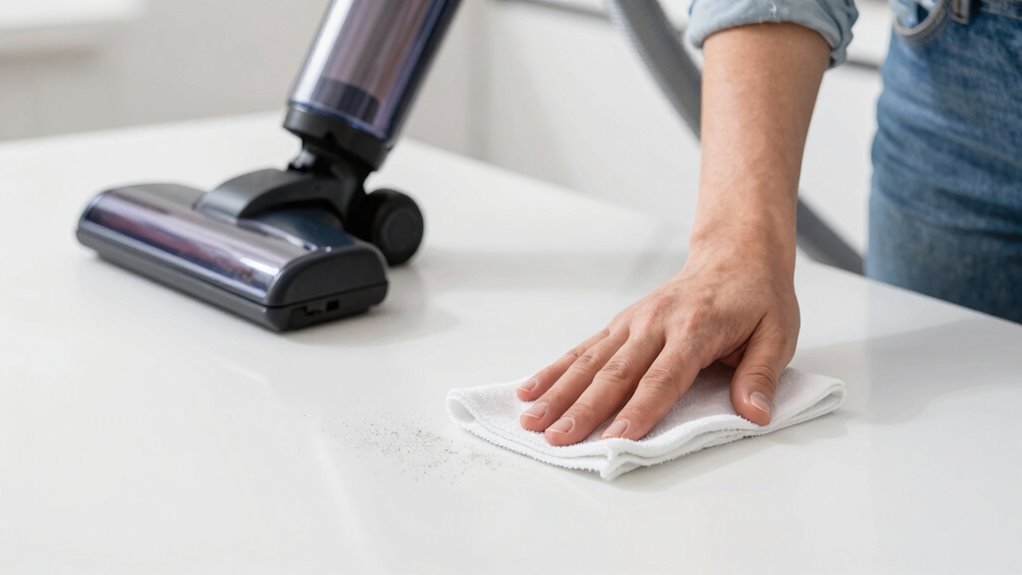
How to Properly Use a Tack Cloth or Microfiber for Dust
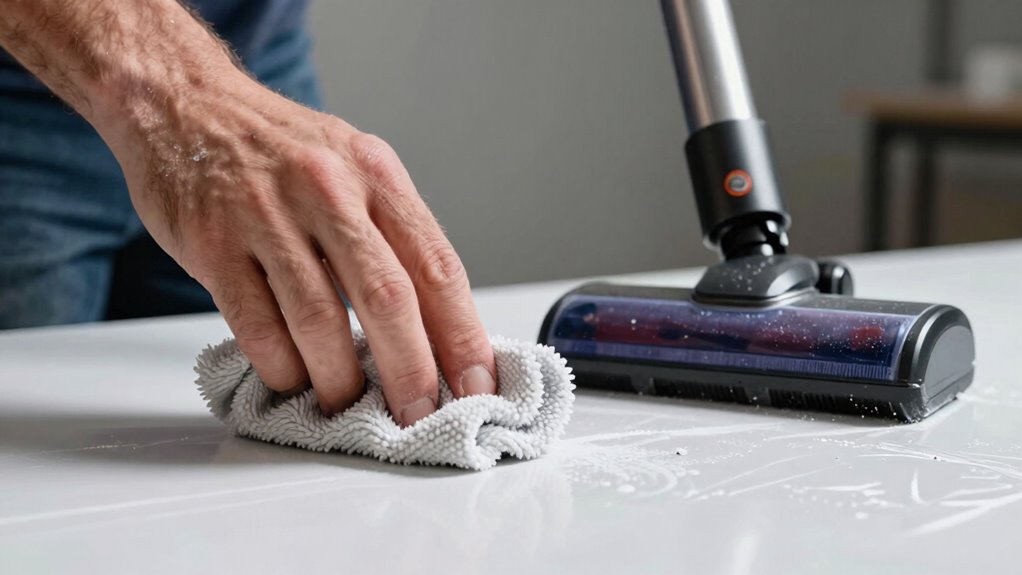
To get the best results, choose a tack cloth or microfiber suited for your project. Use a gentle, sweeping motion to lift dust without spreading it around. Proper technique guarantees your surface stays clean and ready for the next step.
Choosing the Right Cloth
Are you choosing the right cloth to effectively remove dust from your surfaces? Your fabric selection makes a big difference. Microfiber cloths are a smart choice because of their superior dust-catching abilities and ability to trap particles without spreading them around. The microfiber benefits include a fine weave that attracts dust easily and reduces streaks or lint. When selecting a cloth, opt for one that’s clean, dry, and designed for dust removal. Tack cloths work well for sticky residues, but for general dusting, microfiber is more versatile and efficient. Avoid rough or worn-out fabrics that can scratch surfaces or leave lint behind. By choosing the right cloth, you ensure a thorough clean while minimizing dust resettling. Additionally, understanding the Pinball Machine Weight can help when moving or maintaining your cleaning equipment to prevent accidents. Proper dust removal techniques also play a crucial role in maintaining a dust-free environment, and employing anti-static cleaning methods can further reduce dust accumulation. Incorporating air purifier maintenance practices, like regular filter checks, can further improve indoor air quality and reduce dust buildup.
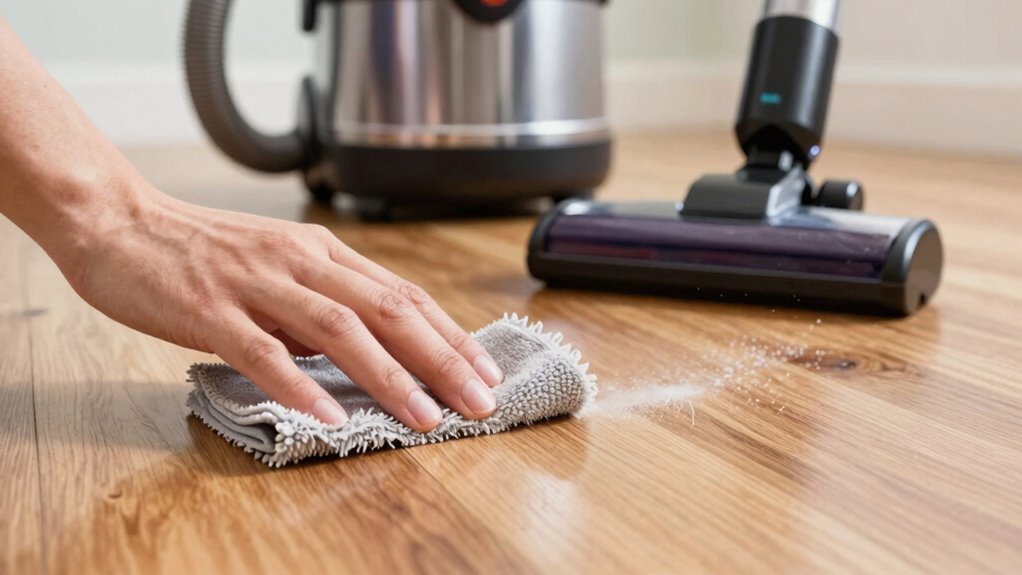
Proper Dusting Technique
Selecting the right cloth is only part of effective dusting; how you use it also makes a difference. To improve air quality and allergen control, focus on gentle, deliberate motions. Use a tack cloth or microfiber in a consistent pattern, avoiding excessive pressure that can spread dust. Regularly change or fold the cloth to prevent redistributing dirt. Keep surfaces dust-free by dusting from top to bottom, so debris doesn’t settle again. Always finish with a vacuum or HEPA filter to remove lingering allergens. Remember, the goal is to trap dust without kicking up particles into the air. Incorporating these practices can enhance your dusting technique and ensure your environment stays cleaner. Proper technique makes all the difference in maintaining a healthier home environment. Additionally, understanding dust control methods can further optimize your cleaning routines.
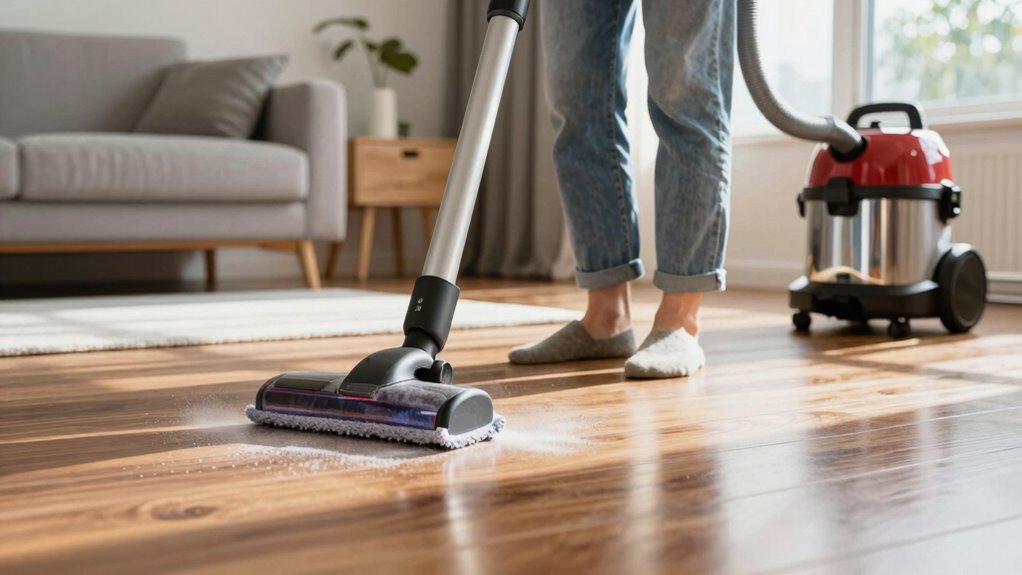
When and Why to Vacuum After Tack-Wiping
Vacuuming after tack-wiping is essential to remove any dust or debris that the wiping process might have loosened but didn’t fully clear away. This step guarantees that airborne particles are minimized, directly improving air quality in your space. By thoroughly vacuuming, you prevent dust from settling back onto surfaces or becoming airborne later, which helps control allergens effectively. It’s best to vacuum immediately after tack-wiping to catch loose dust before it can resettle. This sequence reduces the risk of dust reintroducing allergens into the environment, making your indoor air safer to breathe. Regularly vacuuming after tack-wiping maintains a cleaner, healthier space, especially for allergy sufferers or anyone concerned with indoor air quality. It’s a simple, impactful step for comprehensive dust control.
Common Mistakes That Reduce Dust Cleaning Effectiveness

Neglecting common mistakes during dust cleaning can considerably diminish your efforts to maintain a spotless environment. For example, relying solely on an air purifier without proper dust removal methods won’t fully improve air circulation or eliminate dust buildup. You might also skip thorough vacuuming, spreading dust instead of removing it. Using an improper tack cloth can push dust around rather than trap it effectively. Additionally, cleaning in the wrong order can cause recontamination, especially if you neglect to dust high surfaces first. Failing to clean filters or neglecting to vacuum thoroughly after tack wiping lets dust settle back into the air. To improve results, focus on proper techniques, and don’t underestimate the importance of a good vacuum and air purifier working together for ideal air circulation.
Tips for Maintaining a Dust-Free Home With Regular Tack + Vacuum
To keep your home consistently dust-free, incorporating regular tack cleaning and thorough vacuuming is essential. Position your air purifier strategically—near high-traffic areas or dusty corners—to maximize its effectiveness and reduce airborne particles. Maintain ideal humidity levels, ideally between 40-50%, to prevent dust from settling and becoming airborne. Use tack cloths before vacuuming to trap surface dust efficiently, making sure to change tack cloths regularly. When vacuuming, focus on carpets, upholstery, and hard-to-reach corners, ensuring your vacuum filter is clean to prevent redistributing dust. Consistent humidity control and smart air purifier placement work together to create an environment less hospitable to dust, making your tack and vacuum efforts more effective and your home cleaner daily.
Troubleshooting Persistent Dust and Adjusting Your Approach
If dust keeps lingering despite your efforts, it’s time to identify the underlying issues and adjust your cleaning routine accordingly. Start by evaluating your air purifier placement; it should be positioned in a central spot for ideal airflow. Check your humidity levels—aim for 40-50%—since too dry or humid air can stir up dust. Consider adding or adjusting your humidity control devices if needed. Also, look for hidden dust sources like vents or upholstery that might need extra attention. You might need to:
- Reposition your air purifier for better coverage
- Use a dehumidifier or humidifier to balance humidity
- Clean or replace filters regularly
- Seal gaps to prevent dust infiltration
Making these tweaks can greatly improve dust control and keep your home cleaner longer.
Frequently Asked Questions
How Often Should I Perform the Tack and Vacuum Process?
You should perform the tack and vacuum process weekly to maintain a clean environment. Regular cleaning frequency helps prevent dust accumulation, which can trigger allergies or respiratory issues. By adhering to this schedule, you ensure dust doesn’t settle deeply into surfaces or carpets. Consistent tack and vacuum steps make dust removal more effective, keeping indoor air quality high and your space healthier and more comfortable.
Can I Use the Same Cloth or Vacuum for Different Rooms?
Using the same cloth or vacuum for different rooms is like carrying a single broom through a messy house—you risk spreading dust and debris. To prevent cross-contamination and enhance dust prevention, it’s best to use separate cleaning tools for each room. This way, you guarantee dirt stays contained, and your space stays cleaner. Always clean your tools regularly to maximize their effectiveness and keep dust from sneaking back in.
Are There Specific Types of Tack Cloths Better for Certain Surfaces?
Yes, certain tack cloths are better suited for specific surfaces because of their material and surface compatibility. For delicate surfaces like automotive paint or glass, use a soft, non-abrasive tack cloth to avoid scratches. For rougher surfaces, a sturdier cloth works well. Always choose a tack cloth that matches the surface compatibility to guarantee effective dust removal without damaging the material.
What Should I Do if Dust Keeps Returning Despite Cleaning?
Imagine dust as a persistent tide, always creeping back. If dust keeps returning despite your cleaning, focus on air purifier maintenance to trap airborne particles and reduce their spread. Regularly perform DIY dust removal—wipe surfaces, change filters, and keep vents clear. This ongoing effort helps break the cycle, much like sealing a dam to stop the tide. Stay vigilant, and dust will stay at bay longer.
Is There a Recommended Order for Cleaning Multiple Surfaces?
You should follow a specific cleaning sequence for multiple surfaces to guarantee effective dust removal. Start with surface preparation by dusting or wiping down surfaces to loosen debris. Then, clean from top to bottom, focusing on higher surfaces first, like shelves and ceiling fans, before moving to lower areas. This method prevents recontamination and makes your cleaning more efficient, keeping dust from settling back quickly.
Conclusion
By mastering the art of the ‘tack + vacuum’ sequence, you take control over dust’s relentless cycle. Think of it as your shield against unseen invaders—each step a stroke in your battle for a cleaner home. Remember, consistency transforms effort into habit, turning chaos into calm. So, embrace this simple routine, and let your home breathe freely, as if dust itself is powerless against your newfound mastery.