
To spray baseboards and trim without removing them like a pro, start by thoroughly cleaning and sanding the surfaces for a smooth finish. Mask off adjacent walls, floors, and fixtures with high-quality painter’s tape and plastic sheeting to prevent overspray. Use a suitable spray gun and thin your paint for better control. Apply with steady, overlapping passes, then carefully peel the tape for sharp lines. Keep these tips in mind, and you’ll master flawless results—more expert techniques await as you continue.
Key Takeaways
- Prepare the area thoroughly by masking adjacent surfaces and protecting floors to prevent overspray and achieve clean edges.
- Clean and sand the baseboards and trim to ensure smooth, paint-ready surfaces for better adhesion and finish.
- Use a suitable spray gun with proper nozzle size and thin the paint slightly for even application and minimal drips.
- Apply painter’s tape precisely along edges, pressing firmly and smoothing bubbles to guarantee sharp, professional lines.
- Allow adequate drying time, then perform touch-ups with small brushes for a flawless, long-lasting finish.
Preparing Your Space for Spraying
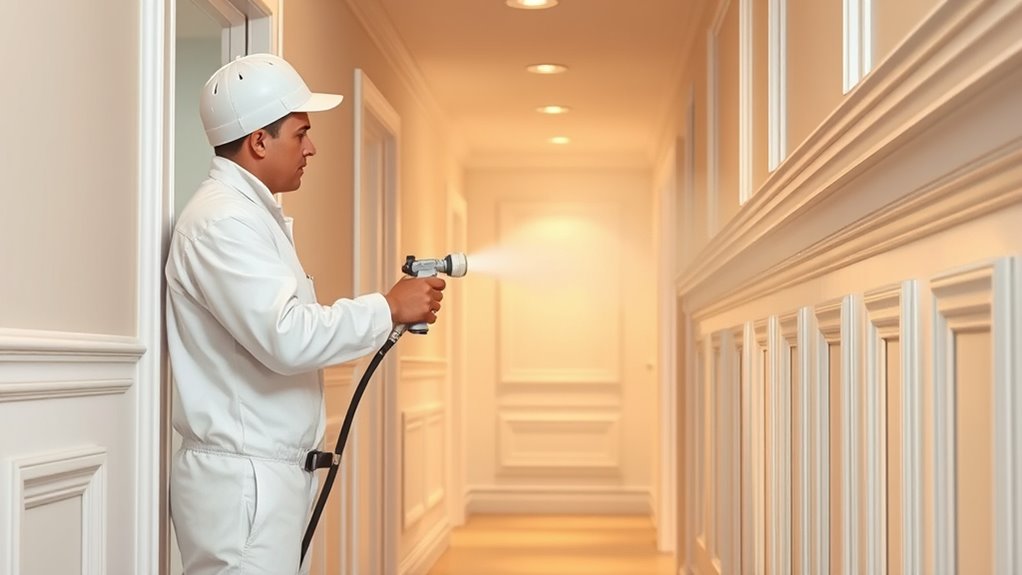
Before you begin spraying your baseboards and trim, it’s essential to prepare your space to guarantee a smooth and clean process. Start by choosing a paint color that matches your existing decor to ensure seamless blending. Proper ventilation tips are crucial—open windows and use fans to circulate air and reduce fumes. Cover nearby furniture, floors, and any surfaces you want to protect with drop cloths or plastic sheeting. Remove or tape off electrical outlets, switches, and fixtures. Clearing the area minimizes overspray and cleanup time. Make certain good lighting so you can see your work clearly. Taking these steps will help you achieve a professional finish, while making the process safer and more efficient. Proper prep sets the foundation for a flawless spray job.
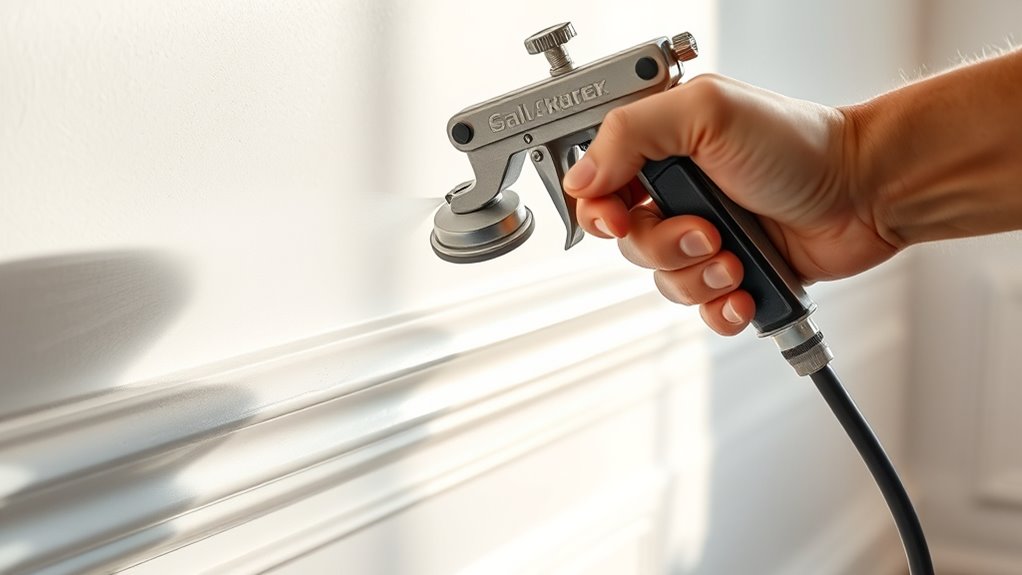
Selecting the Right Equipment and Paint
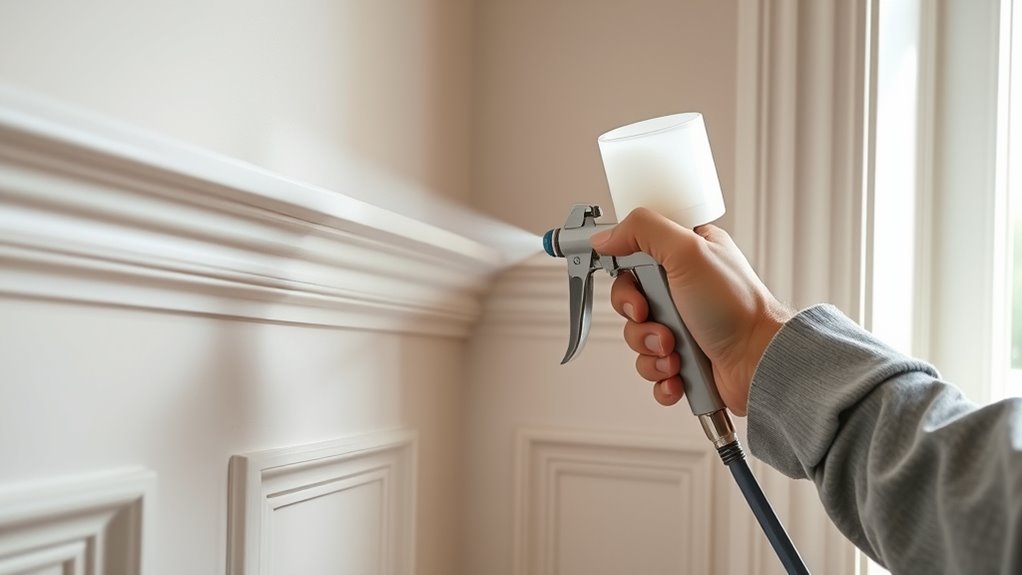
Choosing the right equipment and paint is essential for achieving professional-looking results when spraying your baseboards and trim. First, select a spray gun suited for fine detail work, such as a gravity-fed model. Next, ensure your brush selection matches the project; a high-quality brush helps touch-ups and edges. Pay attention to paint consistency—thinning your paint slightly guarantees smooth spraying without drips. Consider the nozzle size; a smaller nozzle provides better control for trim. Use a high-quality compressor with adequate pressure to maintain a steady spray, and regularly check for consistent airflow to prevent uneven application. Properly cleaning and maintaining your equipment also ensures optimal performance, reducing the risk of clogs and defects. Think about masking tools to protect adjacent surfaces, but focus on your equipment to get an even, smooth finish. Properly chosen tools and paint set the foundation for flawless results. Additionally, using appropriate paint formulations designed for trim and molding can improve adhesion and durability. Incorporating proper surface preparation ensures the best possible adhesion and a longer-lasting finish.
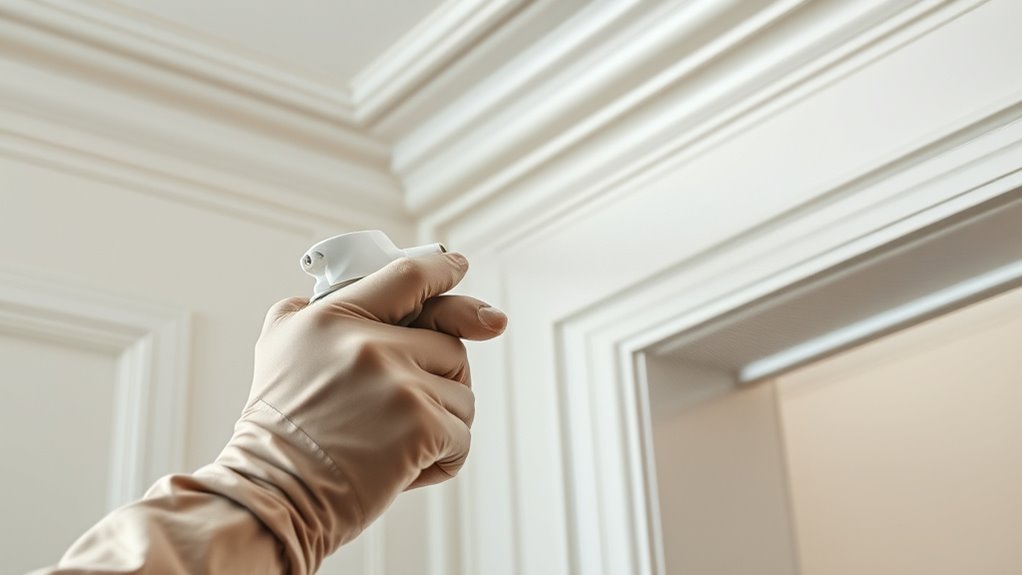
Protecting Adjacent Surfaces and Flooring
To prevent overspray and accidental splatters from damaging your floors and nearby surfaces, it’s essential to use protective coverings diligently. Start with masking techniques, such as painter’s tape or plastic sheeting, to shield walls, furniture, and fixtures. Carefully apply edge protection along baseboards, door frames, and adjacent surfaces, ensuring a tight seal to prevent paint from seeping through. Use drop cloths or plastic sheeting on the floor to catch any drips or splatters. Take your time to secure all coverings firmly; loose or poorly placed protection can lead to accidental overspray. Proper edge protection and thorough masking save you cleanup time and keep your space looking professional. Staying meticulous with these steps is key to a clean, successful spray job. Regular inspection and adjustments during the process can further enhance the effectiveness of your protective measures, especially when considering the importance of water-based paints for easier cleanup. Incorporating proper ventilation can also help in reducing paint fumes and ensuring a safer working environment. Additionally, using high-quality masking materials can improve the precision of your painting process and minimize touch-ups afterward. When working with specific finishes, understanding the paint adhesion properties can also help in choosing the best protective strategies.
Cleaning and Sanding the Baseboards and Trim
Before you start spraying, you need to clean and sand your baseboards and trim properly. Using effective cleaning methods guarantees the surface is free of dust and grease, while proper sanding helps create a smooth finish. Incorporating indoor air quality considerations during preparation can also ensure the process goes smoothly and the finish lasts longer. Proper filtration systems can help capture dust and allergens during cleaning, improving indoor air quality. Additionally, understanding the real couples dynamic can help in managing household relationships during renovation projects, especially when multiple people are involved. Follow these surface preparation tips to get your trim ready for the best spray results. Addressing trust issues during preparation can also ensure the process goes smoothly and the finish lasts longer. Incorporating automation in business practices can streamline your prep process and improve efficiency.
Effective Cleaning Methods
Cleaning and sanding your baseboards and trim are essential steps to guarantee a smooth, professional-looking paint job. Proper cleaning removes dust, grease, and dirt that can interfere with paint adhesion. Use a damp cloth or gentle cleaner, paying attention to corners and crevices. When cleaning, think of these steps:
- Wipe with a microfiber cloth to pick up dust.
- Spot clean stubborn stains with a mild cleaner.
- Rinse with a damp cloth to remove residue.
- Dry thoroughly to prevent streaks.
- Ensuring a smooth surface facilitates better paint application and adhesion. Additionally, understanding the importance of surface preparation can significantly impact the final finish quality.
After cleaning, sanding smooths out imperfections and creates a better surface for paint. When applying paint, focus on brush techniques that ensure even coverage without streaks. Maintaining consistent paint consistency is key for a flawless finish. Proper surface preparation and cleaning set the stage for perfect spraying results.
Proper Surface Sanding
Proper surface sanding is a crucial step that guarantees your paint adheres smoothly and lasts longer. Before spraying, thoroughly surface sand your baseboards and trim to remove any gloss, rough spots, or peeling paint. Use fine-grit sandpaper to create a smooth, even surface that promotes ideal paint adhesion. Focus on edges and corners where paint may chip or peel first. Be sure to wipe away dust with a damp cloth afterward, as dust can interfere with correct adhesion. This step ensures the primer and paint bond securely, preventing peeling or cracking later on. Incorporating surface preparation techniques such as sanding enhances paint durability and finish quality. Skipping surface sanding can lead to uneven finishes and reduced durability of your paint job. Taking the time for proper sanding sets a solid foundation for a professional, long-lasting finish.
Surface Preparation Tips
To guarantee your paint job looks professional and lasts longer, start by thoroughly cleaning your baseboards and trim to remove dirt, dust, and grease. Once clean, lightly sand the surface to ensure proper adhesion. Here are key surface preparation steps:
- Wipe with a damp cloth to remove residue.
- Use fine-grit sandpaper to smooth imperfections.
- Remove dust with a tack cloth or damp rag.
- Check the paint consistency, ensuring it’s neither too thick nor too runny.
- Consider using specialized tools or materials, such as self-watering pots, to maintain consistent moisture levels for your painting environment or to help keep your workspace organized and clean during the project. Additionally, paying attention to your market growth projections can help you choose the most advanced and reliable tools available. Proper surface prep creates a clean, smooth surface that allows the paint to bond well, resulting in a professional finish. For example, choosing a water park in a location like Water Parks in Jacksonville, FL with seasonal events can enhance your experience and keep your space lively and engaging during breaks.
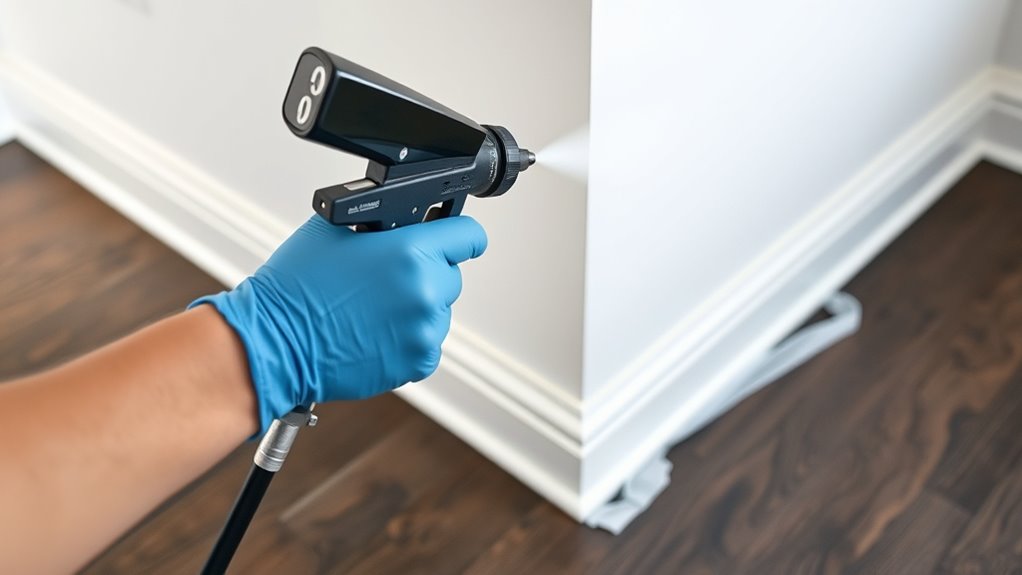
Applying Painter’s Tape for Precision
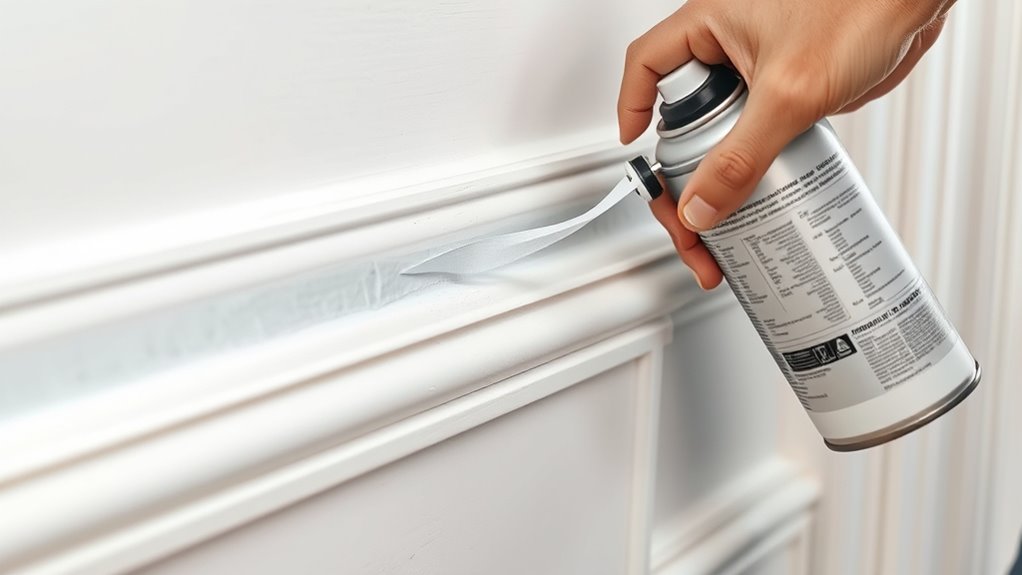
To get sharp, clean lines, you need to apply painter’s tape carefully. Make sure the edges are pressed down firmly to prevent paint bleed, and smooth out any bubbles or wrinkles. Proper tape application tips help guarantee your spray job looks professional and neat. Additionally, choosing high-quality painter’s tape with a good sealing ability can further improve the precision of your lines. Ensuring the tape adheres well to the surface helps maintain site functionality during your painting project.
Tape Application Tips
Applying painter’s tape with precision starts by choosing the right tape for the surface and project. To guarantee a clean line, follow these tips:
- Select painter’s tape designed for your surface, whether it’s a delicate trim or rough drywall.
- Press the tape down firmly along the edge, sealing it tightly to prevent paint bleed.
- Use your fingernail or a plastic squeegee to smooth out the tape, especially at corners.
- Pay special attention to edge sealing, pressing the tape’s edge firmly to create a perfect barrier.
- Ensuring proper tape adhesion is essential; choosing high-quality tape can help prevent paint seepage and achieve sharp, clean lines.
- Additionally, proper surface preparation can improve tape adhesion and overall painting results, making the process smoother.
- Remember that security measures in your home can contribute to protecting your property while working on projects like painting, giving you peace of mind during your renovation.
- Using quality tools can also make a noticeable difference in achieving professional-looking results when spraying baseboards and trim.
These steps help prevent paint from seeping under the tape, ensuring crisp, professional results when spraying baseboards and trim. Proper tape application is key to achieving sharp, clean edges.
Ensuring Clean Edges
Achieving clean edges when spraying baseboards and trim depends on applying painter’s tape carefully and accurately. Start by pressing the tape down firmly to ensure a good edge seal, which prevents paint bleeding. Be precise when applying tape along the trim line, following the contours closely. Overlapping tape slightly helps create a seamless seal, reducing the risk of paint seepage. Use a putty knife or your fingernail to smooth out bubbles and ensure the tape adheres tightly. Proper edge sealing minimizes paint bleeding, giving you crisp, professional-looking lines. Take your time during tape application; rushing can cause gaps or misalignment. When you remove the tape, do so slowly and at a slight angle to preserve your clean, sharp edges.
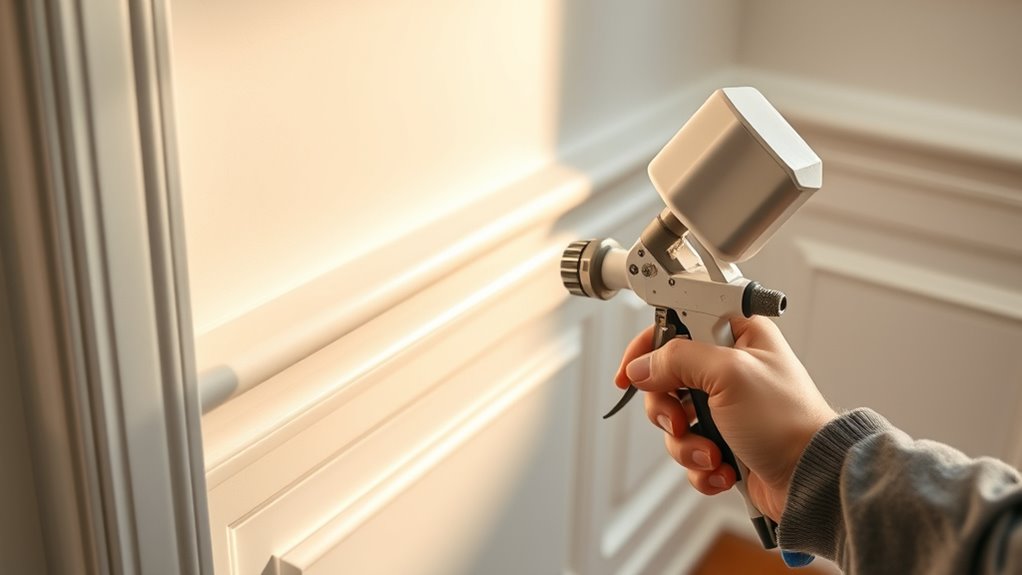
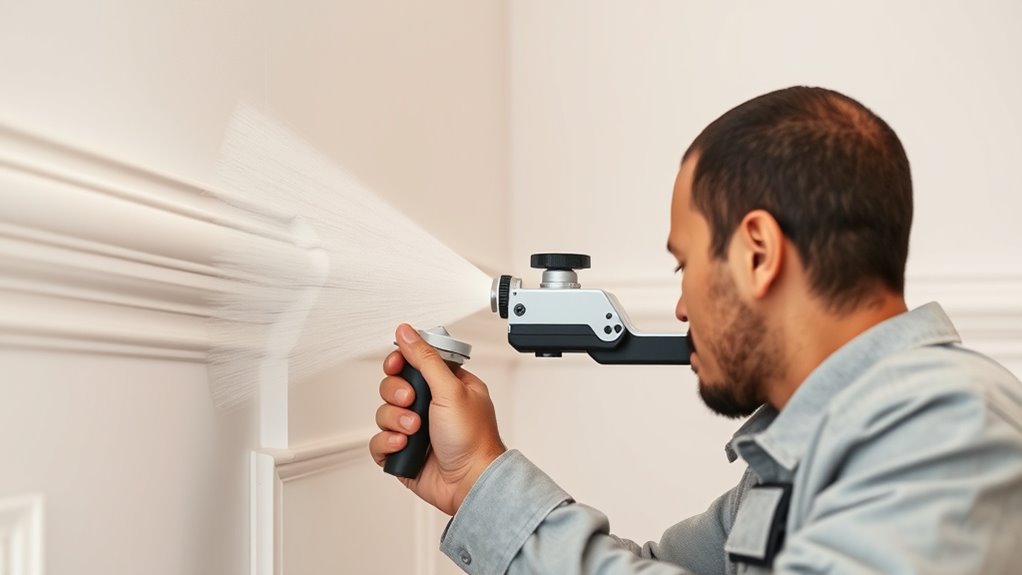
Techniques for Achieving a Smooth Finish
Getting a smooth finish on your baseboards and trim requires attention to detail and proper technique. To achieve this, focus on your brush techniques and spray patterns. First, start with consistent, overlapping brush strokes to smooth out any uneven spots. Second, select the right spray pattern—horizontal, vertical, or circular—based on the surface, and keep the spray at a steady distance. Third, maintain a uniform speed to prevent drips and sags. Fourth, practice on scrap surfaces to perfect your control and ensure even coverage. Properly executed spray patterns and deliberate brush techniques help eliminate streaks and achieve a flawless, professional look. Keep your hand steady and your movements deliberate for the best results.
Drying and Touch-up Strategies
Once you’ve completed spraying your baseboards and trim, it’s important to give the paint enough time to dry thoroughly before handling or adding additional coats. Proper drying methods guarantee a smooth finish and reduce the need for extensive touch-up techniques later. To speed up drying, maintain good ventilation and avoid high humidity. If uneven spots or drips appear, use light sanding and precise touch-ups with a small brush. Here’s a quick guide:
| Drying Method | Best for | Tips |
|---|---|---|
| Air drying | General use | Ensure good airflow |
| Heat fans | Faster drying | Keep at moderate temperature |
| Dehumidifiers | Humid environments | Lower moisture levels |
Patience with drying prevents smudges and guarantees your touch-up techniques blend seamlessly.
Tips for Maintaining a Professional Look Post-Painting
To maintain a professional look after painting, it is essential to implement proper finishing and ongoing care practices. First, guarantee consistent color matching by using touch-up techniques that blend seamlessly with the original coat. Second, consider brush alternatives like fine-tip rollers or foam brushes for detailed areas, which help preserve sharp lines and prevent smudges. Third, regularly clean the painted surfaces with gentle, non-abrasive cleaners to keep the finish fresh. Finally, avoid heavy contact with the trim or baseboards for a few days, allowing the paint to fully cure. Visualize these steps as a shield of precision: matching colors flawlessly, using the right tools, maintaining cleanliness, and handling with care—all critical for a professional, polished appearance.
Frequently Asked Questions
How Long Does It Take for Spray-Painted Baseboards to Fully Cure?
You might wonder how long spray-painted baseboards take to fully cure. Typically, the drying time is about 1-2 hours, but the curing process can take up to 30 days, depending on the paint type and environmental conditions. During this period, avoid touching or placing heavy objects against them. Patience guarantees the paint hardens properly, giving you a durable finish that resists scratches and chips over time.
Can I Spray Paint Over Old, Chipped Paint Without Sanding?
Imagine repainting a worn-out book cover; you wouldn’t just slap on new paint without prep. You can spray over chipped paint if you use proper brush techniques and apply a good primer first. Skipping sanding is like ignoring the book’s rough edges—you risk poor adhesion. Prepare the surface, focus on even primer coverage, and you’ll achieve a smooth, lasting finish without the hassle of extensive prep.
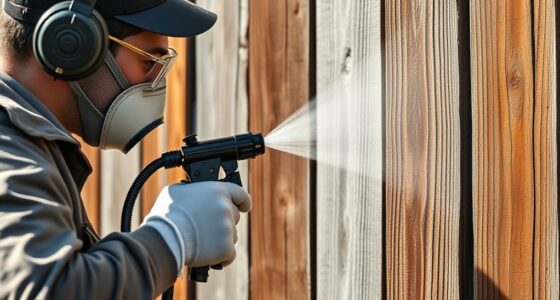
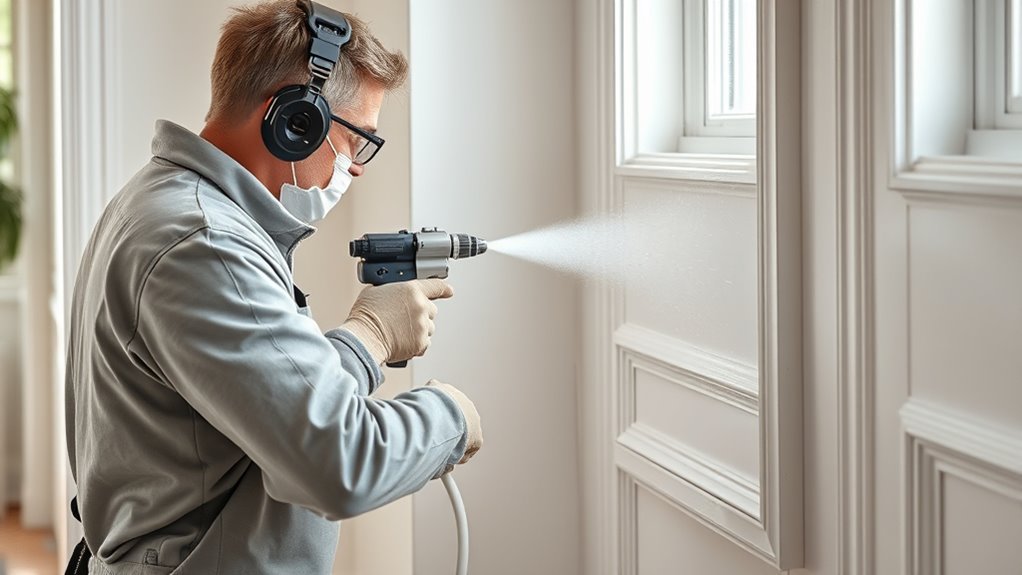
What Safety Gear Is Recommended During Spraying?
When spraying, you should always wear protective gear like a mask or respirator to avoid inhaling fumes and particles. Safety goggles protect your eyes from overspray, and gloves keep your skin safe from chemicals. Guarantee good ventilation in the area to disperse fumes and reduce inhalation risks. By combining protective gear with proper ventilation, you create a safer environment, making your spraying project more effective and less hazardous.
How Do I Prevent Paint Drips and Runs?
To prevent paint drips and runs, focus on proper brush techniques and maintaining the right paint consistency. Use a high-quality brush to apply thin, even coats, avoiding heavy loads of paint that cause drips. Keep the paint slightly thinned if needed, ensuring it flows smoothly. Work slowly and steadily, watching for excess paint buildup. Regularly check your work and smooth out any drips immediately to achieve a clean, professional finish.
Is It Possible to Spray Paint Textured Baseboards Smoothly?
Yes, you can spray paint textured baseboards smoothly by using a proper spray technique that minimizes texture concealment issues. Start with a high-quality sprayer and keep a consistent distance to avoid over-application. Use light, even coats and move steadily to prevent drips and uneven coverage. This approach helps you achieve a smooth finish, even on textured surfaces, giving your baseboards a fresh, polished look without removing them.
Conclusion
Think of your freshly painted baseboards and trim as a garden in full bloom — with care and precision, they’ll flourish beautifully. By following these pro techniques, you’ve planted the seeds of a flawless finish that will grow stronger with time. Remember, patience and attention to detail are your tools, turning a simple spray job into a masterpiece. Now, enjoy the vibrant reflection of your effort, a lasting symbol of craftsmanship and pride.

A seasoned painter with over 15 years in the industry, Mike transitioned from hands-on painting projects to the digital world of paint sprayers. His extensive experience gives him a unique perspective on what users truly need when it comes to painting tools. As the Editor in Chief of Paint Sprayer Zone, Mike ensures that every piece of content not only provides value but also reflects the realities of painting — the challenges, the joys, and the intricate details.