
To spray stain on a deck or fence with a paint sprayer, first prepare the area by clearing away furniture and covering nearby surfaces. Choose the right stain and equipment, then clean and dry the surface thoroughly. Set up your sprayer, test it on a scrap piece, and adjust the spray pattern for even coverage. Use steady, overlapping passes, especially near edges, and keep the nozzle about 12 inches from the surface. For expert tips that guarantee a smooth finish, continue exploring the steps.
Key Takeaways
- Prepare the surface by cleaning, removing debris, and protecting surrounding areas with drop cloths before spraying.
- Select the appropriate stain and spray equipment, ensuring proper thinning and calibration for even application.
- Maintain a steady distance of about 12 inches from the surface, overlapping passes for uniform coverage.
- Use smooth, controlled motions, adjusting spray pattern and pressure to avoid drips and missed spots.
- Clean and maintain your sprayer thoroughly after use to ensure consistent results and prolong equipment lifespan.
Gather Your Supplies and Prepare the Area

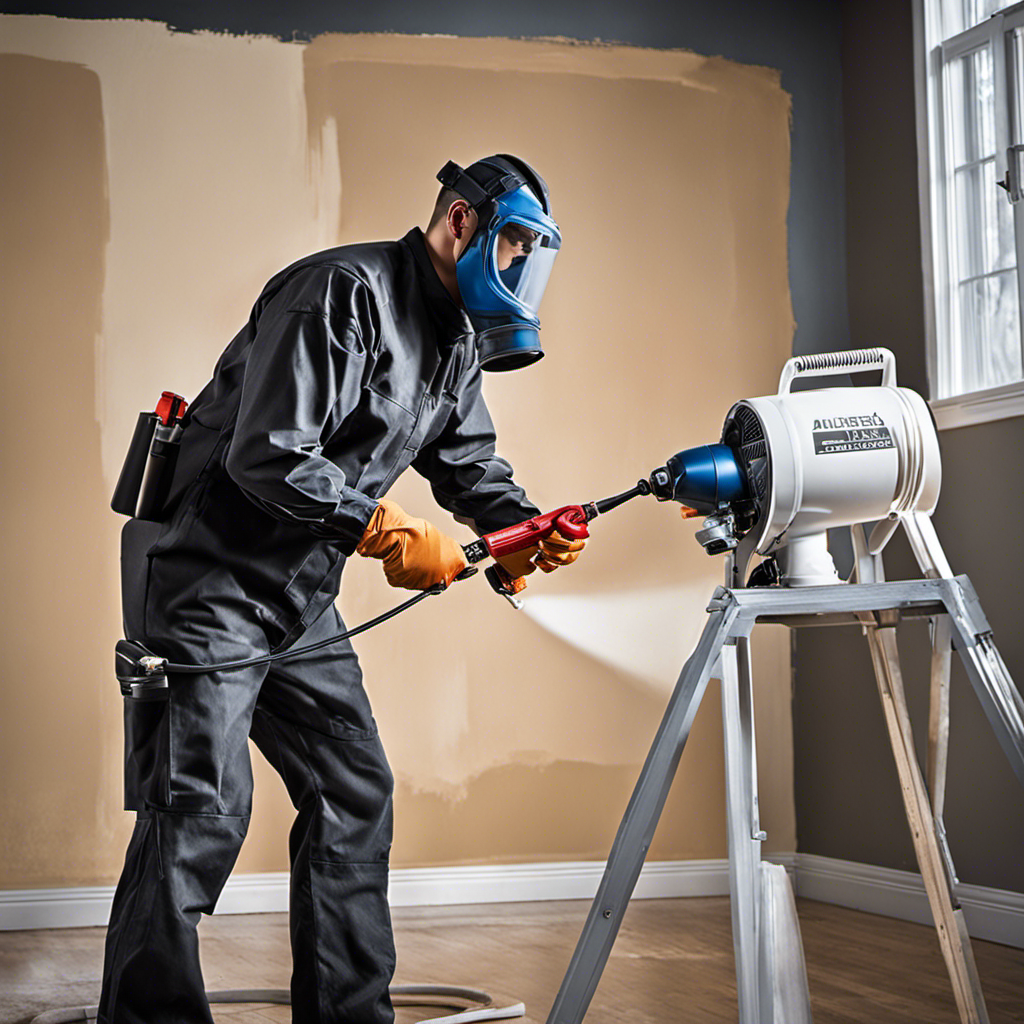
Before you begin spraying, gather all the necessary supplies and prepare the area to guarantee a smooth process. Make sure you have your safety gear, including gloves, goggles, and a mask, to protect yourself from fumes and splatters. Check the weather forecast because ideal conditions are dry, mild, and calm; avoid windy or rainy days that can ruin your work. Clear the deck or fence of furniture, plants, and debris to prevent overspray and make cleanup easier. Cover nearby surfaces with drop cloths or plastic sheeting to protect them from stain drips. Set up your spray equipment on a stable surface, and ensure all parts are clean and functioning properly. Proper preparation minimizes messes and safety risks, leading to a professional-looking finish. Additionally, considering the projector’s contrast ratio can help you evaluate the quality of your work once finished. Taking a moment to inspect the essential oils for surface cleaning can also help ensure your tools are free of residues that might interfere with the stain application.
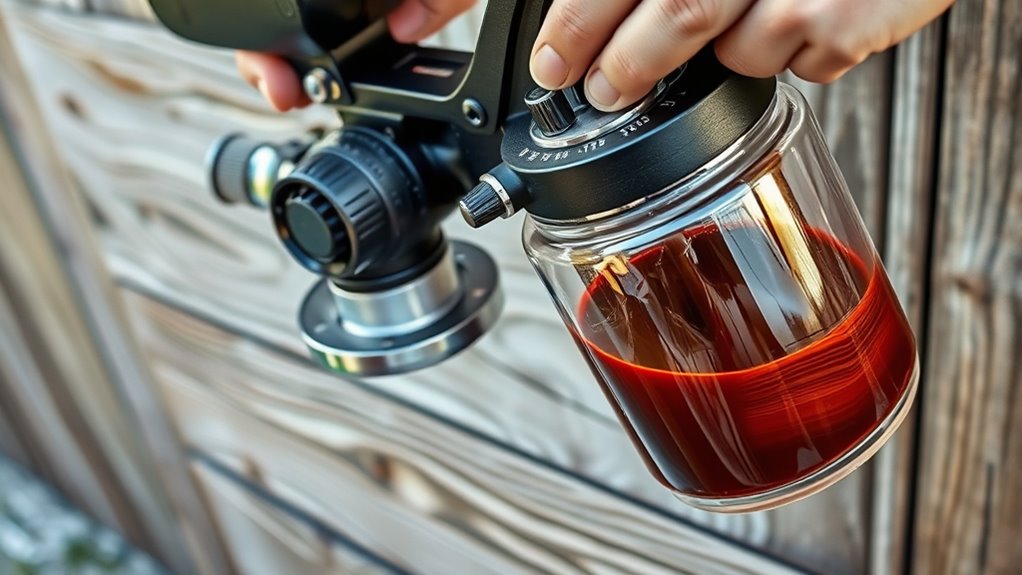
Choose the Right Type of Stain and Spray Equipment
Choosing the right type of stain and spray equipment is essential for achieving a professional finish and guaranteeing your project lasts. First, consider the stain color you want; lighter shades highlight wood grain, while darker shades provide more coverage. Next, pay attention to stain consistency—thinner stains are easier to spray evenly, while thicker stains may clog equipment or require thinning. For fences and decks, a semi-transparent stain often offers the best balance of color and protection. Select spray equipment suited to your stain type; a HVLP sprayer works well for detailed work and thinner stains, whereas a pump or airless sprayer handles thicker stains and large surfaces efficiently. Matching stain color and consistency to your project helps guarantee smooth application and lasting results. Additionally, choosing appropriate spray equipment ensures durability and optimal performance during application. Proper preparation of the surface, such as cleaning and sanding, also plays a vital role in achieving an even coat and a long-lasting finish. Using equipment with good suction power can help prevent clogs and ensure consistent spray patterns during your project. To further improve results, understanding the types of stains available can help you select the best product for your specific needs, especially considering factors like juice cleanse benefits that support overall wellness and surface longevity.
Prepare the Surface for Staining
Proper surface preparation guarantees your stain adheres evenly and lasts longer. Begin by thoroughly cleaning the surface to remove dirt, mold, or old stain, which ensures a smooth application. Use a pressure washer or scrub brush with a deck cleaner for best results. After cleaning, let the surface dry completely, as moisture can prevent proper stain absorption. Weather considerations are crucial; avoid staining in direct sunlight, high humidity, or when rain is forecasted. Ideal conditions include mild temperatures and low humidity to ensure the stain dries evenly. Taking the time to clean and wait for suitable weather creates a solid foundation for a professional-looking finish. Proper preparation minimizes issues like uneven color or peeling, saving you time and effort in the long run. Understanding deck and fence materials can also help you choose the right stain and application method. Additionally, being aware of stain types can help ensure you select the best product for your specific project. For enhanced results, consider using wicking materials to improve stain penetration and longevity.
Set Up and Test Your Paint Sprayer
Setting up and testing your paint sprayer correctly guarantees a smooth staining process and professional results. Begin by calibrating your sprayer to ensure even spray pattern and flow rate, which helps achieve consistent coverage. Check stain compatibility by confirming that your stain’s viscosity matches the sprayer’s requirements; some stains may need thinning for suitable application. Before working on your deck or fence, test the sprayer on a scrap piece or a hidden area to fine-tune pressure and spray distance. Adjust the nozzle and pressure until the spray pattern is even, with no drips or overspray. Proper setup and testing prevent uneven staining, reduce waste, and save time, giving you confidence before tackling the main surface. Understanding your equipment is essential for achieving professional-looking results. Additionally, familiarizing yourself with spray pattern adjustment can help you customize the application for different surfaces. Recognizing proper maintenance techniques also ensures your sprayer remains in good working condition for future projects.
A thorough preparation process can also help identify potential issues before starting your project.
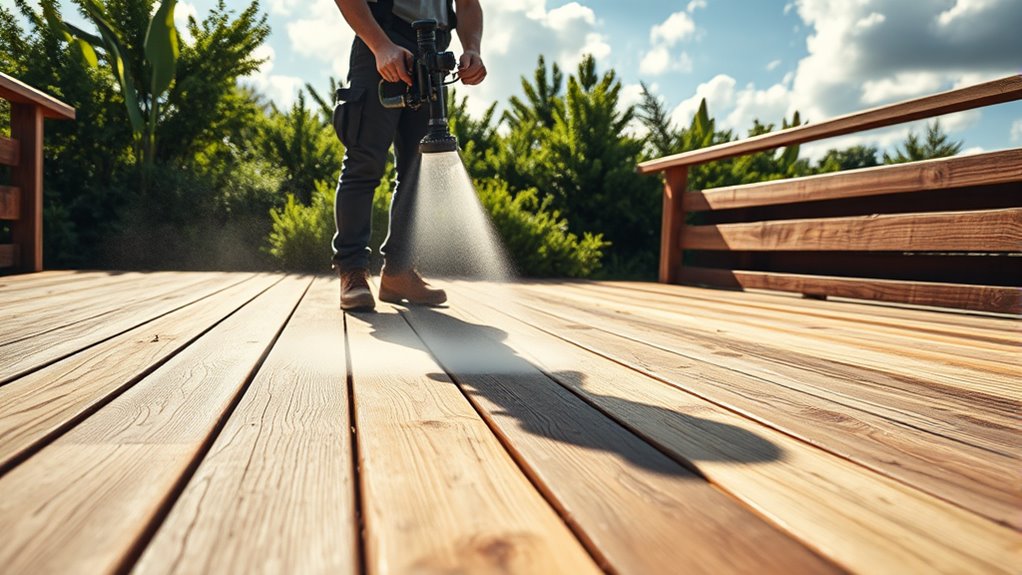
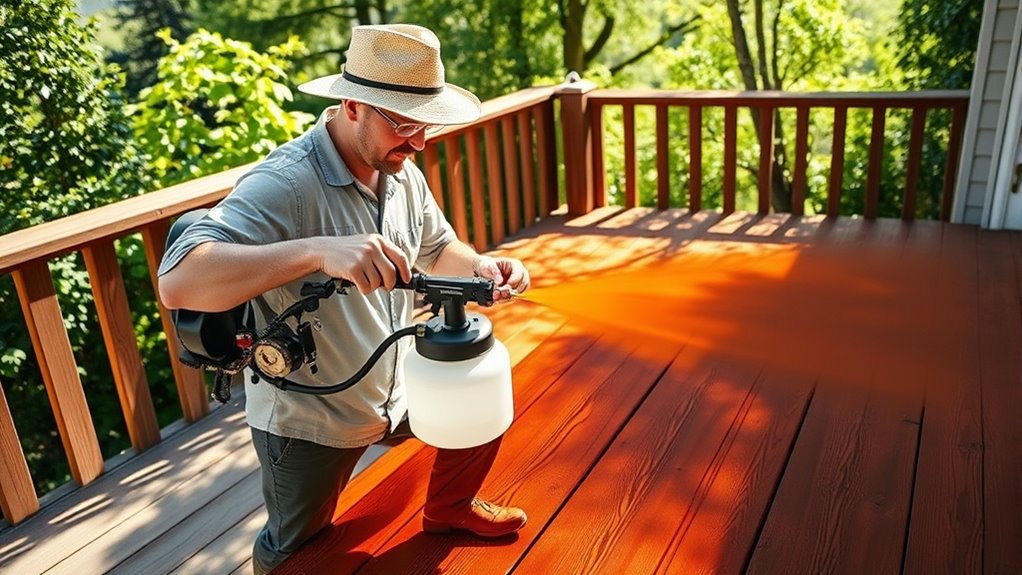
Apply the Stain Using Proper Technique
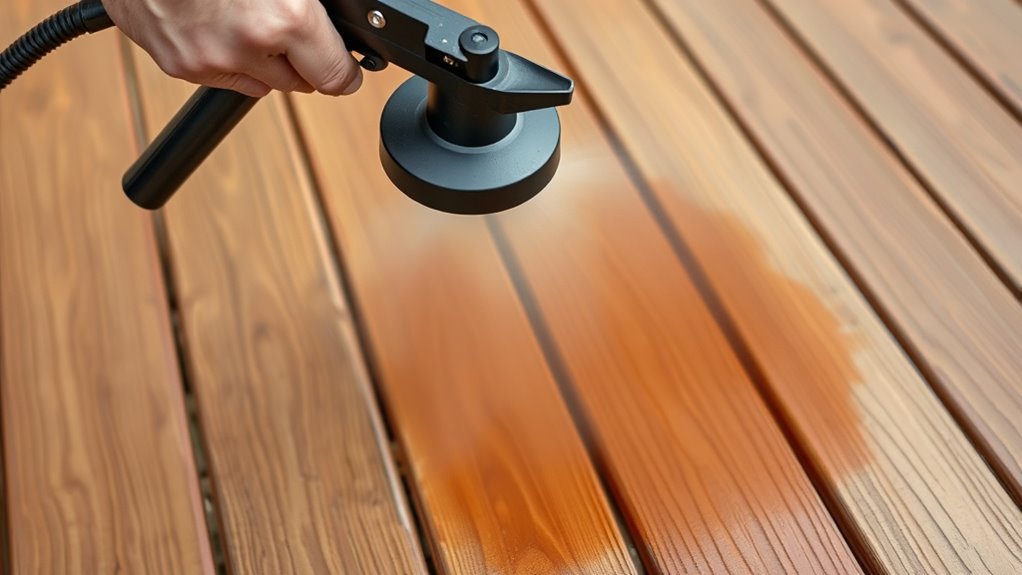
Once your sprayer is calibrated and tested, you’re ready to begin applying the stain. Use steady, overlapping passes to ensure even coverage, maintaining a consistent spray pattern. Keep the spray nozzle about 12 inches from the surface and move smoothly to avoid drips and uneven areas. Employ proper brush techniques to fill in any missed spots or touch up edges. When spraying, follow a side-to-side motion, then switch to up-and-down passes for uniform results. Pay attention to your spray pattern—it should be even and consistent. Avoid stopping in the middle of a section, which can cause lap marks. Keep your hand moving steadily, and don’t press the trigger too hard, to prevent overspray and drips. This technique guarantees a professional-looking finish. Incorporating crochet styles for locs can also inspire creative ways to customize your project or surroundings with textured accents. To maintain consistency and a smooth finish, it’s helpful to practice your technique on a scrap piece before tackling the actual surface, especially since positive thinking can improve your confidence and patience during the project. Additionally, understanding the types of headphone jacks can help when choosing audio equipment for your workspace or relaxation area. Being aware of regional legal resources can be beneficial if you need assistance with property or legal issues related to your outdoor projects. A good understanding of skincare ingredients can also help you select the right products to enhance your routine.
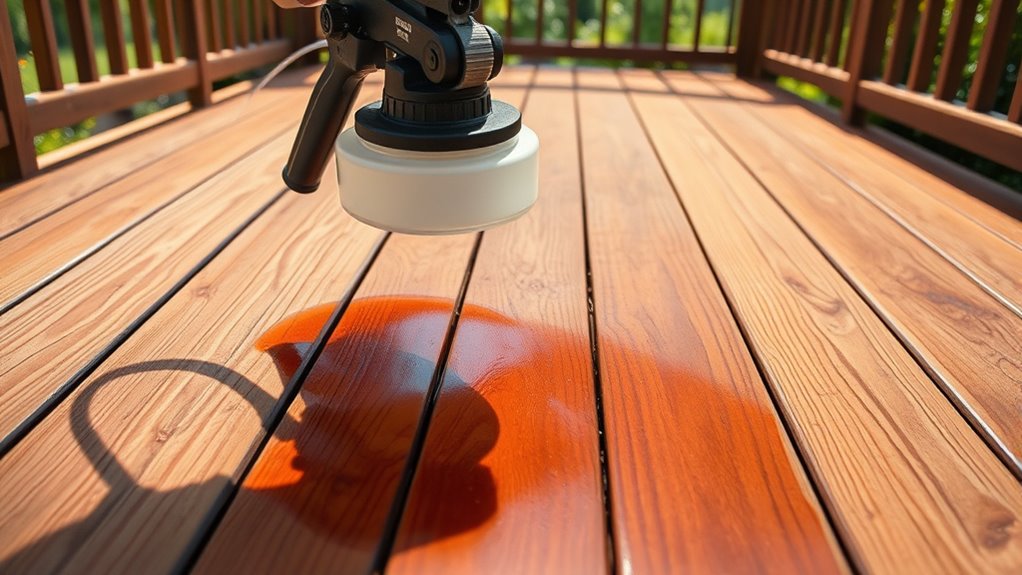
Manage Overlaps and Edges for Even Coverage

To achieve even coverage, it’s essential to carefully manage overlaps and edges while spraying. Use consistent brush techniques near edges to prevent over-application or missed spots. When approaching corners or edges, slow down and maintain a steady hand to avoid drips or uneven layers. Masking strategies are key—cover areas you don’t want stained and remove masking promptly to prevent smudging. Overlap each pass by about 50% to ensure seamless coverage without build-up. Keep a consistent distance from the surface to maintain uniform spray patterns, and use light, controlled passes near edges. Additionally, monitoring the AI safety measures of your equipment can help prevent mishaps during application. Properly adjusting your spray settings based on lifestyle considerations can also improve results. Practicing with professional equipment and paying attention to air quality can help you achieve a professional finish, avoiding drips, missed spots, or uneven layers. Incorporating Kia Tuning principles such as engine tuning and suspension upgrades can inspire a more precise and customized approach to your spraying technique.
Clean Up and Maintain Your Equipment
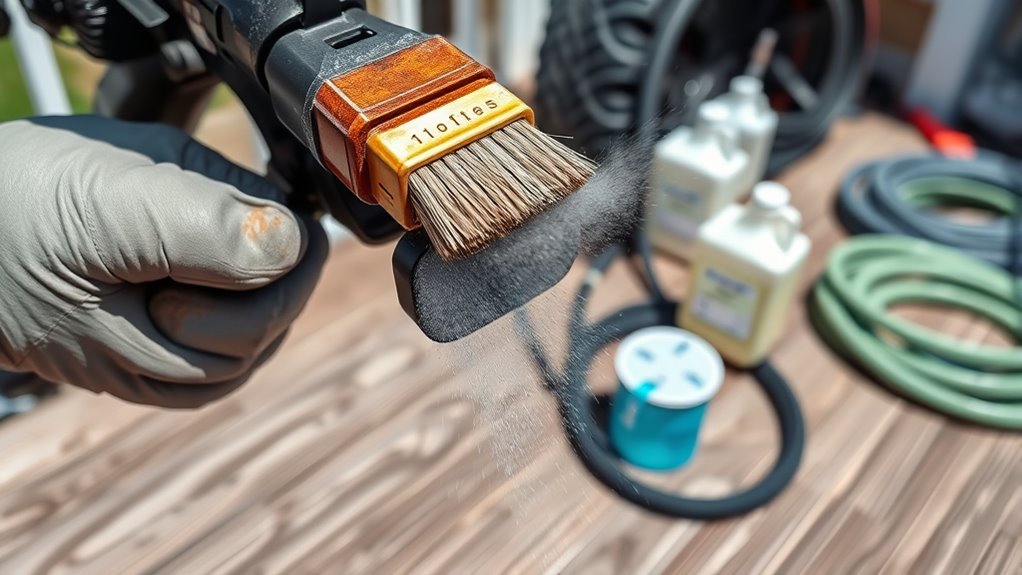
After you finish spraying, cleaning your equipment thoroughly is essential to keep it in good condition and guarantee ideal performance for future projects. Proper equipment maintenance prevents clogs, extends the lifespan of your paint sprayer, and ensures smooth operation. Use appropriate cleaning supplies, such as water, solvent, or specialized cleaner, depending on the stain and sprayer type. Start by disconnecting and disassembling parts as needed, then flush out residual stain or paint. Scrub removable parts with a brush if necessary. Rinse all components thoroughly, and dry them before storing. Regularly inspect hoses and nozzles for wear or damage. Additionally, understanding best practices for cleaning can significantly improve your equipment’s longevity. Well-maintained equipment saves you time and money, providing consistent results and making future stain jobs easier.
Frequently Asked Questions
How Long Does It Take for the Stain to Dry Completely?
The drying time for stain varies depending on several factors, including the type of stain and weather impact. Typically, it takes about 24 to 48 hours for the stain to dry completely. Keep in mind that high humidity, rain, or low temperatures can extend the drying time. To guarantee the best results, avoid heavy use or contact until the stain has fully dried and cured.
Can I Use a Paint Sprayer for Different Types of Stain?
Think of your paint sprayer as a versatile artist’s brush, capable of handling different stains. You can use it for various types, but first, check paint compatibility to make certain the stain won’t clog or damage your equipment. Pay attention to application techniques, like adjusting pressure and nozzle size, to get a smooth finish. Using the right settings and stains tailored for your sprayer guarantees a flawless look every time.
What Safety Precautions Should I Take During Spraying?
When spraying stain, you should prioritize safety by wearing protective gear like goggles, masks, and gloves to prevent skin and eye contact. Make certain proper ventilation to avoid inhaling fumes, especially in enclosed spaces. Keep the area clear of children and pets. Always read the stain and sprayer instructions carefully, and work in a well-ventilated outdoor area to minimize health risks and guarantee safe, effective application.
How Do Weather Conditions Affect Staining With a Sprayer?
You might notice how the weather subtly influences your staining process. Humidity effects can cause the stain to dry unevenly or take longer, so pick a day with moderate humidity. Wind considerations matter too; strong gusts can cause overspray and mess. Clear, calm days are ideal, ensuring your spray job turns out smooth. By paying attention to these conditions, you guarantee a flawless finish and safeguard your project from weather-related flaws.
Is It Necessary to Sand the Surface Before Staining?
You don’t always need to sand the surface before staining, but proper surface preparation is key for good stain absorption. If your deck or fence has rough or peeling paint, lightly sanding will help smooth out imperfections and open the wood’s pores. This guarantees the stain penetrates evenly and lasts longer. Skipping sanding can lead to uneven color and poor adhesion, so assess your surface first to determine if it needs a quick sand.
Conclusion
Now that you’ve mastered spraying stain on your deck or fence, you’ll enjoy a smooth finish that lasts. While the equipment may be complex, your effort simplifies the process. Just as a clean brush transforms a painting, proper preparation and technique elevate your project. So, embrace the spray, manage the overlaps, and take pride in your work—because sometimes, the messiest tasks lead to the most polished results.

Franz came aboard the Paint Sprayer Zone team with a background in both journalism and home renovation. His articulate writing style, combined with a passion for DIY projects, makes him an invaluable asset. Franz has a knack for breaking down technical jargon into easy-to-understand content, ensuring that even the most novice of readers can grasp the complexities of paint sprayers.