
The Stop Tape Lift, or Primer Edge Trick, helps you get razor-sharp lines by carefully applying primer along your edges before tape removal. To do this, you lightly brush primer precisely where you want a clean edge, wait a moment, then peel the tape at a controlled angle. This method minimizes paint bleeding and creates crisp borders. If you want to master this technique and avoid common mistakes, exploring more tips will give you even better results.
Key Takeaways
- The Primer Edge Trick involves carefully applying primer along edges before tape removal for sharp, clean lines.
- Lifting tape at a 45-degree angle after primer sets minimizes adhesive stress and prevents tearing.
- Proper surface prep and selecting the right tape ensure optimal adhesion and edge precision.
- Allow primer to cure slightly before tape removal to achieve crisp borders and avoid smudging.
- Maintaining and reusing tape through cleaning and proper storage helps preserve its ability to produce razor-sharp lines.
Understanding How the Stop Tape Lift Technique Works
The Stop Tape Lift technique is a method used to carefully remove tape from sensitive surfaces without causing damage. It works by understanding the adhesive properties of the tape and how it interacts with the surface. When you lift the tape, you want to reduce stress on the edge adhesion, which is the bond holding the tape in place. By gently lifting at a shallow angle, you minimize the risk of tearing or lifting paint or paper. This technique relies on controlling the tension and direction of removal, ensuring the adhesive’s grip releases smoothly. Recognizing how the adhesive properties change with temperature or age can also help you plan the best removal strategy. Additionally, being aware of the adhesion strength of the tape can help you determine the optimal removal angle and speed. Understanding surface compatibility and how different materials respond to tape removal can improve your results. Being mindful of material properties also plays a crucial role in achieving clean lines. Mastering this process allows you to preserve your work’s clean lines and sharp edges. Moreover, adjusting your removal method based on environmental conditions can further enhance your precision and prevent surface damage. Being familiar with the condition of the surface can guide you in choosing the best technique for each scenario.
Why Precise Edges Make a Difference in Your Artwork

Have you ever noticed how crisp, clean edges can transform a piece of artwork? Precise edges create a polished look that makes colors pop and details stand out. When you achieve sharp lines using techniques like Stop Tape Lift, your color blending becomes smoother and more intentional, preventing unwanted overlaps. This control also enhances texture, allowing you to layer shades or add subtle details without blurring boundaries. Sharp edges give your artwork a professional finish, guiding the viewer’s eye precisely where you want it. Without clean edges, colors can bleed, and textures may look muddy or inconsistent. Mastering edge precision elevates your work, making every element clearer, more vibrant, and more compelling. It’s a simple step that dramatically improves overall quality. Additionally, innovative cloud solutions can support artists and designers by providing secure storage and collaboration tools to refine their work digitally. Properly techniques for sharp edges are essential for achieving consistent, high-quality results in your artwork.
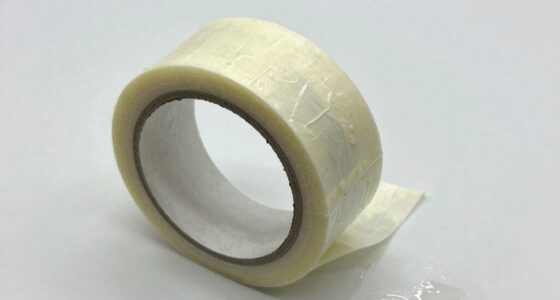
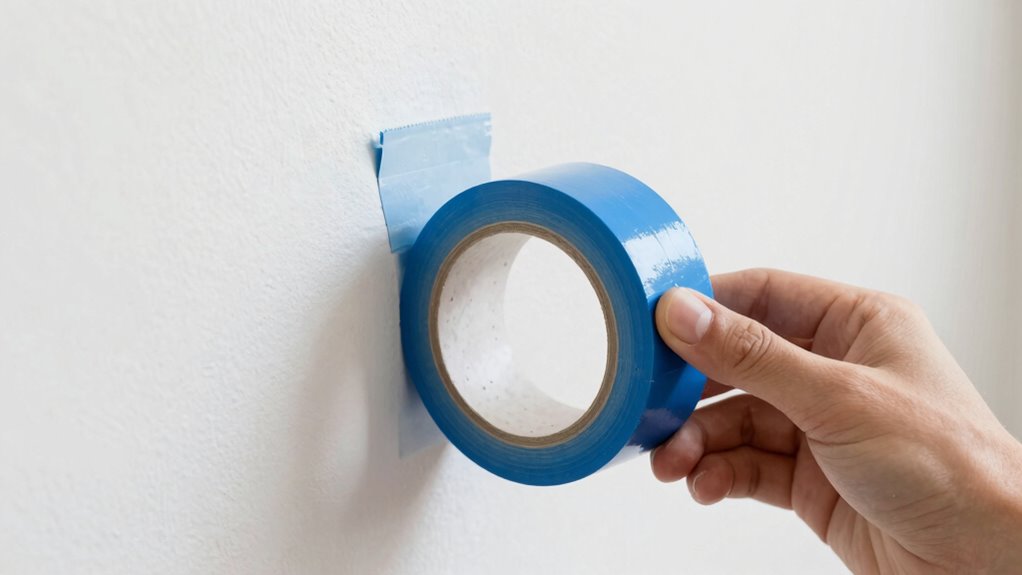
How to Choose the Best Tape for Sharp, Clean Lines
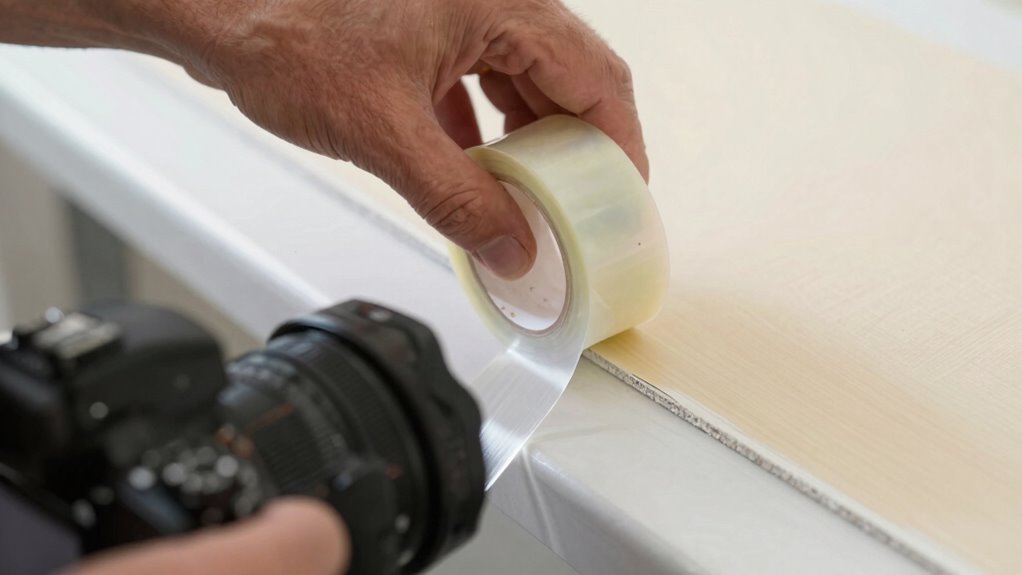
Choosing the right tape is essential for achieving sharp, clean lines in your artwork. To do this effectively, consider these factors: 1. Adhesive strength – Pick tape with enough grip to stay in place without damaging your surface or paint when removed. 2. Tape texture – Smooth, low-tack tapes prevent paint bleed and create crisp edges, while textured tapes might cause smudging or uneven lines. 3. Surface compatibility – Make sure the tape adheres well to your specific surface, whether paper, canvas, or other materials, for consistent results. 4. Residual removal – Select tape designed for easy removal to prevent damage and minimize leftover residue that can affect your work. Additionally, choosing appropriate tape materials can help ensure your project remains pristine and damage-free. Proper tape selection can also influence the ease of application and removal, ensuring your work stays neat throughout the process. Being aware of the tape’s adhesive properties can further help you select the best option for delicate or textured surfaces. For fine art applications and delicate surfaces, understanding tape’s compatibility with surface types can be especially beneficial.
Step-by-Step: Applying the Primer Edge Trick for Perfect Results

Start by preparing your workspace to keep everything organized and clean. Then, apply the primer precisely along the edges where you want sharp lines, ensuring even coverage. To prevent any accidental smudges or peeling, work slowly and carefully when lifting the tape at the end. Proper surface prep can help you achieve cleaner results and reduce the need for touch-ups later. Additionally, using a technique primer can improve adhesion and make the tape removal process smoother. Being aware of pinball machine weight can also be useful when moving or installing equipment to avoid damage or injury. Incorporating hydraulics knowledge can further assist in understanding pressure and movement during application. Finally, lift the tape carefully to reveal a clean, professional edge without smudges or peeling. Understanding manipulation tactics can help you recognize when such techniques are used to influence outcomes.
Prepare Your Workspace
Ever wonder how to guarantee your tape lift process goes smoothly? It starts with preparing your workspace. A well-organized area minimizes mistakes and keeps you focused. Here’s what to do:
- Workspace organization: Clear your surface of clutter, ensuring all tools are within reach and your work area is clean.
- Tape selection: Choose the right tape—sharp edges need precise, clean-cut tape. Test a few options to find the best fit.
- Lighting: Bright, even lighting helps you see exactly where you’ll place the tape, avoiding errors.
- Natural integration: Incorporating natural elements into your workspace can help create a calming environment that enhances focus and precision.
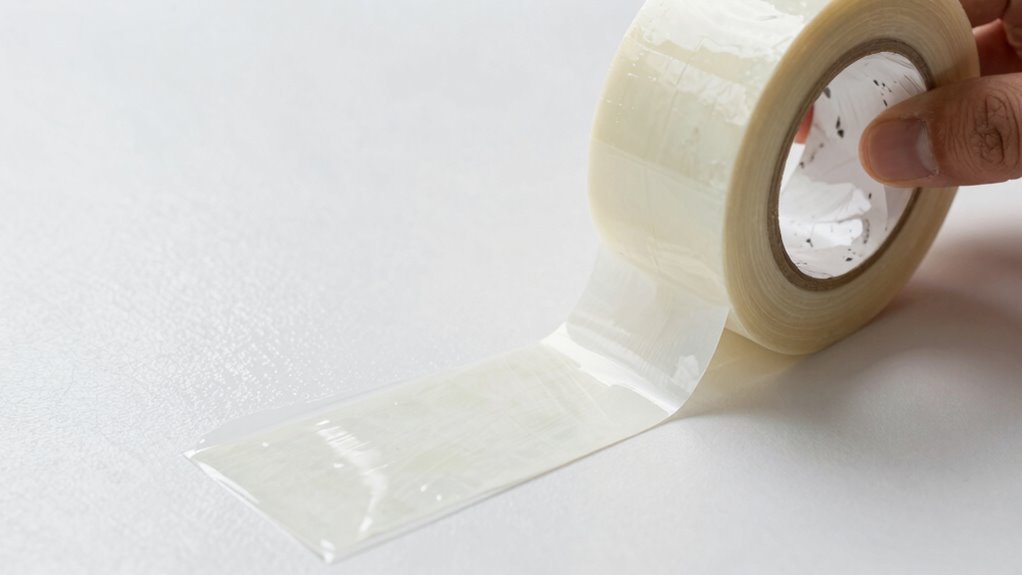
Apply Primer Precisely
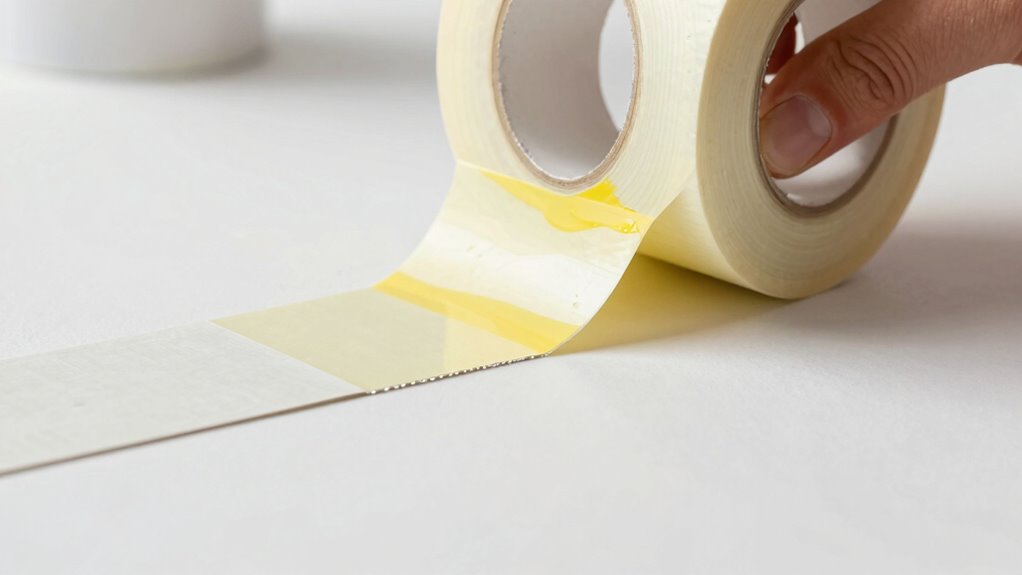
Once your workspace is prepared and tools are ready, it’s time to apply the primer with precision. Use the right tape selection to ensure clean edges and avoid bleed-through. Carefully lift the tape’s edge and apply a thin, even layer of primer, following your desired line. To visualize, imagine this process like:
| Tape Selection | Primer Application | Result |
|---|---|---|
| Thin, flexible | Controlled flow | Sharp, clean line |
| Firm adhesion | Precise edge | No smudges or leaks |
| Clear backing | Light brush strokes | Perfectly defined borders |
Focus on steady hand movements and minimal primer to prevent mess. Precision in primer application sets the foundation for razor-sharp lines.
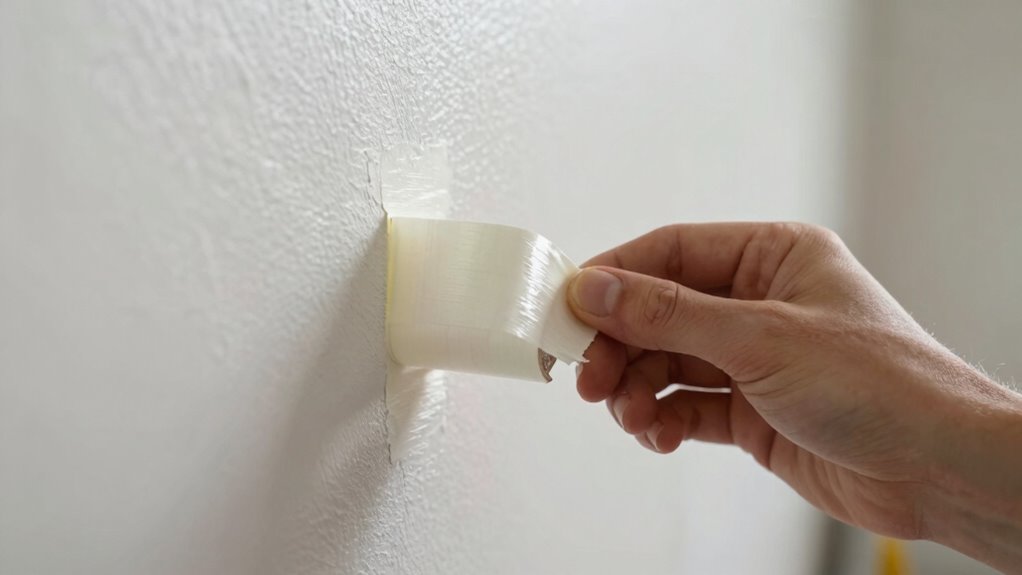
Lift Tape Carefully
Lifting the tape carefully is essential to maintaining the crisp edge you’ve just created with the primer. Rushing can cause tape adhesion issues or damage your clean lines. To guarantee perfect results, follow these steps:
- Wait a few seconds after peeling to let the primer set slightly, reducing the risk of lifting paint or primer. This curing time can vary depending on the primer used, so always check manufacturer recommendations.
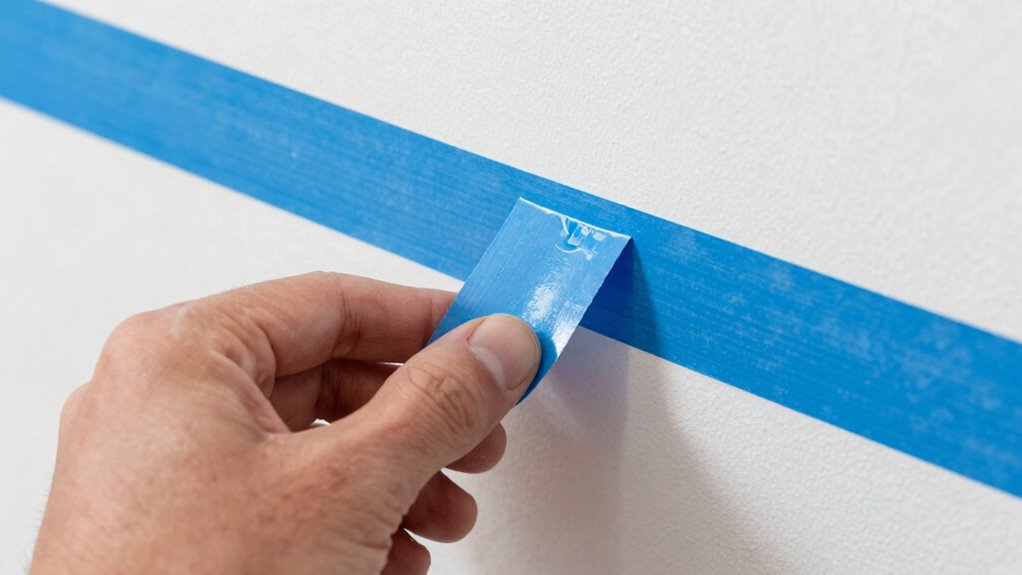
- Gently lift the tape at a 45-degree angle to preserve edge precision.
- Use a steady hand to avoid any sudden movements that might disturb your sharp line.
- Proper technique during tape removal ensures the tape peels away cleanly, maintaining both tape adhesion and edge precision for a flawless finish.
- Being aware of adhesion properties can help you choose the right tape and removal timing for optimal results.
- Understanding lease terms can help you plan your project timeline and avoid unexpected delays during your work process.
- Additionally, understanding surface compatibility ensures that the tape adheres properly without damaging delicate surfaces or leaving residue.
Common Mistakes When Using Stop Tape Lift and How to Avoid Them
Using stop tape lift incorrectly can lead to poor adhesion, residue buildup, or damage to the surface you’re working on. One common mistake is lifting the tape too soon while the paint is still wet, which can cause paint smudging or lifting, disrupting tape adhesion. Waiting until the paint is fully dry helps ensure clean lines and prevents paint from pulling away. Another error is pulling the tape at a sharp angle, which risks damaging the surface or peeling paint. Always lift the tape slowly and at a low angle to avoid these issues. Additionally, skipping surface prep or using old, worn tape can compromise adhesion, resulting in messy edges. Proper timing and gentle removal are key to achieving sharp lines without damaging your work. Understanding surface compatibility and proper adhesion techniques ensures better results and preserves your surfaces.
Tips for Removing Tape Without Smudging or Lifting Paint
Removing tape smoothly requires patience and the right technique to prevent smudging or lifting paint. Your approach depends on factors like tape texture and adhesive strength. Here are three tips to help you achieve clean lines:
- Wait for the paint to cure fully before removing the tape; fresh paint is more prone to smudging.
- Gently bend the tape back on itself at a 45-degree angle, pulling slowly to minimize stress on the paint edge.
- Use a sharp blade or craft knife along the edge of the tape if needed, especially with textured tape, to loosen the adhesive without disturbing the paint.
Troubleshooting: Fixing Imperfections After Tape Removal
Even with careful tape removal, imperfections like paint bleed, ragged lines, or small chips can still happen. If this occurs, focus on fixing the issue promptly. First, assess the problem: poor tape adhesion or inconsistent painting techniques often cause these flaws. To repair paint bleed or chips, use a small brush and carefully touch up the affected area, blending it into the surrounding paint. For ragged lines, gently sand the edges to smooth out unevenness before repainting. Ensuring good tape adhesion during the initial process helps prevent future imperfections. Also, maintaining painting consistency—like applying even coats and allowing proper drying—reduces the chances of flaws. Quick, precise corrections will help you achieve clean, sharp lines even after minor mishaps.
Creative Variations and Alternative Uses of the Stop Tape Lift Method

The Stop Tape Lift Method offers more than just clean paint lines; it opens up a range of creative possibilities and practical applications. You can experiment with:
- Color blending – use the lifted tape to create smooth gradients by merging different shades at the edge, adding depth to your design.
- Texture effects – lift the tape at varying angles or times to produce unique surface textures, giving your work a tactile dimension.
- Edge variations – alter the tape’s position or lifting technique to craft sharp or soft edges, enhancing visual interest and contrast.
These variations let you push your creativity, transforming simple lines into dynamic artistic elements. The method becomes a versatile tool for achieving innovative finishes and personalized effects.
Maintaining Your Tape and Reusing It for Consistent Sharp Edges
To keep your tape sharp and reusable, start by cleaning it properly after each use to remove debris and adhesive residue. Store it in a cool, dry place to prevent damage and guarantee it’s ready for next time. Always inspect the tape carefully before reuse to catch any signs of wear or dullness that could affect your results.
Proper Tape Cleaning Techniques
Maintaining your tape properly guarantees it stays sharp and effective for repeated use. Proper cleaning ensures ideal tape adhesion and surface preparation, which are essential for clean lines. To keep your tape in top condition:
- Gently peel off any residual paint or debris with a soft cloth or your fingertips.
- Use a mild solvent like isopropyl alcohol to wipe down the tape, removing oils and adhesive residue.
- Let the tape air dry completely before storing or reusing it.
This routine prevents old adhesive buildup that can reduce adhesion and compromise surface preparation. Clean tape maintains a crisp edge, ensuring your lines stay razor-sharp. Regular maintenance also extends your tape’s lifespan and improves overall results. Proper cleaning is simple but indispensable for professional-looking, precise edges.
Storage for Reusability
Ever wondered how proper storage can keep your tape sharp and ready for the next project? Effective storage organization is key to maintaining tape durability. Store your tape in a cool, dry place away from direct sunlight, which can degrade the adhesive and backing. Consider using a dedicated container or roll holder to prevent unnecessary bending or crushing that could compromise the tape’s edge. Keeping your tape wrapped tightly or in a resealable bag also helps preserve its tackiness. Labeling rolls ensures you quickly identify the right tape for reuse, saving time. Proper storage not only extends the lifespan of your tape but also guarantees it remains sharp and effective whenever you need it, making your work cleaner and more precise each time.
Inspection Before Reuse
Inspecting your tape before reuse is vital to guarantee it performs at its best. First, check the tape’s adhesion by pressing gently along its edges to ensure it sticks firmly; any lifting can cause paint bleed. Second, examine the surface for dirt or dust that may compromise adhesion or create uneven lines. Third, look for signs of paint bleed or residue from previous projects, which can affect the sharpness of your lines. If the tape shows peeling edges, reduced adhesion, or paint bleed, it’s best to replace it. Reusing tape with compromised adhesion can lead to blurry lines or paint seeping under the edges. Proper inspection ensures you get clean, razor-sharp results every time, saving you time and effort in touch-ups.
Frequently Asked Questions
Can the Stop Tape Lift Technique Be Used on All Types of Paint?
Yes, you can use the stop tape lift technique on most types of paint, but keep in mind that paint adhesion and tape durability vary. For best results, guarantee the paint is fully cured and dry to prevent peeling or smudging when lifting the tape. This technique works well with latex, oil-based, and specialty paints, as long as the surface is properly prepared and the tape is high-quality.
How Long Should I Wait Before Removing the Tape?
Imagine the moment when your work is almost perfect, like the final stroke of a masterpiece. You should wait until the paint has fully dried, which depends on its consistency and the recommended dry time. Usually, this is about an hour or more. Gently lift the tape once the paint feels dry to the touch, avoiding smudges or peeling. Patience guarantees crisp, clean lines every time.
Is This Method Effective on Textured or Uneven Surfaces?
This method can be effective on textured or uneven surfaces, but surface texture and adhesion challenges may affect the sharpness of your lines. You should guarantee the tape sticks firmly and presses well into the uneven areas to prevent paint bleed. For best results, use high-quality painter’s tape and press it down thoroughly. Be patient and carefully remove the tape to avoid disturbing the paint, especially on challenging surfaces.
What Tools Can Help Achieve Even Sharper Lines?
To achieve even sharper lines, you can use precision tape to create clean edges and edge shapers for added control. Precision tape helps you define the boundary clearly, while edge shapers ensure the tape stays flat and precise during painting. These tools work together, giving you crisp, professional lines every time. Make certain to press the tape down firmly and remove it carefully for the best results.
How Does Temperature or Humidity Affect Tape Adhesion and Removal?
While a gentle breeze might seem harmless, humidity impact can make tape cling too tightly, risking damage when you lift it. Conversely, high temperatures influence adhesion, causing tape to loosen prematurely. Ideal conditions help guarantee smooth removal and sharp lines. To avoid issues, work in a controlled environment where temperature influence and humidity impact are minimized, giving you consistent results and clean, razor-sharp edges every time.
Conclusion
Think of the stop tape lift technique as your trusted compass, guiding your brush to precise, crisp lines through uncharted artistic waters. When you master this trick, each stroke becomes a steady voyage, avoiding the rocky pitfalls of smudges and uneven edges. With patience and practice, you’ll navigate your creative journey smoothly, turning your artwork into a shining lighthouse of sharp, clean lines that captivate and inspire. Let your mastery be the beacon in your artistic adventure.