
To quickly prep bare wood for spraying, apply a quality grain filler that matches your wood type, evenly spreading it along the grain with a putty knife. Guarantee the surface is clean, dry, and lightly sanded before filling. Use thin coats and remove excess immediately for a smooth finish. Once dry, sand smoothly with fine-grit paper to create an even, porosity-free surface. For more tips on perfecting your spray prep, explore the detailed steps ahead.
Key Takeaways
- Ensure the wood is clean, dry, and lightly sanded before applying grain filler.
- Choose a grain filler compatible with your wood type and project requirements for easier application.
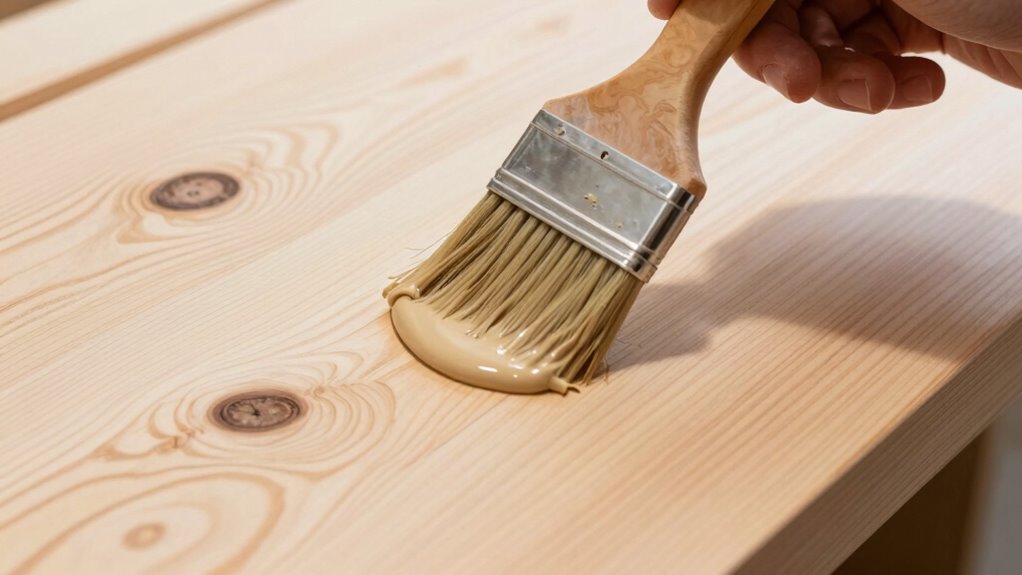
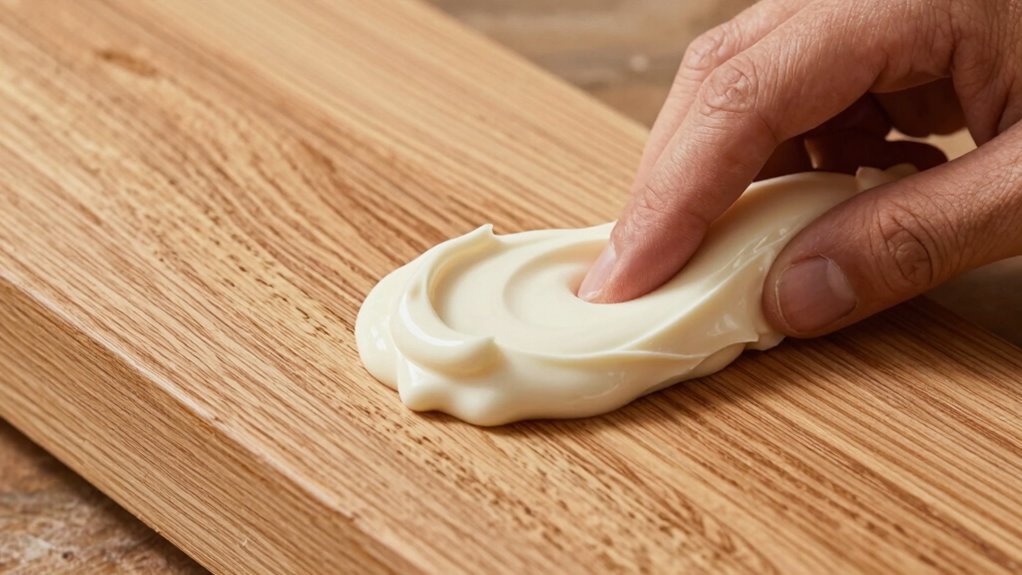
- Apply the filler evenly along the grain with a putty knife, filling all pores thoroughly.
- Remove excess filler immediately to prevent buildup and ensure a smooth surface.
- Wait for full drying and curing, then sand with fine-grit sandpaper for a flawless, ready-to-spray finish.
Why Grain-Filling Is the Fastest Way to Prep Bare Wood for Spray Finish
Grain-filling is the quickest way to prep bare wood for a spray finish because it creates a smooth, even surface that requires less sanding and touch-up later. Using a quality grain filler helps fill in the pores and imperfections, giving your wood a flawless look before spraying. Proper wood preparation with grain filler reduces the amount of material needed and speeds up the entire finishing process. It also minimizes the risk of uneven absorption of stain or paint, ensuring a consistent finish. By applying a good grain filler, you eliminate the roughness that can cause uneven spray patterns or blotchiness. This step streamlines your project, saving you time and effort while delivering professional results. Grain-filling truly is the shortcut to a smooth, beautiful spray finish on bare wood.
How to Choose the Best Grain Filler for Your Wood Type
Choosing the right grain filler depends on how well it works with your wood type, so check for compatibility first. You’ll also want a filler that’s easy to apply smoothly without mess or excessive effort. Considering these points guarantees a professional finish and saves you time in the long run. Additionally, selecting a filler with good adhesion properties ensures the best results on your surface. To achieve optimal results, understanding the history of pinball machines can provide insight into the evolution of game design and technology. Recognizing how sustainable practices have influenced manufacturing processes can also guide you toward environmentally friendly choices. Furthermore, researching environmentally friendly materials can help you select options that are both effective and eco-conscious.
Compatibility With Wood Type
Since different types of wood have unique grain patterns and porosity levels, selecting the right grain filler is essential for achieving a smooth, professional finish. You need a filler that complements your wood’s characteristics to guarantee good finish compatibility and maintain wood durability over time. Soft woods like pine may require a flexible, lightweight filler to prevent cracking, while dense hardwoods like oak need a more durable, high-adhesion product. Matching your filler to the type of wood helps prevent issues like uneven absorption or surface defects. Considering wood porosity can help you select a filler that penetrates and adheres properly, ensuring durability and a quality appearance over time. Proper compatibility ensures a long-lasting, flawless finish. Additionally, understanding grain pattern can help you choose a filler that enhances the natural beauty without compromising the wood’s integrity. Recognizing the grain structure can also assist in choosing the most suitable application method for a seamless result. Knowing the grain orientation can further impact how you apply the filler for optimal adhesion and finish quality.
Ease of Application
Selecting the right grain filler isn’t just about compatibility; ease of application plays a significant role in achieving a smooth, professional finish. Look for a filler with good grain consistency so it spreads evenly without streaks or lumps. A product that applies smoothly reduces the effort needed and minimizes mess. Consider how quickly the filler dries; a faster drying time can speed up your project, but if it dries too quickly, it might be harder to work with. Conversely, a slower-drying filler gives you more control to smooth out imperfections. Test the consistency on a small area first to ensure it’s easy to spread and level. Additionally, choosing a filler that matches the wood’s natural grain pattern will help achieve a more seamless look. Ultimately, choosing a filler that’s user-friendly will help you achieve a flawless, long-lasting finish with less frustration.
Step-by-Step: Applying Grain Filler on Bare Wood for a Smooth Finish
To achieve a smooth finish, you need to prepare the surface properly by cleaning and sanding the wood first. Then, apply the grain filler evenly across the surface, making sure to fill all the pores. Proper surface preparation is key to ensuring the filler adheres well and results in a flawless finish. Incorporating surface treatment techniques can also help improve adhesion and final appearance. Using the right application tools can make the process more efficient and ensure even coverage. Additionally, selecting the appropriate grocery savings strategies can help you budget effectively for your project materials. Finally, sand the filled surface smoothly before moving on to finishing for the best results. Incorporating consistent storytelling about your project can also help ensure you stay aligned with your desired outcome.
Prepare the Surface Properly
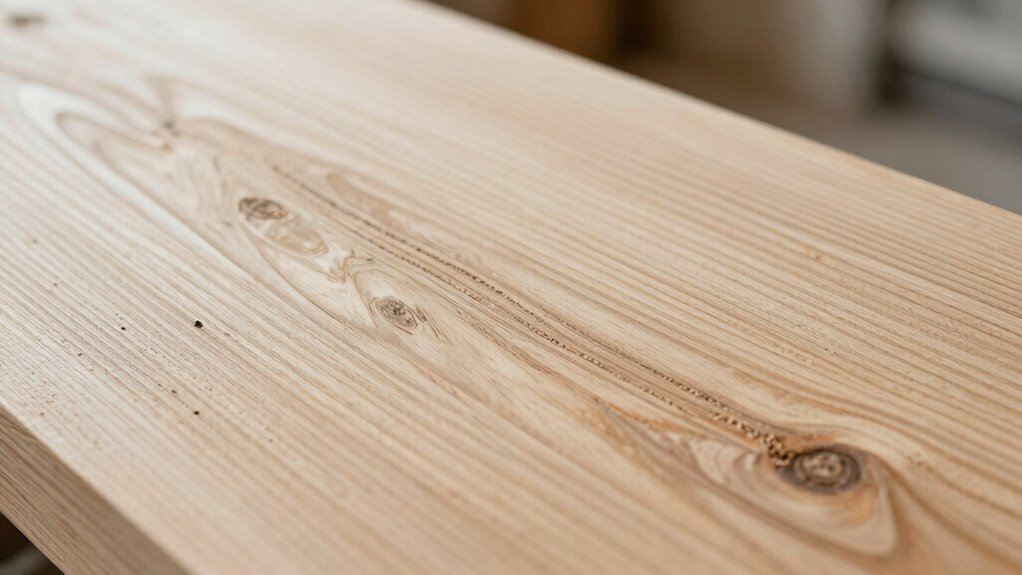
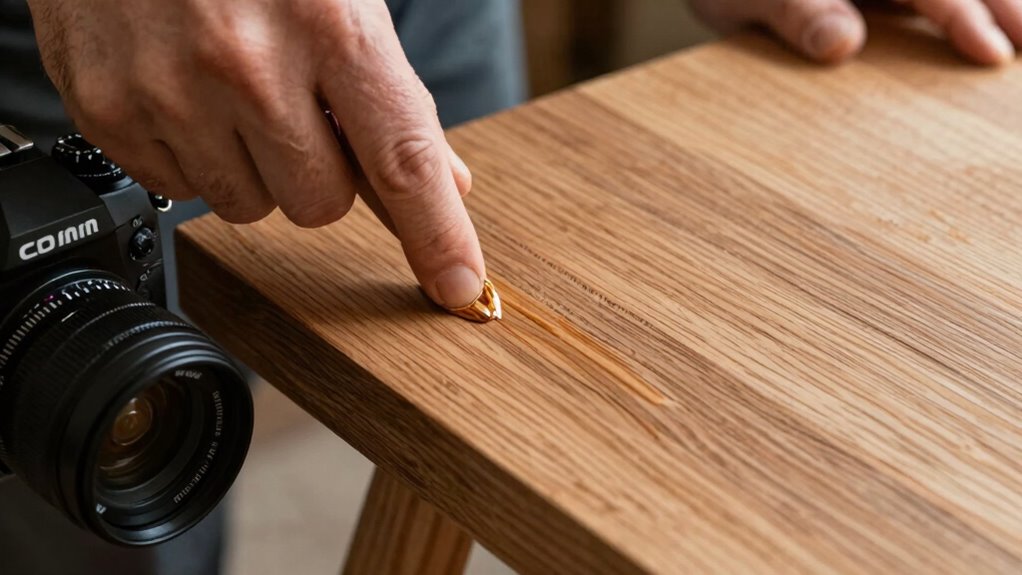
Before applying grain filler, you need to make certain the surface is clean, dry, and free of any dust or grease. Proper surface preparation guarantees the grain filler adheres evenly and penetrates the wood grain fully. Start by sanding the bare wood lightly to open up the grain and remove any rough spots or residues. Use a tack cloth or vacuum to eliminate all dust particles, as debris can mar the smooth finish. Check for grease or oils from handling and wipe the surface with a damp cloth if needed. Ensuring a clean, smooth surface enhances the wood grain’s appearance and helps achieve a professional look. Remember, well-prepared surfaces are key to a flawless grain-filling process and a beautifully smooth finish. Consistent preparation helps maintain the integrity of the finish and promotes long-lasting results. Additionally, understanding the wood type can influence the preparation steps and the final outcome. Properly identifying wood species can help you choose the best grain filler and application method for optimal results. Using the right surface preparation techniques can also prevent issues like uneven absorption or adhesion failure, ensuring your project turns out perfectly.
Apply Grain Filler Evenly
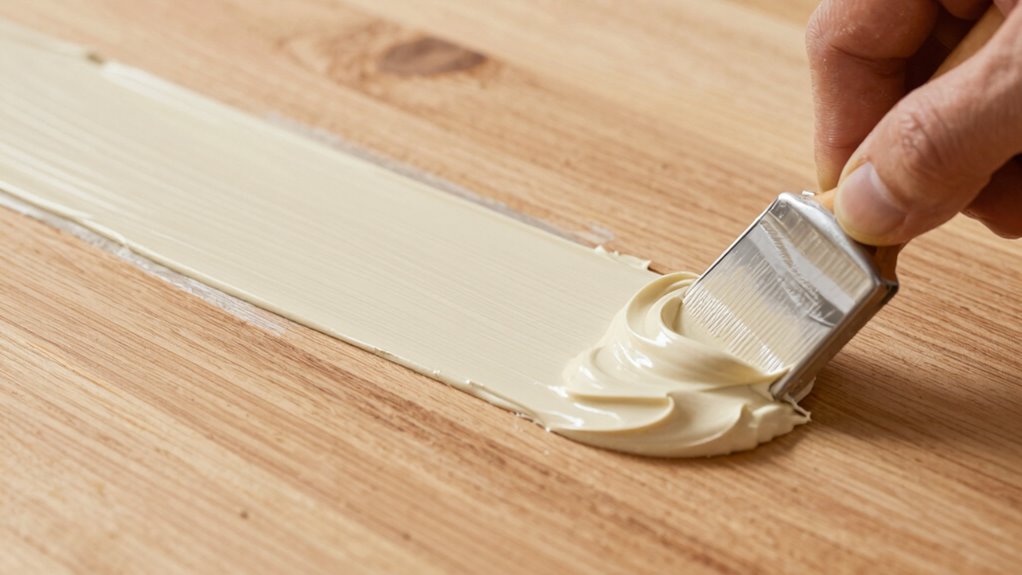
Once your surface is clean and smooth, it’s time to apply the grain filler. Use a putty knife to spread it evenly, working along the grain to ensure consistent application. Focus on maintaining good grain consistency, avoiding thick patches that can cause uneven drying or visible imperfections. Apply a thin layer and don’t rush; let the filler dry properly before sanding. To help you stay organized, here’s a quick guide:
| Step | Tip | Result |
|---|---|---|
| Apply in thin coats | Keep filler spread evenly | Smooth, even surface |
| Work with the grain | Prevent ridges and overlaps | Better grain filling |
| Wait for drying | Follow manufacturer’s drying time | Proper filler drying, ready for sanding |
| Check for adequate curing | Ensure filler is fully cured before sanding | Avoids imperfections and rework |
Additionally, proper drying conditions can significantly influence the final appearance and durability of your finish, helping to prevent issues like cracking or peeling. Ensuring the environment is suitable — with proper temperature and humidity — will improve the overall grain-filling process and results. Proper environmental conditions also help prevent cracking, ensuring a more professional and long-lasting finish.
Sand and Finish Smoothly
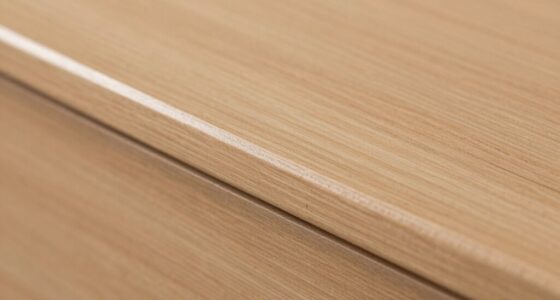
After the grain filler has dried completely, it’s time to sand the surface to achieve a smooth finish. Focus on revealing a consistent grain pattern and addressing wood porosity, which can cause unevenness. Use fine-grit sandpaper to gently smooth out any raised grain or filler residue. Keep the surface clean by wiping away dust frequently. Be careful to sand evenly across the entire surface, avoiding dips or ridges. This step ensures the filler is flush with the wood, creating an ideal base for spraying. Visualize a surface where the grain pattern flows seamlessly and porosity is minimized. Proper sanding enhances the final look, giving your project a professional, smooth finish ready for the next coats of paint or finish.
Tips for Applying Grain Filler to Achieve a Perfectly Smooth Surface

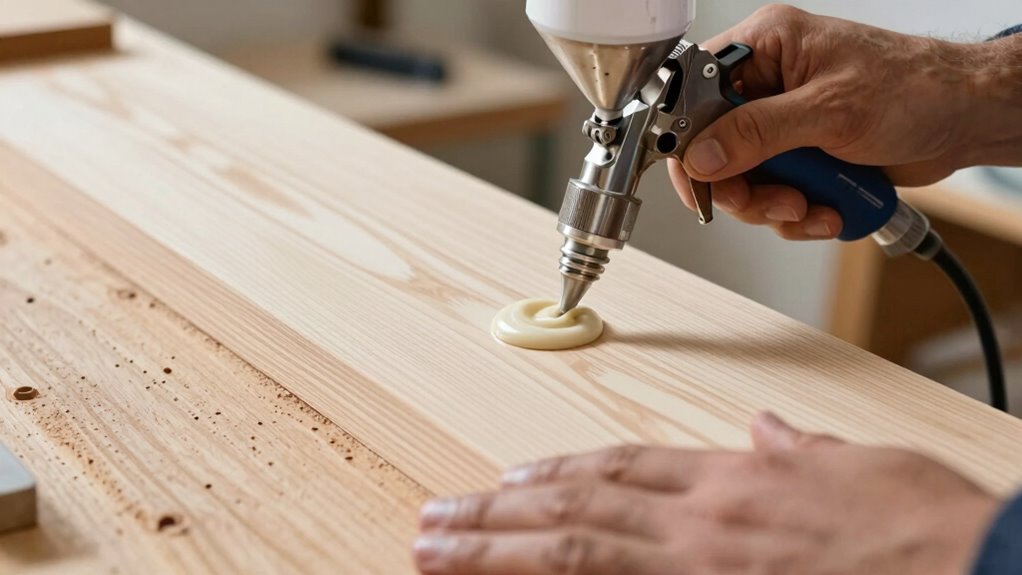
Applying grain filler correctly is essential for achieving a smooth, professional-looking finish on bare wood. To do this, ensure your filler has the right grain consistency—smooth but not too thick. Test different fillers to compare their ease of application and final smoothness. Using the right filler helps prevent uneven surfaces and reduces sanding time later. For best results, apply the filler with a plastic spreader, working it into the grain in the direction of the wood. Wipe off excess immediately to avoid buildup. Here’s a quick comparison to guide your choice:
| Filler Type | Grain Consistency | Ease of Application | Finish Quality |
|---|---|---|---|
| Oil-Based | Thicker, durable | Slightly tougher | Very smooth |
| Water-Based | Thinner, easy to spread | Easier, faster | Slightly less durable |
| Epoxy | Thick, strong | Requires skill | Ultra-smooth |
| Wood Filler | Varies | Depends on formula | Good final finish |
Sanding and Finishing After Grain Filling: Best Practices
Proper sanding and finishing after grain filling guarantees your wood surface looks smooth and professional. You want to assess the grain texture carefully, ensuring the filler has dried thoroughly before sanding. Use fine-grit sandpaper to gently smooth the surface, avoiding gouges that can ruin the fill. Keep the surface dust-free to prevent imperfections in the finish. Check for any uneven spots or residual filler that needs additional sanding. Remember, patience is key—rushing can mar the finish. Once satisfied, wipe down the surface with a tack cloth to remove dust. This step ensures your finish will adhere properly and look flawless. Achieving a perfectly smooth surface makes subsequent spraying easier, giving your project a professional, polished appearance.
Common Mistakes When Grain-Filling Bare Wood: and How to Avoid Them
One common mistake when grain-filling bare wood is rushing the process, which can lead to uneven coverage and gaps in the filler. Proper wood preparation is vital to ensure smooth, consistent results. Using incorrect grain filler techniques, like applying too thickly or not sanding between coats, worsens wood preparation mistakes. To avoid these errors:
| Mistake | Consequence | Solution |
|---|---|---|
| Applying filler unevenly | Visible ridges or gaps | Use a putty knife for thin, even coats |
| Skipping surface prep | Poor adhesion, blotchiness | Sand thoroughly before filling |
| Not cleaning dust properly | Flaws in finish | Wipe down with a tack cloth |
Pay attention to these details, and you’ll prevent common wood preparation mistakes that compromise your grain-filling success.
How Grain Filling Saves Time and Boosts Spray Finish Quality
Grain filling streamlines your finishing process by creating a smooth, uniform surface that reduces the need for extensive sanding and touch-ups. When you fill the wood grain, your spray finish becomes more even, enhancing overall quality. This saves you time because you spend less effort correcting imperfections later. Plus, smooth surfaces allow finishing techniques like spraying to lay down a flawless coat with fewer coats needed. Visualize the wood grain disappearing beneath a glass-like surface, making your project look professional. You’ll see:
- The grain becomes barely noticeable, like glass
- Less sanding and fewer touch-ups needed
- Spray finishes glide smoothly without trapping grain
- Consistent, high-quality results every time
Troubleshooting: Fixing Imperfections in Your Grain-Filling Process
Even with careful grain filling, imperfections can still appear in your finish, requiring quick fixes to maintain a smooth, glass-like surface. If you notice areas where the grain consistency is uneven or the filler hasn’t dried properly, address them promptly. Sand lightly to smooth out rough patches, then reapply filler if necessary, ensuring it dries thoroughly before sanding again. For surface blemishes or runs, a gentle sanding followed by a thin layer of filler can restore smoothness. Use the table below to identify common issues and solutions:
| Issue | Solution |
|---|---|
| Uneven grain consistency | Sand, reapply filler, ensure proper drying |
| Filler not drying fully | Improve ventilation, wait longer before sanding |
| Blemishes or runs | Sand carefully, reapply filler smoothly |
| Surface roughness | Light sanding and re-application of filler if needed |
Frequently Asked Questions
Can I Use Homemade or Natural Fillers Instead of Commercial Grain Fillers?
Yes, you can use DIY fillers or natural alternatives instead of commercial grain fillers. You might mix sawdust with glue or use natural materials like clay or rice paste to create effective fillers. These options work well for small repairs and provide a smooth surface for spraying. Just verify your DIY or natural fillers are properly dried and sanded before applying paint or finish to achieve the best results.
How Long Should I Wait Before Sanding After Applying Grain Filler?
Imagine a quiet, sunlit workshop where the grain filler has just been spread over your wood. You should wait for the drying time specified on the product, usually about 15-30 minutes, before sanding. The ideal sanding interval is once the filler is fully dry and firm, ensuring smooth results. Rushing this step can cause uneven surfaces or damage, so give it enough time for a flawless finish.
Is Grain Filling Necessary for All Types of Wood Before Spraying?
No, grain filling isn’t necessary for all wood types before spraying. Soft woods like pine or cedar often benefit from grain filling to achieve a smooth finish, while hardwoods like oak or maple usually don’t need it, as their grain is less prominent. Consider your wood type and desired finish; grain filling can save you time and effort on textured or porous woods, ensuring a sleek, professional look.
What Environmental Conditions Best Facilitate Grain Filling Application?
Ever wonder what makes the perfect environment for grain filling? You should aim for moderate temperatures between 65-75°F, where moisture control and temperature regulation are ideal. Avoid high humidity or extreme cold, as excess moisture can hinder adhesion, while too much heat accelerates drying. A stable, dry atmosphere helps the grain filler penetrate evenly, ensuring a smooth, flawless finish when you spray.
How Do I Remove Excess Grain Filler Without Damaging the Wood Surface?
To remove excess grain filler without damaging the surface, you should use finishing techniques like gentle sanding with fine-grit paper or a soft cloth dampened with mineral spirits. Proper surface preparation guarantees a smooth finish. Work carefully, applying light pressure, and follow the grain to avoid scratches. This approach helps you achieve a flawless, professional look while preserving the integrity of your wood surface.
Conclusion
Think of grain filling as laying a smooth foundation for your masterpiece. When you skip or rush this step, imperfections can creep in like weeds in a garden. But when you take the time to prep your bare wood properly, your spray finish will glide on like silk, revealing the true beauty beneath. Master this shortcut, and your woodworking dreams will shine brighter than a polished gem, ready to dazzle everyone who sees it.