To paint a car at home with an HVLP sprayer, start by choosing the right equipment, considering nozzle size and adjustable settings for your paint type. Prepare the surface thoroughly by cleaning, sanding, and priming to guarantee smooth results. Set up a safe, well-ventilated workspace with proper safety gear. Practice your technique on scrap first. If you follow these tips, you’ll achieve a professional finish—more details await to guide you through every step.
Key Takeaways
- Choose the right HVLP sprayer with adjustable settings and appropriate nozzle size based on your paint viscosity.
- Prepare the vehicle surface thoroughly by cleaning, sanding, and applying primer for optimal paint adhesion.
- Set up a clean, well-ventilated workspace with safety gear like respirators, gloves, and protective clothing.
- Practice spraying on scrap material to master consistent distance, pressure, and overlapping techniques.
- Regularly clean and maintain your equipment to ensure smooth operation and professional-quality results.
Choosing the Right HVLP Sprayer for Car Painting
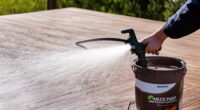
Selecting the right HVLP sprayer is essential to achieving a smooth, professional-looking paint job on your car. The sprayer nozzle size impacts how much paint is atomized and how evenly it’s applied, so choosing the correct one is vital. For thicker paints with higher viscosity, a larger nozzle helps guarantee proper flow, while thinner paints require a smaller nozzle for finer spray. Understanding your paint’s viscosity will guide your choice of sprayer nozzle, preventing clogging or uneven coverage. A good HVLP sprayer with adjustable settings allows you to fine-tune the spray pattern and pressure, giving you better control. Proper Kia Tuning techniques can further enhance the quality of your paint job, ensuring a durable and attractive finish. Matching your sprayer nozzle to your paint’s viscosity is crucial for a consistent, smooth finish that looks professional, right from your home garage. Additionally, considering HVLP spray gun features can help you select a model that offers better control and results. Staying informed about machine learning algorithms can also aid in optimizing your painting process by providing data-driven insights for better technique adjustments.
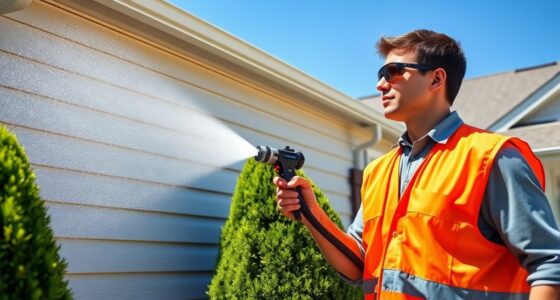
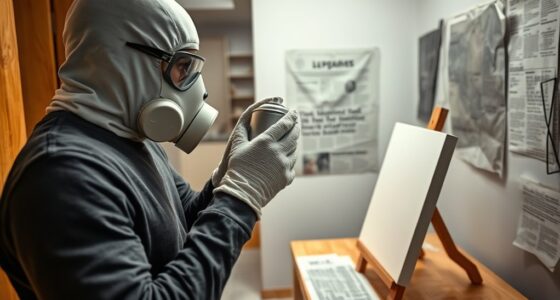
Essential Safety Gear and Preparations
Before you start painting, make sure you wear protective clothing to shield your skin and eyes. You also need to ventilate your work area well to avoid inhaling fumes. Additionally, gather and prepare all your painting supplies to guarantee a smooth and safe process. To achieve a professional finish, consider understanding color accuracy principles to ensure the final coat matches your vehicle’s desired appearance. Incorporating market demand insights can help you select the right type of paint and accessories for your project. Being aware of electric power capabilities can also assist in choosing the appropriate equipment for your painting setup, especially if you plan to use electric tools or generators. Furthermore, implementing AI security measures can help safeguard your equipment and digital tools from cyber threats during your project. Understanding paint compatibility can also prevent issues such as bubbling or peeling, ensuring a durable finish.
Wear Protective Clothing
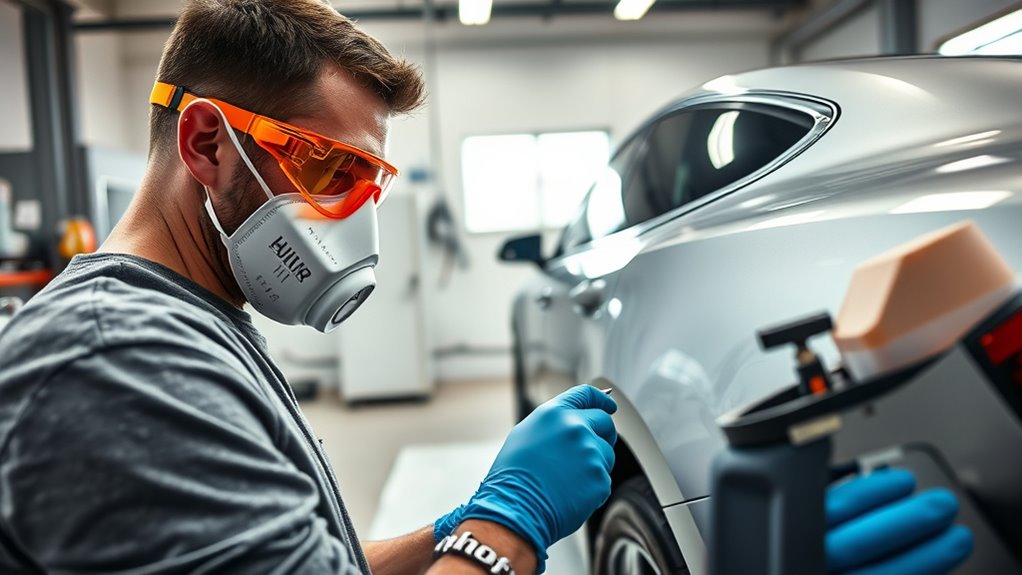
When painting your car at home, wearing the right protective clothing is essential to keep yourself safe from harmful fumes, splatters, and chemicals. Proper protective gear acts as a barrier, minimizing skin contact and inhalation risks. Safety precautions include donning a coverall or long-sleeved shirt, gloves, and a respirator mask. These items help prevent chemical burns, allergic reactions, and respiratory issues. Remember, your clothing should be durable, chemical-resistant, and fit well to avoid accidents. Wearing protective clothing not only shields you but also ensures you maintain a clean workspace. Additionally, ensuring your workspace has appropriate security measures can prevent theft or unauthorized access while working on your vehicle. Using proper personal protective equipment enhances safety and reduces the risk of exposure to hazardous substances. Proper organization and safety protocols can also improve overall workplace safety during painting projects.
Ventilate Work Area
Have you guaranteed your work area is properly ventilated? Proper ventilation is essential to keep the air safe and reduce fumes. Use air filtration systems or exhaust fans to improve airflow and remove hazardous vapors. This helps prevent the buildup of paint fumes and ensures you’re breathing cleaner air throughout the project. This not only protects your lungs but also helps control odors, making the space more comfortable. Keep windows open and use portable fans directed outside to promote fresh air exchange. If you’re working indoors, consider installing an air purifier designed for fumes and odor control. Good ventilation prevents buildup of paint fumes and ensures you’re breathing cleaner air throughout the project. Additionally, understanding heat pump features can help you select equipment that maintains optimal climate conditions in your workspace, further improving safety and comfort. Properly managing air quality can significantly reduce health risks associated with painting. Your health and safety depend on it.
Prepare Painting Supplies
Ensuring your work area is well-ventilated sets the stage for a safe painting process, but gathering the right supplies is equally important. Before you start, assemble essential safety gear like a mask, gloves, and goggles to protect yourself from fumes and overspray. Safety measures include using proper storage for paints and solvents to prevent accidents and health hazards. You’ll also need quality paint, thinners, and a clean container for proper paint mixing, ensuring consistent color and finish. Proper preparation of your frozen yogurt is key to achieving a smooth and professional-looking application. Don’t forget to prepare your spray pattern by adjusting your HVLP spray gun for even coverage and minimal overspray. Additionally, understanding paint safety protocols can help you avoid health risks associated with fumes and chemicals.
Selecting the Best Paint and Primer for Your Project
Choosing the right paint and primer is key to a professional-looking finish. You need to select compatible products, understand the benefits of different primer types, and pick colors that suit your style. Let’s explore how to make the best choices for your project. Additionally, understanding your personal preferences and personality traits, such as being sociable or confident, can help you stay motivated and organized throughout the painting process personality traits. When selecting your supplies, consider the appliances connection, which offers a variety of brands and products to help you find the best options for your painting project. Incorporating body awareness techniques can also enhance your control and precision during the painting process, ensuring a smoother finish. Furthermore, leveraging automation’s role in business intelligence can inspire innovative approaches to managing your project timeline and resources efficiently. A thorough understanding of reviews and comparisons of different paints and primers can guide you toward the most effective materials for your specific needs.
Choosing Compatible Paints
Selecting the right paints and primers is essential to achieving a professional-looking finish when painting your car at home. Ensuring proper paint compatibility prevents issues like peeling or uneven texture. When choosing paints, consider how well they mix regarding color and finish, especially if you plan to blend shades. To get the best results, keep these in mind:
- Verify that the paint and primer are designed for automotive use and compatible with each other
- Check for compatibility in viscosity and chemical base to avoid adhesion problems
- Test small color samples to ensure accurate color mixing and matching
- Be aware of automation advances in automotive painting technology that can improve application consistency and quality.
- Incorporating proper surface preparation techniques can further enhance the adhesion and durability of your paint job, reducing the risk of future peeling or chipping.
Primer Types and Benefits
Different primer types serve specific purposes and can substantially influence the final look of your painted car. Choosing the right primer is vital for effective primer application and ensuring good primer adhesion. For instance, an epoxy primer provides excellent adhesion and durability, ideal for bare metal surfaces. A filler primer helps smooth out surface imperfections, creating a uniform base. If you’re working on plastic parts, a plastic primer ensures proper adhesion. Using the correct primer type improves paint adhesion, reduces the risk of peeling, and enhances overall finish quality. Keep in mind that proper surface preparation and selecting a primer compatible with your topcoat are essential steps. When you understand the benefits of each primer type, your project will have a professional, long-lasting finish.
Color Selection Tips
When picking the right paint and primer for your project, it’s essential to contemplate both color compatibility and finish quality. Proper color matching ensures your car looks cohesive and professional, while choosing compatible paints prevents issues like peeling or uneven texture. To make the best choice:
- Consider the overall color scheme you want to achieve.
- Test paint samples in different lighting conditions.
- Ensure paint compatibility with your primer and existing paint layers. Additionally, understanding paint adhesion is crucial for a durable finish that withstands environmental factors. Recognizing the role of surface preparation can significantly influence the longevity and appearance of your paint job.
This approach helps you avoid mismatched shades and ensures a smooth, durable finish. Remember, selecting the right colors isn’t just about aesthetics—it impacts how well the paint adheres and lasts over time. By paying attention to these details, you’ll achieve a flawless, long-lasting result.
Preparing Your Vehicle’s Surface for Painting
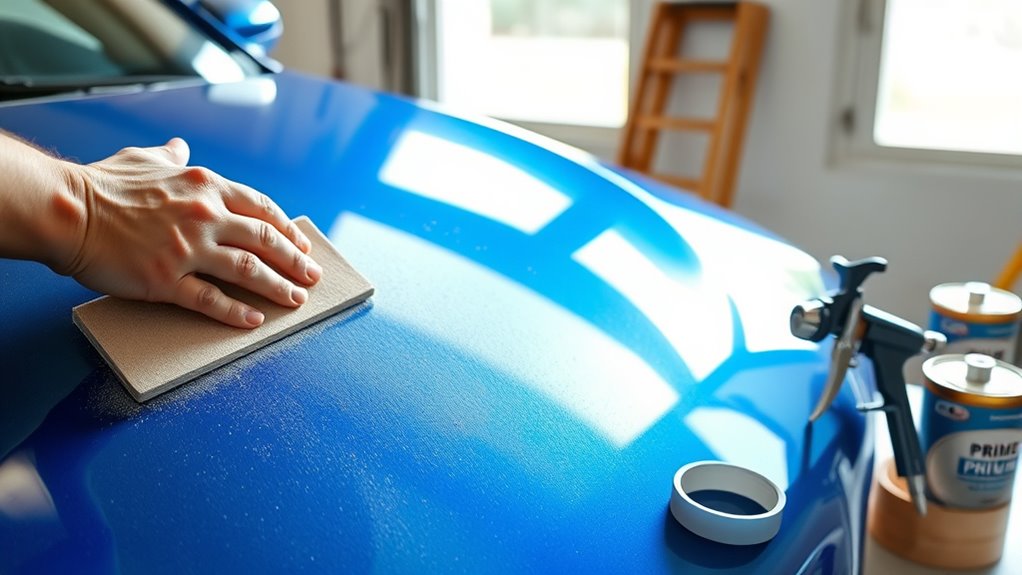
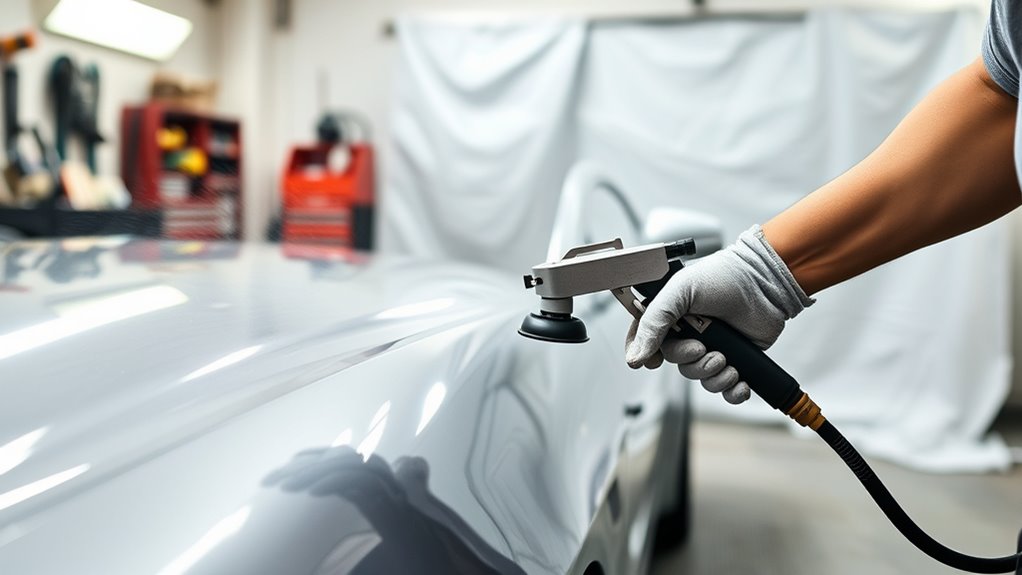
To guarantee a smooth and durable paint job, start by thoroughly cleaning your vehicle’s surface to remove dirt, grease, and any old paint residues. Proper surface preparation is essential for ideal paint adhesion, making sure your new coat sticks well and lasts longer. Once clean, sand the surface with fine-grit sandpaper to create a slightly rough texture, which helps the paint bond better. Be sure to smooth out any imperfections or rust spots, and wipe away dust with a tack cloth. If necessary, use a primer suited for automotive surfaces to improve adhesion and provide a uniform base. Taking these steps assures your paint will adhere properly, resulting in a professional-looking finish that resists chipping and peeling over time.
Setting Up Your Workspace for Optimal Results
Creating a clean, well-organized workspace is key to achieving a professional-looking paint job. Proper workspace organization helps you stay focused and minimizes mistakes. Start by clearing clutter and setting up a dedicated area for your painting project. A good lighting setup is essential—make sure you have bright, even illumination to see every detail clearly and avoid uneven coats. Keep your tools and materials within reach to streamline your workflow. Consider using adjustable lights or portable work lamps to eliminate shadows and enhance visibility. Remember, a tidy, well-lit environment reduces the risk of dust or debris settling on your freshly painted surface, ensuring a smooth, flawless finish. Proper setup sets the foundation for a successful paint job.
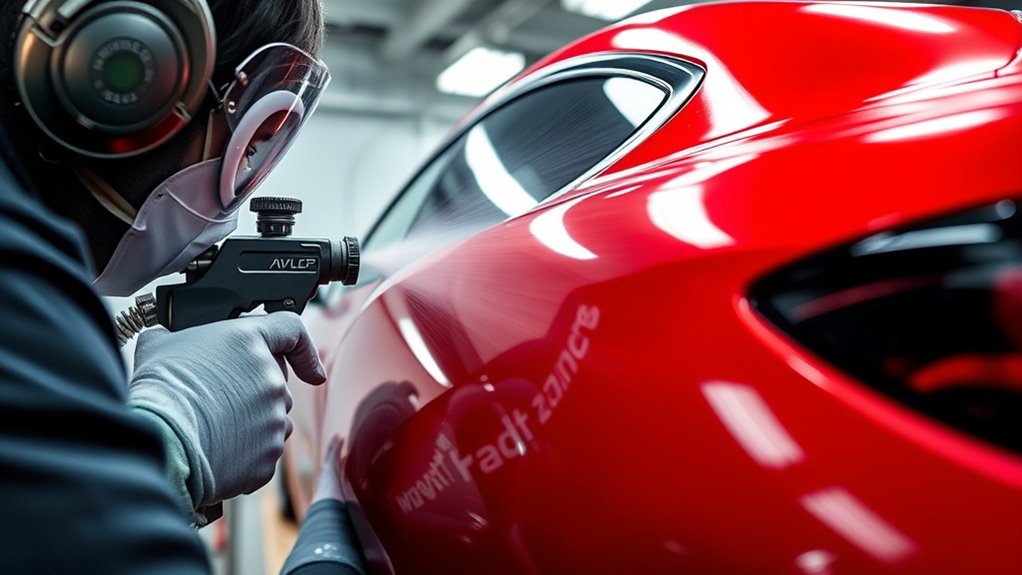
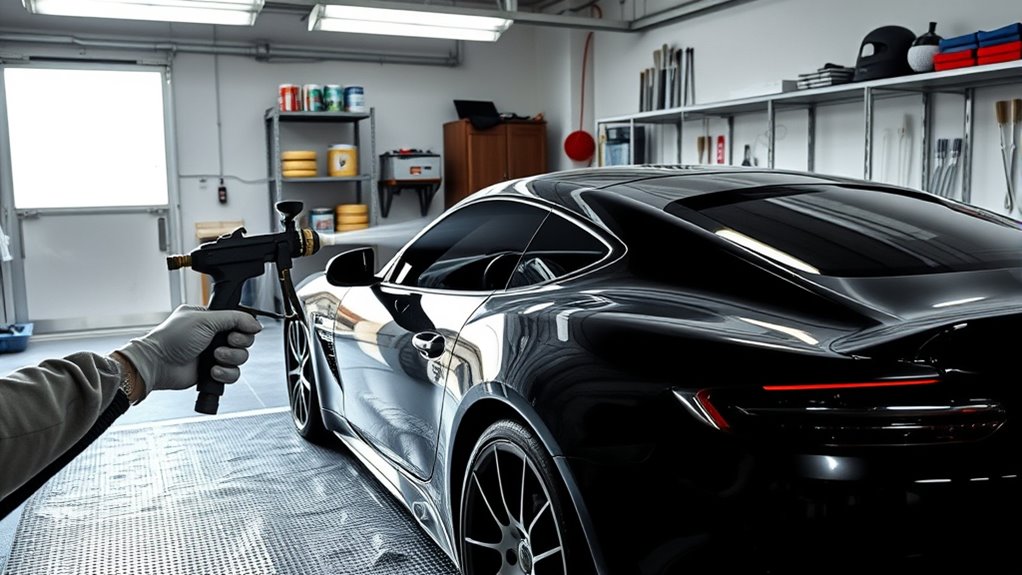
Techniques for Applying Even Coats of Paint

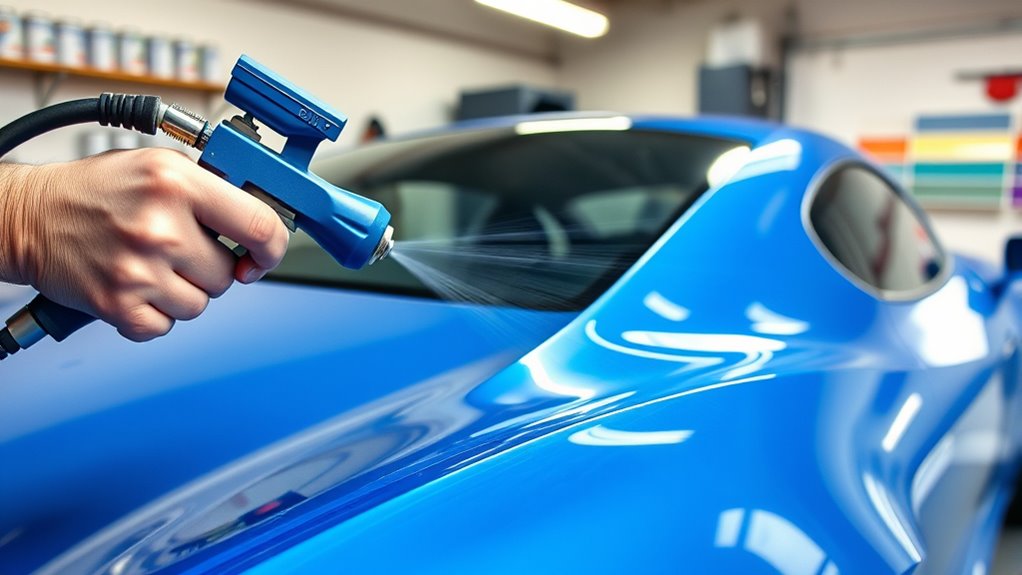
Applying even coats of paint is essential for achieving a smooth, professional finish on your car. To do this, focus on your brush techniques and spray patterns. When using a brush, keep strokes light and consistent, overlapping slightly to prevent streaks or uneven spots. For HVLP spray application, maintain steady, overlapping spray patterns—about 50% each pass—to ensure uniform coverage. Keep the spray gun moving at a consistent speed and distance from the surface to avoid drips or runs. Adjust your spray pattern as needed to match the area you’re working on, especially around curves or edges. Practice on scrap material first to perfect your technique. Remember, patience and steady hands are key to applying smooth, even coats that will result in a flawless finish.
Troubleshooting Common Painting Issues
Even with careful technique, you might encounter common painting problems like drips, orange peel, or uneven coverage. These issues often stem from spray pattern issues or poor paint adhesion. To troubleshoot, check your spray pattern for consistency—irregular patterns can cause uneven coats. Ensure your surface is properly cleaned and prepped to improve paint adhesion, preventing peeling later. Additionally, monitor your spray distance and speed to avoid over-application or thin spots.
- Maintain a steady hand to keep a uniform spray pattern.
- Use appropriate surface prep to enhance paint adhesion.
- Adjust your gun’s pressure and distance to prevent spray pattern issues.
Addressing these factors helps you achieve a smooth, professional finish and avoids common pitfalls during your DIY project.
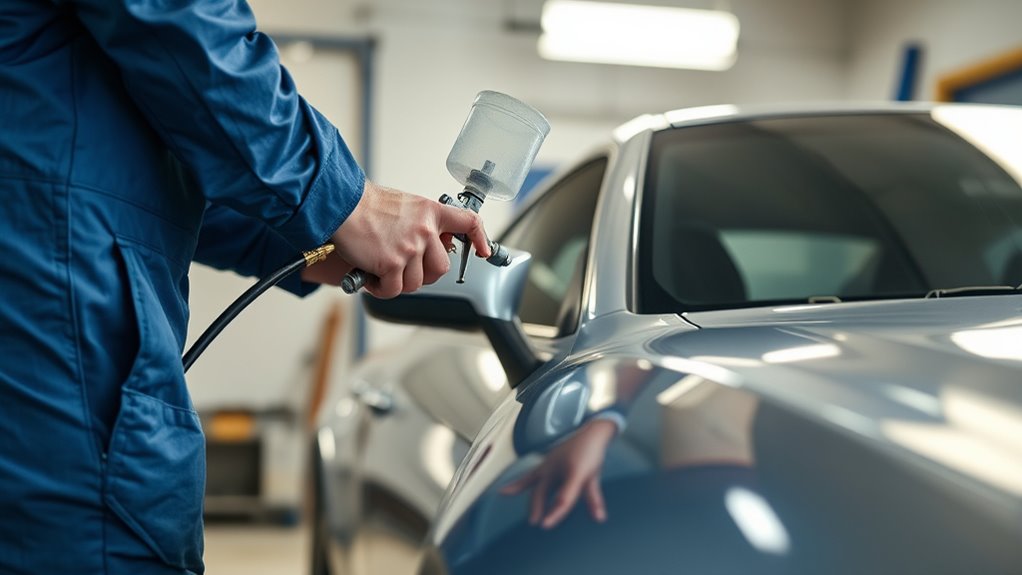
Finishing Touches and Clear Coating
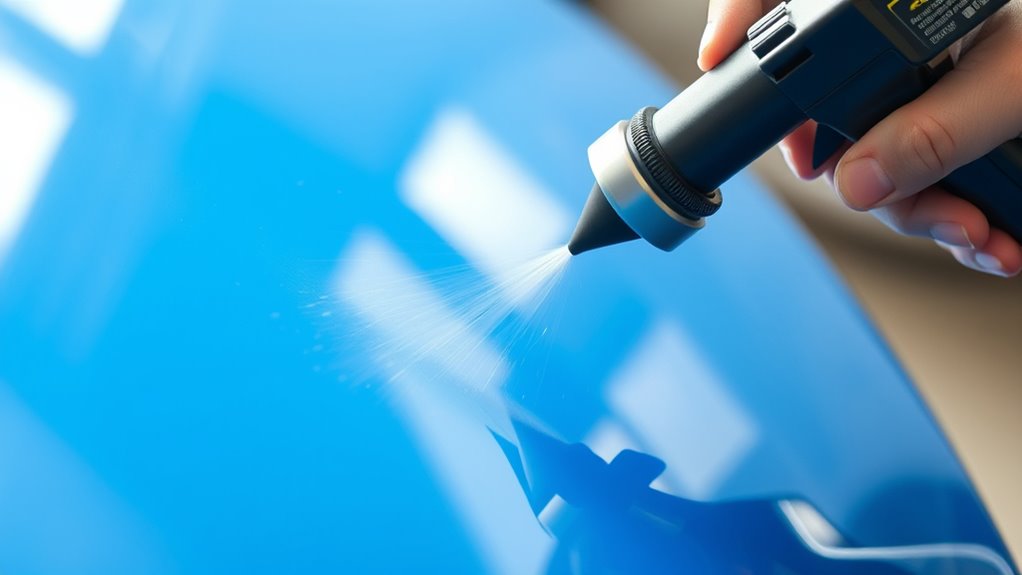
Once you’ve achieved a smooth base coat, finishing touches and clear coating are essential to protect your work and give it a professional look. Start with finishing touches by inspecting your paint for imperfections like dust spots or uneven areas. Use a fine sanding pad if needed, then wipe the surface clean. Next, apply a clear coating to seal and enhance the paint. Hold your HVLP spray gun steadily, maintaining consistent distance and speed to avoid runs or overspray. Apply thin, even layers of clear coat, allowing each to dry thoroughly before adding the next. This process adds depth and durability to your finish. Once the clear coat has cured, you can proceed to polishing if desired, to achieve a glossy, flawless finish.
Maintenance and Cleaning of Your HVLP Equipment
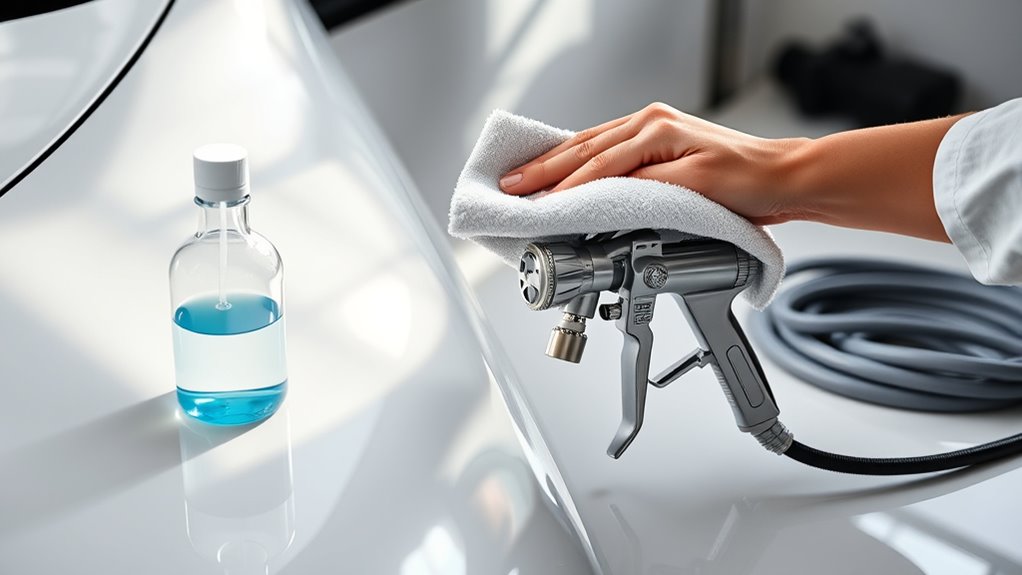
To guarantee your HVLP spray gun performs reliably and produces high-quality finishes, regular maintenance and cleaning are essential after each use. Proper HVLP maintenance ensures your equipment stays in top shape and prevents clogs or damage. When performing equipment cleaning, focus on removing paint residues from the nozzle, air cap, and fluid passages. Neglecting this can lead to inconsistent spray patterns and costly repairs.
Regular cleaning after each use ensures optimal HVLP spray gun performance and long-term durability.
Remember these key points:
- Always disassemble and clean parts thoroughly after each session
- Use appropriate cleaning solvents suited for your paint type
- Check for wear and tear, replacing worn seals or parts promptly
Regular upkeep not only prolongs your equipment’s life but also guarantees smooth, professional results every time you paint.
Frequently Asked Questions
How Long Does It Typically Take to Complete a Full Car Paint Job at Home?
A full car paint job at home usually takes between 2 to 4 days, depending on your preparation steps and drying time. You’ll need time for cleaning, sanding, priming, and applying multiple coats of paint. Each layer needs adequate drying time, which can be a few hours or overnight. Patience guarantees a professional finish, so don’t rush through the process. Proper preparation and allowing enough drying time are key to a successful result.
Can HVLP Sprayers Be Used for Painting Motorcycles or Other Vehicles?
Yes, HVLP sprayers are great for motorcycle paint applications and other vehicles. They provide a smooth, even finish, making them ideal for detailed work on smaller vehicle surfaces. Just guarantee you do proper vehicle surface preparation before painting, removing rust, dirt, and old paint. With the right technique, an HVLP sprayer helps you achieve professional results on motorcycles and various vehicles, whether you’re a beginner or experienced painter.
What Are the Environmental Considerations When Painting a Car at Home?
When you paint a car at home, you should consider indoor air quality, paint waste disposal, and proper ventilation. You’ll want to minimize fumes, use masks or respirators, and guarantee good airflow to protect yourself and others. Dispose of paint waste responsibly, avoiding runoff into soil or water. By taking these steps, you keep your environment safe, reduce pollution, and create a healthier space for everyone involved.
How Do I Achieve a Glossy Finish With HVLP Painting Techniques?
To achieve a glossy finish with HVLP painting techniques, focus on thorough surface preparation first. Sand the surface smoothly and clean off any dust or grease. Use high-quality, well-thinned paint and apply multiple thin coats, allowing each to dry completely. Sand lightly between coats for a smoother surface. Finish with a clear coat for added shine and protection. Proper preparation and layering are key to getting that sleek, glossy look you want.
Are There Specific Brands or Models of HVLP Sprayers Recommended for Beginners?
Imagine holding a precision tool that transforms your project—when choosing a beginner spray gun, look for brands like Wagner, Fuji, or Astro. These models feature easy-to-use controls and reliable spray patterns, perfect for honing your skills. Focus on spray gun features like adjustable flow and nozzle size. With these beginner tips, you’ll find a sprayer that feels like an extension of your hand, making your painting journey smoother and more enjoyable.
Conclusion
With the right tools, preparation, and techniques, you can achieve a professional-looking paint job right at home. Don’t worry about imperfections—practice makes perfect, and even small touch-ups can make your car look stunning. Imagine driving a freshly painted vehicle, proud of your DIY achievement. Just stay patient, follow safety steps, and enjoy the process. Before you know it, you’ll be cruising in a beautifully painted car that you did yourself!

A seasoned painter with over 15 years in the industry, Mike transitioned from hands-on painting projects to the digital world of paint sprayers. His extensive experience gives him a unique perspective on what users truly need when it comes to painting tools. As the Editor in Chief of Paint Sprayer Zone, Mike ensures that every piece of content not only provides value but also reflects the realities of painting — the challenges, the joys, and the intricate details.