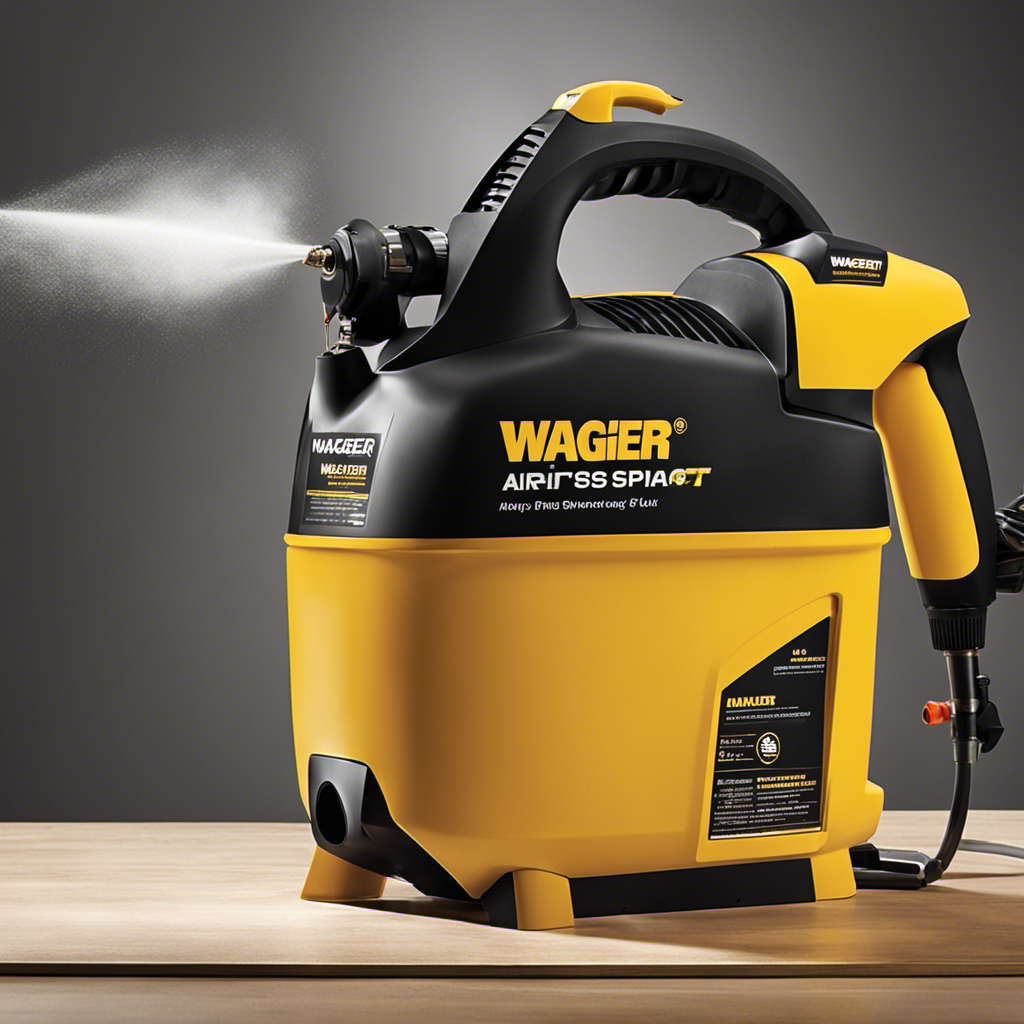
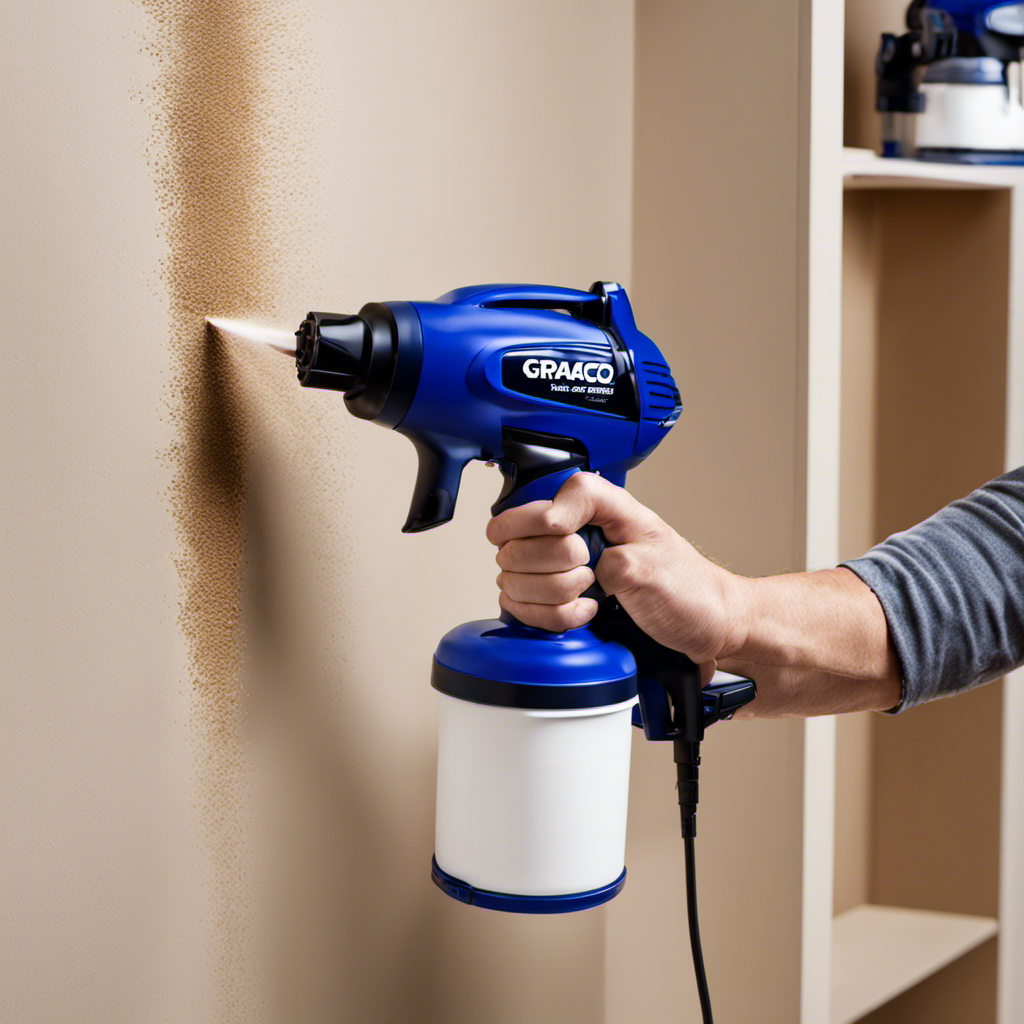
Mastering the Wagner ProCoat Airless Paint Sprayer is essential for achieving excellent painting results.
This versatile tool allows users to effortlessly apply paint to various surfaces with precision and ease.
By understanding the basics of this powerful sprayer, adjusting nozzle pressure, and maintaining a consistent distance, users can ensure an even distribution of paint with minimal overspray and drips.
In this article, we will delve into the techniques and tips for mastering the Wagner ProCoat Airless Paint Sprayer to achieve flawless results every time.
Key Takeaways
- Maintain consistent distance from the surface for even distribution and prevent uneven finish.
- Adjust nozzle pressure and use smooth, steady motions to manage overspray and prevent drips.
- Thoroughly clean and maintain the Wagner ProCoat Airless Paint Sprayer after each use for proper functioning.
- Store the sprayer in a safe, dry place away from extreme temperatures and direct sunlight to prolong its lifespan.
Understanding the Basics of the Wagner ProCoat Airless Paint Sprayer
The user should understand the basics of the Wagner ProCoat Airless Paint Sprayer. This includes adjusting the pressure control knob and maintaining a consistent distance from the surface.
To achieve optimal results, it is crucial to adjust the paint flow according to the desired coverage and to choose the right paint type for the project. By adjusting the pressure control knob, the user can regulate the amount of paint being sprayed. This ensures even application and avoids any wastage.
Additionally, selecting the appropriate paint type is essential for achieving a professional finish. Different surfaces may require different paint formulations, such as latex or oil-based paints.
Understanding these fundamentals will allow the user to achieve smooth and consistent results with the Wagner ProCoat Airless Paint Sprayer.
Adjusting Nozzle Pressure for Optimal Results
To achieve optimal results, users should adjust the nozzle pressure on the Wagner ProCoat Airless Paint Sprayer. This allows them to customize the spray pattern and ensure proper paint application. Adjusting the nozzle pressure is especially important when working with different paint types, as each may require a different level of pressure for optimal coverage. Troubleshooting nozzle clogs and blockages is also crucial for a smooth painting process. Regularly checking and cleaning the nozzle can prevent clogs and ensure consistent paint flow. If a clog does occur, users can try clearing it by using a cleaning solution or a needle to remove any debris. By mastering the art of adjusting nozzle pressure and troubleshooting nozzle clogs, users can achieve professional-quality results with their Wagner ProCoat Airless Paint Sprayer.
| Nozzle Pressure Adjustment Tips |
|---|
| – Start with a low pressure setting and gradually increase as needed |
| – Test the spray pattern on a scrap surface before painting |
| – Adjust the pressure until the desired flow and coverage is achieved |
| – Take note of the recommended pressure range for the specific paint type |
| – Clean the nozzle regularly to prevent clogs and maintain optimal performance |
Achieving a Consistent Distance for Even Paint Distribution
Users can ensure even paint distribution by maintaining a consistent distance from the surface when using the Wagner ProCoat Airless Paint Sprayer. Adjusting paint pressure is essential for preventing an uneven finish.
By holding the sprayer nozzle approximately 12 inches away from the surface being painted, users can achieve a consistent distance and avoid excessive overspray or paint drips. This technique allows for smooth and even coverage, resulting in a professional-looking paint job.
It is important to adjust the nozzle pressure according to the desired paint flow and to move the sprayer in a steady back-and-forth motion to maintain a consistent application. By following these guidelines, users can achieve a flawless finish and prevent any unwanted inconsistencies in their paint distribution.
Managing Overspray and Drips for a Professional Finish
Achieving a professional finish with the Wagner ProCoat Airless Paint Sprayer involves managing overspray and drips through adjusting nozzle pressure, maintaining a consistent distance, and using drop cloths or plastic sheeting. By following these steps, painters can prevent paint buildup and minimize paint waste, resulting in a flawless end result.
Adjusting Nozzle Pressure:
- Properly adjusting the nozzle pressure allows for better control over the spray pattern and reduces the chances of overspray.
- By finding the right balance, painters can achieve a smooth, even application without wasting excess paint.
Maintaining a Consistent Distance:
- Holding the sprayer nozzle at a consistent distance from the surface helps to ensure even paint distribution and prevent drips.
- This technique also minimizes the risk of overspray and helps to create a professional finish.
Proper Cleaning and Maintenance of the Wagner ProCoat Sprayer
The proper cleaning and maintenance of the Wagner ProCoat Sprayer involves thoroughly cleaning the device after each use and storing it in a safe and dry place.
To ensure optimal performance and longevity, it is important to follow a regular maintenance schedule. This includes cleaning the sprayer by flushing it with water or a suitable cleaning solution, removing any paint residue or debris. Additionally, the sprayer’s components should be inspected and cleaned regularly, and any clogs or blockages should be addressed promptly.
Storing the sprayer in a safe and dry place, away from extreme temperatures and direct sunlight, will help prevent damage and maintain its functionality.
Storing the Sprayer for Longevity and Performance
After properly cleaning and maintaining the Wagner ProCoat Airless Paint Sprayer, the next step to ensure its longevity and performance is storing it correctly.
Storing the sprayer in the right way is essential to prevent damage and maintain its functionality. Here are some best practices for storing the sprayer:
-
Find a safe and dry place: Store the sprayer in a location where it is protected from extreme temperatures and direct sunlight. This will help prevent any potential damage to the sprayer and its components.
-
Use storage containers: Consider using storage containers specifically designed for paint sprayers. These containers provide a secure and organized space for storing the sprayer, its accessories, and any additional parts.
Preparing Your Painting Area for Flawless Results
To ensure flawless results, it is important for the user to properly prepare the painting area.
One of the key tips for preventing paint infiltration is to seal off air vents and electrical outlets. This can be done using plastic or tape to cover them completely, ensuring that no paint gets inside and causes any damage. By sealing off these areas, the user can protect both the electrical components and the paint job itself.
It is also a best practice to cover any nearby furniture or flooring with drop cloths or plastic sheets to prevent paint splatters.
Masking Off Areas for Clean Edges and Corners
Masking off areas with painters tape is a crucial step in achieving clean edges and corners during the painting process. It helps to create sharp, defined lines and prevent paint from bleeding onto adjacent surfaces.
To ensure the best results, follow these cleaning tips and consider using paint strainers:
-
Clean the surface to be painted thoroughly to remove any dirt, dust, or grease. Use a mild detergent or TSP (trisodium phosphate) solution to remove stubborn stains or residue. Rinse the surface with clean water and allow it to dry completely before applying the tape.
-
Before pouring paint into the sprayer or roller tray, strain it through a paint strainer to remove any lumps, debris, or impurities. This will help ensure a smooth and even application, preventing clogs in the sprayer and providing a professional finish.
Protecting Furniture and Flooring From Paint Splatters
Furniture and flooring can be protected from paint splatters by covering them with drop cloths or plastic sheets. This preventive measure ensures that the surfaces remain clean and undamaged during the painting process.
By carefully placing the drop cloths or plastic sheets over the furniture and flooring, you create a barrier that catches any accidental splatters or drips of paint. This not only prevents unwanted marks and stains but also saves you the hassle of having to clean up afterwards.
It is important to secure the coverings properly to ensure that they stay in place throughout the painting project. By taking this simple step of protecting surfaces, you can achieve a professional finish while keeping your furniture and flooring safe from paint splatters.
Ensuring Proper Ventilation for a Safe and Comfortable Workspace
Ensuring a safe and comfortable workspace involves proper ventilation. This can be achieved by opening windows and doors or using fans and air purifiers. Adequate ventilation not only helps improve air quality but also plays a crucial role in enhancing paint coverage and preventing paint infiltration.
Here are some key points to consider:
-
Improving Paint Coverage
-
Maintain a consistent distance from the surface for even distribution and prevent an uneven finish.
-
Adjust nozzle pressure and use smooth, steady motions to manage overspray and prevent drips.
-
Preventing Paint Infiltration
-
Thoroughly clean and maintain the Wagner ProCoat Airless Paint Sprayer after each use for proper functioning.
-
Store the sprayer in a safe, dry place away from extreme temperatures and direct sunlight to prolong its lifespan.
Gathering the Essential Materials and Tools for Painting Success
To achieve a professional finish, gather all the necessary materials and tools for painting success.
When preparing surfaces, it is important to choose the right paint for the job. Consider factors such as the type of surface being painted, the desired finish, and the environment in which the paint will be applied.
Different surfaces may require different types of paint, such as latex or oil-based. It is also important to consider the sheen or gloss level of the paint, as this can affect the final appearance.
Additionally, be sure to properly clean and prepare the surfaces before painting to ensure proper adhesion.
Setting Up and Using the Wagner ProCoat Airless Paint Sprayer
In order to master the Wagner ProCoat Airless Paint Sprayer, it is crucial to properly set up and use the equipment.
Start by ensuring the sprayer is unplugged and the pressure control knob is turned counterclockwise to the lowest setting.
Attach the spray gun securely to the hose using the quick connect feature, and tighten all connections.
Remember to review safety precautions, such as wearing goggles and gloves, and working in a well-ventilated area.
Before starting the project, it is recommended to practice and test the spray pattern.
To achieve a professional finish, adjust the paint flow by managing the nozzle pressure and use even strokes with a smooth and steady motion.
Troubleshooting tips include checking for clogs, cleaning or replacing the nozzle and filter, and regularly inspecting and cleaning components according to the manufacturer’s instructions.
Troubleshooting Common Issues and Tips for Smooth Paint Application
The user can troubleshoot common issues and achieve a smooth paint application by regularly inspecting and cleaning the nozzle and filter. They should also check for clogs and follow the manufacturer’s instructions.
To troubleshoot clogs, the user can remove the nozzle and filter. They should clean them thoroughly with water or cleaning solution and reattach them securely. It is important to check for any damage or wear on the nozzle and replace it if necessary.
Additionally, the user should follow the manufacturer’s instructions for proper usage and maintenance of the Wagner ProCoat Airless Paint Sprayer. By implementing these troubleshooting tips and following proper maintenance procedures, the user can ensure a smooth and flawless finish in their paint application.
Frequently Asked Questions
Can the Wagner Procoat Airless Paint Sprayer Be Used for Both Indoor and Outdoor Projects?
Yes, the Wagner ProCoat Airless Paint Sprayer can be used for both indoor and outdoor projects.
When it comes to indoor projects, using an airless paint sprayer has its pros and cons. The pros include faster application, even coverage, and the ability to reach difficult areas. However, overspray and paint mist can be a concern.
To achieve a smooth finish indoors with the Wagner ProCoat Airless Paint Sprayer, it’s important to maintain a consistent distance, adjust nozzle pressure, and use drop cloths or plastic sheeting to manage overspray and drips.
What Types of Paint Are Compatible With the Wagner Procoat Airless Paint Sprayer?
The Wagner ProCoat Airless Paint Sprayer is compatible with a wide variety of paints, including latex, oil-based, and acrylic. It can handle different paint viscosities, allowing for versatility in your projects.
To ensure optimal performance and longevity of the sprayer, it is important to properly clean and maintain it after each use. This involves flushing it with water or cleaning solution and following the manufacturer’s instructions.
Regular cleaning and maintenance will help keep the sprayer in top condition for future painting endeavors.
How Long Does It Typically Take for the Paint Applied With the Wagner Procoat Airless Paint Sprayer to Dry?
The drying time of paint applied with the Wagner ProCoat Airless Paint Sprayer depends on various factors. These factors include the type of paint used, environmental conditions, and the thickness of the application.
Generally, latex paint can dry to the touch within 1-2 hours. On the other hand, oil-based paints may take longer to dry, usually around 6-8 hours. It’s important to follow the manufacturer’s instructions for drying time and allow sufficient ventilation during the process.
Proper application technique is also crucial in expediting the drying process. This includes maintaining an even coat and avoiding heavy buildup. By following these guidelines, you can ensure that your paint dries efficiently and effectively.
Do I Need to Thin the Paint Before Using It With the Wagner Procoat Airless Paint Sprayer?
When using the Wagner ProCoat Airless Paint Sprayer, it’s important to consider whether or not to thin the paint before using it. Thinning paint can help achieve better results with the sprayer, especially if the paint is too thick to properly atomize.
However, it’s not always necessary to thin the paint, as the ProCoat can handle a wide range of viscosities. To determine if thinning is necessary, refer to the paint manufacturer’s instructions or conduct a test spray to ensure optimal performance.
What Is the Warranty on the Wagner Procoat Airless Paint Sprayer and What Does It Cover?
The warranty on the Wagner ProCoat Airless Paint Sprayer varies depending on the model and purchase date. It typically covers defects in materials and workmanship for a certain period of time, such as one year.
The warranty ensures that the sprayer is durable and free from defects, providing peace of mind to the user.
It is important to read the warranty terms and conditions to understand the specific coverage and any limitations or exclusions that may apply.
Conclusion
In conclusion, mastering the use of the Wagner ProCoat Airless Paint Sprayer is essential for achieving professional results. By understanding the basics, adjusting nozzle pressure, and maintaining a consistent distance, users can ensure even paint distribution.
Managing overspray and drips is crucial for a smooth finish. Proper cleaning and maintenance, along with storing the sprayer correctly, will extend its lifespan. With the right materials and tools, setting up and using the sprayer becomes a breeze.
Troubleshooting tips and addressing common issues will make the painting process seamless. So, grab your sprayer and let your creativity flow like a river of vibrant colors.
A seasoned painter with over 15 years in the industry, Mike transitioned from hands-on painting projects to the digital world of paint sprayers. His extensive experience gives him a unique perspective on what users truly need when it comes to painting tools. As the Editor in Chief of Paint Sprayer Zone, Mike ensures that every piece of content not only provides value but also reflects the realities of painting — the challenges, the joys, and the intricate details.
