
To mask light fixtures and ceiling fans quickly, start by turning off the power for safety. Cover fixtures with lightweight, breathable fabric like old sheets or painter’s cloth, secured with removable tape or clips. For fans, turn off and tape around the blades or cover with a plastic bag temporarily. For a seamless look, match covers to room decor and double-check for gaps. Keep going to discover more tips for a flawless finish.
Key Takeaways
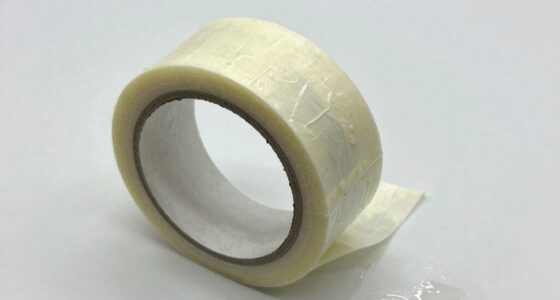
- Turn off power and carefully cover fixtures with lightweight, breathable fabrics secured using painter’s tape or removable adhesives.
- Use foam or custom-cut cardboard to create quick, seamless covers that fit fixtures and fans precisely.
- Seal edges well to prevent paint bleed, ensuring a clean finish and maintaining fixture safety during renovation.
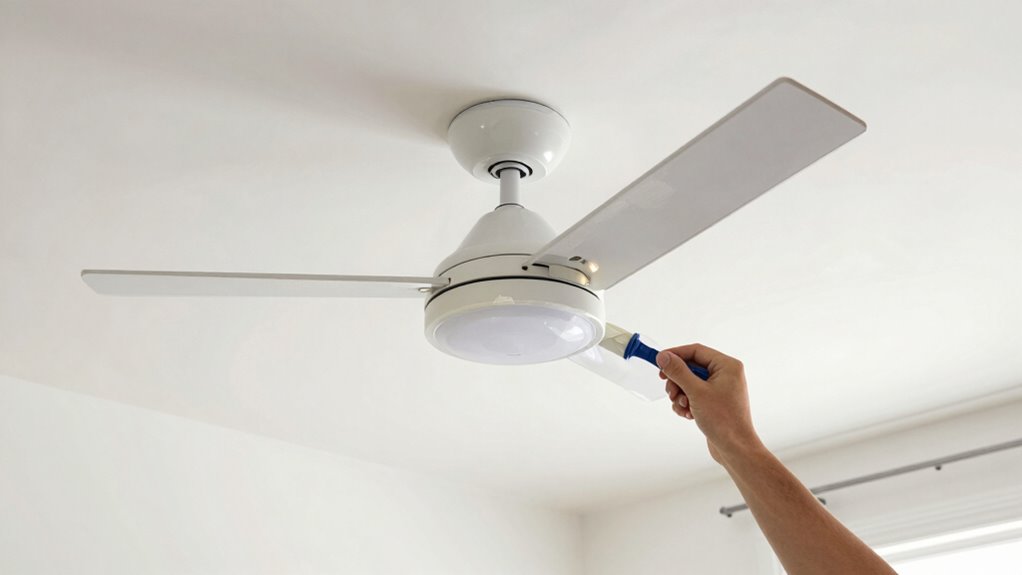
- For ceiling fans, turn off and tape around blades, or temporarily remove blades for easier masking.
- Keep the process quick by pre-cutting materials, using simple adhesives, and performing a final check before painting.
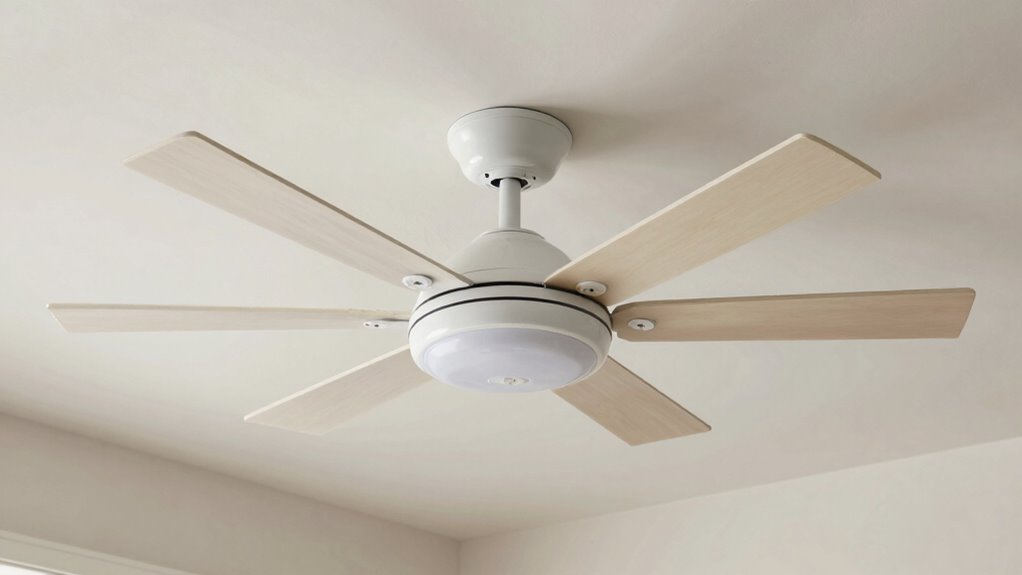
How to Identify Fixtures You Want to Cover

Identifying which light fixtures or ceiling fans you want to cover begins with evaluating their visibility and impact on your space. First, examine the fixture styles—are they modern, traditional, or industrial? Recognizing their design helps determine if they clash with your decor. Use simple identification methods, like noting their location, size, and how much they stand out. Consider how much light they emit or how they affect the room’s ambiance. If a fixture draws too much attention or disrupts your desired aesthetic, it’s a candidate for coverage. Take photos and make notes to compare options later. This process guarantees you target the fixtures that truly need masking, making your project efficient and effective. Additionally, understanding the lighting quality and fixture type can help you choose the most suitable masking method for your space. When selecting masking techniques, consider how contrast ratio influences the perceived quality of the room’s lighting and overall visual harmony. Being aware of energy-efficient lighting options can also contribute to a more sustainable and cost-effective solution for your space. Moreover, considering fixture placement can assist in determining the best approach to conceal or enhance these elements seamlessly. Incorporating lighting controls such as dimmers or smart switches can further optimize your lighting setup and complement your masking efforts.
What Materials Work Best for Covering Lights and Fans
Choosing the right materials to cover your light fixtures and ceiling fans is essential for achieving a seamless look. Fabric coverings are a popular choice because they’re versatile, lightweight, and easy to customize to match your decor. You can select soft, breathable fabrics like cotton or linen for a clean finish. Adhesive solutions, such as double-sided tape or removable adhesive strips, work well to secure fabric coverings without damaging surfaces. These adhesives are simple to apply and remove, making them ideal for temporary masking. Avoid heavy or rigid materials that might be difficult to attach or could cause damage. Stick with flexible, lightweight options that adhere securely yet come off easily when needed. This approach ensures a neat appearance without hassle or mess. Additionally, choosing eco-friendly adhesives can help maintain air quality by avoiding residues that could trap dust or allergens. For added security, consider using removable hooks or clips, which provide an extra layer of hold without damaging the surface. Using appropriate sealing techniques can also help improve the overall finish and prevent fabric from shifting over time. Incorporating proper surface preparation can further enhance adhesion and durability.
Easy Steps to Temporarily Hide Ceiling Fans and Light Fixtures
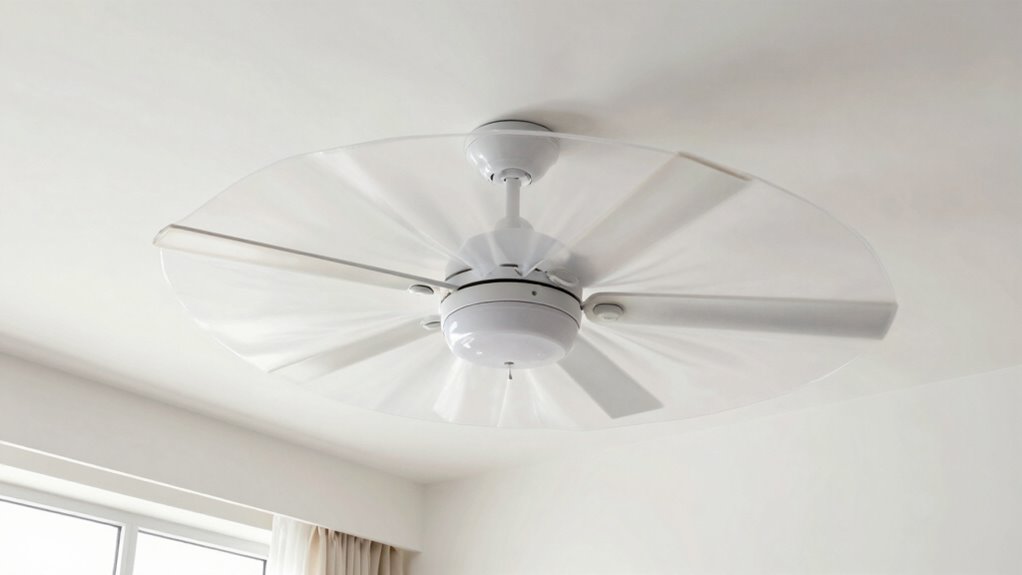
To quickly hide ceiling fans and light fixtures, start by preparing lightweight fabric coverings, such as cotton or linen, and secure them with removable adhesive strips or double-sided tape. This simple method allows you to temporarily enhance your lighting design and improve your home decor without permanent changes. Choose fabrics in neutral colors to blend seamlessly or bold patterns for a decorative touch. Use the table below to plan your approach:
| Step | Tip |
|---|---|
| Select fabric | Light, breathable materials like cotton or linen |
| Secure edges | Use removable adhesive for easy removal |
| Adjust placement | Cover the fixture completely for a tidy look |
| Final check | Ensure fabric stays in place during use |
This quick fix is perfect for last-minute events or seasonal updates. Incorporating outdoor decor elements like fire pits or landscaping can further elevate your space for gatherings. Additionally, consider how lighting fixtures can be temporarily disguised with fabric to create a different ambiance for special occasions. Using rendering lard techniques can be beneficial if you want to add a rustic touch to your decor during seasonal events. It’s also helpful to remember that pinball machines have a rich history and are popular for both collectors and enthusiasts, which can inspire creative decorating ideas when setting up themed spaces. For a more seamless experience, some smart home systems allow you to automate lighting to turn off or dim fixtures during these temporary modifications.
Quick DIY Hacks to Conceal or Improve Your Fixtures
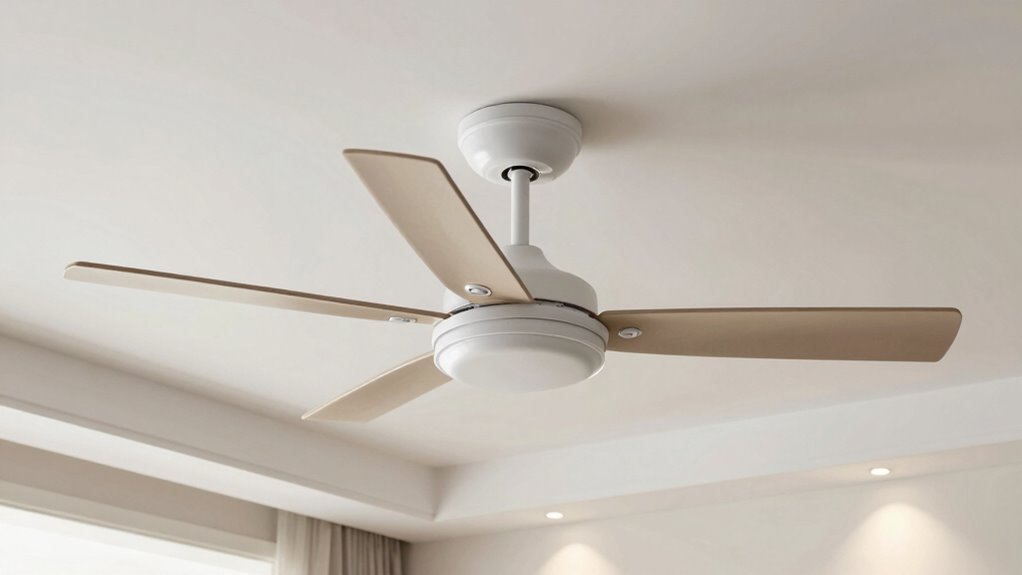
Looking for quick ways to enhance or conceal your light fixtures and ceiling fans? Simple DIY hacks can instantly improve your lighting design or hide less attractive fixtures. For ceiling fan styles, consider attaching decorative covers or fabric shades that blend with your room’s decor. You can also update your light fixtures by applying painter’s tape to create a sleek, uniform look or using adhesive-backed fabric to disguise bulky covers. Installing dimmer switches is another easy upgrade that improves lighting flexibility without major changes. If you want to draw attention away from fixtures, add stylish ceiling medallions or decorative trim around the base. These quick fixes require minimal effort but can substantially elevate your space’s aesthetic and functionality, making your fixtures feel intentional and integrated. Additionally, understanding safe installation practices ensures your DIY improvements are secure and long-lasting. Incorporating proper fixture maintenance can also extend the life and appearance of your lighting elements, ensuring your efforts look great over time. Exploring lighting design principles can help you choose the most effective concealment or enhancement strategies for your space. Properly assessing your room’s lighting needs will guide you in selecting the best solutions for both style and function.
Tips for a Seamless Look and Avoid Common Mistakes
To achieve a seamless look, you need to select the right materials that match your ceiling and fixtures. Proper installation techniques are vital to prevent gaps or crooked surfaces that stand out. Paying attention to these details helps you avoid common mistakes and creates a polished finish. Using appropriate power tools can ensure precise cuts and secure mounting, making the process more efficient and professional-looking. Additionally, understanding lighting fixture types can help you choose the most suitable concealment methods for your space. When planning your project, consulting sizing and load‑planning tools can help you determine the best approach for your specific ceiling and fixture configuration. Incorporating smart home integration techniques can also enhance your concealment solutions by enabling remote control and customization of lighting effects for a cohesive aesthetic. Exploring concealment materials can further improve the final outcome by ensuring durability and compatibility with your existing decor.
Choosing the Right Materials
Choosing the right materials is essential for creating a seamless look when masking light fixtures and ceiling fans. You need options that match fixture styles and offer durability to withstand painting or cleaning. For a clean finish, select materials like painter’s tape, foam covers, or custom-cut cardboard that conform well to various shapes. Confirm the materials have good adhesive qualities without damaging surfaces. Here’s a quick comparison:
| Material | Fixture Compatibility | Material Durability |
|---|---|---|
| Painter’s Tape | Versatile, easy to remove | Moderate |
| Foam Covers | Good for fans, smooth surfaces | High |
| Cardboard | Custom fit, cost-effective | Variable |
Choosing appropriate materials minimizes mistakes and saves time, giving you a professional look every time.
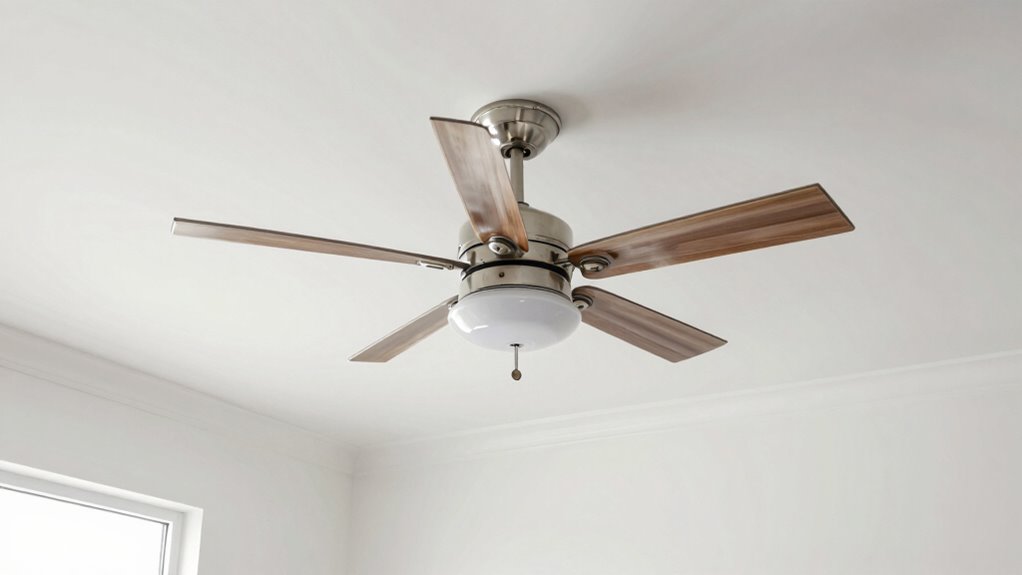
Proper Installation Techniques
Proper installation of masking materials guarantees a clean, professional finish and prevents costly mistakes. To achieve this, start by securely attaching your masking tape or painter’s plastic, ensuring edges are smooth and flush against surfaces. This prevents paint bleed and maintains a seamless look. When covering ceiling fans, turn off the power and carefully tape around the blades, avoiding interference with fixture maintenance or motor safety. Proper sealing also reduces the risk of paint splatters that could complicate fixture cleaning later. Remember, safety comes first—ensure the fan is completely off before working. Avoid rushing, as uneven masking can lead to gaps or smudges. With careful attention, your masking will look flawless, and your fixtures will remain protected, making cleanup faster and safer.
When to Consider Permanent Fixes or Hire a Pro

If your light fixtures or ceiling fans continue to malfunction despite basic troubleshooting, it’s time to contemplate permanent repairs or hiring a professional. Consider warranty considerations before attempting any fixes; if your fixtures are still under warranty, it’s often best to contact the manufacturer for repairs or replacements. Additionally, think about renovation planning—permanent fixes might be necessary if you’re upgrading your space or installing new fixtures. Hiring a pro ensures the job is done safely and correctly, especially for complex electrical issues or code compliance. While masking solutions are quick, they’re temporary. Investing in professional repairs can save you time and prevent future problems, ultimately providing a more reliable and long-lasting solution.
Frequently Asked Questions
Can I Use Wallpaper to Hide Ceiling Fixtures Temporarily?
Yes, you can use wallpaper as a temporary solution to hide ceiling fixtures. Try wallpaper techniques like applying it directly over the fixture or creating a cover that blends with your decor. make certain you choose lightweight, peelable wallpaper for easy removal later. This quick fix works well for short-term needs, giving your ceiling a fresh look without extensive remodeling. Just make sure the fixture is turned off and safely covered before applying wallpaper.
Are There Eco-Friendly Masking Options Available?
Yes, eco-friendly masking options are available. You can use biodegradable masking tape, which minimizes environmental impact and easily peels off without residue. For paints, opt for eco-friendly paints that contain fewer volatile organic compounds (VOCs), reducing air pollution. These options help you protect your fixtures while being environmentally conscious, making your project safer for the planet and healthier for your home.
How Do I Remove Temporary Covers Without Damage?
You can remove temporary covers carefully by gently peeling them off, starting at a corner. Use your fingers or a plastic scraper to lift the cover without tearing it. If you notice any residue, apply a small amount of surface protection cleaner or warm water with mild soap. Avoid harsh chemicals, as they can damage the surface. Always work slowly to prevent damage and preserve the integrity of your surface protection.
What Safety Precautions Should I Take During Masking?
You should wear safety gear like goggles and a mask to protect your eyes and lungs from dust and fumes. Guarantee proper ventilation by opening windows and using fans to disperse airborne particles. Always turn off electrical power before masking fixtures to prevent shocks. Keep your workspace well-lit and organized, and avoid rushing. Taking these precautions keeps you safe and ensures a smooth masking process with minimal risks.
Can Lighting Color Affect the Masking Process?
You notice how warm, soft lighting creates a cozy ambiance, while cool, bright light feels crisp and alert. Yes, lighting color can influence your masking process; warmer tones may make it easier to see edges, while cooler color temperatures might cause glare or reflections that hinder your work. Choosing the right lighting ambiance ensures you can work precisely, making masking quicker and more effective.
Conclusion
Now that you know how to quickly mask your light fixtures and ceiling fans, isn’t it satisfying to transform your space in just minutes? Whether for a temporary fix or a quick refresh, these hacks make it easy to improve your room’s look without much effort. So next time you want a fresh appearance, why not give these simple tips a try? After all, isn’t a beautiful, clutter-free space worth a little creative effort?