
To dial in your sprayer quickly without wasting a gallon, start by filling your tank with water and spraying a fixed, known area, like 100 sq ft. Measure the water used, then divide that volume by the area to get your application rate. Adjust pressure or nozzle settings until your output matches the recommended rate. If you want more tips on perfect calibration techniques, keep going to learn how to fine-tune your sprayer with confidence.
Key Takeaways
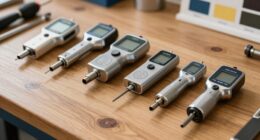
- Use a calibrated calibration tool or chart specific to your sprayer model for quick reference.
- Perform a short, controlled test spray over a known 100 sq ft area to measure water used.
- Adjust pressure or nozzle size based on initial test results to match desired application rate.
- Keep nozzles clean and replace any clogged nozzles promptly to ensure consistent flow.
- Repeat the test as needed to fine-tune settings, minimizing water waste and achieving accurate coverage.
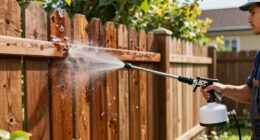
Dialing in a sprayer quickly and accurately is essential to guarantee ideal coverage and minimize waste. When you take the time to calibrate your sprayer properly, you ensure that every drop counts, saving you time, money, and resources. The first step is understanding calibration techniques. These methods involve measuring how much solution your sprayer delivers over a specific area. To do this efficiently, you should fill your tank with water, spray a known area—say, 100 square feet—and then measure how much water was used. Dividing the volume used by the area gives you gallons per 100 square feet, which helps you determine the right application rate. Repeat this process a few times to ensure accuracy, adjusting your settings if needed. This simple, methodical approach eliminates guesswork and ensures you’re applying the correct amount of product each time. Additionally, utilizing innovative calibration tools can further streamline this process and improve precision.
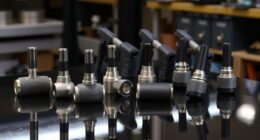
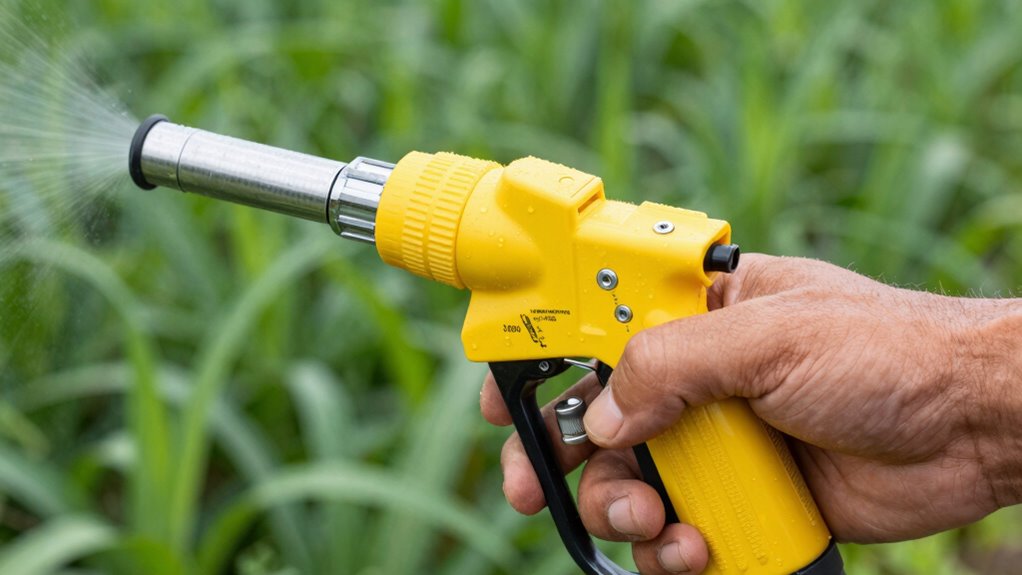
Another critical aspect is nozzle selection. The type of nozzle you use influences droplet size, spray pattern, and flow rate, all of which impact coverage and efficiency. For quick calibration, start by choosing a nozzle suited for your specific application—whether it’s a fine mist for herbicides or a more targeted stream for pesticides. You want a nozzle that delivers a consistent flow and pattern, so your calibration results are reliable. Once you’ve selected the right nozzle, make sure it’s clean and free of clogs, as debris can alter flow rates and spray patterns. Keep spare nozzles handy for quick swaps if needed. Proper nozzle selection combined with regular cleaning ensures the spray pattern remains uniform, reducing the chances of over-application or missed spots.
To speed up the calibration process even further, use a calibration chart or calculator tailored to your sprayer model. These tools streamline the process by providing quick reference points for different flow rates and nozzle sizes, saving you time and reducing errors. When you’re ready to go, double-check your settings, perform a short test spray, and measure the output as described. Adjust your pressure or nozzle selection if the spray isn’t delivering the right amount. This systematic approach allows you to dial in your sprayer swiftly without wasting a gallon of solution.
Ultimately, mastering calibration techniques and choosing the right nozzle are key to fast, precise sprayer setup. They help you achieve consistent coverage every time, minimizing waste and maximizing effectiveness. With these steps, you’ll spend less time fussing over your equipment and more time getting the job done efficiently. By investing a little effort upfront, you’ll prevent costly mistakes and ensure your application is both effective and economical.
Frequently Asked Questions
What Types of Sprayers Are Compatible With This Dialing Method?
You can use various sprayers for this dialing method, especially those with adjustable pressure or flow rate controls. Compatibility with different sprayer types depends on their ability to fine-tune settings through reliable dialing techniques. Make certain your sprayer has a clear, accessible adjustment mechanism, so you can quickly dial in the right settings without wasting product. This approach works best with backpack, handheld, or boom sprayers designed for precise calibration.
How Often Should I Recalibrate My Sprayer?
Think of calibration like tuning a guitar—it needs regular adjustments for perfect sound. You should recalibrate your sprayer at least once each season or after any major maintenance. Regular calibration ensures accurate application rates and prevents waste. Keep up with sprayer maintenance by checking for clogs or leaks monthly, and recalibrate whenever you change products or adjust settings. This helps you save time, money, and guarantees peak spraying performance.
Can This Method Be Used for Liquid Fertilizers?
Yes, you can use this method for liquid fertilizers, but make sure to verify fertilizer compatibility before proceeding. Adjust your sprayer carefully to ensure accurate application rates, considering the specific fertilizer’s properties. Proper sprayer adjustments help prevent wastage and ensure even coverage. Always clean your sprayer thoroughly after switching to fertilizers to avoid clogging or chemical reactions that could affect future calibrations or damage equipment.
What Safety Precautions Are Recommended During Calibration?
Think of calibration procedures as your safety net when working with sprayers. Always wear proper sprayer safety gear like goggles, gloves, and a mask to protect against splashes. Confirm the area is well-ventilated and keep bystanders away. Follow manufacturer instructions carefully, double-check nozzles or parts are damaged, and avoid spraying in windy conditions. These precautions keep you safe and ensure accurate calibration every time you gear up.
Is This Process Suitable for Both Small and Large Sprayers?
Yes, this process suits both small and large sprayers. Proper sprayer maintenance and calibration tools are essential to guarantee accuracy across different sizes. You’ll find that adjusting your equipment with the right calibration tools helps you dial in settings quickly, regardless of sprayer capacity. Just remember to follow safety precautions, wear protective gear, and double-check your calibration to prevent waste and ensure effective application.
Conclusion
Now you know how to dial in your sprayer quickly, accurately, and efficiently. You’ve learned to measure precisely, adjust carefully, and test thoroughly. You’ve discovered how to save time, conserve resources, and improve results. So, get ready to spray confidently, fine-tune constantly, and achieve perfection every time. Because when you master these steps, you maximize your effort, minimize waste, and become a pro at sprayer calibration. Keep practicing, stay precise, and enjoy the perfect spray every time.