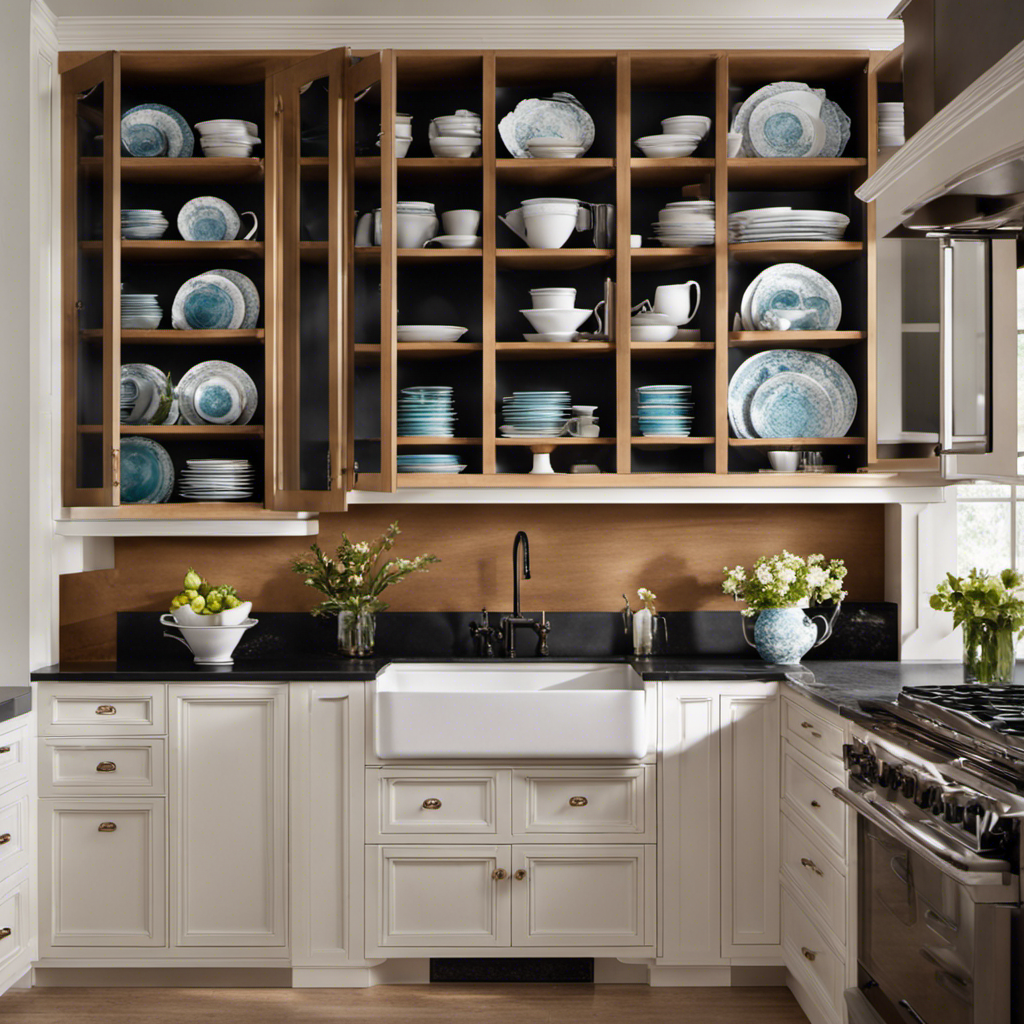
I have always found it challenging to paint the interior of cabinets. The confined space makes it difficult to effectively use a brush or roller, which can make the job quite frustrating.
But then I discovered the magic of an airless sprayer. With this handy tool, painting the insides of cabinets becomes a breeze.
In this article, I’ll walk you through the process step-by-step, from selecting the right sprayer to applying multiple coats for a smooth finish.
Get ready to transform your cabinets with ease!
Key Takeaways
- Selecting the right size and power of airless sprayer is crucial for cabinet painting.
- Proper preparation, including surface cleaning, removing cabinet hardware, and sanding and priming, is essential for a professional-looking finish.
- Cleaning cabinets thoroughly ensures proper paint adhesion and a smooth finish.
- Using a high-quality primer designed for cabinets helps paint adhere better and provides a smooth base for painting.
Selecting the Right Airless Sprayer for Cabinet Painting
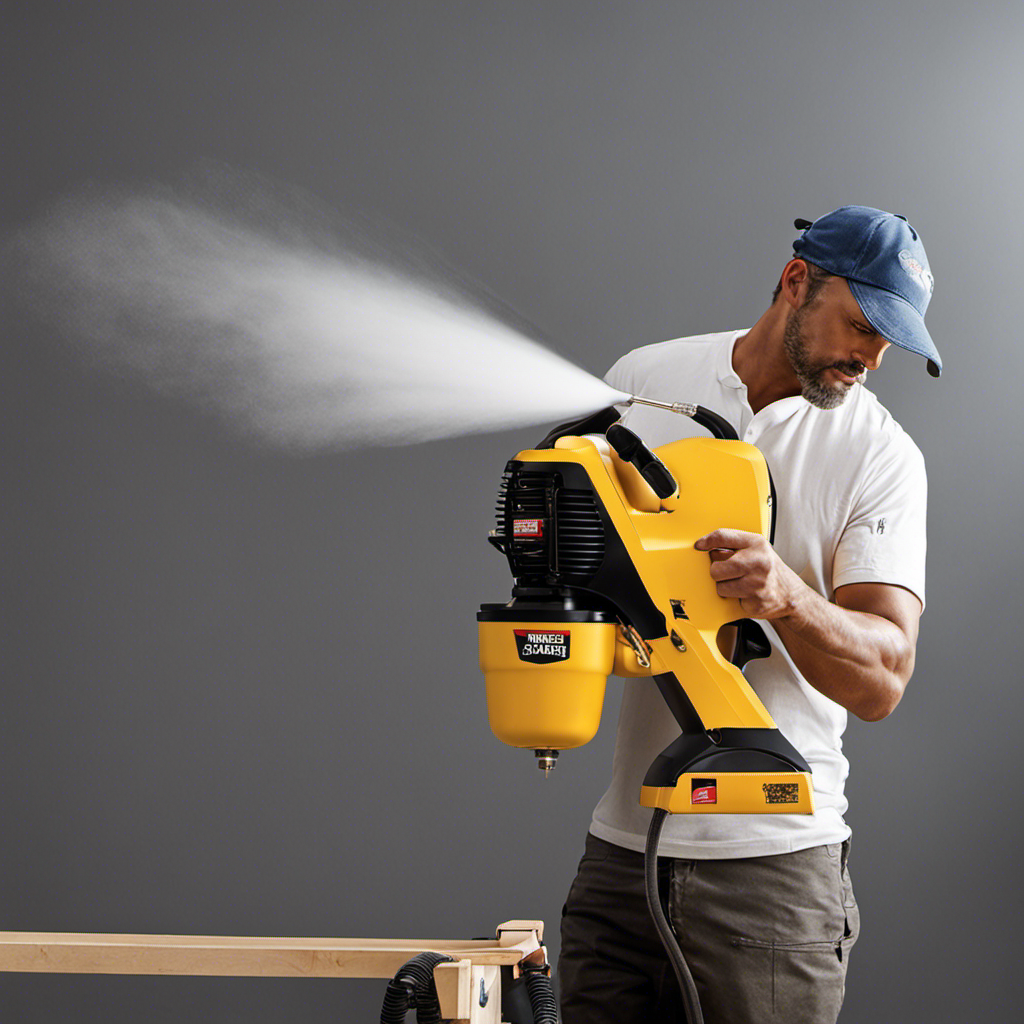
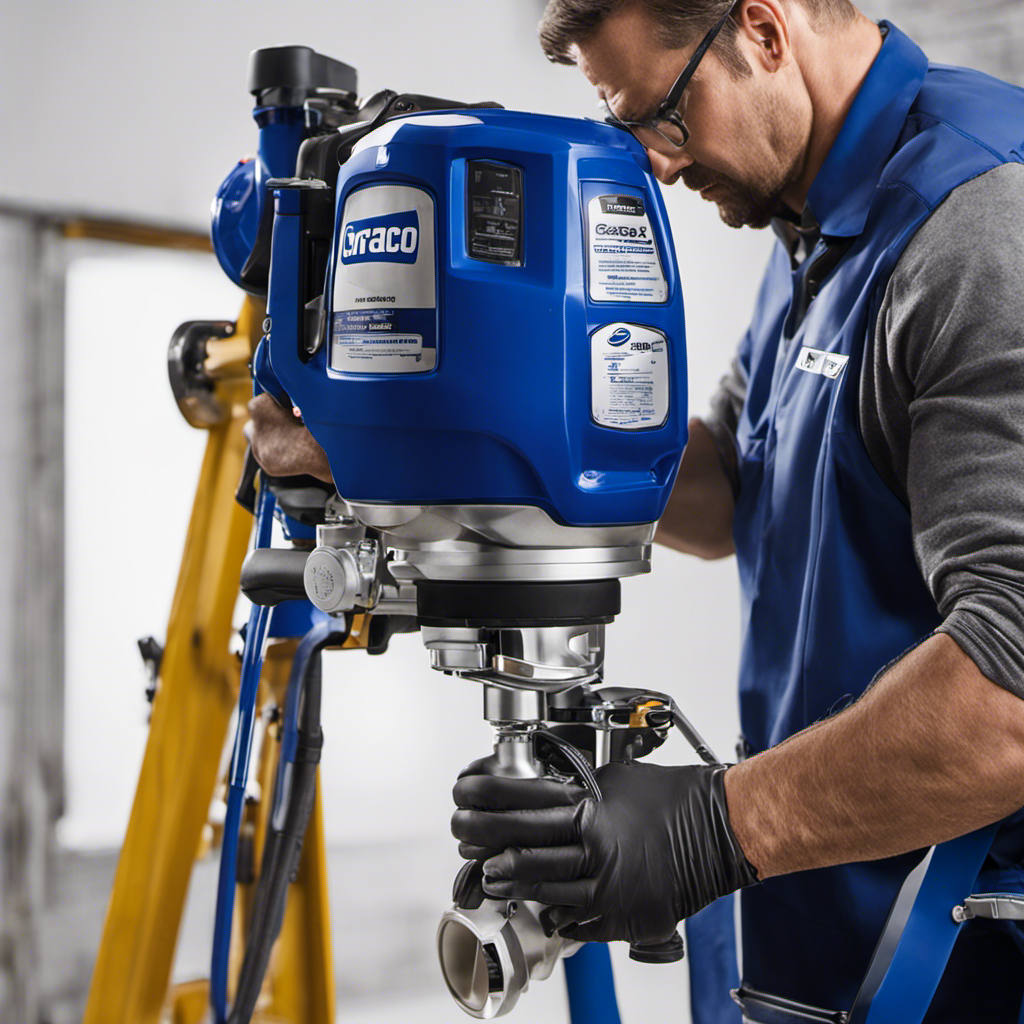
When selecting the right airless sprayer for cabinet painting, it’s important to consider the size and power of the machine.
The size of the sprayer should be appropriate for the cabinets you are painting, ensuring that it can easily fit into tight spaces.
Additionally, the power of the sprayer affects the quality and speed of the paint application. Look for a sprayer that has enough pressure to provide a smooth and even finish.
Another important factor to consider is the sprayer tips. Different tips produce different spray patterns, so choose one that suits your painting needs.
Lastly, make sure the sprayer allows you to adjust the spray pressure, as this will help you achieve the desired thickness of the paint coat.
With the right sprayer, you can now move on to preparing the cabinets for painting.
Preparing the Cabinets for Painting
When it comes to preparing cabinets for painting, there are a few key points to keep in mind.
First, surface cleaning techniques are crucial to ensure a smooth and even paint application.
Additionally, removing cabinet hardware is essential for both ease of painting and to prevent any accidental damage.
Lastly, sanding and priming the cabinets will help to create a solid foundation for the paint to adhere to, resulting in a professional-looking finish.
Surface Cleaning Techniques
To prepare the surface for painting inside your cabinets with an airless sprayer, start by wiping them down with a mild detergent and warm water. This is an essential step in surface preparation as it removes dirt, grease, and any other residues that could affect the adhesion of the paint.
Make sure to thoroughly clean all areas, including the corners and edges. After cleaning, rinse the cabinets with clean water and allow them to dry completely. This will ensure that the paint adheres properly and provides a smooth finish.
Once the cabinets are clean and dry, you can proceed to the next step of removing cabinet hardware, such as handles and knobs, to ensure a seamless paint job.
Removing Cabinet Hardware
After wiping down the cabinets with a mild detergent and warm water, it’s important to remove the cabinet hardware, such as handles and knobs, for a seamless paint job. This step ensures that the paint is applied evenly and avoids any drips or smudges on the hardware.
To begin, I detach the drawer pulls by unscrewing them from the inside of the cabinets. Next, I use a screwdriver to remove the cabinet knobs, being careful not to damage the wood or surrounding areas. By taking the time to remove the hardware, I can paint the cabinets without any obstructions.
Once the hardware is safely stored away, I can move on to the next step of sanding and priming the cabinets.
Sanding and Priming
Once the hardware is removed, I can start sanding and priming the cabinets for a smooth and even paint application. Sanding is an important step to ensure that the paint adheres properly. I recommend using a fine-grit sandpaper to gently roughen the surface of the cabinets. This will remove any existing finish or imperfections.
After sanding, it’s crucial to clean the cabinets thoroughly to remove any dust or debris. Once the cabinets are clean and dry, it’s time to prime them. Priming not only helps the paint adhere better, but it also provides a smooth base for the paint. I suggest using a high-quality primer specifically designed for cabinets. Apply the primer evenly using a paintbrush or roller. Allow it to dry completely before moving on to the next step.
By following these sanding and priming tips, you’ll ensure a professional-looking finish when painting your cabinets.
Now that the cabinets have been sanded and primed, it’s time to move on to the next step of removing hardware and accessories.
Removing Hardware and Accessories
When it comes to removing hardware and accessories from cabinets, two important tasks to consider are detaching cabinet handles and removing door hinges.
The process of detaching cabinet handles involves using a screwdriver to remove the screws securing them in place.
On the other hand, removing door hinges requires unscrewing the hinge plates from both the door and the cabinet frame.
Detaching Cabinet Handles
To detach cabinet handles, you’ll need a screwdriver to remove the screws. Before starting, it’s important to protect the surrounding areas by covering them with a drop cloth or masking tape. This will prevent any accidental damage or paint splatters. Once you have your screwdriver, follow these steps to detach the cabinet handles:
| Step 1 | Step 2 | Step 3 |
|---|---|---|
| Locate the screws holding the handle in place | Use the screwdriver to loosen and remove the screws | Gently pull the handle away from the cabinet |
Removing Door Hinges
Now you’re ready to remove the door hinges by unscrewing them with a screwdriver. Door hinge maintenance is an important step in preparing to paint inside cabinets.
To ensure a smooth and efficient process, it’s crucial to remove the hinges properly. Start by locating the screws that secure the hinges to the cabinet frame. Using a screwdriver, turn each screw counterclockwise until it is loose enough to remove. Be careful not to strip the screws or damage the cabinet surface.
Once all the screws are removed, gently lift the door off the hinges and set it aside. Now that the hinges are detached, you can move on to the next step of cleaning and sanding the cabinet surfaces.
Cleaning and Sanding the Cabinet Surfaces
First, make sure you clean and sand the cabinet surfaces before painting them inside. This step is crucial for proper surface preparation and ensuring a smooth and long-lasting finish.
Here are some essential tips for cleaning and sanding the cabinet surfaces:
- Remove all hardware, such as handles and knobs, before cleaning and sanding.
- Use a mild detergent or degreaser to remove any dirt, grease, or grime from the surfaces.
- After cleaning, allow the cabinets to dry completely before proceeding to sanding.
- Use sandpaper or a sanding block to lightly sand the surfaces. This helps to create a rough texture for the paint to adhere to.
- Be sure to sand in the direction of the wood grain for best results.
Now that the cabinet surfaces are clean and properly sanded, it’s time to move on to applying primer to the cabinet interiors.
Applying Primer to the Cabinet Interiors
When it comes to applying primer to the cabinet interiors, there are two key points to consider: efficient coverage techniques and choosing a suitable primer.
First, it’s important to apply the primer evenly and smoothly to ensure proper adhesion and a professional finish. I’ll discuss some techniques for achieving efficient coverage.
Second, selecting the right primer for the job is crucial in ensuring long-lasting and durable results. I’ll provide some tips on how to choose a primer that is suitable for the type of cabinets you are working with.
Efficient Coverage Techniques
To efficiently cover the inside of your cabinets with paint using an airless sprayer, you’ll want to use smooth and even strokes. This painting technique tip is crucial for achieving a professional finish.
Here are some additional tips to help you with the process:
- Start by cleaning the inside of the cabinets thoroughly to remove any dirt or grease.
- Use masking tape to protect the edges and hinges of the cabinets from paint overspray.
- Adjust the airless sprayer’s pressure to ensure an even flow of paint.
- Hold the sprayer nozzle approximately 8-12 inches away from the surface and move it in a steady, back-and-forth motion.
- Apply multiple thin coats of paint, allowing each coat to dry before applying the next.
By following these techniques, you can ensure a smooth and professional-looking paint job inside your cabinets.
Now let’s move on to choosing a suitable primer for the next step.
Choosing Suitable Primer
Now that you know the importance of choosing a suitable primer, let’s explore some options that will help you achieve the best results.
When it comes to suitable primer options for painting inside cabinets, there are a few to consider. One popular choice is a high-quality bonding primer, which helps to create a strong adhesion between the surface and the paint. Another option is a stain-blocking primer, which is ideal for covering up any stains or discolorations on the cabinet surfaces.
Whichever primer you choose, it’s important to apply it properly for the best results. One of the best primer application techniques is to use a brush or roller to apply a thin and even coat. This will ensure that the primer covers the surface evenly and creates a smooth base for the paint.
Transitioning to choosing the right paint for cabinet interiors…
Choosing the Right Paint for Cabinet Interiors
Choosing the right paint for cabinet interiors can be easier with the help of a color consultant. They can guide you in selecting the perfect paint finish and suggest the best paint brands to achieve a professional and long-lasting result.
Here are some tips to consider when choosing paint for your cabinet interiors:
- Look for a durable and washable finish that can withstand the wear and tear of daily use.
- Consider a semi-gloss or high-gloss finish for easy cleaning and added protection against moisture and stains.
- Opt for a paint brand known for its quality and longevity, such as Sherwin-Williams or Benjamin Moore.
- Take into account the color scheme of your kitchen or bathroom to ensure a cohesive and visually appealing look.
- Don’t be afraid to experiment with bold or contrasting colors to add personality and style to your cabinets.
Now that you have chosen the right paint, let’s move on to setting up the airless sprayer for painting.
Setting Up the Airless Sprayer for Painting
Setting up the airless sprayer is a straightforward process that can be done in a few simple steps. To ensure a successful setup, it’s important to avoid some common mistakes.
First, make sure to thoroughly clean the sprayer and remove any old paint or debris. Next, properly connect the spray gun and hose to the sprayer. Double-check all connections to avoid any leaks or issues during painting. Additionally, be sure to choose the right tip size for the desired finish and adjust the pressure accordingly.
Now that we’ve covered the basics of setting up the airless sprayer, let’s move on to some tips for achieving a professional finish.
Transitioning into the next section, I will show you the proper technique for spraying inside cabinets.
Proper Technique for Spraying Inside Cabinets
To achieve a smooth and even finish, start by applying a thin coat of primer to the interior surfaces of your cabinets. This will help the paint adhere better and provide a more professional look.
When it comes to spraying inside cabinets, there are a few key techniques to keep in mind:
- Hold the sprayer nozzle about 6-8 inches away from the surface for optimal coverage.
- Use a sweeping motion, moving from side to side, to ensure even distribution of the paint.
- Keep the sprayer moving at a consistent speed to avoid buildup or uneven application.
- Pay attention to corners and edges, as they may require extra attention to avoid overspray.
- Regularly clean and maintain your sprayer to prevent clogs and ensure proper functionality.
With these spraying techniques and proper equipment maintenance, you’ll be able to achieve a flawless finish inside your cabinets.
Now, let’s move on to applying multiple coats for a smooth finish.
Applying Multiple Coats for a Smooth Finish
Now that we’ve discussed the proper technique for spraying inside cabinets, let’s move on to applying multiple coats for a smooth finish.
To achieve a professional-looking result, it’s important to apply thin coats of paint rather than one thick layer. This allows for better adhesion and prevents drips and runs. When using an airless sprayer, I recommend using a fine finish nozzle for a more controlled application. This nozzle produces a finer spray pattern, ensuring even coverage and minimizing overspray.
Start by applying a thin coat of paint, making sure to cover all surfaces evenly. Allow each coat to dry before applying the next one. By layering thin coats, you can build up the desired finish gradually without compromising the quality.
Now, let’s move on to drying and curing cabinets after painting.
Drying and Curing Cabinets After Painting
Once the coats are applied, it’s essential to allow the cabinets to fully dry and cure for the best results. Proper drying time is crucial to ensure a durable and long-lasting finish.
To make the most of this post-painting maintenance phase, consider the following:
-
Give the cabinets ample time to dry: Depending on the type of paint used, the drying time can vary. It’s important to follow the manufacturer’s instructions to determine the appropriate drying time for your specific paint.
-
Ensure proper ventilation: Adequate airflow will help speed up the drying process. Open windows or use fans to promote air circulation in the painted area.
-
Avoid touching or moving the cabinets: While they dry, it’s crucial to refrain from touching or moving the cabinets to prevent any smudging or damage to the freshly applied paint.
-
Monitor the curing process: Curing refers to the process of the paint fully hardening. It’s recommended to wait at least 24 to 48 hours before subjecting the cabinets to normal use.
-
Perform regular post-painting maintenance: Once the cabinets have dried and cured, maintain their beauty by regularly cleaning them with a mild soap and water solution.
After ensuring that the cabinets are fully dried and cured, it’s time to move on to the next step: reinstalling hardware and accessories.
Reinstalling Hardware and Accessories
After the cabinets have dried and cured, it’s time to start putting the hardware and accessories back in place. Reinstalling drawer slides is an important step in ensuring smooth and easy access to your drawers. To help you organize your cabinet contents effectively, here’s a handy table to guide you:
| Drawer | Contents | Organization |
|---|---|---|
| 1 | Utensils | Dividers |
| 2 | Pots | Stackable |
| 3 | Pans | Racks |
Frequently Asked Questions
How Do I Choose the Right Airless Sprayer for Painting Inside Cabinets?
When choosing an airless sprayer for painting inside cabinets, I consider the size, pressure range, and nozzle options. It’s important to maintain and troubleshoot the sprayer regularly to ensure smooth operation and a professional finish.
What Is the Proper Technique for Spraying Inside Cabinets With an Airless Sprayer?
When spraying inside cabinets with an airless sprayer, the proper technique is crucial. Here are some tips and tricks: prep the surface, use a steady motion, maintain the correct distance, and apply multiple thin coats for better coverage.
How Do I Apply Multiple Coats for a Smooth Finish When Painting Inside Cabinets?
To apply multiple coats for a smooth finish when painting inside cabinets, I start by applying primer and allowing it to dry. Then, I use sanding techniques between each coat to ensure a smooth and even surface.
How Long Do Cabinets Need to Dry and Cure After Painting With an Airless Sprayer?
After using an airless sprayer to paint inside cabinets, I wondered how long they needed to dry and cure. The cabinet drying time and airless sprayer drying process are important factors for a successful finish.
What Is the Process for Reinstalling Hardware and Accessories Onto Cabinets After Painting With an Airless Sprayer?
To reinstall hardware and organize accessories after painting with an airless sprayer, start by carefully removing any existing hardware. Then, clean and polish the hardware before attaching it back onto the cabinets. Finally, organize and arrange the accessories to your liking.
Conclusion
In conclusion, painting the inside of cabinets with an airless sprayer can be a game-changer for achieving a professional finish. With the right sprayer and proper preparation, you can transform your cabinets with ease.
Remember to remove hardware, clean and sand surfaces, apply primer, and follow the correct spraying technique. Applying multiple coats will ensure a smooth, flawless result.
Once dry and cured, you can reattach hardware and accessories, and enjoy your newly painted cabinets. So go ahead, grab that sprayer and give your cabinets a fresh, updated look!
Franz came aboard the Paint Sprayer Zone team with a background in both journalism and home renovation. His articulate writing style, combined with a passion for DIY projects, makes him an invaluable asset. Franz has a knack for breaking down technical jargon into easy-to-understand content, ensuring that even the most novice of readers can grasp the complexities of paint sprayers.
