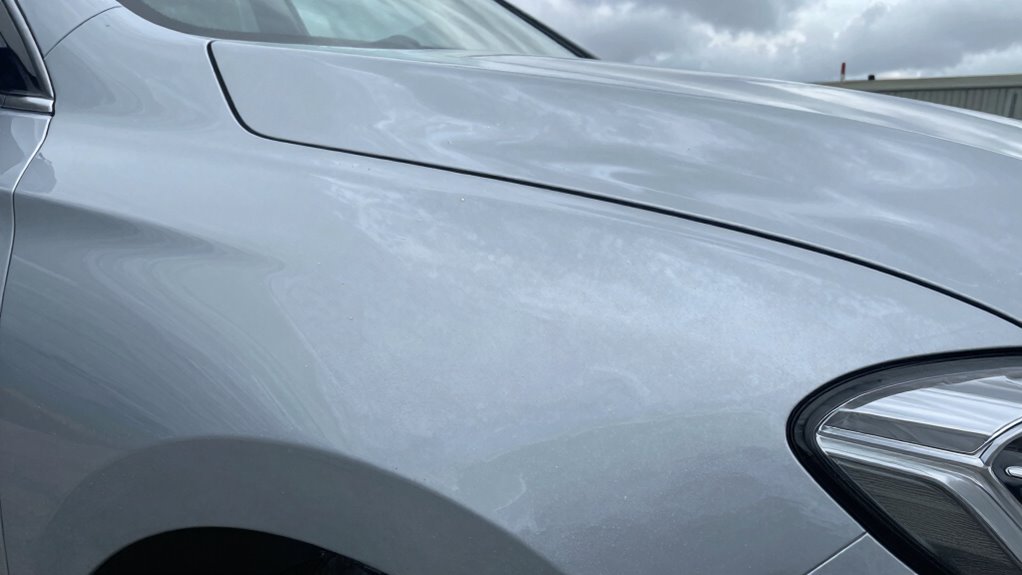
Cloudy finishes often stem from improper temperature, humidity, or flash times during application and curing. Ideally, keep your workspace at 70-75°F with 40-50% humidity for the best results. Fluctuations can cause solvent entrapment, haziness, or dull spots. Adjusting environmental conditions and following proper flash times help prevent these issues. If you want to master flawless finishes despite challenges, there’s more to contemplate to ensure your project turns out perfect.
Key Takeaways
- Inadequate temperature control (70-75°F) can cause uneven curing, leading to cloudiness or haziness in the clear coat.
- Excess humidity slows solvent evaporation, trapping moisture and causing a cloudy or hazy finish.
- Applying coats too thick or with insufficient flash time prevents proper solvent escape, resulting in cloudiness.
- Environmental fluctuations during application disrupt chemical reactions, leading to surface clouding or dullness.
- Proper surface prep, consistent environmental conditions, and correct flash times are essential to prevent cloudy finishes.
What Are the Ideal Temperature and Humidity Levels for Clear Coat Finishes
To achieve a flawless clear coat finish, maintaining the right temperature and humidity levels is vital. Ideal conditions typically range between 70-75°F (21-24°C) with humidity levels around 40-50%. When temperatures are too low, paint additives may struggle to activate, resulting in poor adhesion and reduced finish durability. Conversely, excessive heat can cause the clear coat to cure too quickly, leading to runs or a cloudy appearance. Humidity that’s too high can trap moisture, causing cloudiness or adhesion issues, while very low humidity can accelerate drying, increasing the risk of cracking. Maintaining these conditions guarantees the paint additives work effectively, promoting a smooth application and a durable, clear finish. Proper environmental control is essential for achieving professional, long-lasting results. Temperature and humidity control are critical factors that influence the curing process and the final appearance of the finish. Additionally, fluctuations outside the ideal environmental conditions can result in inconsistent curing, affecting the overall quality of the finish. Being aware of environmental factors can help prevent issues such as bubbles or haziness in the final coat.
How Temperature and Humidity Affect Your Clear Coat’s Curing Process
Temperature fluctuations can cause uneven curing or finish imperfections, so maintaining a steady environment is vital. Humidity levels influence how quickly your clear coat dries and bonds, affecting the final look. Knowing the ideal conditions helps you achieve a smooth, durable finish every time. Additionally, monitoring air quality and ensuring proper ventilation can prevent issues like bubbles or cloudiness in the finish.
Impact of Temperature Fluctuations
Fluctuations in temperature and humidity can markedly influence how your clear coat cures. Temperature sensitivity plays a critical role in the curing process, as rapid or uneven shifts can cause the finish to crack, peel, or develop cloudiness. When temperatures swing too high or drop suddenly, the chemicals in your clear coat may not react properly, compromising its finish durability. Consistent temperatures ensure a smooth, even cure, resulting in a glossy, durable surface. If the environment is unstable, you risk creating a finish that’s prone to imperfections and reduced longevity. To achieve the best results, keep your workspace temperature steady and within the manufacturer’s recommended range, minimizing the impact of fluctuations and guaranteeing your clear coat cures properly. Additionally, understanding free floating effects can help you better manage environmental conditions to optimize your coating’s performance.
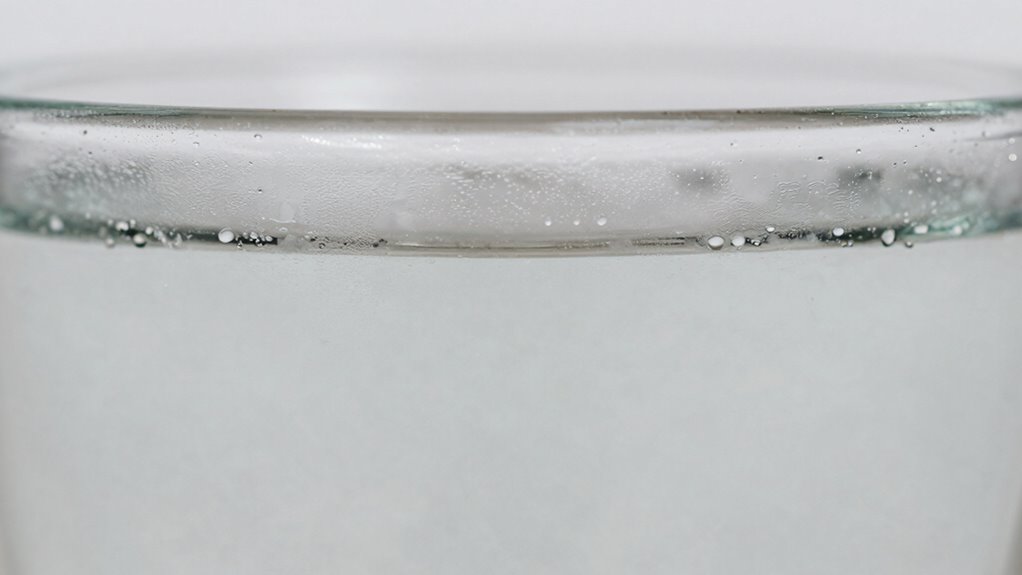
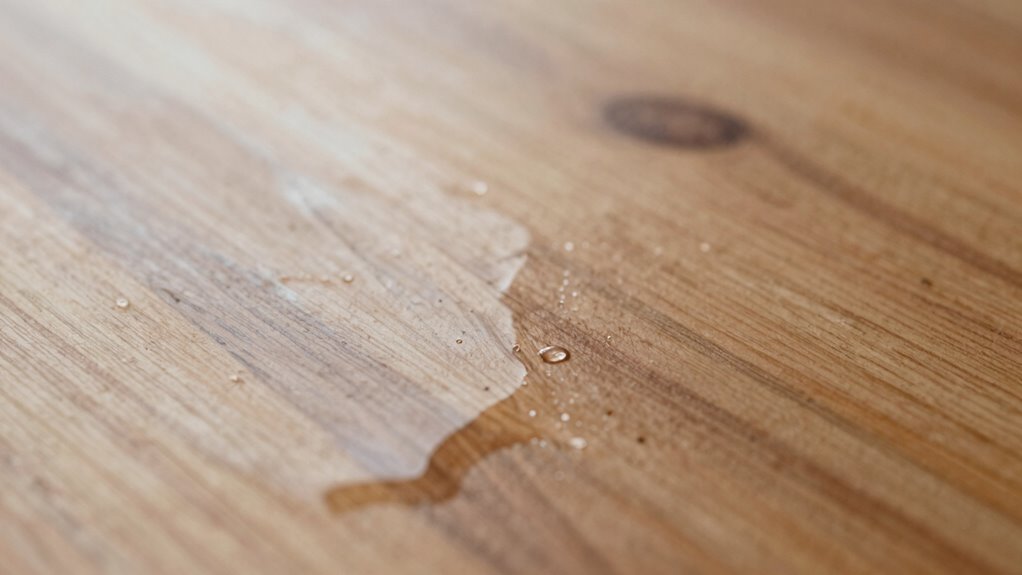
Humidity’s Role in Curing
Humidity profoundly influences how your clear coat cures, as high moisture levels can interfere with chemical reactions and cause issues like cloudiness, sags, or extended drying times. Excess humidity hampers paint adhesion by preventing proper film formation and can lead to a hazy or uneven finish. To guarantee a smooth cure, surface preparation is vital; make sure the surface is clean, dry, and free of moisture. When humidity is high, it slows down solvent evaporation, increasing the risk of trapped moisture that can cause cloudiness. Monitoring ambient humidity and using dehumidifiers or proper ventilation helps control moisture levels. Proper surface preparation is essential for ensuring quality results. By managing humidity, you improve surface preparation, promote better paint adhesion, and achieve a clear, professional-looking finish. Additionally, understanding the curing process can help you anticipate and mitigate potential issues related to environmental conditions. Controlling ambient temperature alongside humidity further optimizes the curing environment for a flawless finish. Maintaining suitable environmental conditions is crucial for consistent, high-quality results. Implementing humidity control methods can significantly reduce curing problems and improve overall finish quality.
Optimal Conditions for Finish
Achieving a flawless clear coat finish depends heavily on maintaining the right environmental conditions during application and curing. Ideal conditions involve a temperature range around 70-75°F and controlled humidity levels, which promote proper solvent evaporation and curing. Too cold or too hot can hinder UV resistance, leading to a less durable finish. Consistent temperature ensures better solvent compatibility, preventing issues like cloudiness or cracking. Adequate ventilation helps control humidity, avoiding moisture entrapment. When conditions are favorable, your clear coat cures evenly, maximizing UV resistance and achieving a smooth, glossy appearance. Proper environmental conditions, including temperature and humidity, are essential for optimal curing and long-lasting results. Maintaining environmental control during the process helps your finish cure properly, avoiding issues like uneven gloss or adhesion problems, and guarantees your clear coat performs as intended over time. Additionally, understanding how creative storytelling can be incorporated into branding strategies can help enhance your overall project presentation and market appeal. Proper planning of your environment can also reduce the risk of flash issues that compromise the final finish.
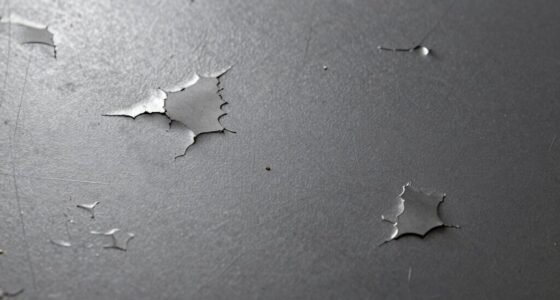
Signs Your Clear Coat Is Cloudy or Hazy During Application
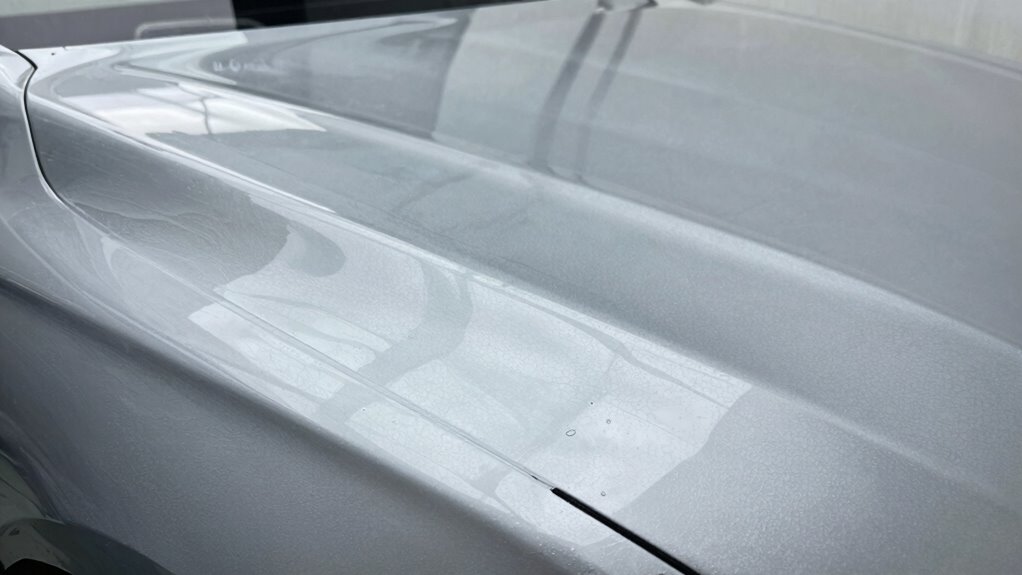
If your clear coat appears cloudy or hazy during application, excess humidity might be be the culprit, causing moisture to get trapped. Improper application techniques, like uneven spraying or rushing the process, can also lead to a hazy finish. Recognizing these signs early helps you take steps to fix the issue before it worsens. Additionally, monitoring environmental conditions such as temperature and humidity can help prevent these problems during application. Being aware of indoor air quality factors can further improve your results and help you achieve a smooth, clear finish. Ensuring proper air circulation during application can also significantly reduce the risk of trapping moisture and creating a cloudy appearance. Regularly checking and maintaining proper air purifier functioning can also contribute to a cleaner, more controlled environment that supports quality finishes. Moreover, staying informed about market trends and how environmental factors influence outcomes can help you adapt your techniques for better results.
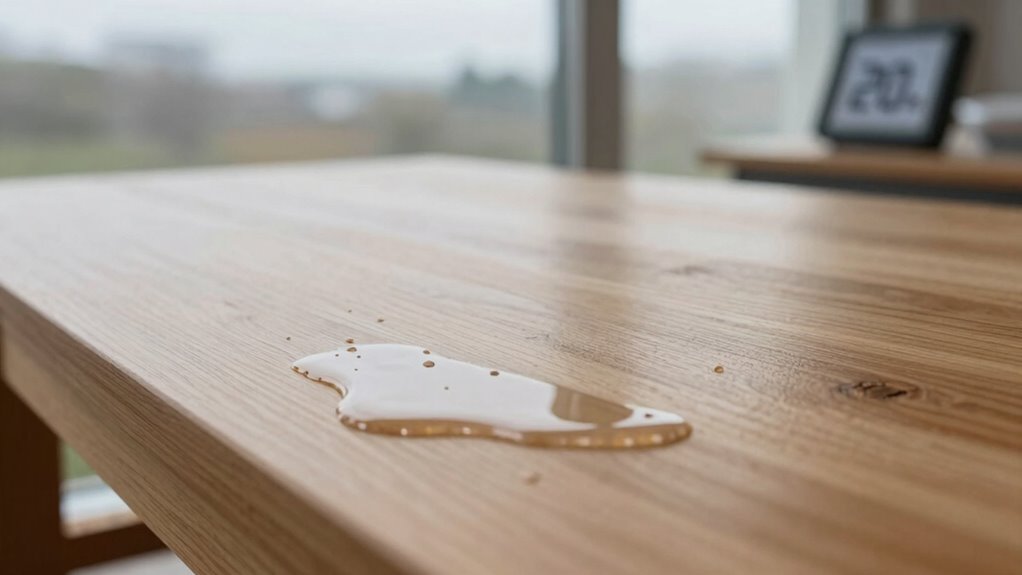
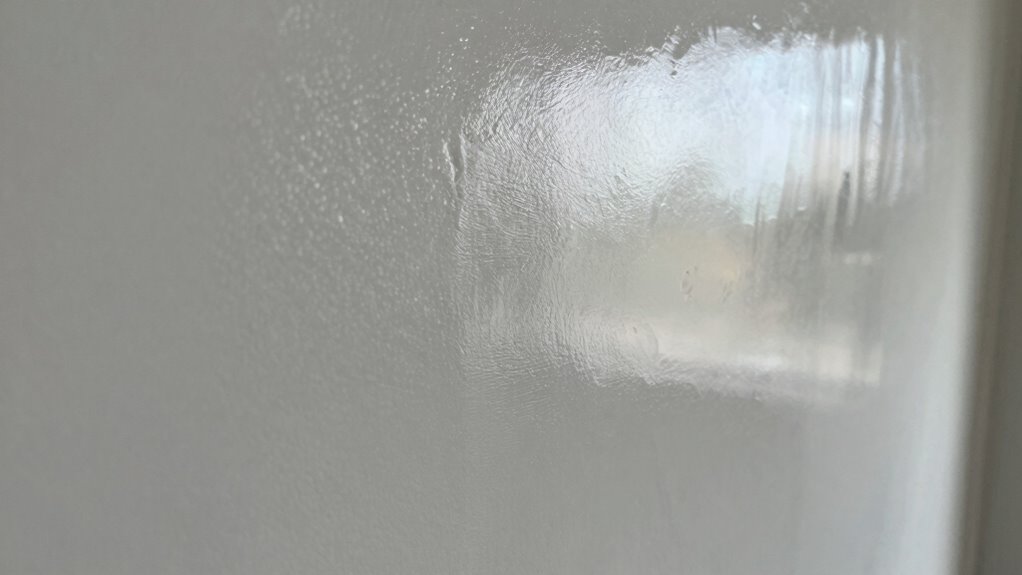
Excess Humidity Effects
When excess moisture is present during application, your clear coat may develop a cloudy or hazy appearance. This happens because humidity interferes with the paint’s ability to cure properly, affecting the overall finish. If the surface wasn’t thoroughly prepared or the paint thickness is inconsistent, moisture can easily become trapped, making the haze more noticeable. High humidity slows down evaporation, causing the solvents to linger and leading to a cloudy look. To prevent this, ensure proper surface preparation and maintain ideal humidity levels. Pay attention to the paint’s application environment, and avoid applying when moisture levels are too high. Addressing humidity issues early helps achieve a smooth, clear finish without unwanted cloudiness or haziness. Utilizing connected equipment and monitoring environmental conditions can help optimize the application process and ensure a high-quality, long-lasting finish. Additionally, understanding the impact of environmental factors on curing can help you better control the process and avoid common pitfalls. Being aware of humidity’s effect on drying time can further assist in timing your application for optimal results. Regularly checking environmental conditions ensures that you’re working within the ideal parameters for a flawless finish.
Improper Application Technique
Cloudy or hazy streaks during application often indicate improper technique. If your surface isn’t properly prepared, contaminants or rough patches can cause uneven coverage and cloudiness. Make sure to sand and clean the surface thoroughly before applying the clear coat. Additionally, paint compatibility is essential—using incompatible products can lead to hazy finishes. Always verify that your clear coat is suitable for the underlying paint and previous layers. Applying too thickly or rushing the process can trap solvents or air bubbles, resulting in a cloudy appearance. Maintain consistent spray or brush strokes, and follow manufacturer instructions carefully. Proper surface preparation and ensuring paint compatibility are key steps to achieving a smooth, clear finish without haze during application.
How to Check Your Workshop’s Environment Before Painting
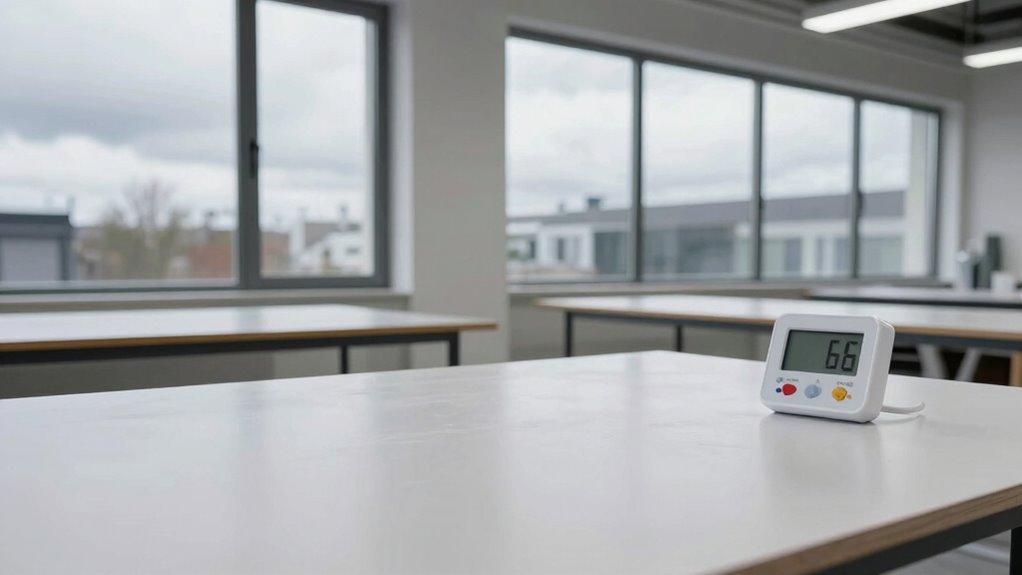
Before starting to paint, it’s essential to assess your workshop’s environment to guarantee ideal results. Proper environmental monitoring helps verify conditions support proper paint drying and prevent issues like cloudiness. Begin by checking temperature and humidity levels with a reliable thermometer and hygrometer. Aim for a consistent temperature between 65-75°F and humidity around 40-50%. Avoid drafts or sudden temperature swings, as these can disrupt the drying process. Ensure good ventilation without introducing dust or rapid airflow. Inspect your workspace for dust, moisture, or contaminants that could affect paint adherence. Taking these steps ensures your environment is suitable for painting, reducing the risk of cloudiness or uneven finish caused by unsuitable conditions during the paint drying process.
Tips for Adjusting Temperature and Humidity to Prevent Cloudiness
To prevent cloudiness, you need to keep your workspace at the right temperature and humidity levels. If it’s too hot or too humid, your finish can become cloudy or uneven. Adjusting these conditions carefully will help you achieve a smooth, clear result every time.
Maintain Optimal Temperature
Maintaining the right temperature and humidity levels is essential for preventing cloudiness in your finish. Keep your workspace between 65-75°F to guarantee proper curing and *ideal* UV resistance, which helps preserve gloss retention over time. Avoid rapid temperature fluctuations, as they can cause uneven drying and clouding. Use a reliable thermometer and humidity gauge to monitor conditions closely. If the environment gets too warm or humid, consider using fans or dehumidifiers to stabilize the air; if it’s too cold, use heaters carefully to raise the temperature without creating drafts. Consistent conditions allow the finish to cure evenly, reducing the risk of cloudiness and *ensuring* your final coat maintains its clarity, shine, and durability.
Control Humidity Levels
Controlling humidity levels is essential for preventing cloudiness in your finish. Proper humidity control helps guarantee your coatings dry evenly and clear up without clouding. To achieve this, monitor the ambient humidity and use a dehumidifier or humidifier as needed. Keep the environment’s temperature regulation consistent because fluctuating temperatures can cause moisture to condense, leading to cloudiness. Aim for a relative humidity between 40-50% for ideal results. If humidity rises, increase ventilation or use desiccants to draw moisture out. When it drops too low, add moisture with a humidifier. Maintaining stable temperature and humidity levels creates ideal conditions, reducing the risk of finish clouding and ensuring a smooth, clear finish.
Why Flash Times Matter for a Smooth, Clear Finish
Proper flash times are essential because they directly affect the final look of your finish. If you rush, you risk uneven paint thickness, leading to sags or rough spots. Waiting too long can cause dust settling or poor UV protection, affecting durability. The right flash time allows solvents to evaporate, ensuring a smooth, clear coat. Consider this table:
| Ideal Flash Time | Result |
|---|---|
| Too short | Runs, uneven texture, compromised UV protection |
| Proper | Smooth, even finish, optimal UV protection |
| Too long | Dust settling, dull appearance |
| Just right | Clear, glossy surface, even paint thickness |
Pay attention to flash times to achieve a flawless, professional finish that resists environmental damage.
Managing Flash Times in Different Environmental Conditions
Environmental conditions such as temperature, humidity, and airflow can substantially influence your paint’s flash time. When it’s hot or humid, flash times may be longer, risking over-application or uneven curing. Cooler, drier conditions typically speed up flash, but may cause the finish to cure too quickly, affecting UV resistance and gloss retention. To manage these variations, monitor your environment closely and adjust your working time accordingly. Use fans or dehumidifiers to control airflow and moisture levels, ensuring consistent flash times. Properly managing flash time helps maintain the paint’s durability, preserving UV resistance and gloss retention over time. By understanding how environmental factors impact flash, you can optimize your application process for a smooth, clear, and resilient finish.
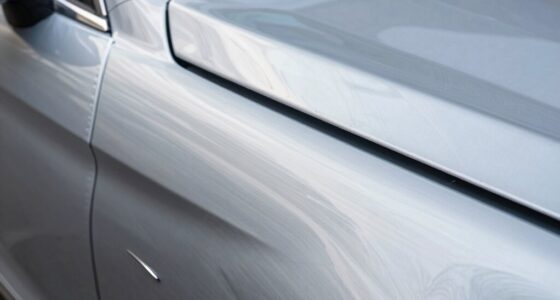
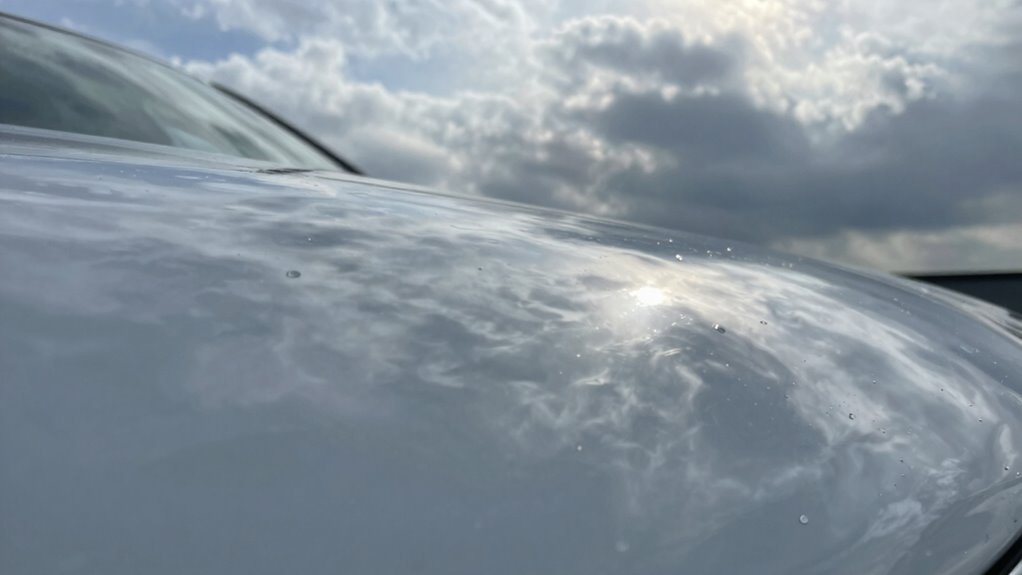
Troubleshooting Cloudy or Hazy Finishes: Causes and Fixes
Cloudy or hazy finishes often result from issues during the application or curing process, and identifying the root cause is essential for effective troubleshooting. Poor surface preparation can trap dust, oils, or moisture, causing haziness and disrupting color consistency. Make certain your surface is thoroughly cleaned, sanded, and free of contaminants before applying finish. Inconsistent application techniques, such as uneven coats or over-brushing, can lead to cloudiness. Also, check your environment—humidity and temperature fluctuations can cause the finish to cure improperly. If you notice a haze, assess whether the surface was properly prepared and if application conditions were ideal. Correcting surface preparation and maintaining consistent application and curing conditions are key to achieving a clear, transparent finish with consistent color.
Tools and Techniques to Achieve a Clear Coat in Challenging Conditions
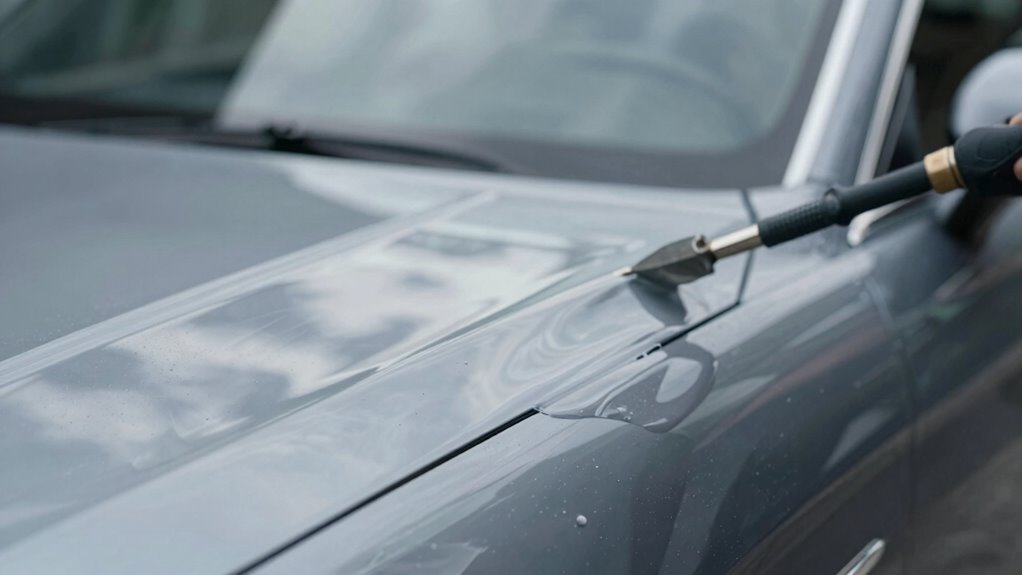
Achieving a clear, flawless finish in challenging conditions requires using the right tools and techniques to control application variables. First, guarantee proper surface preparation by cleaning, sanding, and priming to promote even paint flow and adhesion. Second, focus on color matching to prevent mismatched hues that can highlight flaws, especially under variable lighting or humidity. Third, choose high-quality spray guns and reducers suited for your environment, adjusting technique based on temperature and humidity. Use a well-maintained spray gun with consistent passes to minimize overspray and runs. Proper surface prep and color matching help reduce imperfections, while advanced tools ensure even application. Mastering these techniques allows you to achieve a clear coat that resists cloudiness despite challenging conditions.
When to Seek Professional Help for Persistent Finish Issues
While mastering tools and techniques can help you improve your finish, some issues persist despite your best efforts. If your finish lacks durability or paint adhesion remains problematic, it’s time to seek professional help. Persistent finish issues often stem from underlying problems like improper surface preparation or environmental factors you might not control alone. Professionals can diagnose these root causes and recommend solutions that ensure better paint adhesion and longer-lasting results. Ignoring ongoing problems risks compromising the durability of your finish and leading to costly repairs later. If your attempts don’t resolve issues like cloudiness, peeling, or uneven gloss, consulting a professional ensures you get expert guidance. Recognizing when to ask for help saves you time, money, and the frustration of dealing with unresolved finish problems.
Frequently Asked Questions
How Does Ambient Light Influence the Appearance of a Clear Coat?
Ambient light considerably influences your visual perception of a clear coat’s appearance. Bright, natural light enhances the gloss and clarity, making the finish look more vibrant and smooth. Conversely, dim or uneven lighting can create shadows or dullness, hiding imperfections or making the surface appear less glossy. So, when evaluating your clear coat, always check it under consistent, ideal ambient light to accurately assess its true finish.
Can Specific Paint Brands Perform Better Under Varying Environmental Conditions?
Yes, certain paint brands can perform better under varying environmental conditions, especially regarding paint durability. You should choose brands known for their adaptability and quality. Proper application techniques, like applying in suitable weather and following manufacturer instructions, also boost performance. By selecting the right brand and applying it correctly, you guarantee a durable, high-quality finish that withstands different environmental factors, giving you a professional and lasting result.
What Are Common Mistakes That Lead to Cloudy Finishes Despite Proper Environment?
Poor preparation produces pesky problems. Application errors, like applying paint too thickly or unevenly, and surface contamination, such as dust, grease, or moisture, often cause cloudy finishes despite proper conditions. You might neglect to clean surfaces thoroughly or rush the application process. Always guarantee surfaces are spotless and follow recommended techniques. By avoiding these mistakes, you’ll achieve a smooth, clear finish that lasts and looks professional.
How Do Different Types of Clear Coats React to Temperature Fluctuations?
Different types of clear coats react differently to temperature fluctuations. Urethane clear coats, for instance, rely on chemical curing, so sudden temperature changes can affect their adhesion and cause cloudiness or cracking. Water-based clear coats may peel or bubble if temperatures drop too low during application. To guarantee a smooth finish, maintain stable temperatures, avoid rapid shifts, and follow manufacturer guidance for ideal curing and adhesion.
Are There Post-Application Techniques to Improve Clarity if Issues Arise?
Did you know buffing techniques can reduce clear coat haze by up to 40%? If issues with clarity pop up after application, you can improve the finish by carefully buffing the area with a fine polish. Additionally, proper curing methods—like controlled temperature and humidity—help enhance clarity. Always confirm the coat has fully cured before buffing, and use gentle pressure to avoid damaging the finish.
Conclusion
Remember, maintaining the right temperature, humidity, and flash times isn’t just a detail—it’s the difference between a flawless finish and a cloudy mess. Think of your workspace as the stage where your masterpiece unfolds; if the environment isn’t right, even the best tools can’t save the show. Pay close attention, adjust diligently, and don’t hesitate to seek professional help if needed. After all, a perfect finish isn’t just luck—it’s your careful craft.