To clear a clogged inlet strainer, first shut down the system and isolate it to guarantee safety. Carefully remove the strainer and clean the screen with a brush or compressed air to remove debris. Inspect the inlet pipe for damage or leaks. Reinstall the strainer correctly and restart the system, then monitor its flow and pressure to confirm everything’s working smoothly. If issues persist, there are further steps to help ensure your system stays efficient.
Key Takeaways
- Turn off the pump and depressurize the system before removing the inlet strainer.
- Locate and carefully remove the strainer, noting its installation orientation for proper reinstallation.
- Clean the strainer screen thoroughly using a brush or compressed air to remove debris and buildup.
- Inspect the inlet pipe for damage or leaks, and reassemble the strainer securely to prevent leaks.
- Restart the system and monitor flow rate and pressure to ensure the clog has been cleared and performance restored.
A clogged inlet strainer can disrupt equipment performance and lead to costly repairs if not addressed promptly. When you notice a drop in flow rate or abnormal vibrations, it’s a clear sign that your inlet strainer might be blocked. This situation calls for immediate pump maintenance and system troubleshooting to guarantee your system runs smoothly. Ignoring the issue can cause the pump to work harder, increasing energy consumption and risking damage to internal components.
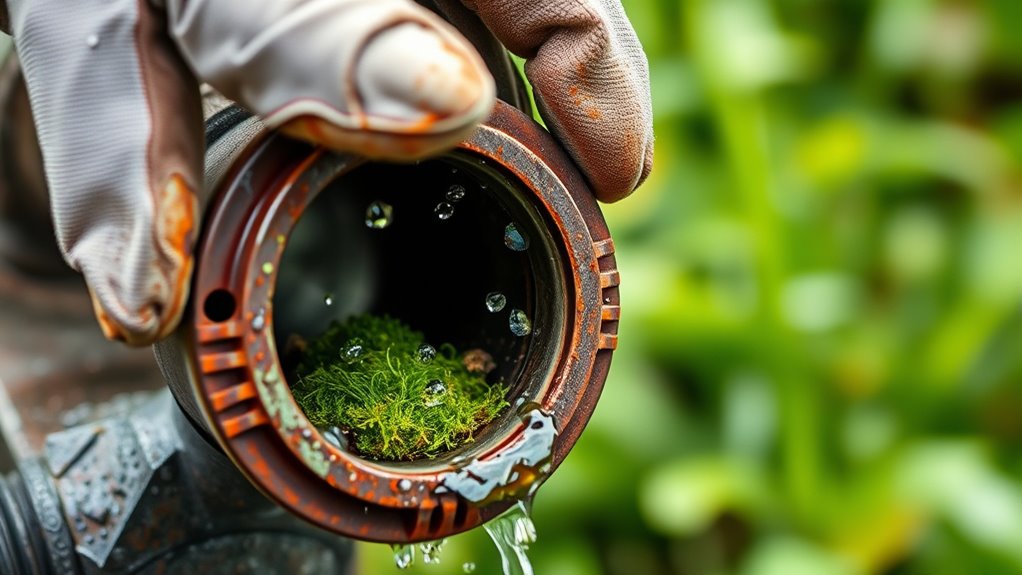
Start by turning off the pump and isolating the system. Safety is vital, so follow lockout-tagout procedures to prevent accidental startup. Once the system is depressurized, locate the inlet strainer. Depending on your setup, it might be accessible from the pump’s suction side or through a dedicated access point. Carefully remove the strainer screen, noting how it’s installed, so you can put it back correctly later. You’ll want to inspect the screen for debris, dirt, or buildup that’s obstructing water flow. If the strainer is visibly clogged, cleaning it thoroughly is your next step. Use a brush or compressed air to remove dirt and particles, ensuring no residue remains that could cause future blockages.
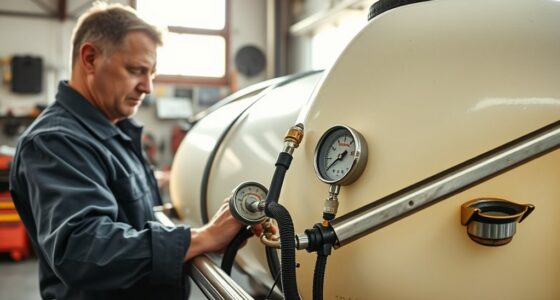
While the strainer is off, check the inlet pipe for any signs of damage or leaks. This is part of system troubleshooting—sometimes, issues aren’t limited to the strainer but involve other components of the inlet system. Once cleaned, reinstall the strainer carefully, making sure it’s seated properly to prevent leaks. Turn the system back on and observe the flow rate and pressure gauges. If flow improves and the system stabilizes, you’ve likely resolved the clog. If not, further investigation is needed, possibly indicating deeper issues like pipe restrictions or pump wear.
Regular pump maintenance is vital to prevent future clogging. Schedule routine inspections and cleanings, especially if your system handles debris or particulate matter. Installing a larger or more efficient strainer can also reduce the frequency of clogs. During troubleshooting, don’t overlook subtle signs like fluctuating pressure or inconsistent flow, which can point to partial blockages or other system inefficiencies. Address these issues early to avoid more serious damage down the line. Additionally, understanding the importance of contrast ratio can help you evaluate the overall system performance and ensure optimal operation.
Frequently Asked Questions
How Often Should I Inspect the Inlet Strainer?
You should inspect the inlet strainer at least once a month to maintain peak performance. Your inspection schedule might need to be more frequent if you operate in a dusty or debris-filled environment. Regular inspections help identify clogs early, reducing maintenance frequency and preventing system damage. Keep an eye on pressure gauges and flow rates, and clean the strainer promptly when you notice any decline in performance.
Can a Clogged Inlet Strainer Cause System Damage?
A clogged inlet strainer can indeed cause system damage if overlooked. It restricts water flow, forcing pumps and other components to strain harder, which could lead to overheating or failure. Regular inlet strainer maintenance is your best defense, preventing costly system damage. By keeping the strainer clear, you ensure smooth operation and prolong your equipment’s lifespan—don’t wait until trouble strikes; stay proactive now.
What Tools Are Best for Cleaning the Strainer?
You should use a brush or a cloth for strainer maintenance and cleaning techniques. A soft-bristled brush helps remove debris without damaging the mesh, while a cloth can wipe away dirt and buildup. For stubborn grime, gently rinse the strainer with water. Always guarantee the strainer is dry before reinstalling it to prevent rust. Regular cleaning with the right tools keeps your system running smoothly and prevents clogs.
Is It Safe to Bypass the Inlet Strainer Temporarily?
It’s like walking a tightrope—you shouldn’t bypass the inlet strainer temporarily without careful thought. While it might seem convenient, doing so can pose safety risks, as debris could enter the system and cause damage. Always consider safety considerations first, and only implement a temporary bypass if you’re confident it won’t compromise system integrity. Consult your equipment manual or a professional before making such changes to avoid costly problems.
What Signs Indicate a Failing Inlet Strainer?
You’ll notice signs like reduced flow rate, increased pump noise, or frequent system shutdowns, indicating a failing inlet strainer. Check the strainer material for visible damage or clogging, and remember that regular replacement frequency depends on your system’s usage and water quality. If you see debris buildup or corrosion, it’s time to replace the strainer to prevent system issues and guarantee ideal performance.
Conclusion
Regularly checking and cleaning your inlet strainer can prevent costly repairs, saving you time and money. Did you know that clogged strainers cause up to 30% of pump failures? By staying proactive, you keep your system running smoothly and avoid unexpected downtime. Just a quick inspection every few months can make all the difference. Keep your equipment in top shape, and you’ll enjoy reliable performance without the hassle.