To achieve a professional and clean finish, you should start by painting the ceiling first, followed by the walls, and then finish with the trim. This sequence helps prevent smudges, drips, and overlaps, ensuring sharp edges and crisp lines. Waiting the appropriate drying time between coats is also key to avoiding smudges and uneven finishes. If you keep these steps in mind, you’ll create a polished look—plus, there’s more to contemplate for perfect results.
Key Takeaways
- Start with the ceiling to create a clean base and prevent drips on walls and trim.
- Paint walls second to establish the main color and facilitate sharp trim edges later.
- Finish with the trim for crisp lines and to avoid smudges or overlaps on finished surfaces.
- Follow proper drying times between coats to ensure a smooth, durable finish.
- Planning the sequence enhances color coordination, reduces rework, and results in a polished look.
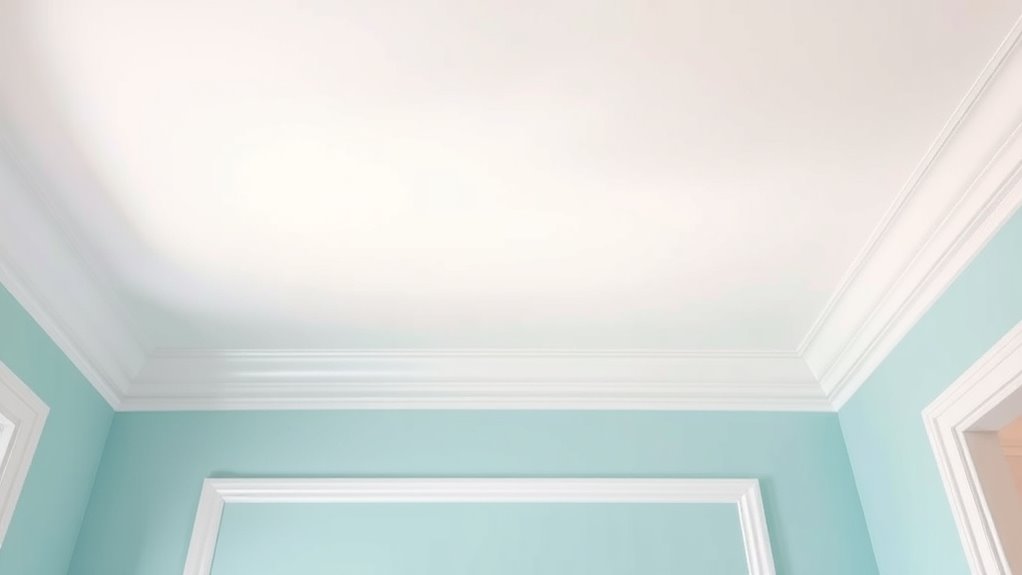
When painting a room, following the correct order guarantees a smooth, professional finish and minimizes touch-ups later. One of the most important considerations is understanding the best sequence—whether to paint the ceiling, walls, or trim first. This order affects not only the quality of your work but also the overall efficiency of the project. Starting with the ceiling is generally recommended because it provides a clean base for the walls and trim. Once the ceiling is painted, you can focus on the walls, followed by the trim. This sequence helps prevent drips and splatters from marring already finished surfaces.
Allowing sufficient paint drying time between each step is vital. Rushing through layers can lead to smudges or uneven finishes, forcing you to redo sections. Keep in mind that paint drying time varies depending on the type and thickness of the paint, as well as environmental conditions like humidity and temperature. Waiting for each coat to dry fully assures cleaner lines and a more polished look. For example, latex paints typically dry within a few hours, but it’s wise to wait at least 24 hours before applying subsequent coats or handling the surface extensively. Oil-based paints may take longer, sometimes up to 48 hours. Patience here pays off by reducing the risk of smudges and allowing for better paint adhesion.
Patience with drying times ensures a flawless finish and better paint adhesion.
Color coordination is another key factor influencing your choice of painting order. When selecting colors, consider how they’ll interact, especially if you’re using contrasting shades for the trim and walls. Painting the ceiling first with a neutral or light color allows you to accurately see how the other colors will complement or contrast with it. If your trim will be painted a bold or dark color, doing the walls first can help you achieve sharp, clean edges later when painting the trim. This approach also helps you visualize the overall color scheme and make adjustments if needed before committing to the final layers. Additionally, incorporating natural light into your planning can help you see true color effects during your painting process.
Ultimately, the best order is to start with the ceiling, then paint the walls, and finish with the trim. This sequence minimizes smudges, makes color coordination easier, and results in a more professional appearance. Remember to be patient with drying times, don’t rush the process, and plan your project carefully. With proper planning and execution, your room will look stunning with crisp lines and seamless color transitions.
Frequently Asked Questions
Can I Paint All Surfaces at the Same Time?
You can paint all surfaces at the same time if you carefully plan your work. Start with surface preparation techniques like cleaning and taping, then choose your paint color coordination wisely to avoid smudges or mismatched shades. To guarantee a smooth finish, paint from the ceilings down to the trim, working in sections. This approach saves time and helps you achieve a cohesive look across all surfaces.
How Do I Prevent Paint Drips on Adjacent Surfaces?
To prevent paint drips on adjacent surfaces, use masking techniques like painter’s tape to protect areas you don’t want painted. Apply your paint carefully, using a high-quality brush or roller, and work in manageable sections. Keep a damp cloth nearby to catch any drips immediately, and remove the tape while the paint is still slightly wet. This approach guarantees clean lines and minimizes paint drip prevention issues.
What Tools Are Best for Painting Ceilings Versus Walls?
Imagine a smooth, even ceiling—your best tools are a roller with a long handle and a brush for edges. For walls, you’ll want a roller with different nap lengths to cover large areas quickly, plus a sturdy angled brush for corners. Ceilings benefit from a roller with a thicker nap for texture, while walls need a smoother roller. Using the right brushes and rollers guarantees a flawless finish every time.
How Long Should I Wait Between Coats?
You should wait about 2 to 4 hours between coats, but check the drying time on your paint can, as it varies with paint thickness and humidity. Thicker coats take longer to dry, so if you applied a heavy layer, give it extra time. Make certain the surface feels dry to the touch before applying the next coat to avoid smudges or uneven finish.
Is It Necessary to Prime Before Painting?
Priming prior to painting provides perfect preparation, preventing peeling and ensuring vibrant, long-lasting results. It’s often necessary because primer necessity depends on surface condition and paint type. If your wall’s damaged, stained, or slick, primer enhances adhesion and coverage. Skipping primer can cause uneven color and compromised durability. So, for professional, polished paint preparation, always consider priming — it’s a vital step to guarantee a gorgeous, lasting finish.
Conclusion
So, next time you embark on this painting adventure, remember the golden rule: start with the ceiling, then the walls, and finally, the trim. Otherwise, you’ll end up with paint splatters on freshly painted surfaces, turning your room into a modern art masterpiece—if that’s your thing. Follow this order, and you’ll avoid the chaos and keep your sanity intact. After all, who needs a paint-covered mess when you can have a flawlessly finished room?

Franz came aboard the Paint Sprayer Zone team with a background in both journalism and home renovation. His articulate writing style, combined with a passion for DIY projects, makes him an invaluable asset. Franz has a knack for breaking down technical jargon into easy-to-understand content, ensuring that even the most novice of readers can grasp the complexities of paint sprayers.