When your paint sprayer clogs mid-project, start by checking the paint’s thickness and thinning it if needed. Turn off the sprayer and clean the nozzle and spray tip with a brush or pin. Inspect and clean or replace filters, and examine hoses for obstructions or kinks. Flushing the system with water or thinner can also clear blockages. Keep your equipment maintained to prevent future clogs—learn more tips to keep your project flowing smoothly.
Key Takeaways
- Turn off the sprayer and disconnect it from power before starting cleaning procedures.
- Remove and inspect the nozzle and spray tip; clear any dried paint with a brush or pin.
- Check and clean filters and hoses for debris, damage, or blockages to restore proper flow.
- Flush the system with water or thinner, depending on paint type, until it runs clear.
- Regularly maintain the sprayer by thinning paint properly and cleaning after each use to prevent future clogs.
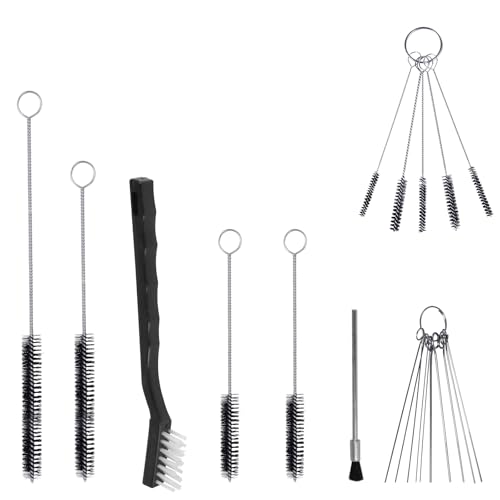
17pcs Multi-Purpose Spray Gun Cleaning Kit,Nylon Brushes Paint Gun Cleaning Kit Mini Brushes & Needles for Clean Airbrush Nozzles Spray Guns Tattoo Equipment (17)
★ This handy spray guns cleaning kit is all you need to keep your spray guns clean and…
As an affiliate, we earn on qualifying purchases.
As an affiliate, we earn on qualifying purchases.
Identifying the Cause of the Clog

When your paint sprayer starts clogging, the first step is to determine what’s causing the blockage. Check the paint consistency; if it’s too thick or uneven, it can hinder proper flow and create clogs. Thin out the paint if necessary, following manufacturer recommendations. Next, look for airflow restrictions—obstructions in the air vent or hose can limit airflow and cause the sprayer to clog. Ensure all vents are clear and hoses are free of kinks or debris. Also, inspect the filter for buildup or blockages, as these can restrict airflow and affect spray quality. Regular maintenance and awareness of your equipment’s resources and tools can help prevent future clogs and ensure a smooth project. Being aware of common issues and troubleshooting techniques can further minimize downtime. Additionally, using the proper filtration and pump protection components can significantly reduce the risk of clogs and improve overall spray performance. Incorporating knowledge of project-specific settings can also optimize efficiency and reduce the likelihood of interruptions. Understanding how equipment maintenance impacts performance can help you identify potential problems early and maintain optimal operation.
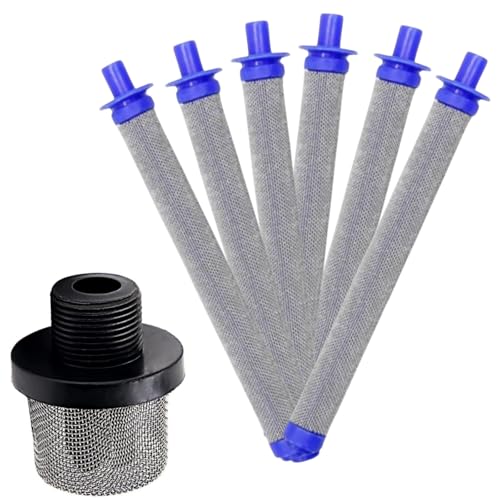
Replacement Filters Set for Graco Paint Sprayer Filters, Includes 1pk 288716 3/4-Inch Inlet Strainer Thread & 6pk 288749 Airless Spray Gun Filter, Fits Graco Airless Paint Sprayers Gun
[ Package Includes ]: 1pc x 288716 Airless Paint Sprayer Inlet Screen + 6pc 288749 Airless Spray GunFilter
As an affiliate, we earn on qualifying purchases.
As an affiliate, we earn on qualifying purchases.
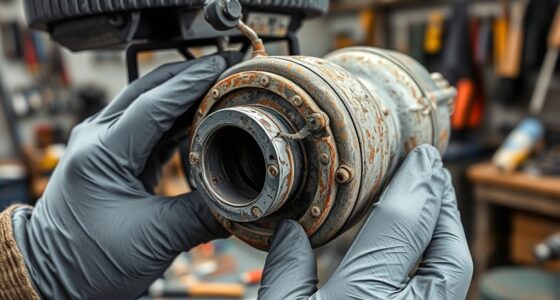
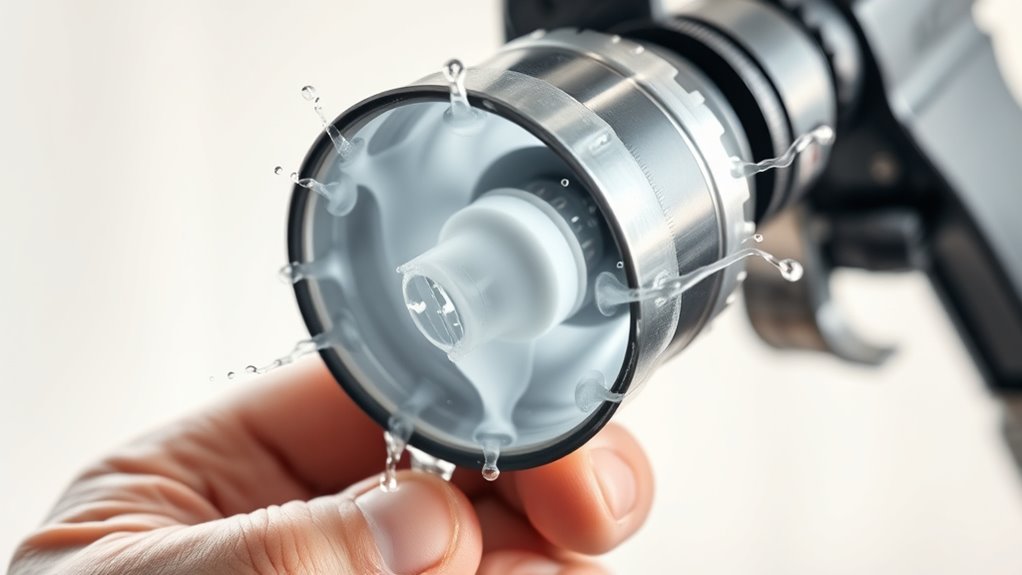
Clearing the Nozzle and Spray Tip
To effectively clear a clogged nozzle and spray tip, start by turning off the sprayer and disconnecting it from the power source. Remove the nozzle and spray tip carefully. Check the paint consistency—thick or dried paint often causes blockages. If the paint is too thick, dilute it according to the manufacturer’s instructions. Next, inspect the nozzle size; a smaller nozzle can clog more easily. Use a brush or a pin to gently clear any dried paint or debris from the nozzle and spray tip openings. For stubborn clogs, soak the nozzle in warm, soapy water or a solvent suitable for your paint type. Proper maintenance, including regular cleaning, helps prevent future nozzle blockages and keeps your project on track. Additionally, understanding the benefits of using proper tools and techniques can help maintain optimal spray performance. Regularly inspecting and cleaning your equipment and preventing clogs aligns with data-driven strategies that improve efficiency and results. Using a cleaning solution specifically designed for your paint type can further aid in maintaining a clear spray tip. Once cleaned, reassemble the parts and test spray to ensure smooth flow.
17pcs Multi-Purpose Spray Gun Cleaning Kit,Nylon Brushes Paint Gun Cleaning Kit Mini Brushes & Needles for Clean Airbrush Nozzles Spray Guns Tattoo Equipment (17)
★ This handy spray guns cleaning kit is all you need to keep your spray guns clean and…
As an affiliate, we earn on qualifying purchases.
As an affiliate, we earn on qualifying purchases.
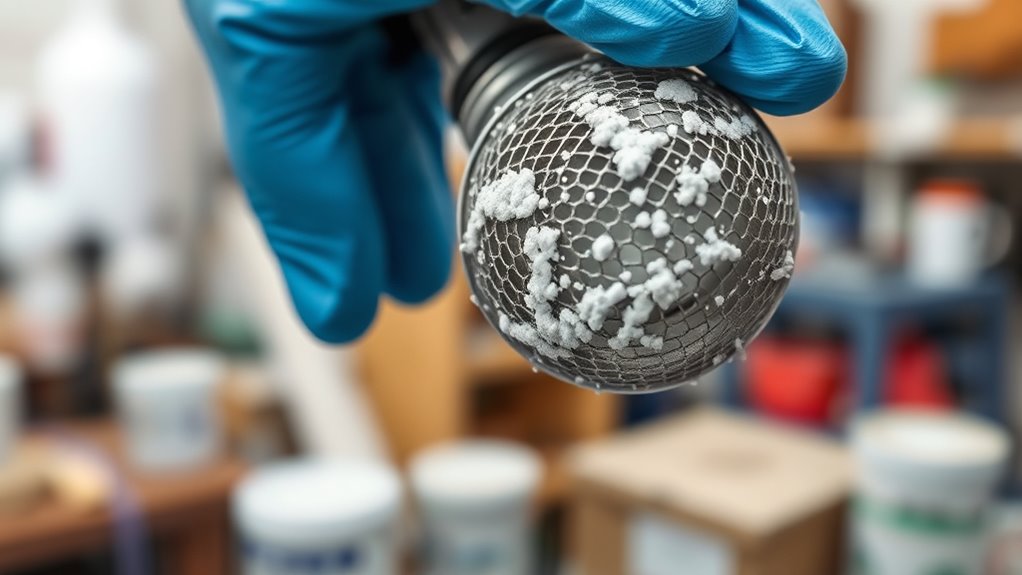
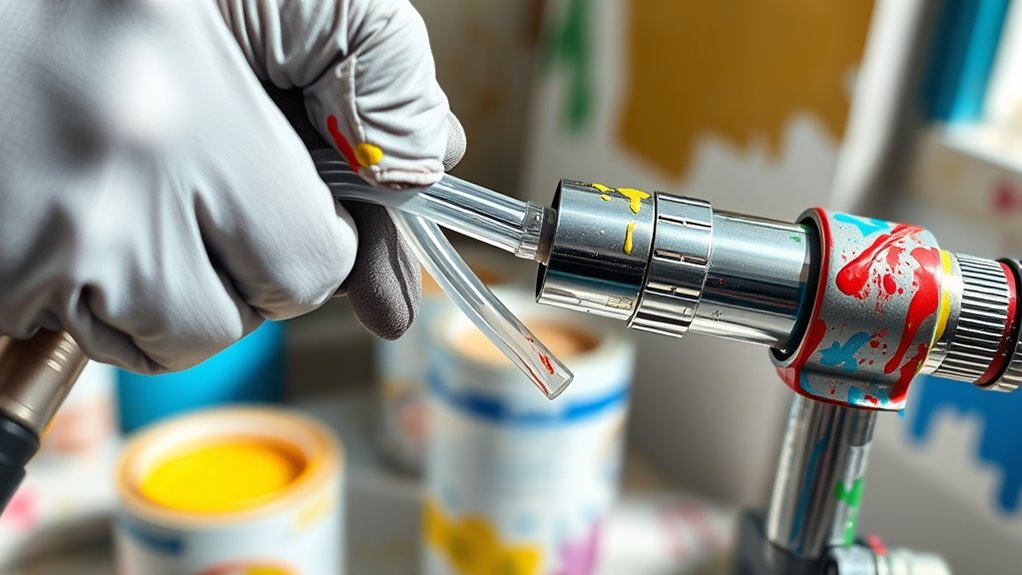
Checking and Cleaning the Filter and Hoses
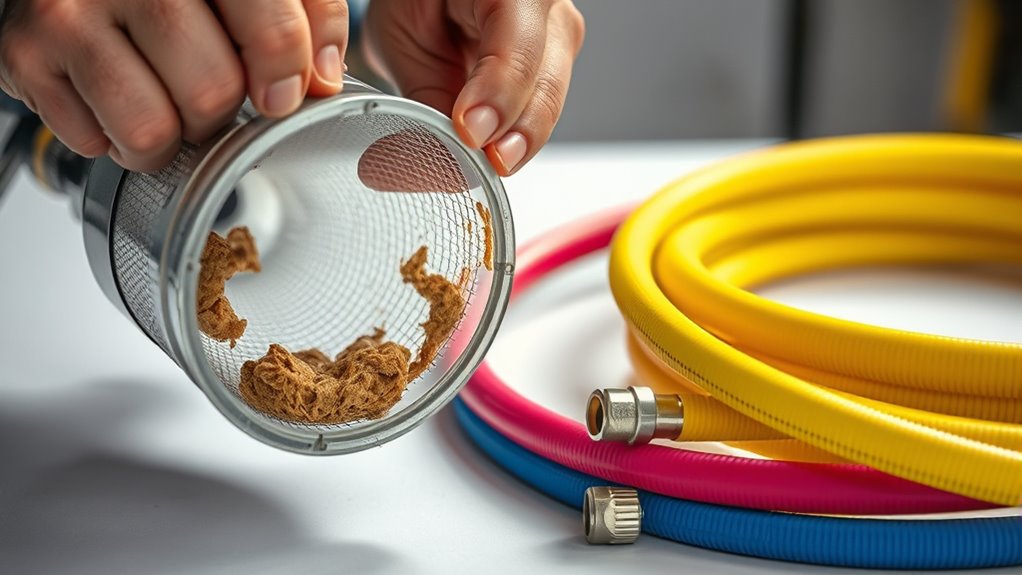
Regularly checking and cleaning the filter and hoses is essential to maintain ideal spray performance. Start with a thorough filter inspection—remove it and look for clogs, debris, or damage. Clean the filter with water or a suitable solvent, ensuring no obstructions remain. If the filter is worn or damaged, hose replacement might be necessary to prevent future clogs. Next, inspect the hoses for cracks, leaks, or blockages. Clear any debris inside and ensure the hoses aren’t kinked or pinched, which can restrict flow. Properly maintaining these components helps keep the paint flowing smoothly and reduces the chances of future clogs. Regularly checking and cleaning the filter and hoses is a simple step that can save you time and effort during your project. Additionally, inspecting the hoses for blockages and leaks ensures optimal performance and prevents downtime. To further improve flow, consider upgrading components such as hoses or filters for better durability and efficiency. Being aware of smart technology in tools can also help monitor and maintain equipment more effectively.

22 Pcs Spray Gun Cleaning Kit, Multi-Purpose Paint Gun Cleaning Kit with Nylon Bristles and Flexible Wire, Reusable Rust-Resistant Paint Sprayer Clean Tool for Air Airbrush Maintenance
MULTI SIZE: This paint gun cleaning kit includes brush sizes for different tool openings, this spray gun cleaning…
As an affiliate, we earn on qualifying purchases.
As an affiliate, we earn on qualifying purchases.
Flushing the System With Thinner or Water
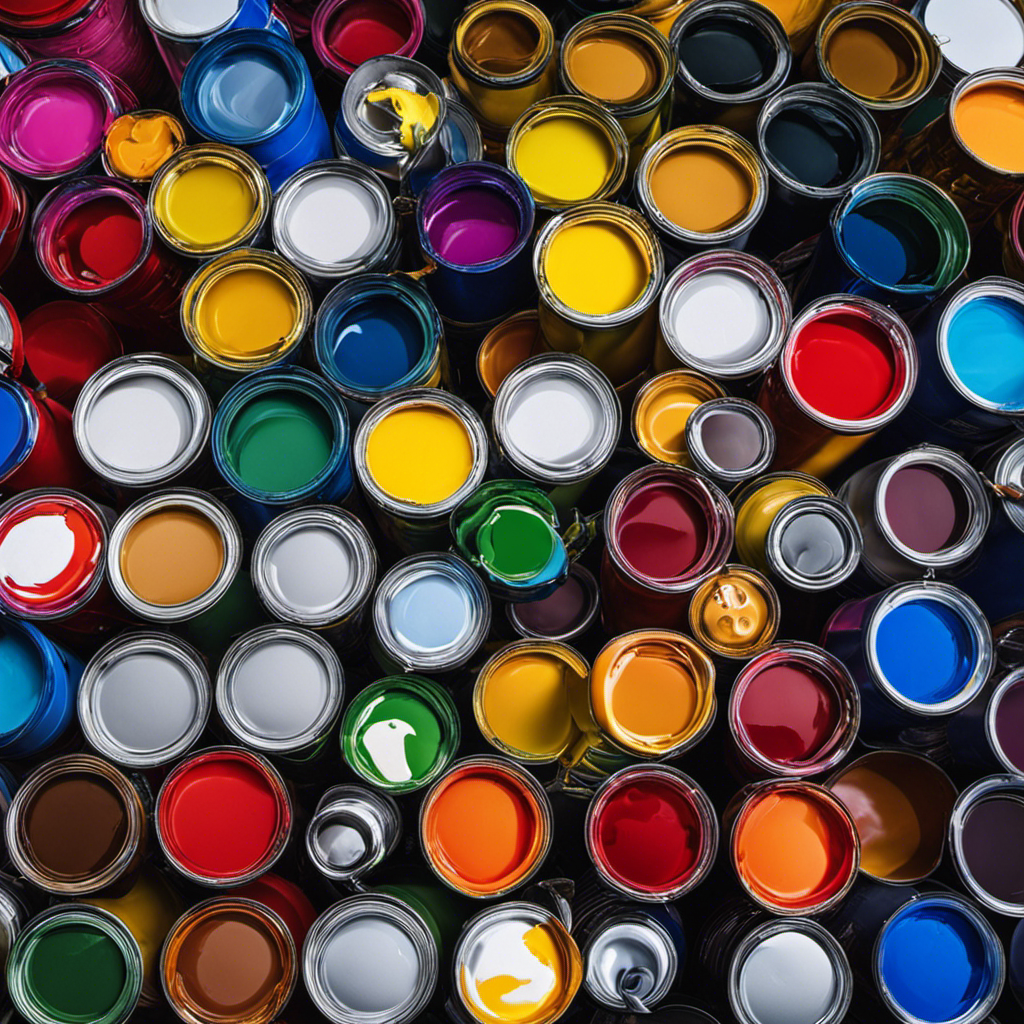
Flushing the system with thinner or water is a crucial step to remove residual paint and prevent clogs. If your paint consistency has thickened or become stringy, flushing helps clear out buildup that can block the nozzle. Use the appropriate solvent—water for water-based paints or thinner for oil-based paints—to thoroughly rinse the system. Pay attention to nozzle size; a smaller nozzle may clog more easily, so a complete flush ensures smoother operation. Start by running the thinner or water through the spray gun until it runs clear. This process clears dried or semi-dried paint, restoring proper flow. Regular flushing with the correct paint compatibility helps prevent future clogs and keep your sprayer functioning efficiently, especially when switching between different paint types or colors. Additionally, maintaining proper cleaning techniques and understanding the different paint types you use can extend the life of your equipment and ensure consistent performance. Being aware of the best cleaning solutions for your specific sprayer model can also make the process more effective and efficient.
Preventative Tips to Avoid Future Clogs
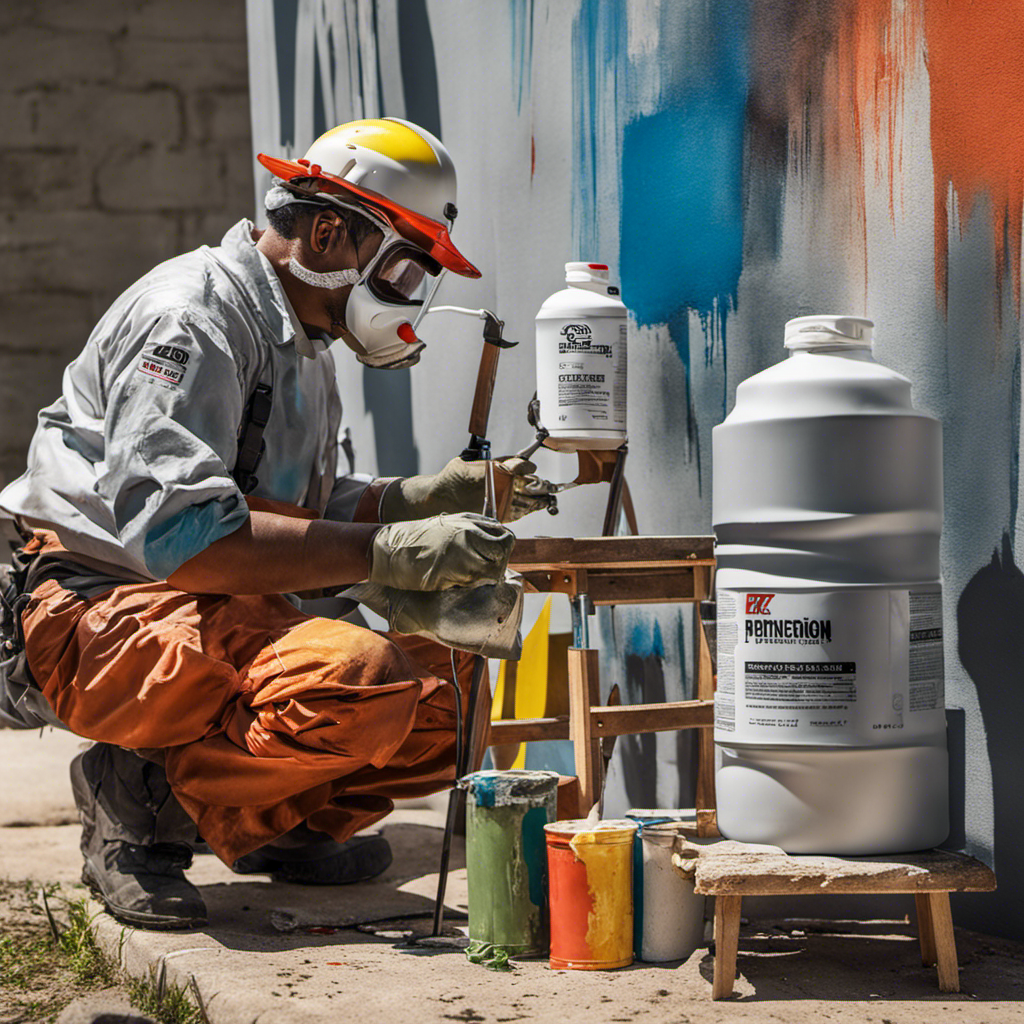
Implementing preventative measures can substantially reduce the likelihood of future clogs in your paint sprayer. First, ensure your paint has the right consistency; thick or uneven paint can cause blockages. Thin your paint properly according to manufacturer recommendations to promote smooth flow. Additionally, monitor and adjust air pressure to match the paint and surface requirements, as incorrect pressure can lead to inconsistent spraying and clogs. Regularly filter your paint before filling the sprayer to remove debris that could cause blockages. Always clean the sprayer thoroughly after each use, especially if you’re switching colors or paints. Maintaining proper paint consistency and adjusting air pressure correctly, as well as practicing regular cleaning, minimizes clog risks and keeps your project flowing smoothly.
Frequently Asked Questions
How Often Should I Perform Maintenance to Prevent Clogs?
You should perform maintenance regularly to prevent clogs, ideally after every few projects or when changing paint types. Check paint viscosity to ensure proper flow and avoid thick paints that can cause blockages. Also, replace filters as recommended by your paint sprayer’s manual to keep debris out of the system. Consistent maintenance keeps your sprayer functioning smoothly, reduces downtime, and guarantees a professional finish every time.
Can Using Different Paint Types Cause Frequent Clogs?
You’re asking if switching paint types leads to more clogs. The answer is yes, it can be a slippery slope if you don’t pay attention. Different paint types vary in consistency, which affects flow and can clog your sprayer. Always check paint consistency and nozzle compatibility before switching. If you ignore these details, you might find yourself stuck, having to stop work to fix the issue — a real headache.
What Tools Are Best for Clearing Stubborn Blockages?
When clearing stubborn blockages, you should use tools like a thin wire or needle to gently loosen debris. An air compressor can help blow out clogs, but make sure to do regular air compressor maintenance to prevent buildup. If the nozzle remains blocked, consider replacing it entirely. These methods guarantee your paint sprayer stays clear and ready for use, minimizing downtime and keeping your project on track.
Is It Safe to Use Household Cleaning Agents for Cleaning?
You might think household cleaners are safe for cleaning paint residue, but that’s not always true. Many contain chemicals that could damage your paint sprayer or cause hazardous reactions. It’s best to avoid using regular household cleaners unless specified by the manufacturer. Instead, opt for dedicated paint sprayer cleaners, which are designed to safely break down paint residue without risking damage or safety issues. Always read labels carefully before cleaning.
How Can I Tell if My Sprayer Needs Professional Servicing?
If your paint sprayer isn’t functioning properly despite quick fixes, it might need professional inspection. Signs include persistent clogs, uneven spray patterns, or strange noises. You should consider scheduling a service appointment if basic cleaning doesn’t resolve these issues. A professional service ensures your sprayer gets a thorough check-up, preventing further damage and keeping it in ideal condition for your next project.
Conclusion
Just like Houdini escaping tight spots, you can free your paint sprayer from clogs and keep your project flowing smoothly. With quick fixes and preventive tips, you’ll master the art of troubleshooting, ensuring your work never stalls. Remember, a well-maintained sprayer is your secret weapon—ready to perform like magic whenever you need it. Stay vigilant, stay prepared, and your paint job will come out flawless, no matter what obstacles appear along the way.

A seasoned painter with over 15 years in the industry, Mike transitioned from hands-on painting projects to the digital world of paint sprayers. His extensive experience gives him a unique perspective on what users truly need when it comes to painting tools. As the Editor in Chief of Paint Sprayer Zone, Mike ensures that every piece of content not only provides value but also reflects the realities of painting — the challenges, the joys, and the intricate details.