
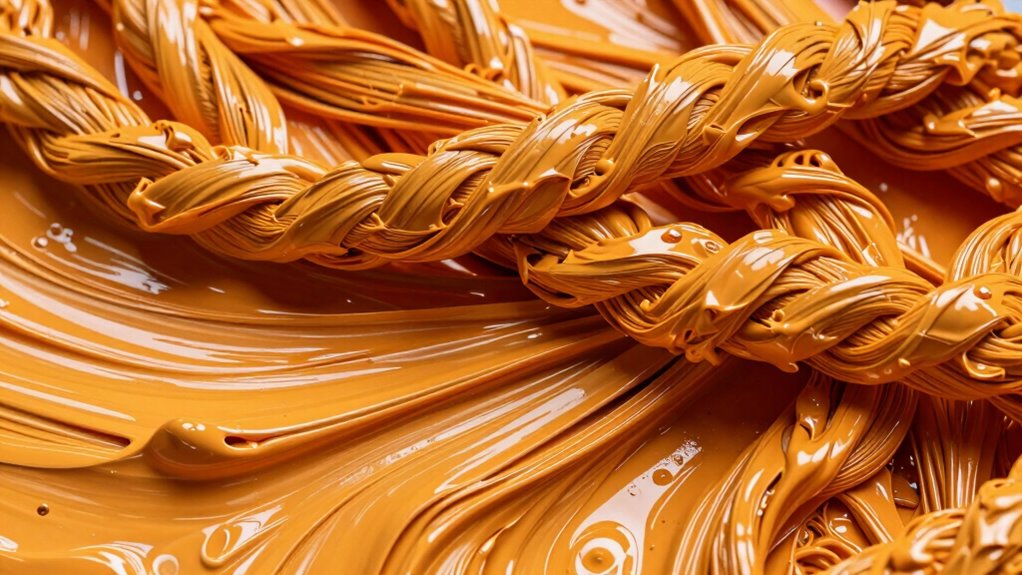
Paint roping or strings can reveal your paint’s viscosity and how it’s drying. Thick, stringy lines indicate high viscosity and may lead to uneven finishes, while thin strings suggest the paint is too runny. Observing roping helps you adjust your technique or paint thinning methods for better flow and finish. Understanding these clues guarantees a professional look—keep exploring to uncover how to troubleshoot and improve your painting results effectively.
Key Takeaways
- Paint roping indicates high viscosity, which causes string-like lines during application and affects finish quality.
- Testing paint with a rope test helps determine if viscosity is too thick or thin for proper application.
- Long, persistent ropes suggest thick paint and potential drying issues, while quick to break ropes imply lower viscosity.
- Roping patterns can reveal if the paint is drying too quickly or unevenly, impacting curing and adhesion.
- Adjusting viscosity through thinning agents or technique improves flow, reduces roping, and leads to a smoother, professional finish.

2-Pack Viscosity Cup Set with Handle, Plastic Paint Mixing & Measuring Cups for Spray Gun, Liquid Thickness Testing for Paint, Resin, Oil, DIY Craft & Automotive Use
Eliminate Guesswork in Paint Thinning: Achieve perfect spray consistency every time with our viscosity cups. Simply dip, time…
As an affiliate, we earn on qualifying purchases.
As an affiliate, we earn on qualifying purchases.
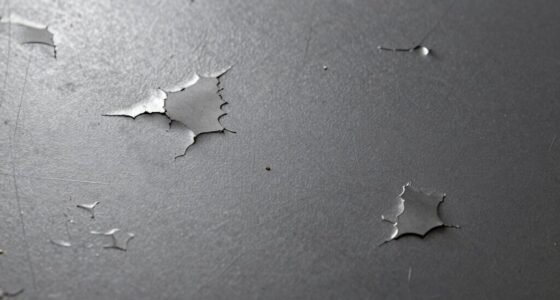
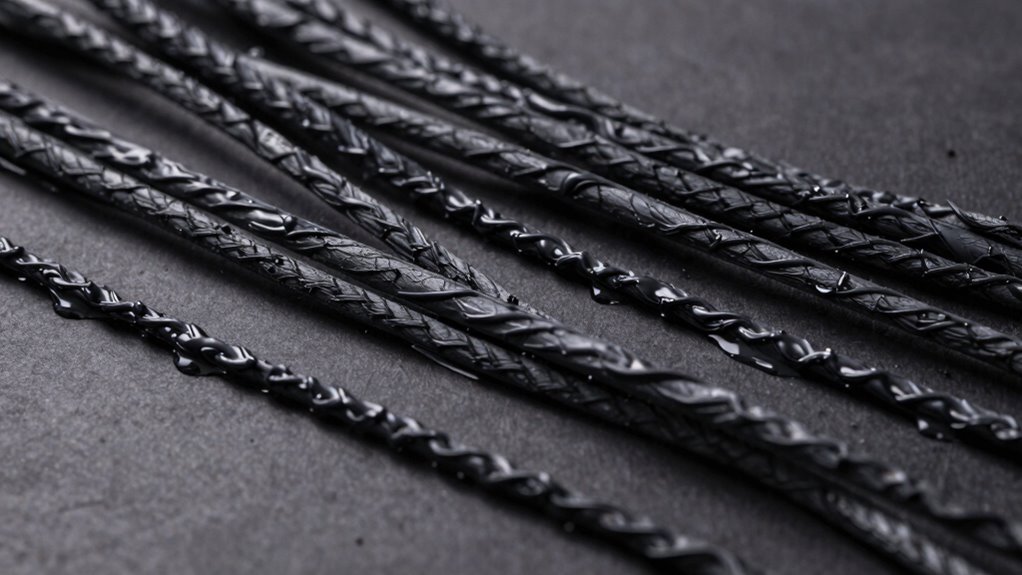
What Is Paint Roping and Why Does It Matter?
Have you ever noticed thin, string-like lines appearing on freshly painted surfaces? That’s paint roping, which happens when the paint’s viscosity is too high. It affects color blending, making strokes look uneven and rough. Roping indicates the paint is too thick, which can cause brush compatibility issues, leading to strings forming during application. When the paint is overly viscous, it doesn’t spread smoothly, resulting in visible strings or streaks as you work. Recognizing paint roping is essential because it signals you might need to adjust your paint’s consistency or application method. Ignoring it can lead to an uneven finish, increased touch-ups, and longer project times. Understanding what causes paint roping helps you achieve a smoother, more professional-looking result. Additionally, paint viscosity plays a crucial role in ensuring optimal flow and leveling during application. Proper application techniques are vital to prevent roping and ensure a flawless finish. Being aware of environmental factors like temperature and humidity can also influence paint flow, helping you make adjustments before starting your project, especially by monitoring environmental conditions that impact viscosity and drying.

10PCS Palette Knife, Stainless Steel Painting Knife Set, Flexible Spatula Pallet Knife, Metal Artist Knives, Oil Painting Accessories Color Mixing Scraper for Oil, Canvas, Acrylic Painting By CUALORK
【RELIABLE QUALITY】This palette knife is sturdy and lightweight, blade made of stainless steel, it is resilience、flexible and anti-resistant;…
As an affiliate, we earn on qualifying purchases.
As an affiliate, we earn on qualifying purchases.
How to Test Paint Viscosity With a Rope Test
To accurately test paint viscosity with a rope test, you need to start by preparing a consistent paint mixture. Next, you’ll perform the test itself, carefully observing how the paint strings or ropes form. This process helps you determine if your paint has the right flow for your project.
Preparing the Paint Mixture
Before testing the paint’s viscosity with a rope, you need to prepare the mixture properly. Achieving the right paint consistency is *essential* for accurate results. Start by ensuring your paint is well-mixed, using proper mixing techniques to avoid lumps or separation. Here are four steps to prepare your paint:
- Stir thoroughly to blend any settling or separation.
- Use a clean mixing stick or paddle for even consistency.
- Adjust the viscosity with thinning agents if needed, following manufacturer guidelines.
- Check the paint’s thickness by lifting some with a stir stick—aim for a smooth flow without drips or stringing.
- Be aware that viscosity testing requires consistent sample preparation to ensure reliable measurements.
Proper preparation guarantees the paint’s viscosity reflects its true properties, making your rope test more reliable and consistent.
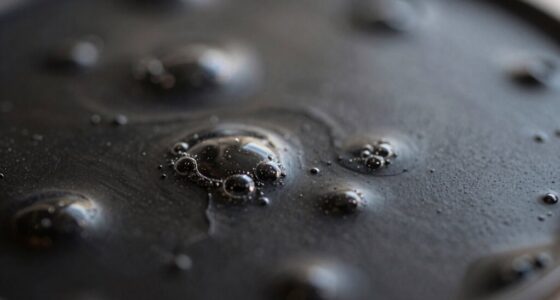
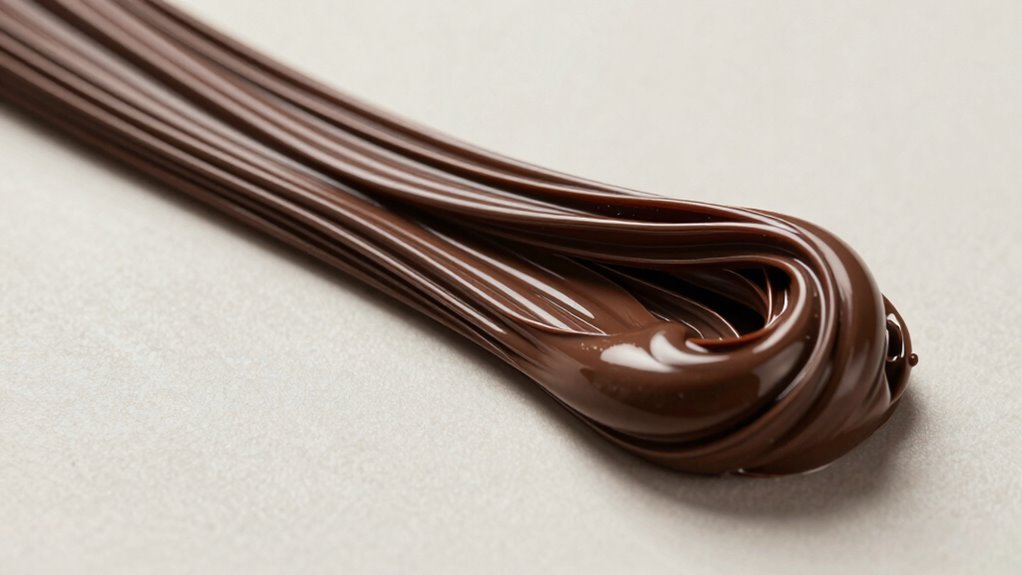
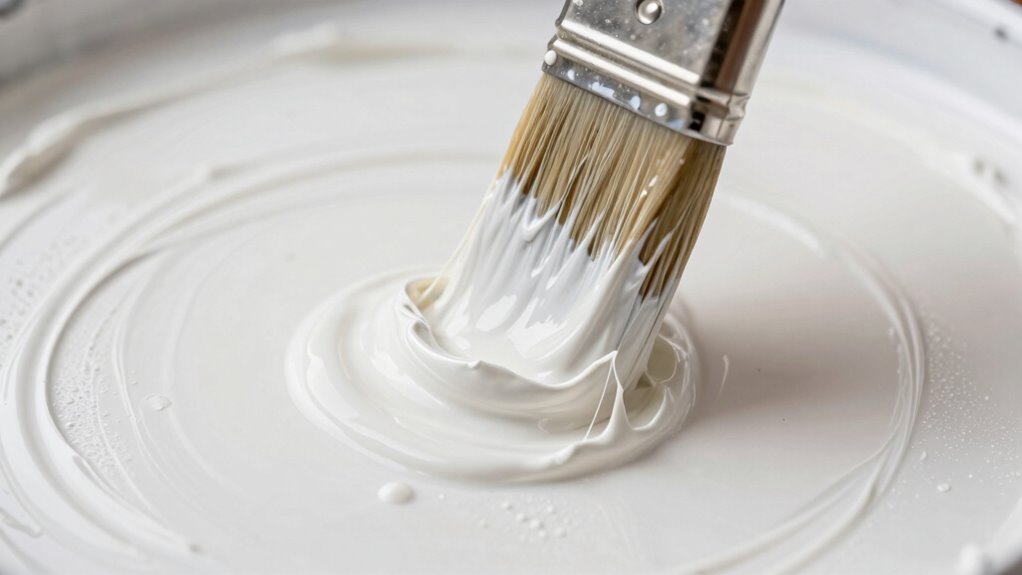
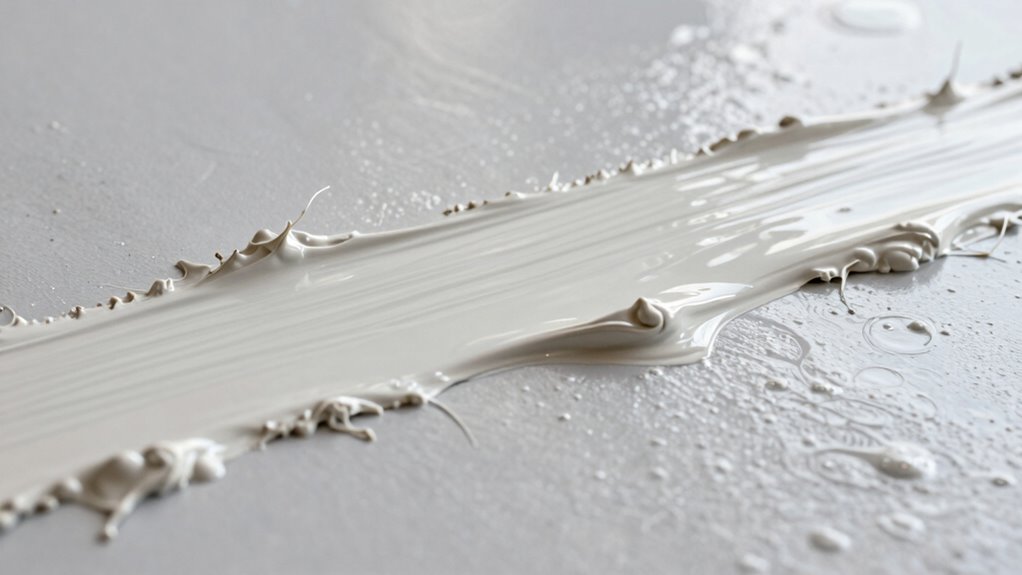
Performing the Rope Test
Wondering how to accurately assess your paint’s viscosity? The rope test is a straightforward method. Dip your brush into the paint, then lift it slowly to observe the string formation. If the paint stretches into long, thin ropes without breaking, it’s thick enough for brushing; if it drips too quickly, it’s too thin. To get consistent results, use steady brush techniques and avoid overloading. Here’s a quick guide:
| Rope Length | Viscosity Grade | Best Use |
|---|---|---|
| Long ropes | Thick, slow flow | Ideal for textured finishes |
| Medium | Moderate flow | Suitable for walls and trims |
| Short | Thin, quick drip | Better for detail work |
| No ropes | Very thin paint | Usually too runny |
This helps you judge paint readiness for color mixing and application.

Easy@Home Lead Test Kit – 30 Rapid Swabs, 30-Second Results – Surface Lead Screen for Painted Walls, Woodwork, Cabinets, Furniture, Toys, Dishes & Exposed Plumbing #EZLT-S:30
TESTS A WIDE VARIETY OF HOUSEHOLD SURFACES: Designed as a rapid screening tool to detect soluble, leachable surface…
As an affiliate, we earn on qualifying purchases.
As an affiliate, we earn on qualifying purchases.
What Roping Behavior Tells You About Paint Viscosity
When paint forms strings or roping, it shows the coating is thicker than ideal. This behavior reveals the paint’s viscosity and how it flows during application. Understanding these cues helps you adjust your technique or choose the right paint for a smooth finish. Ensuring proper Diluting Paint for Airless Sprayers can prevent such issues by achieving the optimal paint consistency. Proper paint thinning techniques are essential to maintain the right viscosity for a successful application. Additionally, the viscosity of the paint affects drying time and adhesion, making it a critical factor to monitor.
Roping Indicates Thickness
Roping behavior in paint is a clear indicator of its viscosity; if the paint forms long, stringy threads when you lift the brush, it’s a sign that the paint is too thick. This suggests your paint consistency is on the higher end of the viscosity measurement spectrum. To troubleshoot, consider these points:
- Thicker paint resists flow, leading to roping.
- Lower viscosity paints tend to drip or sag more easily.
- Roping indicates the need to thin the paint for smoother application.
- Adjust viscosity measurement by adding water or thinning agents as needed.
- Using a bike generator to produce renewable energy can be a sustainable way to power your tools during painting projects.
- Monitoring and controlling viscosity is essential for achieving a professional finish and can be supported by understanding content quality and topical authority in your paint selection process.
- Employing modern measurement techniques can help you accurately assess and adjust paint viscosity for optimal results.
Understanding this behavior helps you judge if your paint needs thinning or if it’s suitable for your project. Proper viscosity results in better application and a more even finish.
Consistency Affects Application
The way paint rops or strings as you lift your brush provides valuable insight into its viscosity and how it will behave during application. If the paint forms long, thin strings, the brush consistency is too thick, slowing application flow. Conversely, if it drips quickly, it’s too runny, risking uneven coverage. Understanding this helps you adjust for a smoother finish. Here’s a quick guide:
| Roping Behavior | Brush Consistency | Application Flow |
|---|---|---|
| Long, thin strings | Thick, sticky | Slow, uneven |
| Short, broken strings | Slightly thinner | Moderate, controlled |
| No roping or strings | Thin, fluid | Fast, smooth |

Winsor & Newton Professional Acrylic Medium, Flow Improver, 250ml (8.5-oz)
Medium increases the flow of acrylic colors, allowing the application of areas of flat, even color without changing…
As an affiliate, we earn on qualifying purchases.
As an affiliate, we earn on qualifying purchases.
What Roping Reveals About Paint Drying and Curing
Observing paint ‘roping’ reveals important details about how paint dries and cures. When you see strings forming as the paint drags, it indicates specific aspects of the paint chemistry and curing process. Roping often shows that the paint’s viscosity is high or that it’s drying too quickly, trapping solvents or moisture. This can affect the final finish and durability. To understand what roping reveals:
- Thick, stringy lines suggest slow evaporation and proper curing, but excessive roping may mean too high a viscosity.
- Rapid roping indicates rapid solvent loss, pointing to a fast-drying formula.
- Persistent roping can reveal incomplete curing, risking adhesion issues.
- The pattern of roping helps you assess if the paint’s chemistry supports a balanced drying process, ensuring a durable, smooth finish.
Troubleshooting Roping Issues: Causes and Fixes
When roping occurs during painting, understanding its causes is key to finding effective solutions. Roping often results from improper application techniques or incompatible paint additives that affect film formation. If you notice strings or ropes forming as you paint, check your brush or roller pressure and speed—applying too much or too little can trigger roping. Additionally, consider the paint’s viscosity; if it’s too thick or too thin, it can cause strings. Using the right paint additives can improve flow and reduce stringing. Always follow manufacturer instructions for application and additives. Thin your paint properly, avoid overworking the surface, and maintain consistent technique. Correcting application methods and selecting suitable additives will help you minimize roping and achieve a smooth, professional finish.
How to Use Roping Tests to Choose the Best Paint for Your Project
Roping tests provide a straightforward way to determine which paint performs best for your specific project, especially after troubleshooting application issues like stringing. To use a roping test effectively, start by applying your chosen paint with different brush techniques to see how viscosity affects string formation. Next, observe how the paint drapes or pulls, helping you identify the best consistency. Consider color matching—if the paint strings and dries unevenly, it might indicate improper drying properties. Here’s how to proceed:
- Test various brush techniques to evaluate how the paint behaves.
- Check for consistent draping or stringing at different thicknesses.
- Match colors to ensure uniform application without uneven drying.
- Record your observations to select the ideal paint for your project’s specific needs.
Frequently Asked Questions
Can Environmental Conditions Affect Paint Roping and Drying Times?
Yes, environmental conditions can definitely affect paint roping and drying times. High humidity effects slow down evaporation, causing paint to stay wet longer and increase the chances of roping or strings forming. Sunlight influence speeds up drying by increasing temperature, but excessive heat can lead to uneven drying and more stringing. To get the best results, control humidity levels and avoid direct sunlight during application and drying.
Does Paint Type Influence the Likelihood of Roping During Application?
They say, “You are what you paint,” and your choice of paint formulation definitely influences roping during application. Different paint types, like latex or oil-based, have varying viscosities, affecting how smoothly they spread. For consistent color and a snag-free finish, select the right paint for your project. Using the proper type minimizes the chance of roping, ensuring a professional look and even drying.
How Does Temperature Impact Paint Viscosity and Roping Behavior?
Temperature effects profoundly influence paint viscosity and roping behavior. When it’s colder, paint becomes thicker, increasing viscosity and making it prone to roping or strings during application. Conversely, warmer temperatures lower viscosity, allowing smoother flow and reducing roping. To prevent issues, you should adjust your application technique, thin the paint if needed, and work within recommended temperature ranges to guarantee proper consistency and a smooth finish.
Are There Specific Additives That Reduce Roping Issues?
Imagine you’re a paint wizard in a modern-day workshop; certain additives can help reduce roping issues. You should look for additive formulations containing viscosity modifiers, which improve flow and smoothness. These additives help prevent stringing by adjusting the paint’s viscosity, making it easier to apply evenly. Incorporating these into your mix guarantees a cleaner finish, preventing those pesky strings or roping, and giving you professional results every time.
Can Improper Application Techniques Cause False Signs of Roping?
Yes, improper application techniques can cause false signs of roping. If you skip proper surface preparation or rush the application, you might notice strings or uneven finishes that mimic roping. Application errors, such as applying paint too thickly or not maintaining consistent brush or roller pressure, can accentuate these issues. To avoid this, verify the surface is clean, dry, and properly prepared, and apply paint evenly according to manufacturer instructions.
Conclusion
Understanding paint roping can save you time and money, ensuring a smoother finish. Did you know that improper viscosity can cause roping issues in over 60% of DIY projects? By mastering the rope test, you’ll better gauge your paint’s drying potential and avoid costly mistakes. So, next time you prep your project, remember that a simple test can make all the difference in achieving professional results.