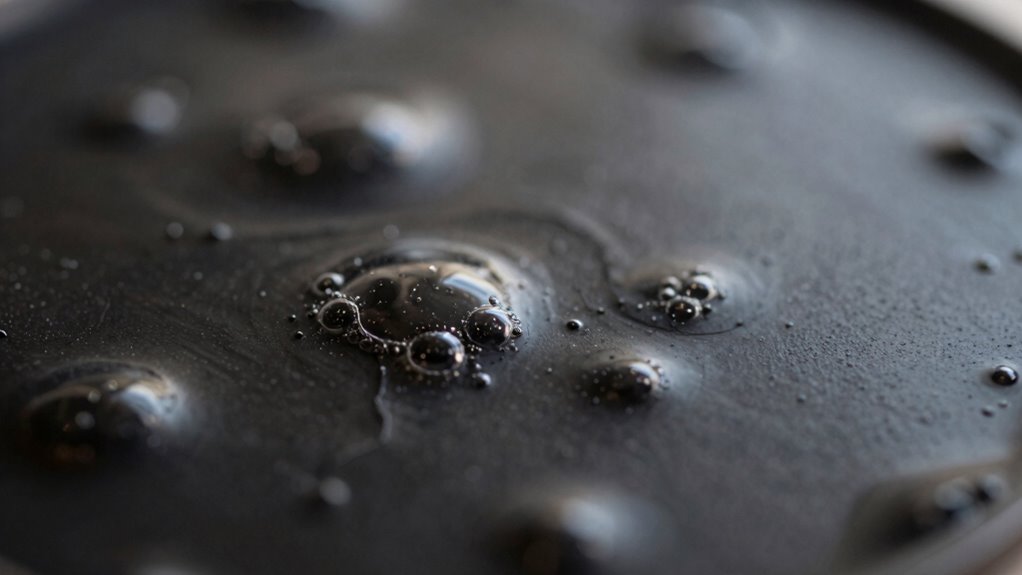
Microbubbles sneak into your finish when air gets trapped during application, often due to techniques like spray settings, brushing too fast, or applying coats too thick. Environmental factors such as humidity, dust, and airflow can also cause bubbles by introducing particles or moisture that trap air beneath the surface. To prevent this, focus on proper surface prep, smooth application, and controlling your environment. Keep exploring to discover how to fix bubbles once they’ve appeared and ensure a flawless finish.
Key Takeaways
- Air gets trapped during application due to high pressure, rapid strokes, or improper spray angles.
- Surface contamination like dirt, oil, or dust creates nucleation sites for microbubbles.
- Environmental factors such as humidity and airflow introduce moisture and turbulence that trap air.
- Thick or uneven coats prevent air from escaping smoothly, leading to bubble formation.
- Insufficient surface preparation and improper technique increase the chances of air sneaking into the finish.
What Causes Microbubbles to Form During Finishing?
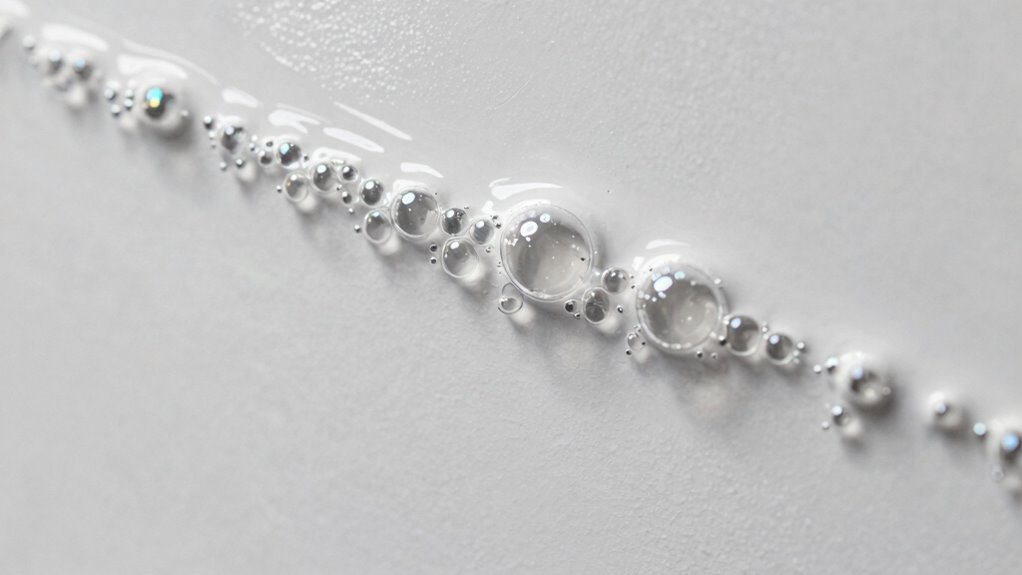
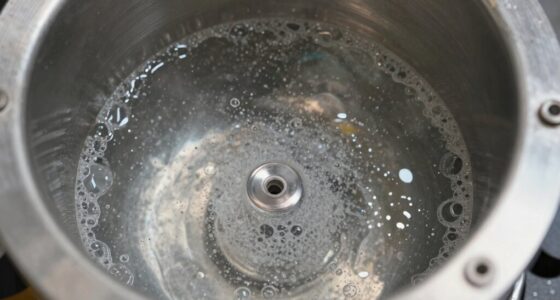
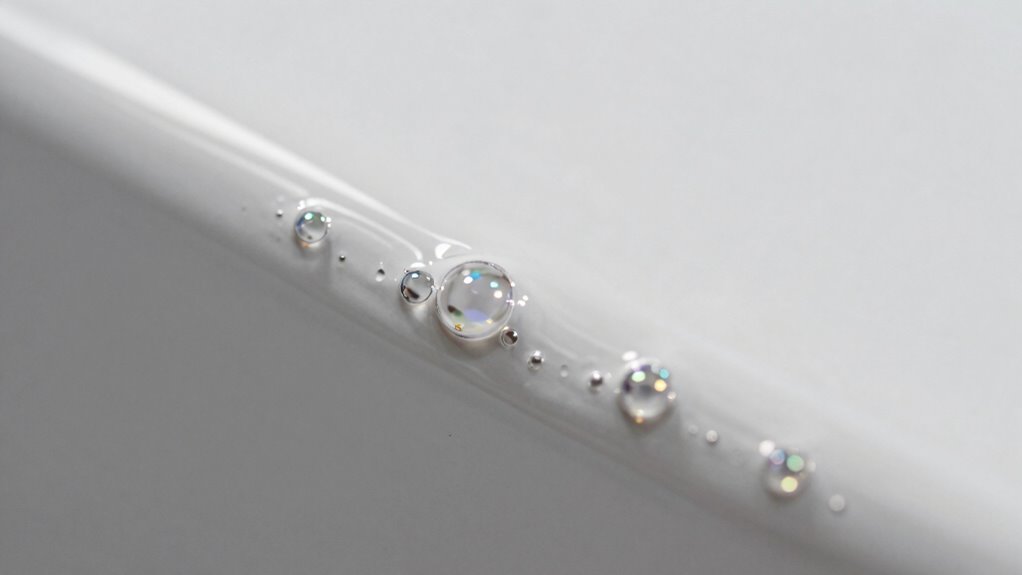
Microbubbles form during finishing when air becomes trapped in the coating or finish. This often happens because of surface tension, which can prevent bubbles from escaping smoothly. When the finish is applied, tiny contaminant particles—like dirt, oil, or dust—can disrupt the liquid’s uniformity, creating weak spots where bubbles can form. If the surface isn’t properly prepared, these particles stick around, increasing the likelihood of microbubble formation. Additionally, thick or uneven coats can trap air more easily, especially if the finish is applied too quickly or with excessive agitation. To minimize microbubbles, you need to guarantee a clean surface, reduce contaminant particles, and apply the finish carefully to allow trapped air to escape naturally before it forms persistent microbubbles. Proper finishing techniques can also significantly reduce the risk of microbubble formation, ensuring a smooth, professional-looking surface. Using the right application tools and techniques, such as brushing, rolling, or spraying correctly, can further help prevent microbubbles from developing during the process. Ensuring proper surface preparation is crucial for achieving a bubble-free finish and a durable, high-quality result. Incorporating sound vibration principles might also influence how bubbles form and escape during the drying process, leading to better results. Paying attention to environmental factors like temperature and humidity can also affect microbubble formation and should be managed accordingly.
How Do Environmental Conditions Make Microbubbles More Likely?
Environmental conditions such as temperature, humidity, and air movement can considerably increase the likelihood of microbubble formation during finishing. Poor air quality, especially dust and airborne particles, can introduce nucleation sites that promote bubble creation. High environmental humidity makes surfaces more prone to moisture absorption, which can trap air beneath coatings. Additionally, rapid air movement agitates the surface, encouraging microbubbles to form and persist. To minimize these effects, control your environment by reducing humidity levels, improving air quality, and limiting airflow during application. Understanding layer concepts can further help in identifying how different environmental factors influence each stage of finishing processes. Moreover, monitoring ambient air quality can help identify potential sources of airborne particles that contribute to microbubble formation. Implementing proper ventilation strategies can also significantly reduce the risk of microbubbles developing during finishing, especially when tailored to the specific environmental conditions of your workspace.
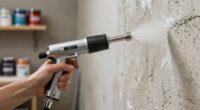
Which Application Techniques Are Most Likely to Create Bubbles?
Applying coatings with improper techniques can easily trap air and create bubbles. Spray application, if done too aggressively or at the wrong angle, can introduce air pockets that form bubbles. Similarly, brushing techniques matter; rushing or using heavy strokes can trap air beneath the surface. To minimize bubble formation, watch out for these common issues:
- Using a spray gun at too high pressure, causing turbulence and air entrapment.
- Applying thick coats with rapid, heavy brushing, which traps air beneath the finish.
- Moving too quickly or unevenly during application, preventing a smooth, bubble-free layer.
Focusing on proper spray and brushing techniques helps ensure your finish stays smooth and bubble-free, preventing microbubbles from sneaking in later.
How Can You Prevent Microbubbles in Your Finish?
To prevent microbubbles from forming in your finish, start by preparing your materials and workspace carefully. Use high-quality paint additives designed to reduce air entrapment and improve flow. Proper surface preparation is vital—ensure surfaces are clean, dry, and free of dust or grease before applying any finish. Applying the finish with smooth, consistent strokes helps minimize air pockets. Avoid overworking the surface, which can introduce bubbles. Also, consider thinning the finish slightly if it’s too thick, as this allows for better leveling and fewer bubbles. Maintaining a steady, moderate application speed prevents air from being dragged into the coating. Additionally, understanding how air entrapment occurs can help you take targeted steps to avoid it. Using the right filtering and pump protection techniques, such as regular filter replacements, can significantly reduce the chances of microbubbles forming. Paying attention to surface tension and how it affects finish application can also make a difference. Incorporating proper air release techniques during application can further decrease microbubble formation. Being aware of air management practices helps optimize the finishing process and achieve a smooth, bubble-free surface. By combining proper surface prep and appropriate additives, you considerably reduce the chance of microbubbles ruining your finish.
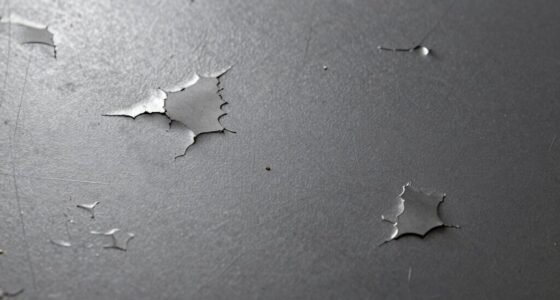
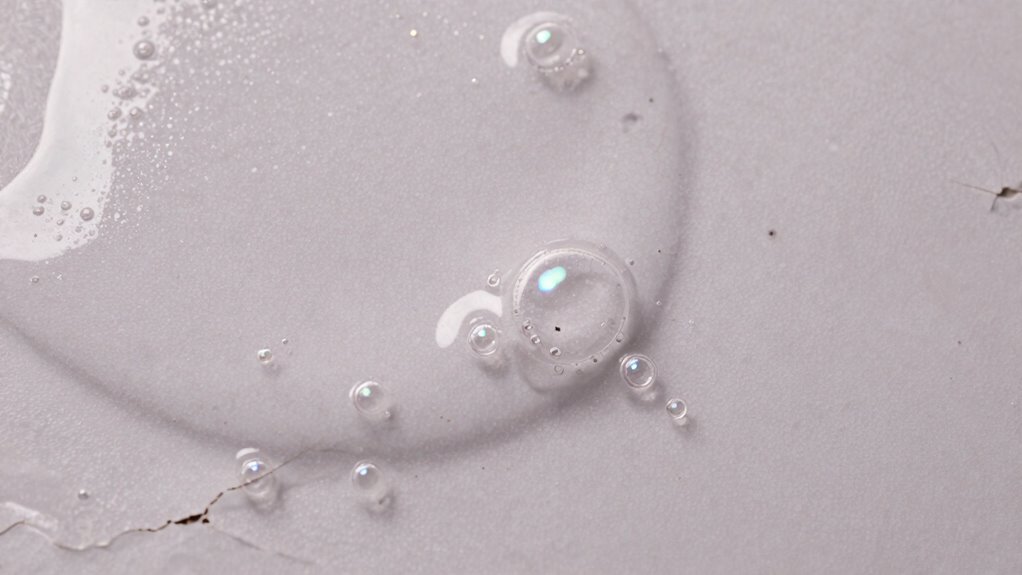
What Are Effective Ways to Remove or Fix Microbubbles After They Appear?
When microbubbles appear in your finish despite preventive measures, quick action can often restore a smooth surface. To fix microbubbles, focus on manipulating surface tension and encouraging bubble collapse. Here are effective methods:
- Lightly re-sand the area to break the bubbles and reduce surface tension, promoting bubble collapse.
- Use a heat gun or warm air to gently warm the surface, decreasing surface tension and encouraging bubbles to pop naturally.
- Reapply a thin, even coat, ensuring proper brushing or rolling technique to minimize air entrapment and prevent new bubbles from forming.
- Maintaining proper application techniques and industry trends can help prevent microbubbles from recurring in future projects. Additionally, ensuring that your environment is free of dust and humidity can significantly reduce the likelihood of microbubble formation. Proper surface preparation and controlling environmental factors are key to preventing these issues altogether. Adjusting application environment parameters like temperature and humidity can also contribute to better finish quality.
These steps help eliminate microbubbles efficiently, restoring a smooth finish and preventing further issues. Acting quickly ensures your surface remains flawless and free of air pockets.
Frequently Asked Questions
Can Different Types of Finishes Influence Microbubble Formation?
Yes, different finishes can influence microbubble formation because finishing techniques affect surface tension. For example, high-viscosity finishes or those with certain additives increase surface tension, making it harder for microbubbles to escape. Conversely, finishes with lower surface tension allow bubbles to release more easily. So, choosing the right finish and applying proper techniques can reduce microbubbles, ensuring a smooth, bubble-free surface.
Do Microbubbles Affect the Durability of the Finished Surface?
Like a seasoned knight of old, you know microbubbles can weaken your finish, just as a tiny crack can threaten a fortress. They often result from surface contamination or environmental humidity, which trap air beneath the surface. These bubbles can compromise durability, making the finish more prone to peeling or cracking over time. To protect your surface, guarantee proper surface prep and control humidity levels during application.
Are There Specific Tools Best Suited to Minimize Bubbles?
You should use tools like a notched trowel or a rubber float to minimize bubbles caused by air entrapment and surface contaminants. These tools help spread the finish smoothly, reducing the chance of air pockets forming. Avoid overly aggressive tools that can trap more air. Always clean your tools thoroughly before use to prevent surface contaminants from causing microbubbles, ensuring a smooth, durable finish.
How Does Curing Time Impact Microbubble Development?
Longer curing duration reduces microbubble development by allowing trapped air to escape more effectively. For example, in a recent case, extending curing time from 24 to 48 hours markedly decreased air entrapment, resulting in a smoother finish. If you rush curing, microbubbles are more likely to form because the air doesn’t have enough time to escape. Patience with curing time directly improves finish quality by minimizing microbubbles caused by air entrapment.
Can Microbubbles Be an Indicator of Improper Surface Preparation?
Yes, microbubbles can indicate improper surface preparation. If you notice microbubbles, it often means surface contamination or air entrapment occurred during application. Contaminants like oil or dirt prevent proper bonding, trapping air beneath the finish. Ensuring a clean, well-prepared surface minimizes these issues, reducing microbubble formation. Proper surface prep is essential to prevent air entrapment, leading to a smoother, more durable finish without microbubbles.
Conclusion
Microbubbles in your finish can compromise a smooth, professional look. Did you know that improper application or environmental factors can cause up to 60% of finishing issues? By understanding how air sneaks in and applying proper techniques, you can markedly reduce bubbles. Staying vigilant and addressing microbubbles early saves you time and effort. Keep these tips in mind, and you’ll achieve a flawless finish every time—your project deserves nothing less!