Fixing orange peel involves balancing pressure, tip distance, and spray distance, as each plays a crucial role. You should apply consistent, gentle pressure to avoid thin spots or holograms. Keep the tip at a steady distance to ensure even compound application, and maintain the correct spray distance to prevent over- or under-application. Focusing on these factors together will give you a smooth, glossy finish — continue to explore these tips to master the perfect correction.
Key Takeaways
- Proper pressure ensures even material removal without damaging the clear coat or causing holograms.
- Maintaining consistent tip distance prevents heat buildup and ensures uniform polishing compound application.
- Correct spray distance promotes even coverage and effective orange peel reduction during paint correction.
- Balancing all three—pressure, tip, and spray distance—is essential for successful orange peel correction.
- Focused control over pressure, tip, and spray distance yields smoother, professional-quality finishes.
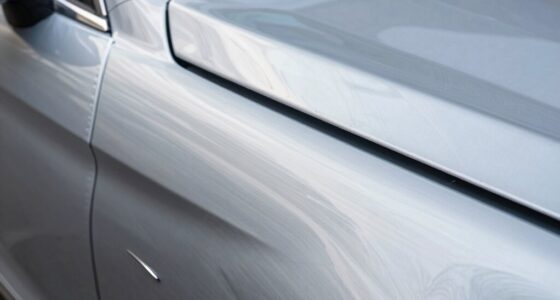
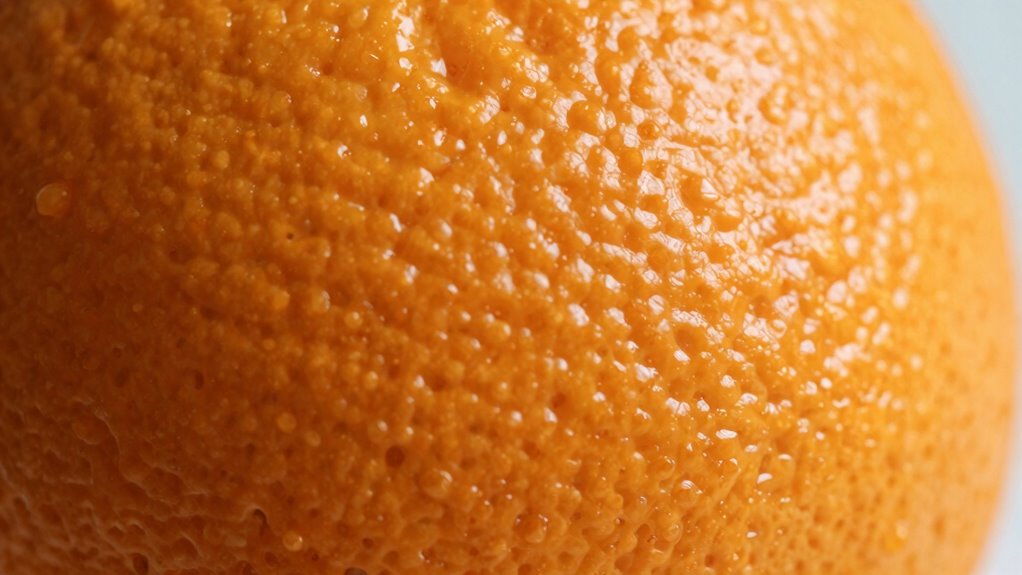
If your car’s paint has developed an uneven, textured surface resembling orange peel, don’t worry—easy fixes are within your reach. This common issue can often be corrected through proper paint correction and polishing techniques. To achieve a smooth, glossy finish, understanding the impact of pressure, tip distance, and spray distance during polishing is essential. Each factor influences how effectively you can remove the orange peel texture without damaging the paint.
Addressing orange peel requires proper polishing, consistent technique, and understanding pressure, tip distance, and spray distance for a smooth finish.
When addressing orange peel, many detailers consider adjusting the spray gun settings or polishing tools. The pressure applied during polishing is crucial; too much pressure can cause uneven material removal, risking thin spots or holograms. Conversely, applying too little pressure might not effectively level the surface. The key is to find a balanced, consistent pressure that allows you to work the polish evenly across the surface. This controlled pressure helps facilitate paint correction by gradually leveling the surface and removing the textured layer.
The tip distance, or the space between the polishing pad or spray tip and the surface, also plays a significant role. If the tip is too close, it can cause excessive heat buildup and uneven polishing, potentially damaging the clear coat. Too far away, and the polish may not be applied uniformly, prolonging the correction process. Maintaining a consistent tip distance ensures a uniform application of polishing compounds, helping you achieve an even, smooth finish. This consistency is key for effective paint correction, especially when working on stubborn orange peel.
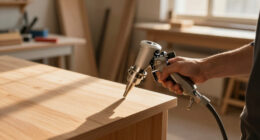
Similarly, the spray or gun distance—the distance between the spray nozzle and the paint surface—must be carefully managed. If you hold the spray too close, you’ll risk over-application, leading to runs or uneven layers. Too far away, and the spray disperses too much, resulting in a thin, inconsistent coat. Proper spray distance ensures even coverage, which is vital during paint correction processes. It allows the polishing compounds to work effectively, breaking down high spots and reducing the orange peel texture.
Ultimately, the combination of proper pressure, tip distance, and spray distance determines your success in fixing orange peel. With the right approach, you can refine your polishing techniques to remove textured surfaces efficiently. Remember, patience and consistent technique are vital. By focusing on these factors, you’ll improve your ability to perform effective paint correction, restoring your car’s smooth, mirror-like finish. It’s a careful balance—adjusting these parameters correctly will save you time and help you achieve professional-quality results. Additionally, understanding navigation and mapping principles can help you better plan your polishing path for more uniform results.

TouchUpDirect Polishing Kit – Remove Orange Peel and Restore Shine DIY – Sanding & Polishing Pads, Polish & Polishing Wax, Drill Extension, Backing Plate and Microfiber Cloth – 9 Items
- Designed for DIYers: Simplifies auto polishing into 3 steps
- Enhances Gloss: Creates a mirror-like, deep shine
- Removes Orange Peel: Smooths out roughness and imperfections
As an affiliate, we earn on qualifying purchases.
As an affiliate, we earn on qualifying purchases.
Frequently Asked Questions
How Do Environmental Factors Affect Orange Peel Texture?
Environmental factors greatly impact the orange peel texture. You’ll notice moisture interference, like high humidity, causes the surface to become rougher and less smooth. Temperature fluctuations also play a role, as sudden changes can cause the skin to expand or contract unevenly, worsening the peel’s appearance. To minimize these effects, control your environment by maintaining consistent humidity and temperature levels, helping your orange peel stay smooth and even.
Can Orange Peel Fixes Be Applied to All Types of Paint?
Did you know that over 60% of painters report difficulty fixing orange peel on certain paints? You can often apply orange peel fixes to most paint types, but success depends on factors like paint sheen and curing time. For glossy or semi-gloss finishes, be cautious, as they might require different techniques. Always check the paint’s curing time to ensure the fix adheres properly and achieves a smooth finish.
What Tools Are Best for Precise Orange Peel Correction?
You should use fine-grit sanding blocks or polishing pads for precise orange peel correction. These tools help you control paint thickness and minimize uneven spots. A dual-action polisher or buffer with a foam pad also works well, allowing you to smooth the surface without damaging the paint. Always check the drying time before working, ensuring the paint cures enough for effective correction without risking damage or uneven results.
How Long Should I Wait After Applying Orange Peel Fix?
Did you know that proper drying time can markedly reduce orange peel texture by up to 70%? After applying your orange peel fix, wait at least 24 hours to ensure proper curing. During this curing process, avoid exposing the surface to water or harsh elements. Patience here ensures the repair bonds correctly, giving you a smooth, glossy finish. Rushing this step might compromise the results.
Are There DIY Methods to Prevent Orange Peel Formation?
You can prevent orange peel formation with DIY polishing by focusing on proper surface preparation and technique. Start with a smooth, clean surface and use even, consistent pressure during polishing. Adjust your tool’s distance and tip to avoid over-aggressiveness, and keep the pad moving to prevent uneven buildup. Regularly inspect your work, and practice patience—these steps help you achieve a flawless finish without orange peel.
Conclusion
Think of fixing orange peel as tuning a guitar—adjust too much or too little, and it won’t sound right. I once tried all three methods and found that using the right distance made the biggest difference, like hitting the perfect note. When you master pressure, tip, and distance, your paint job will shine like a polished guitar string. So experiment, stay patient, and soon your finish will look smooth and flawless—just like hitting the perfect note.