To spray your house siding with an airless sprayer, start by preparing your workspace—clear obstacles and protect nearby surfaces. Choose durable exterior paint suited for weather resistance, and select the right spray equipment with proper nozzles and filters. Set up and calibrate your sprayer for even coverage, maintaining a steady distance of 12-18 inches from the surface. Apply paint with smooth, overlapping strokes, then clean your sprayer thoroughly afterward. Keep these tips in mind for a professional finish—more details help guarantee flawless results.
Key Takeaways
- Properly prepare the exterior surface by cleaning, repairing, and priming for optimal paint adhesion and a smooth finish.
- Select the right exterior-grade paint and calibrate the airless sprayer for consistent, even coverage.
- Maintain a steady spray distance of 12-18 inches, overlapping strokes for uniform application and minimal streaks.
- Test spray settings on scrap surfaces before painting to ensure proper flow, pattern, and pressure.
- Clean the sprayer thoroughly after use and inspect components regularly to prevent clogs and ensure longevity.
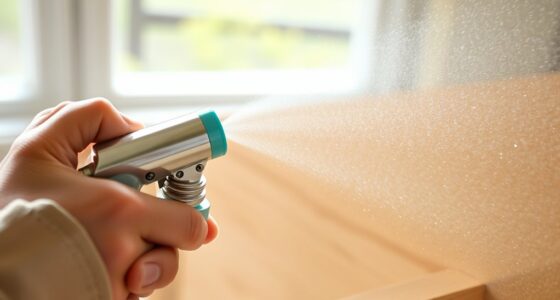
Preparing Your Workspace and Materials
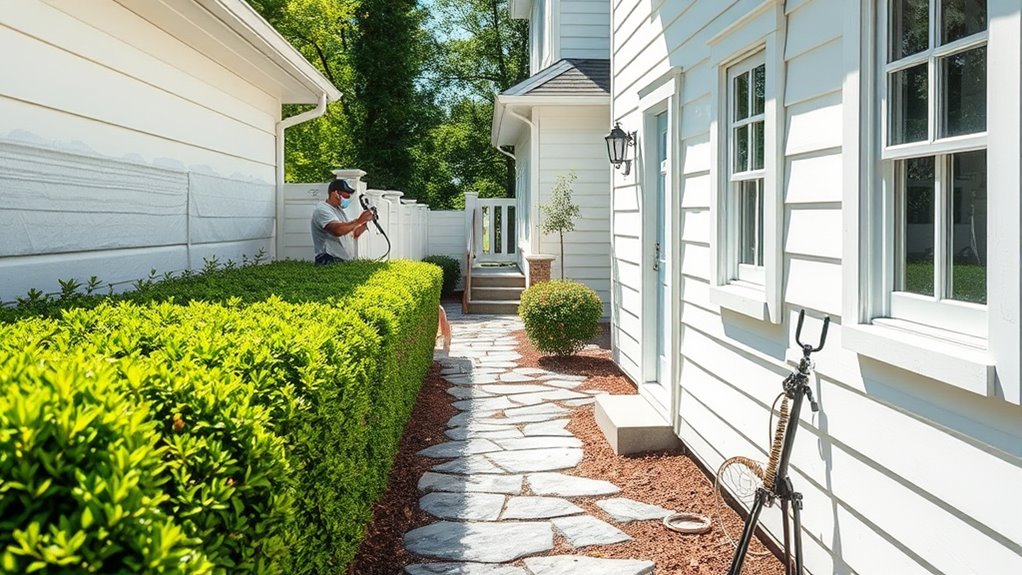
Before you begin painting your house siding with an airless sprayer, it is vital to prepare your workspace and gather all necessary materials. Start by clearing the area of obstacles, furniture, and debris to guarantee safety and easy access. Protect nearby plants, walkways, and fixtures with drop cloths or plastic sheeting. Check your equipment for tool safety—inspect hoses, nozzles, and the sprayer itself for damage, and wear protective gear like masks, goggles, and gloves. When selecting your paint color, choose a hue that complements your home’s style and surroundings, but avoid rushing this decision; the right color can boost curb appeal and longevity. Proper preparation minimizes accidents and ensures efficient, high-quality results. Additionally, understanding the color accuracy of your paint can help you achieve a more vibrant and true-to-life finish. Being aware of best practices for equipment maintenance can further extend the lifespan and performance of your sprayer, ensuring consistent results throughout your project. To achieve optimal results, familiarizing yourself with different types of spray nozzles can help you select the best spray pattern for your siding material. Incorporating safety precautions such as proper ventilation and protective clothing is essential to prevent accidents and health issues during the painting process. Moreover, considering industry transformations like advancements in equipment technology can enhance your efficiency and the quality of your work.
Selecting the Right Paint and Equipment
Choosing the right paint and equipment guarantees a smooth and lasting finish on your siding. You need to pick a suitable paint type that works well with your siding material and matches your project’s needs. Additionally, selecting equipment that matches the size and scope of your job will make the process much easier and more efficient.
Choosing Suitable Paint Types
Selecting the right paint type is essential for achieving a durable and attractive finish on your house siding. When choosing paint, focus on paint durability to withstand weather and UV exposure, making sure long-lasting results. Consider your preferred paint color selection, but prioritize formulations designed for exteriors, such as acrylic latex or elastomeric paints. These types adhere well, resist cracking, and handle expansion and contraction of siding materials. Avoid paints that are too thin or prone to peeling, which can compromise the appearance and longevity of your paint job. By selecting a high-quality, weather-resistant paint suited for your siding material, you’ll ensure a vibrant, durable finish that enhances your home’s curb appeal for years to come. Proper paint selection also includes understanding couples traveling together, as sharing these projects can sometimes be a bonding experience, making the process more enjoyable. Additionally, choosing the right painting equipment can significantly impact the quality and efficiency of your siding project.
Matching Equipment to Job
Matching your equipment to the job is essential for achieving a smooth, professional-looking finish with your airless sprayer. Start by guaranteeing equipment compatibility with the type of siding and paint you’re using. Different surfaces and paint viscosities require specific pressure settings and tip sizes. Using job-specific accessories, like appropriate spray tips and filters, helps improve coverage and reduces overspray. For large exterior surfaces, a wider spray tip speeds up the process, while smaller tips are better for detailed areas. Always verify that your sprayer’s capacity matches the scale of your project to prevent overloading. Ensuring the correct tuning techniques for your equipment and paint type can significantly affect the quality of the finish. Additionally, selecting appropriate spray tips based on the paint’s viscosity ensures a more uniform application. Considering additional protective coatings such as sealants can also enhance the durability and appearance of your paint job. Proper preparation and understanding of paint properties can further improve the effectiveness of your spraying process. Choosing the right equipment and accessories tailored to your job ensures efficient application, minimizes waste, and delivers a flawless, durable finish on your house siding.
Setting Up Your Airless Sprayer
Before you start painting, it’s vital to set up your airless sprayer properly to guarantee a smooth and efficient job. Begin by selecting the right color for your siding, ensuring it’s well-mixed and free of debris. Next, check your equipment calibration; adjust the pressure and spray tip to match the manufacturer’s recommendations for your paint type. Proper calibration ensures an even coat and prevents overspray or runs. Securely attach the paint hose and prime the sprayer to prevent air bubbles. Test the spray on a scrap surface to confirm the flow and pattern. Recognizing soulmate angel numbers can help you tune into potential love opportunities as you work on your home. Taking these steps ensures your sprayer operates smoothly, delivering consistent coverage and a professional finish on your house siding.
Protecting Surrounding Areas and Surfaces
To prevent accidental paint stains and damage, you need to thoroughly safeguard surrounding areas and surfaces before you start spraying. Proper surface protection ensures that paint doesn’t reach unintended places and helps maintain a clean workspace. Before spraying, check that your equipment is properly calibrated to avoid overspray and uneven coating. Cover nearby plants, windows, and walkways with drop cloths or plastic sheeting. Use painter’s tape to secure edges and protect fixtures. Keep a clean workspace by removing or covering furniture, light fixtures, and vents. This attention to surface protection minimizes cleanup time and ensures a professional finish. Additionally, understanding surface preparation techniques can significantly improve the quality and longevity of your paint job. Proper equipment calibration and pinball machine weight awareness are key to a smooth, efficient painting process. Being aware of noise levels of modern heat pumps can also help you create a quieter, more comfortable work environment during your project. Proper safety precautions are essential when working with spray equipment to prevent accidents and ensure a safe workspace. Implementing protective gear such as masks and goggles can further enhance safety during painting. Remember, careful preparation now saves you from potential touch-ups or damage later.
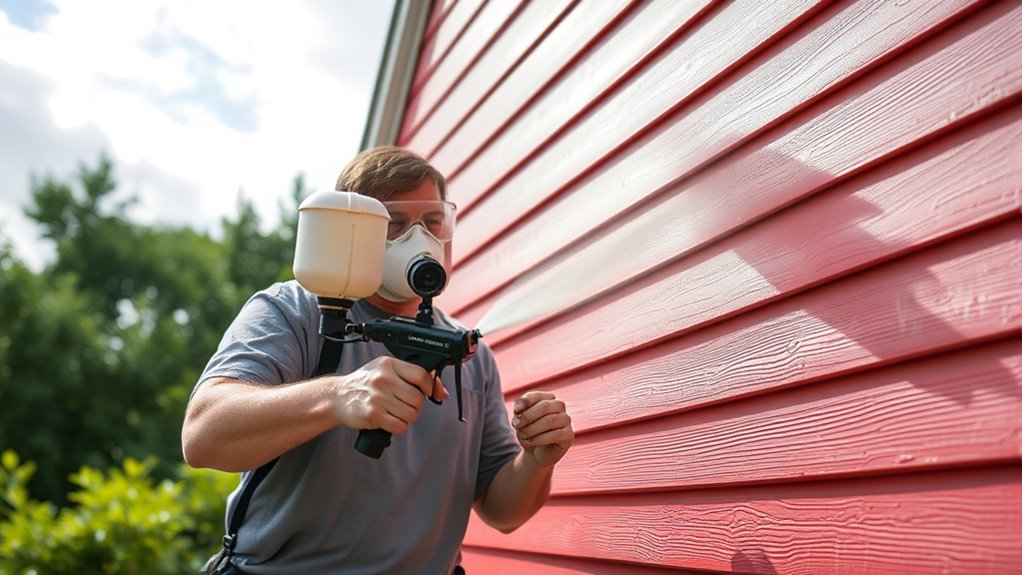
Proper Technique for Applying Paint
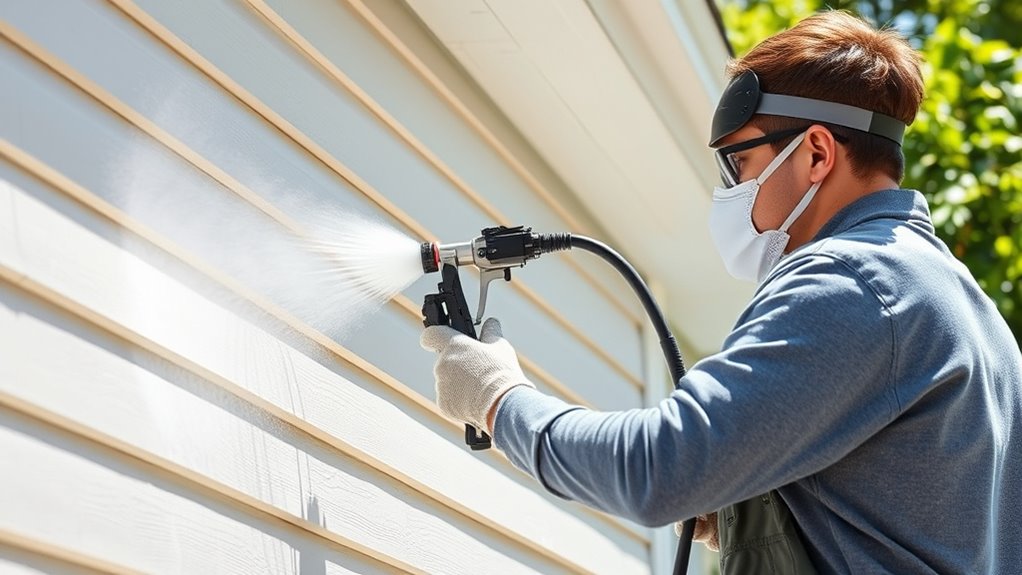
Once your surfaces are protected and your equipment is ready, focus on applying the paint with proper technique to achieve a smooth, even finish. Keep your spray at a consistent distance from the siding, usually 12-18 inches, and maintain steady movements. Use smooth, overlapping passes to prevent streaks. When switching to brush techniques, choose your brushes carefully and work with long, even strokes to blend edges seamlessly. For color selection, opt for a shade that complements your home’s style and lighting conditions. Consistent application helps ensure a professional-looking result and enhances the durability of your paint job. Proper surface preparation is essential for optimal adhesion and longevity of the paint. Additionally, using the right equipment during application can significantly enhance the overall appearance and durability of your paint job. Paying attention to application pace also minimizes the risk of uneven coverage caused by rushing.
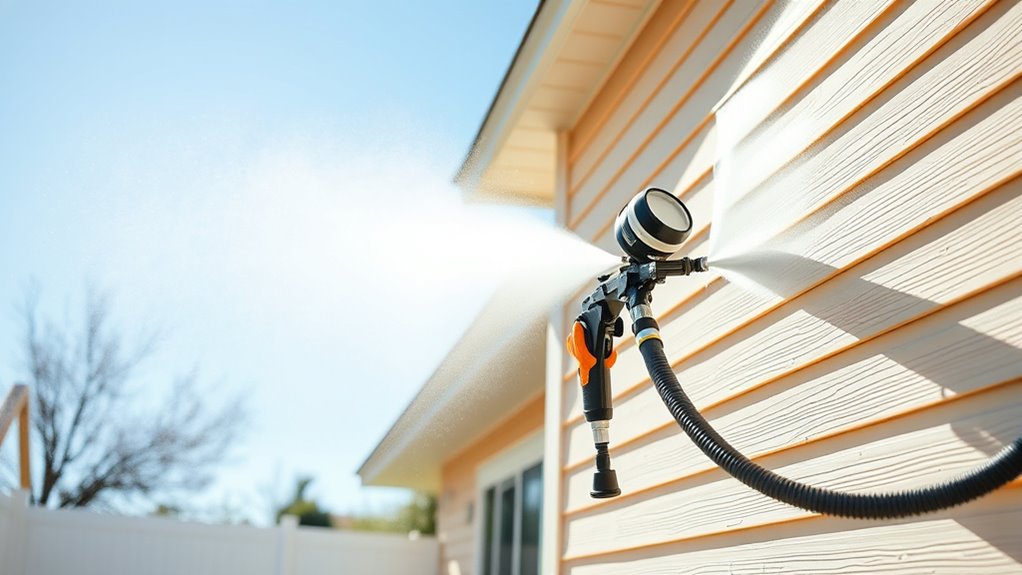
Managing Spray Patterns and Pressure

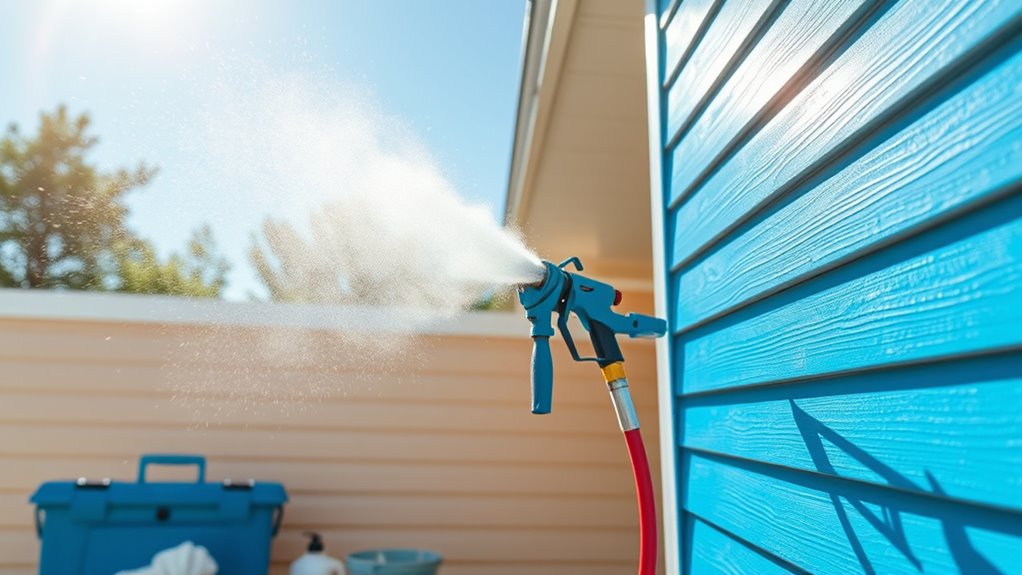
Controlling your spray pattern and pressure is essential for achieving a professional-looking finish. Proper spray pattern adjustment ensures even coverage, while pressure regulation prevents overspray and paint waste. To optimize your results:
- Regularly modify the spray pattern to suit different angles and surfaces for uniform coverage
- Use pressure regulation to maintain consistent flow and prevent runs or drips
- Test spray patterns and pressure settings on scrap material before starting on your siding
- Adjusting your spray pattern and pressure according to the type of surface enhances efficiency and reduces paint consumption air quality, ensuring a smoother finish. Fine-tuning these settings helps you cover large areas smoothly and efficiently. Remember, a wider spray pattern is ideal for flat surfaces, while narrower patterns work best for detailed areas. Adjusting the pressure ensures the paint atomizes correctly, avoiding uneven coats. Mastering spray pattern adjustment and pressure regulation will give your siding a flawless, professional finish.
Cleaning and Maintaining Your Sprayer
Regular cleaning and maintenance are crucial for keeping your airless sprayer in ideal working condition. You should establish a consistent cleaning schedule after each use to prevent paint buildup and ensure smooth operation. Proper cleaning involves flushing out residual paint with the appropriate solvent, depending on the material used. Additionally, check and adjust sprayer calibration regularly to maintain accurate spray patterns and pressure. This helps prevent uneven coverage and reduces paint waste. Inspect all parts, including filters and seals, for wear or damage, replacing them as needed. Keeping your sprayer clean and calibrated extends its lifespan and ensures professional results. Incorporating industry trends into your maintenance routine can also help optimize your sprayer’s performance. For example, paying attention to essential oil properties can inspire innovative cleaning solutions that are eco-friendly and effective. Remember, a well-maintained sprayer performs better and makes your painting project easier and more efficient.
Tips for Achieving a Professional Finish
To get a professional-looking finish, start with proper surface preparation to guarantee the paint adheres smoothly. Keep your spray technique consistent, moving at a steady pace and overlapping each pass slightly. These small details make a big difference in achieving a flawless, even coat.
Proper Surface Preparation
Before you start painting, it’s essential to thoroughly prepare the house siding surface to guarantee a smooth, professional finish. Proper prep helps with color matching, so your chosen hue looks consistent and vibrant. Also, consider weather conditions—wait for dry, mild days to avoid paint issues. Clean the siding thoroughly, removing dirt, mold, and loose paint. Sand rough areas to create a smooth surface, and repair any damaged siding before painting. Use a primer if needed, especially for bare wood or inconsistent surfaces. These steps will improve adhesion and durability. Remember, a well-prepared surface leads to a cleaner, more even finish, saving you time and frustration later on.
- Clean siding thoroughly before painting
- Repair and sand damaged areas
- Check weather forecasts to choose the right day
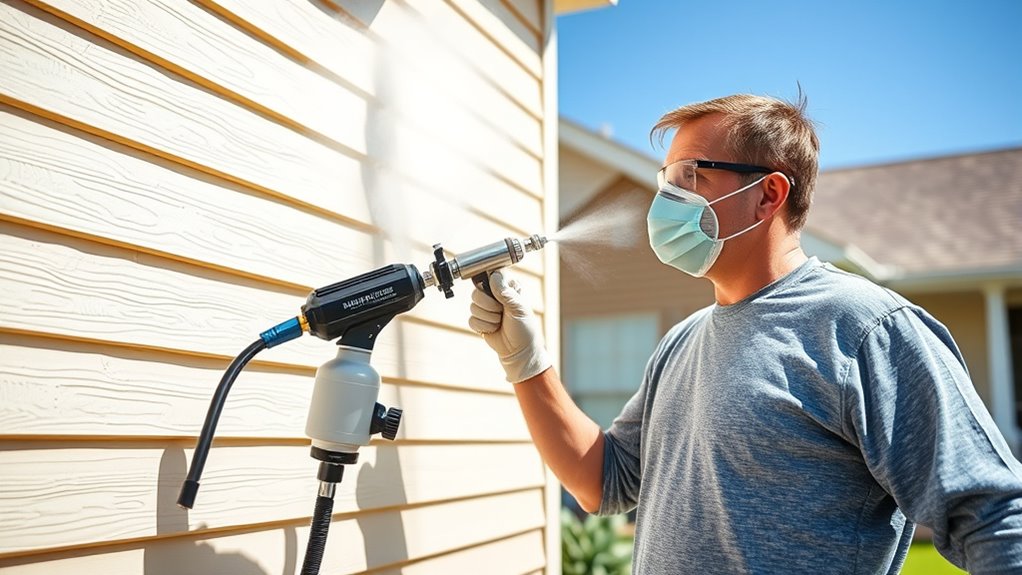
Consistent Spray Technique
Achieving a professional-looking finish with an airless sprayer depends heavily on maintaining a consistent spray technique. Keep your strokes even, moving at a steady pace to avoid streaks or thin spots. Use proper brush techniques when detailing edges or touch-ups, ensuring seamless *connection* between sprayed and brushed areas. Consistent overlap—about half the spray pattern—helps prevent uneven coverage. Pay attention to color matching, especially if you’re blending new paint with existing siding, to maintain uniformity. Adjust your pressure and spray angle regularly to keep the spray pattern uniform. Practice on scrap material first to develop a steady hand and rhythm. With focus and consistency, you’ll achieve a smooth, professional finish that enhances your home’s curb appeal.
Frequently Asked Questions
How Do I Choose the Best Paint Type for My Exterior Siding?
When choosing the best paint type for your exterior siding, consider the paint finish options and exterior paint durability. You want a finish that suits your style, like matte or satin, and provides long-lasting protection. Look for high-quality exterior paints designed to withstand weather conditions, UV rays, and moisture. This guarantees your siding stays vibrant and durable over time, giving your home a fresh, protected look with minimal maintenance.
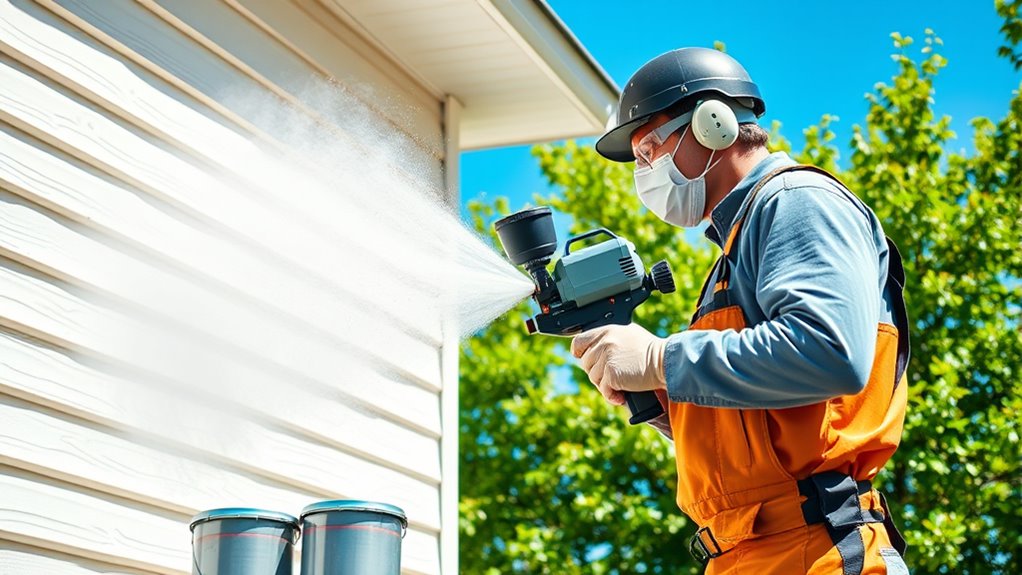
What Safety Gear Should I Wear During Spraying?
Ever wonder how to stay safe while spraying? You should wear protective clothing to guard your skin from paint splashes and respiratory protection to avoid inhaling fumes. A mask or respirator is essential, especially in enclosed spaces. Safety goggles protect your eyes from overspray. Are you prepared to safeguard yourself properly? Always prioritize safety gear like gloves, long sleeves, and a respirator for a safe, successful painting job.
How Do I Troubleshoot Common Sprayer Malfunctions?
When troubleshooting common sprayer malfunctions, start by checking your equipment maintenance routine. If you notice uneven spray or no spray at all, inspect the nozzle for clogging and clean it thoroughly. Confirm your pressure settings are correct, and look for leaks or blockages in hoses. Regular maintenance prevents issues, so always clean and inspect your sprayer after each use to keep it running smoothly.
Can I Spray Different Textures or Materials With the Same Sprayer?
Think of your sprayer as a chameleon — it can adapt to different textures and materials. You can spray various textures or materials with the same sprayer, thanks to its texture versatility and material compatibility. Just make sure to adjust the pressure and nozzle size accordingly. This adaptability lets you tackle everything from smooth walls to rough stucco, making your project efficient without switching equipment.
How Long Does It Typically Take to Complete a House Siding Project?
The project timeline for painting your house siding varies based on size and complexity. On average, it takes a few days to complete, but proper preparation steps, like cleaning and taping, are essential for efficiency. With an airless sprayer, you can speed up the process, but make sure you allocate enough time for thorough coverage and drying. Planning ahead helps you stay on track and achieve professional-looking results within your desired timeframe.
Conclusion
As you finish spraying your house, remember that patience and attention to detail matter just as much as the tools you choose. Sometimes, a smooth coat isn’t just about technique—it’s about trusting the process and embracing the small moments of precision. When you step back and see the even finish, you realize it’s more than a coat of paint; it’s a reflection of your effort and care, quietly transforming your home and your perspective.

A seasoned painter with over 15 years in the industry, Mike transitioned from hands-on painting projects to the digital world of paint sprayers. His extensive experience gives him a unique perspective on what users truly need when it comes to painting tools. As the Editor in Chief of Paint Sprayer Zone, Mike ensures that every piece of content not only provides value but also reflects the realities of painting — the challenges, the joys, and the intricate details.