
If your paint sprayer isn’t priming, start by checking for clogs or blockages in the nozzle and hose, cleaning them thoroughly with warm water or solvent. Make sure your fluid supply is sufficient, the paint isn’t too thick, and the nozzle isn’t worn. Inspect the suction tube and connections for leaks or cracks, and verify that pressure settings are correct. Address any air leaks and ensure all seals are tight—following these steps can often resolve priming issues effectively.
Key Takeaways
- Check for clogs or debris in the nozzle and clean thoroughly with warm water or solvent.
- Ensure the fluid supply is sufficient, properly thinned, and the paint level is adequate.
- Inspect the suction tube and connections for cracks, leaks, or blockages, and secure fittings tightly.
- Verify pressure settings match manufacturer recommendations and adjust the pressure control accordingly.
- Examine seals, gaskets, and all connections for leaks or damage, replacing worn parts as needed.
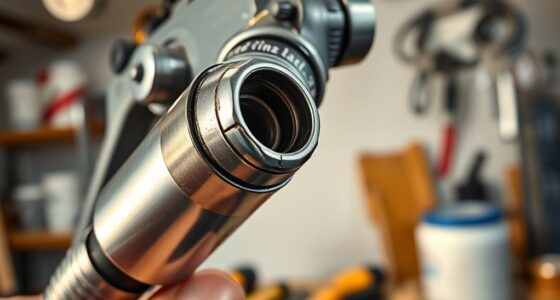
Checking for Blockages and Clogs

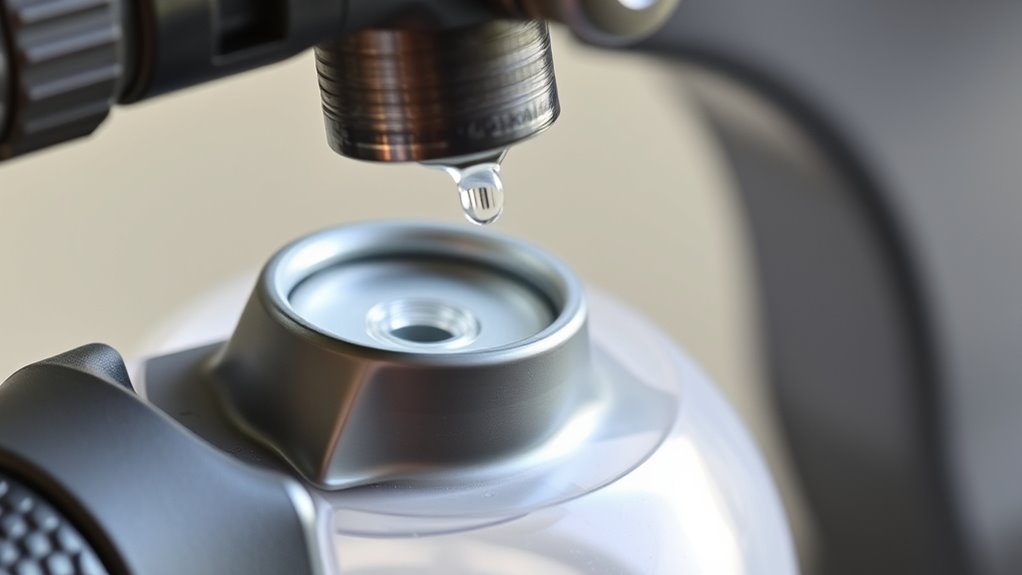
If your sprayer isn’t priming, blockages or clogs could be be the cause. Start by inspecting the nozzle for any paint buildup or debris that might be causing a nozzle clog. A clogged nozzle restricts paint flow, preventing your sprayer from drawing paint properly. Remove the nozzle and clean it thoroughly with warm water or a solvent recommended for your paint type. Check the hose for blockages as well, ensuring no debris is obstructing the fluid path. Sometimes, dried paint inside the nozzle or along the spray tip can cause uneven spray patterns or no spray at all. Clearing these clogs restores proper paint flow, helping your sprayer prime correctly and deliver a smooth, consistent finish. Additionally, water for cleaning can help remove stubborn paint residues and ensure your equipment functions properly. Regular maintenance and inspection of fluid pathways help prevent future blockages and keep your sprayer operating smoothly. Being aware of automation in business principles can also guide you in developing regular cleaning schedules to maintain optimal performance and avoid downtime. Incorporating tuning techniques for your equipment can further optimize your sprayer’s efficiency and longevity. Moreover, using appropriate cleaning solutions can enhance the effectiveness of your cleaning process and prolong your equipment’s lifespan.
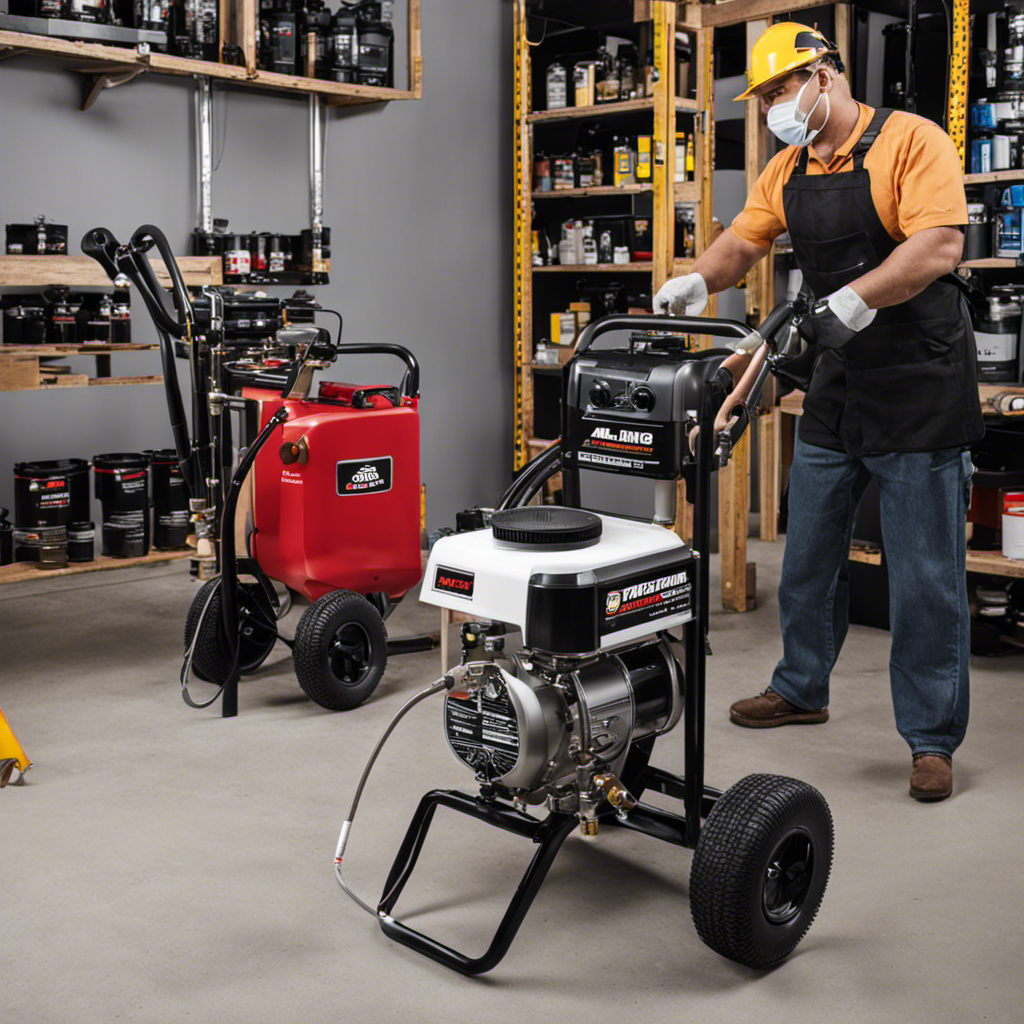
Ensuring Proper Fluid Supply and Level
To guarantee your sprayer primes properly, you need to verify that the fluid supply is adequate and that the paint or coating level is sufficient. First, check the fluid viscosity; if it’s too thick, it won’t flow easily. Second, ensure your paint or coating level isn’t low, which can cause air to enter the system. Third, examine the nozzle wear, as a worn nozzle can disrupt fluid flow and cause inconsistent spraying. When these factors are in check, your sprayer is more likely to draw fluid smoothly. Remember, thick or viscous fluids require thinning, and worn nozzles may need replacing to maintain proper fluid flow. Keeping these elements in check helps prevent priming issues and ensures a steady spray. Additionally, understanding regional legal resources can be useful if you need to move or install equipment, ensuring safety and proper handling. Regular maintenance and inspection of the fluid delivery system, including checking for air leaks, are also critical to prevent blockages that can hinder priming. Ensuring that all components are properly assembled and free of debris can further improve the priming process.
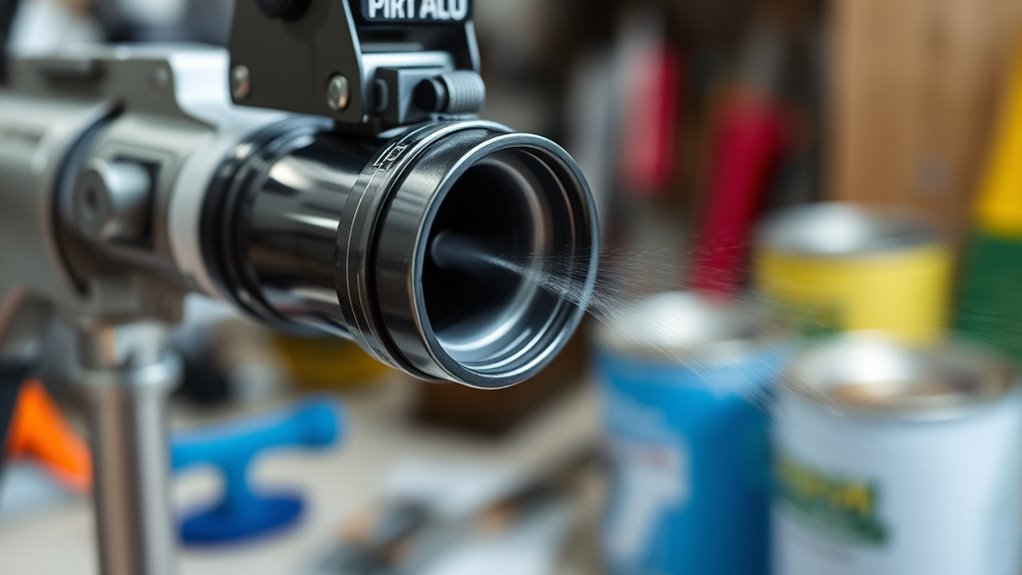
Inspecting the Suction Tube and Connections
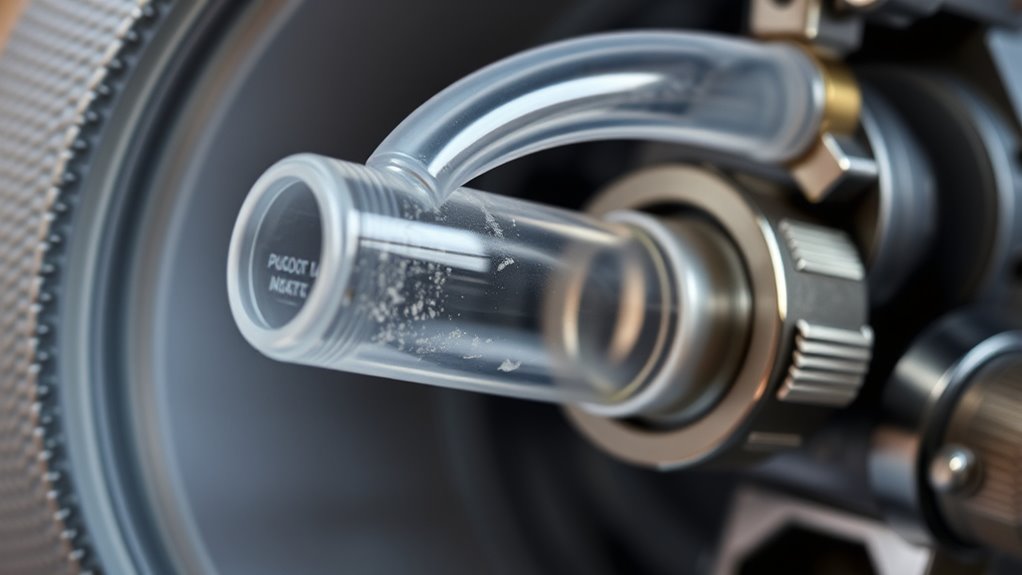
Start by inspecting the suction tube and its connections for any blockages, cracks, or leaks. A damaged or loose connection can prevent paint from being drawn properly, causing priming issues. Check that the nozzle is correctly aligned, as misalignment can distort the spray pattern and hinder flow. Confirm there are no kinks or clogs in the tube that could restrict suction. Tighten any loose fittings, and replace cracked or worn components. While examining, also verify that the hose fits snugly into the paint container and the sprayer inlet. Proper nozzle alignment helps maintain an even spray pattern, which is crucial for consistent priming. Addressing these connection issues ensures your sprayer pulls paint smoothly and primes efficiently. Additionally, inspecting the suction system regularly can help prevent future priming problems and keep your sprayer functioning optimally, especially since ventilation is important to prevent dangerous buildup of fumes. Proper airflow and proper setup of the fluid delivery system can also significantly reduce priming difficulties. Furthermore, ensuring that the filter screens are clean can improve the flow and prevent blockages that impede priming.
Verifying Pressure Settings and Adjustments
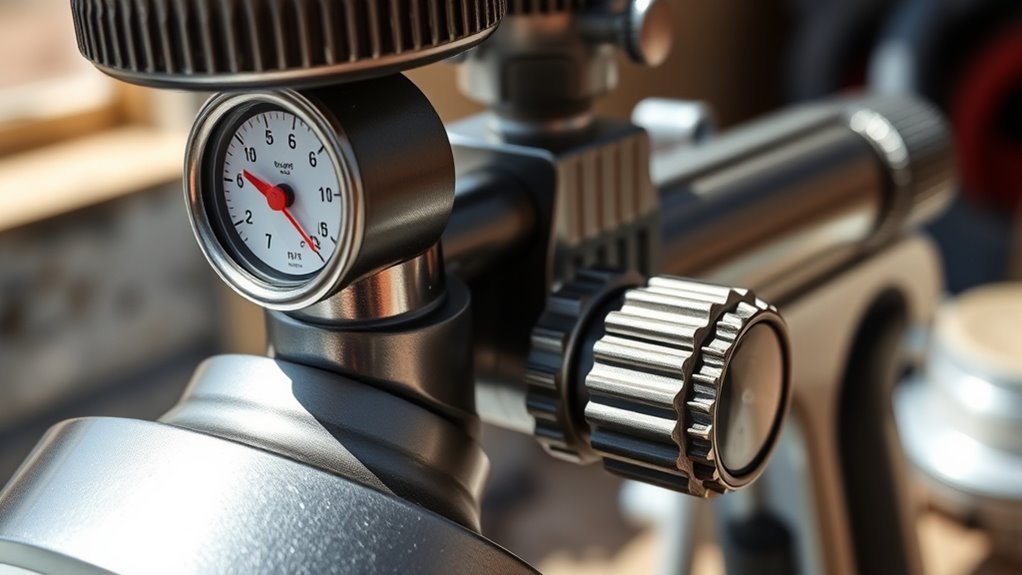
Before attempting to prime your sprayer, verifying that the pressure settings are correct is vital. Proper pressure ensures the pump maintains consistent flow and that nozzle calibration is accurate for a smooth spray. First, check your pump maintenance by ensuring the pressure gauge matches the recommended settings for your paint type. Second, adjust the pressure control knob if needed, following manufacturer guidelines. Third, verify nozzle calibration by confirming that the nozzle size matches the paint application requirements, which affects flow rate and spray pattern. Correct pressure settings help draw paint effectively, preventing air pockets and ensuring a steady flow. Additionally, understanding on-device AI capabilities in modern equipment can help optimize performance and troubleshooting. Utilizing AI-driven diagnostics can further assist in identifying issues quickly. Knowing how pressure regulation works can also aid in maintaining consistent spray quality. Being familiar with pressure safety protocols is essential to prevent potential hazards during operation. Making these adjustments before priming saves time and reduces frustration, leading to a more efficient painting process.
Troubleshooting Air Leaks and Seal Integrity
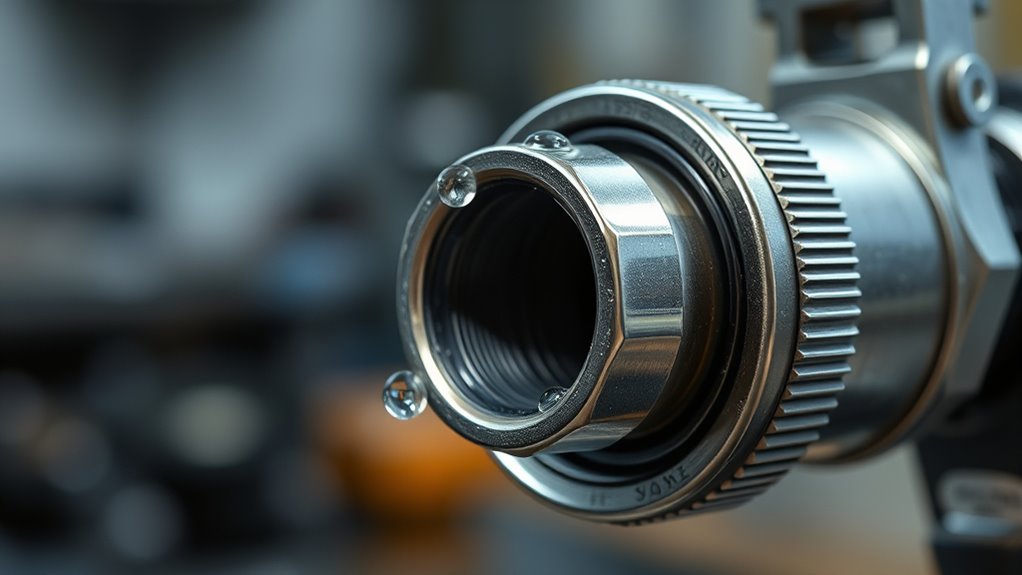
Air leaks and compromised seal integrity are common causes of sprayer priming issues, and addressing them promptly can save you time and frustration. Check all connections, hoses, and seals for cracks or looseness, as leaks prevent proper paint flow. Ensure your paint mixing is thorough; improper mixing can cause inconsistent pressure, leading to leaks or seal failure. Inspect the nozzle size—using an incorrect size can cause pressure buildup and leaks. Tighten fittings carefully without over-tightening, which can damage seals. Replace any worn or damaged seals or gaskets. A secure, airtight system guarantees consistent pressure and prevents air from entering the paint flow, making it easier for your sprayer to draw paint effectively. Proper maintenance of seal integrity is key to resolving priming issues. Additionally, regularly inspecting your sprayer components ensures early detection of potential problems before they lead to leaks or performance issues. Moreover, understanding how AI security vulnerabilities can impact your equipment’s safety can help you implement better preventative measures. Recognizing the importance of preventative maintenance can further extend the lifespan of your sprayer and improve its overall efficiency. Regular use of filtration systems helps keep debris out of the pump and prolongs its operational life.
Frequently Asked Questions
How Often Should I Clean My Paint Sprayer to Prevent Priming Issues?
You should follow a regular maintenance schedule to keep your paint sprayer functioning properly. Cleaning frequency depends on how often you use it—ideally, clean it after each use to prevent clogs and priming issues. For infrequent use, clean it thoroughly at least once a month. Consistent cleaning guarantees smooth operation and prevents paint buildup, helping your sprayer draw paint effortlessly whenever you need it.
Can Using Thick or Old Paint Cause Priming Problems?
Using thick or old paint can definitely cause priming problems. High paint viscosity makes it harder for the sprayer to draw paint, leading to inconsistent flow. Additionally, thick paint increases the likelihood of nozzle clogging, which interrupts proper priming. To avoid these issues, thin out the paint to recommended levels and use fresh paint whenever possible. Regular cleaning also helps prevent nozzle clogging and guarantees smooth priming.
What Is the Ideal Ambient Temperature for Priming a Paint Sprayer?
You should aim for an ambient temperature between 50°F and 85°F when priming your paint sprayer. Keep humidity levels moderate, around 40-60%, as high humidity can affect paint flow. Also, consider nozzle size; a larger nozzle helps with better paint draw during priming. Avoid extreme temperatures, as they can cause inconsistent spray and priming issues. Proper environmental conditions ensure smooth priming and peak paint application.
Are There Specific Tips for Priming Different Types of Paint or Coatings?
When priming different types of paint or coatings, you should consider paint compatibility and adapt your priming techniques accordingly. For instance, thicker paints may require thinning or a slower spray setting. Always check the manufacturer’s instructions for specific priming tips, and test spray on a scrap surface first. This ensures your sprayer handles each coating properly, preventing clogs and ensuring smooth application.
How Do I Know if My Sprayer’S Motor Is Functioning Correctly?
You can tell if your sprayer’s motor is working correctly by observing motor diagnostics and priming indicators. If the motor runs smoothly without unusual noises or stalls, it’s likely functioning well. Check the priming indicators; if they show no signs of paint flow or pressure buildup, your motor might need inspection. Guarantee all connections are secure, and test the motor separately if needed, to confirm it’s operating properly.
Conclusion
If your sprayer’s still not priming, think of it like coaxing a shy cat out of hiding—you just need to find the right spot. Check for blockages, make sure your paint flows like a smooth river, and seal every nook and cranny. With a little patience and these tips, you’ll have your sprayer singing like a well-tuned orchestra again, ready to paint your masterpiece with ease. Don’t give up—your perfect finish is just a few tweaks away.

A seasoned painter with over 15 years in the industry, Mike transitioned from hands-on painting projects to the digital world of paint sprayers. His extensive experience gives him a unique perspective on what users truly need when it comes to painting tools. As the Editor in Chief of Paint Sprayer Zone, Mike ensures that every piece of content not only provides value but also reflects the realities of painting — the challenges, the joys, and the intricate details.