Using a paint sprayer for DIY craft and decor projects makes it easy to achieve smooth, even coverage on surfaces like furniture, walls, or decorative accents. First, choose the right sprayer and prepare your workspace with proper ventilation and surface cleaning. Mix and thin your paint correctly, practice your technique, and maintain your equipment for best results. If you keep these tips in mind, you’ll be able to create professional-looking finishes with confidence. Keep going to discover more expert tricks!
Key Takeaways
- Choose the right sprayer type (airless or HVLP) based on project size and detail level.
- Prepare surfaces thoroughly by cleaning, sanding, and priming for smooth paint application.
- Thin and mix paint properly, testing on scrap surfaces before spraying your craft or decor item.
- Maintain consistent distance (6-12 inches) and overlapping strokes for an even, flawless finish.
- Clean and store the sprayer correctly after use to ensure longevity and optimal performance.
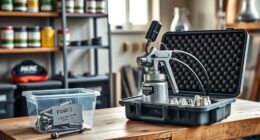
Choosing the Right Paint Sprayer for Your Projects
When selecting a paint sprayer for your DIY projects, it’s important to take into account the type of projects you’ll be tackling and the level of finish you desire. Consider the brush types available—airless, HVLP, or handheld—each suited to different tasks. Airless sprayers are powerful and ideal for large surfaces, while HVLP models provide a finer finish for detailed work. Also, pay attention to the spray pattern; adjustable spray patterns like round, horizontal, or vertical give you control over coverage and precision. For intricate projects, a sprayer with customizable spray patterns helps minimize overspray and ensures even application. Matching the right brush types and spray pattern to your specific project simplifies the process and results in a professional-looking finish. Additionally, understanding the types of sprayers available can help you choose the most suitable option for your needs. A high-pressure system enhances paint application efficiency, especially on larger projects, and understanding the different cost of living adjustments in annuities can help you plan your finances more effectively. Being aware of regional resources and tools, such as local suppliers and expert advice, can further improve your project outcomes.
Preparing Your Workspace and Materials

Before you start spraying, organize your tools and supplies so everything’s within reach. Make certain your workspace has proper ventilation to keep the air safe and fumes clear. Good ventilation is especially important when using eye patch ingredients like collagen and hyaluronic acid, which can sometimes cause irritation if inhaled in concentrated form. Additionally, incorporating sustainable materials into your project can enhance the eco-friendliness of your craft. Proper ventilation can also help maintain the appropriate temperature for specialty teas, ensuring you achieve the desired flavor and aroma during your brewing process. Being aware of family photoshoot fails can help you avoid common mishaps and create a more enjoyable crafting environment. Using proper safety equipment such as masks and goggles is essential to protect yourself from overspray and airborne particles.
Organize Tools and Supplies
To guarantee a smooth painting process, start by organizing your tools and supplies in a dedicated workspace. Tool storage is essential—use labeled bins or tool organizers to keep brushes, nozzles, and extra parts within easy reach. Make certain your spray gun, mask, and gloves are nearby but out of the way when not in use. Good supply organization helps prevent clutter that can slow you down or cause mistakes. Arrange paints, cleaning supplies, and drop cloths systematically so you can quickly grab what you need. Keep your workspace tidy, with everything in its place, to maintain focus and efficiency. Proper organization minimizes disruptions and makes the entire project more enjoyable and safe. Monitoring signs of spoilage in your supplies can help ensure a safe and successful project. Additionally, paying attention to meditation techniques can improve your focus and patience during detailed work. Being aware of product expiration dates is crucial to avoid using compromised materials that can affect your results. Incorporating mindfulness practices during preparation can help reduce stress and increase your attention to detail throughout the project. Moreover, understanding the performance metrics of your tools can help you select the most effective equipment for your tasks.
Select Proper Ventilation
Proper ventilation is essential to guarantee your workspace remains safe and comfortable while using a paint sprayer. Good airflow improves air quality, reducing harmful fumes and ensuring you stay healthy. To maximize personal safety, choose an area with ample ventilation, such as near open windows or with exhaust fans. Consider the following setup:
| Ventilation Method | Benefits | Tips |
|---|---|---|
| Open Windows | Natural airflow, fresh air | Use fans to enhance flow |
| Exhaust Fans | Removes airborne fumes | Position near spraying area |
| Ventilation Masks | Protects against inhalation | Always wear when needed |
| Air Purifiers | Improve air quality | Use with HEPA filters |
| Negative Pressure | Keeps fumes contained | Seal workspace effectively |
Prioritize these options to protect your air quality and personal safety during your project. Incorporating proper ventilation techniques can significantly reduce health risks associated with paint fumes. Additionally, ensuring continuous airflow helps in dispersing volatile organic compounds, which are common in many paints and coatings. Properly managing air exchange systems is crucial for maintaining a safe environment. Using air filtration methods can further enhance the removal of contaminants from your workspace. Implementing adequate ventilation also helps prevent the buildup of humidity, which can cause issues like mold growth in your workspace.
Prepare Surface and Area
Making certain your workspace is clean and well-prepared is essential for achieving a smooth and professional-looking finish. Start by clearing the area of clutter and covering nearby surfaces to prevent overspray. Prep your material’s surface by removing dirt, grease, and loose paint, which can affect surface texture and paint adhesion. Sand rough or glossy areas to create a smoother surface that promotes better paint grip. Use a tack cloth to remove dust and debris before spraying. Properly prepared surfaces ensure your paint adheres evenly and reduces imperfections. Also, set up good lighting so you can see your work clearly. Additionally, ensuring your workspace has adequate ventilation helps disperse fumes and maintains a safe environment during painting. Good surface preparation is key to achieving a professional finish and avoiding common issues such as drips or uneven coverage. Incorporating proper cleaning techniques into your workflow further minimizes dust and contaminants that can ruin a paint job. Using the right protective gear can also safeguard you from paint fumes and splatters, ensuring a safer working environment. Taking these steps helps achieve a flawless finish and prevents issues like peeling or uneven coverage caused by poor surface preparation.
Properly Mixing and Thinning Paint for Spraying
Getting your paint to the right consistency is key for a smooth spray. You’ll need to use the correct thinning agents to achieve that ideal flow. Let’s explore how to mix and thin your paint effectively for the best results.
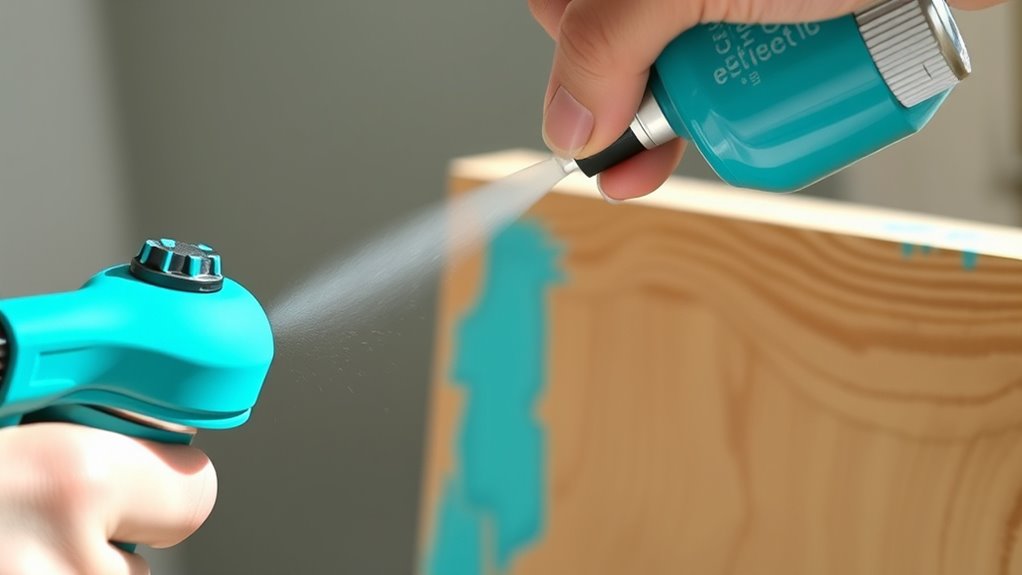
Achieving Correct Consistency
To achieve a smooth spray, you need to mix and thin your paint to the right consistency. Properly mixed paint ensures color matching remains accurate, preventing uneven tones or blotches. Thinning the paint correctly helps create a consistent spray pattern, avoiding runs or sputters. Start by testing your mixture on a scrap surface, adjusting the thickness as needed. If the paint drips or pools, it’s too thick; if it splatters or atomizes unevenly, it’s too thin. Keep the paint well-mixed during spraying to prevent clogs and maintain an even application. Achieving the correct consistency allows your spray pattern to stay uniform, giving you professional-looking results with minimal effort. This step is vital for a flawless finish in your DIY craft and decor projects.
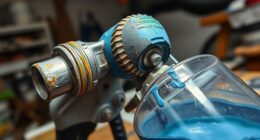
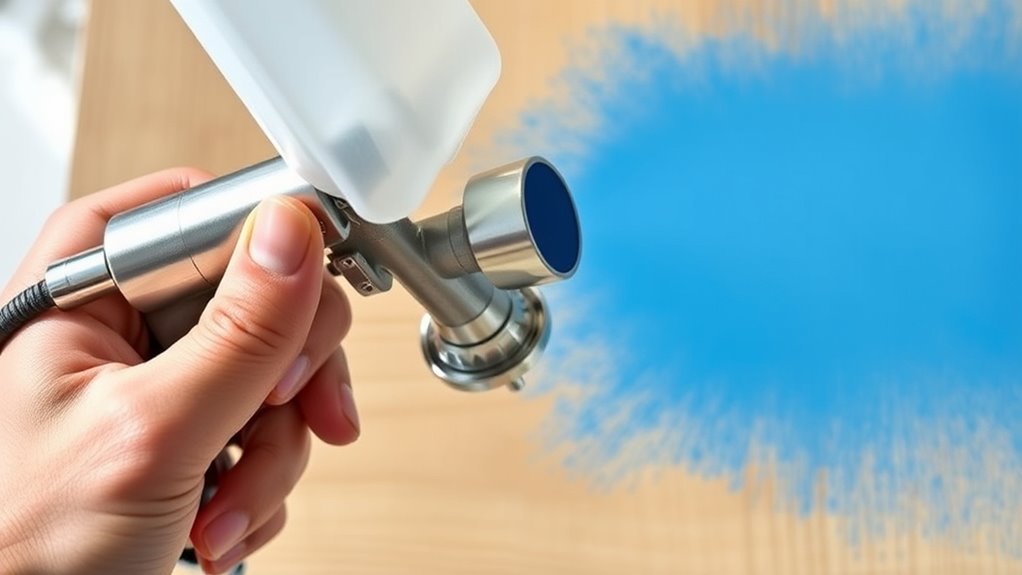
Using Proper Thinning Agents
Using proper thinning agents is essential for achieving a smooth, even spray pattern. The right thinning agents help you adjust the paint consistency, making it easier to spray without clogs or sputters. When mixing, start with small amounts of thinning agent—like water, mineral spirits, or specialized reducers—adding gradually until the paint flows smoothly. Too thick, and the paint will clog the sprayer; too thin, and the finish may be uneven or runny. Always follow the manufacturer’s recommendations for your specific type of paint. Properly thinning your paint ensures ideal atomization and a professional-looking finish. Remember, using the correct thinning agents and adjusting carefully will give you better control and a flawless spray every time.
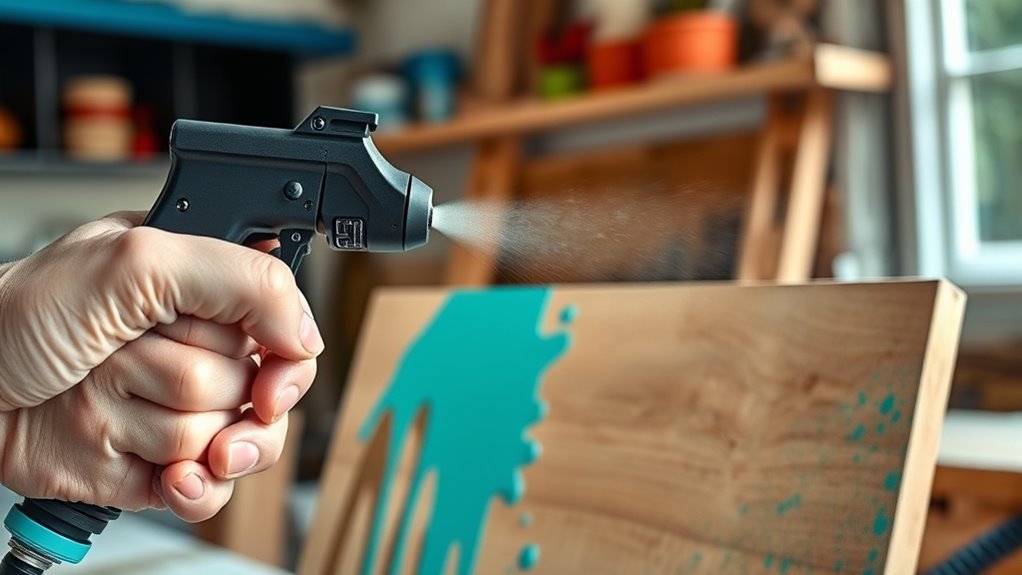
Techniques for Applying Paint With a Sprayer
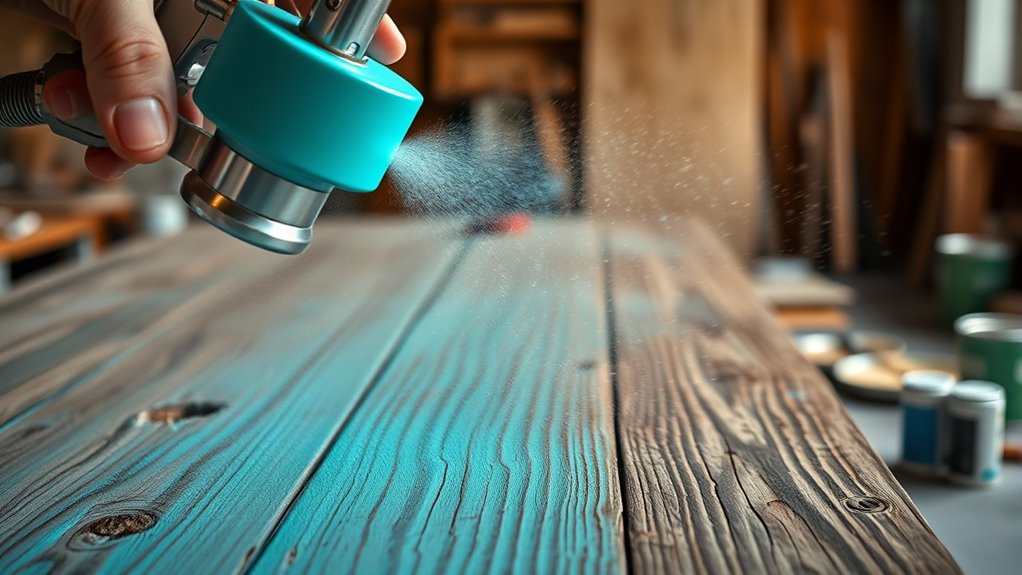
Mastering the proper techniques for applying paint with a sprayer guarantees a smooth, even finish on your DIY projects. Begin by practicing your brush techniques for edge control and detail work, which complements your spray application. When using the sprayer, maintain a consistent spray pattern by keeping the nozzle at a steady distance—usually about 6 to 12 inches from the surface. Move your arm smoothly in a side-to-side motion, overlapping each pass by 50% to avoid streaks or uneven coverage. Adjust your pressure and spray pattern based on the surface and paint type. Consistent speed and technique prevent drips and ensure a professional-looking finish. With practice, your spray application becomes seamless, making your craft projects look polished and refined.
Cleaning and Maintaining Your Paint Sprayer
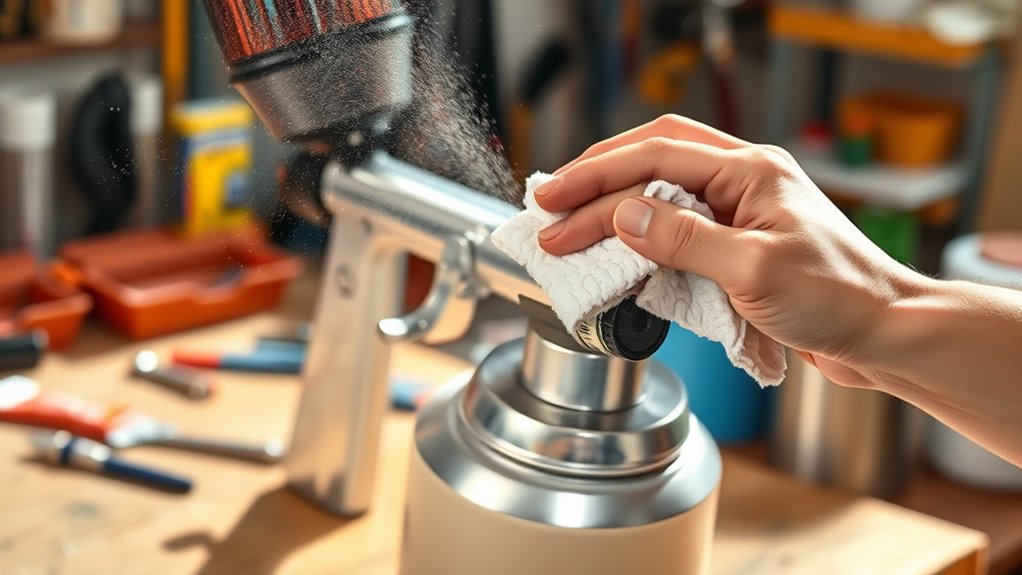
After finishing your painting session, cleaning your paint sprayer properly is essential to keep it functioning smoothly. Always prioritize paint sprayer safety by wearing gloves and eye protection during cleanup. To clean, disassemble the nozzle and remove any remaining paint, then flush the system with the appropriate solvent—water or paint thinner, depending on your paint type. Regular maintenance prevents clogs and prolongs your sprayer’s life. Once clean, store your sprayer in a safe, dry place using proper storage solutions like hanging it or keeping it in a protective case. Proper storage prevents damage and ensures quick setup next time. Consistent cleaning and mindful storage help maintain ideal performance and safety, making your DIY projects easier and more enjoyable.
Tips for Achieving a Flawless Finish
Achieving a flawless finish with your paint sprayer requires attention to detail and proper technique. Start by adjusting your spray pattern to ensure even coverage. Consistent movement and a steady speed help prevent drips and uneven coats. For color matching, test your paint on a scrap surface before applying it to your project, making sure the shade matches perfectly. Keep the spray distance consistent—usually about 6-12 inches from the surface. Use overlapping strokes to avoid streaks. Here’s a quick reference:
| Technique | Tip | Result |
|---|---|---|
| Spray pattern | Match pattern to surface texture | Smooth, even finish |
| Color matching | Test on scrap before final coat | Perfect color consistency |
| Movement | Maintain steady, overlapping strokes | Flawless coverage |
| Distance | Keep a constant distance from surface | No runs or sags |
| Equipment adjustment | Regularly check spray settings | Ideal spray control |
Frequently Asked Questions
Can I Use a Paint Sprayer on Delicate or Porous Surfaces?
When considering if you can use a paint sprayer on delicate or porous surfaces, you should assess delicate surface preparation and porous surface sealing. For delicate surfaces, guarantee they’re properly protected and use a gentle spray setting. For porous surfaces, seal them first to prevent paint absorption and uneven coverage. This approach helps achieve a smooth finish without damaging or over-penetrating the surface, making your project look professional and polished.
What Safety Gear Should I Wear When Using a Paint Sprayer?
When you’re ready to plunge into your project, it’s wise to gear up first. Wear protective clothing to keep paint away from your skin and respiratory protection to prevent inhaling fumes or overspray. These safety measures act as your shield, ensuring a smooth, worry-free experience. Always check your sprayer’s instructions and work in a well-ventilated area. Staying protected helps you focus on creating your beautiful decor.
How Do I Troubleshoot Common Paint Sprayer Clogs or Uneven Spray?
When troubleshooting paint sprayer clogs or uneven spray, start by checking the paint flow; if it’s slow or inconsistent, clear any blockages. Next, clean the nozzle thoroughly, guaranteeing no dried paint is obstructing it. Sometimes, adjusting the pressure or thinning the paint helps. Regular nozzle cleaning and maintaining proper paint flow prevent future clogs and ensure a smooth, even spray for your project.
Is It Possible to Customize Spray Patterns for Different Projects?
Yes, you can customize spray patterns for different projects by adjusting the nozzle. Most sprayers allow you to change nozzle settings to create a wider or narrower spray, giving you greater control over your finish. Try experimenting with nozzle adjustments to achieve the desired spray pattern. This flexibility helps you tailor your application, whether you’re covering large surfaces or adding fine details, making your DIY projects look professional.
How Long Does It Typically Take to Complete a Large DIY Project With a Sprayer?
You wonder how long a large DIY project might take with a sprayer. The answer hinges on careful project planning, including preparation, application, and drying time. It can range from several hours to days, depending on complexity and material. Expect to allocate extra time for drying, especially if multiple coats are needed. Rushing can compromise quality, so patience during drying guarantees a flawless finish and a successful project.
Conclusion
Using a paint sprayer can transform your DIY projects, making them quicker and more professional-looking. Did you know that sprayers can reduce painting time by up to 50% compared to brushes and rollers? With the right technique and maintenance, you’ll achieve flawless finishes every time. So, jump right in, experiment, and enjoy creating beautiful crafts and decor that truly stand out. Your next project is just a spray away from perfection!

Franz came aboard the Paint Sprayer Zone team with a background in both journalism and home renovation. His articulate writing style, combined with a passion for DIY projects, makes him an invaluable asset. Franz has a knack for breaking down technical jargon into easy-to-understand content, ensuring that even the most novice of readers can grasp the complexities of paint sprayers.