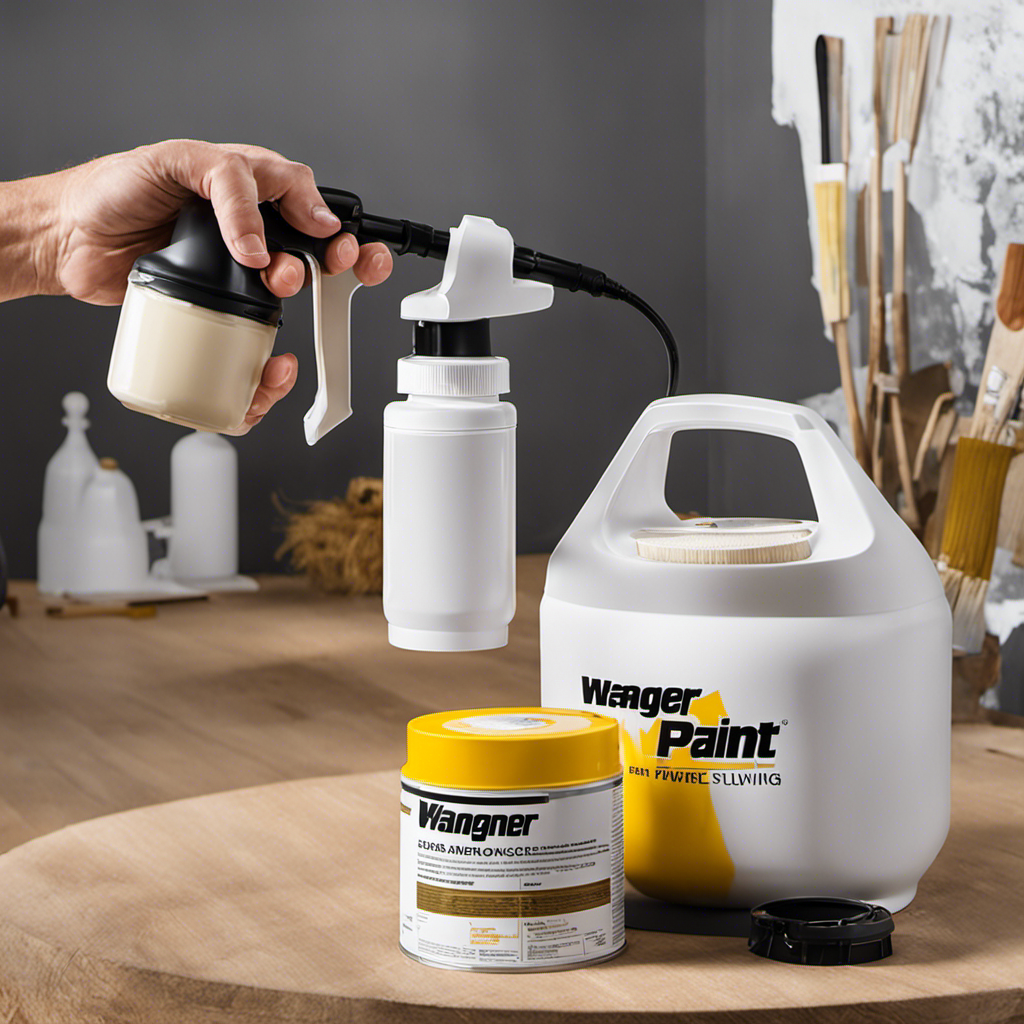
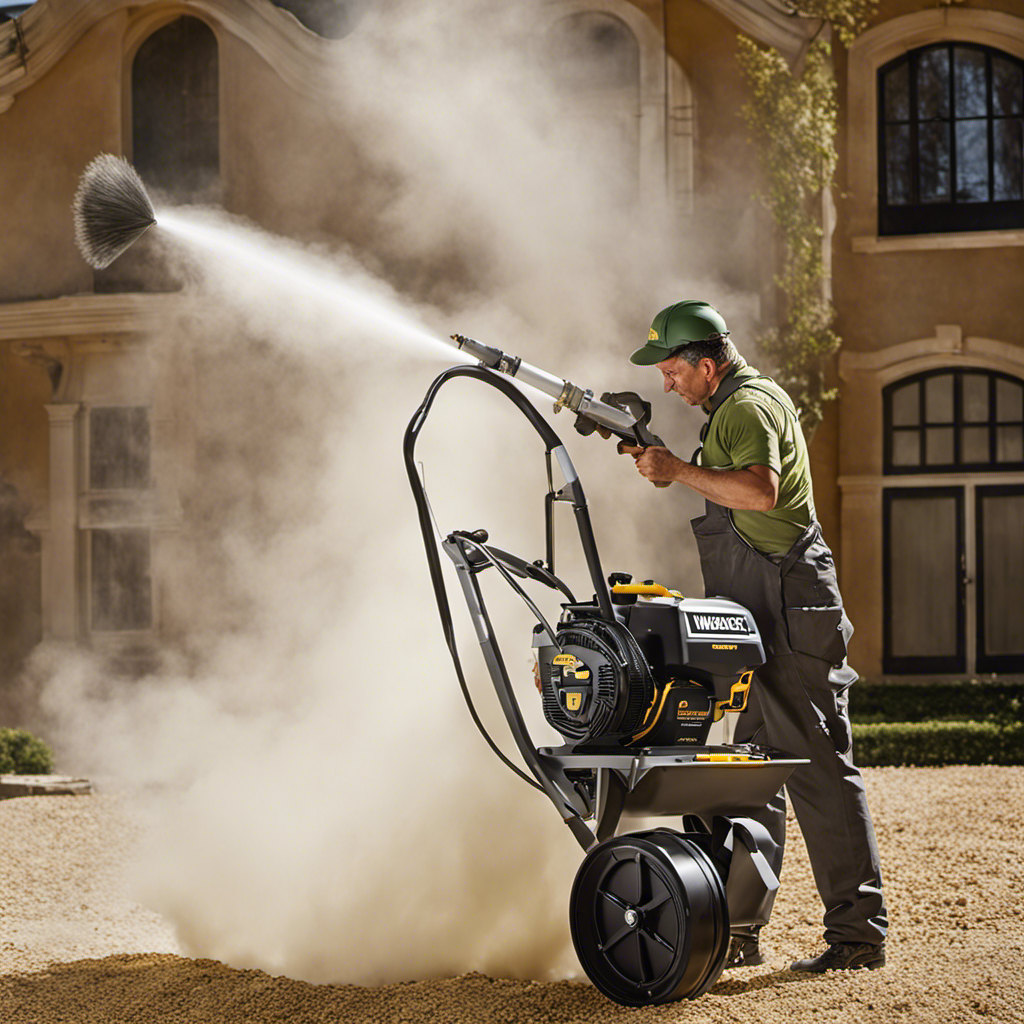
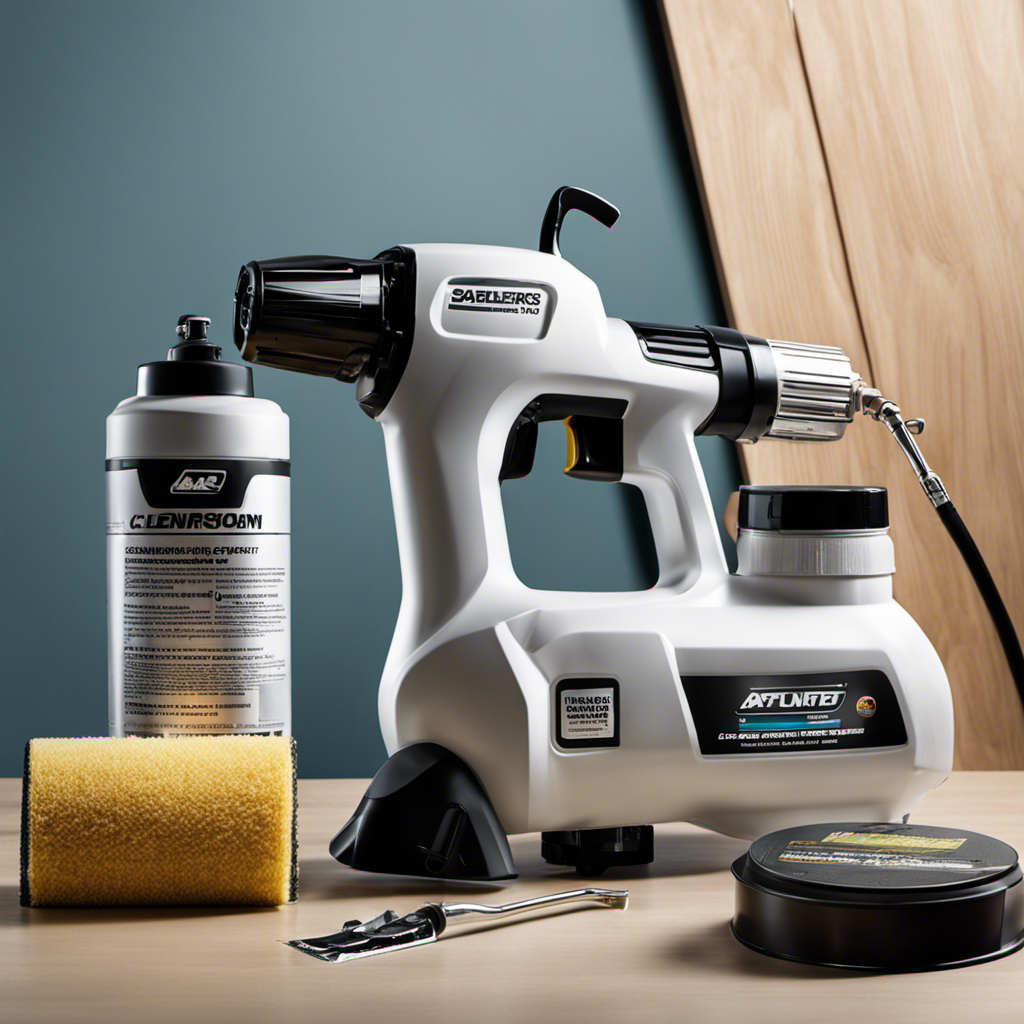
Mastering how to control paint flow with the Wagner Airless Sprayer is simplified by following these expert tips and techniques.
Regular maintenance and cleaning ensure optimal performance and prevent clogs and buildup.
By understanding and adjusting the controls, thinning paint correctly, and implementing effective techniques for controlling paint flow, users can achieve a professional finish every time.
This article provides step-by-step instructions and valuable insights to help painters of all skill levels enhance their painting experience with the Wagner Airless Sprayer.
Key Takeaways
- Regular cleaning and maintenance enhance sprayer performance and prevent clogs and buildup.
- Understanding and adjusting controls ensure smooth and even paint flow for a flawless finish.
- Thinning paint properly allows for better control over the flow and a smoother finish.
- Techniques for controlling paint flow include maintaining a consistent distance, controlling the trigger gently, and moving the gun in a smooth, continuous motion.
Understanding the Importance of Cleaning and Maintenance
Regular cleaning and maintenance enhance the performance of the Wagner airless sprayer, prevent clogs and buildup, extend its lifespan, and ensure smooth paint flow.
It is important to regularly clean and maintain the sprayer to keep it in optimal condition. To effectively clean the sprayer, start by flushing out any remaining paint with water or a recommended cleaning solution.
Thoroughly clean and inspect each part, paying special attention to the nozzle to prevent clogs. Address any clogged nozzle issues by cleaning it with warm water or cleaning solution and removing dried paint or debris.
Additionally, regularly check the paint viscosity, inspect the paint hose and filter for obstructions, and clean or replace any obstructed parts to achieve a consistent spray pattern and ensure even paint flow.
Flushing Out Remaining Paint and Cleaning Each Part
To ensure optimal performance, one must thoroughly clean and flush out any remaining paint from the Wagner airless sprayer. Inspect each part for any obstructions or damage.
Proper paint thinning is important for achieving a smooth and even paint flow. Consult the manufacturer’s instructions or test on a small area before thinning the entire batch. Use the recommended thinning materials or alternative methods such as water for latex paint or mineral spirits for oil-based paints.
Techniques for controlling paint flow effectively include maintaining a consistent distance of approximately 12 inches from the surface. Gently control the trigger to release a controlled amount of paint. Move the gun in a smooth, continuous motion. Overlapping each stroke slightly ensures even distribution.
Practice with test sprays to find the right technique and adjust pressure settings to achieve the desired flow rate. Mastering these techniques will result in a professional-looking finish.
Addressing Clogged Nozzle Issues
The user can address clogged nozzle issues by cleaning it with warm water or a cleaning solution, ensuring smooth paint flow and optimal sprayer performance. To prevent nozzle clogs and troubleshoot nozzle issues effectively, there are a few important steps to follow:
- Regularly clean and inspect each part of the sprayer, giving special attention to the nozzle.
- Disassemble the sprayer and clean each part thoroughly, removing any dried paint or debris.
- Reassemble the sprayer and run water through it to remove any residue.
- Inspect for any damage or wear and replace faulty parts if necessary.
Achieving a Consistent Spray Pattern
Achieving a consistent spray pattern requires checking the paint viscosity, inspecting the paint hose and filter for obstructions, and cleaning or replacing obstructed parts. These steps are crucial for ensuring even paint flow and a professional-looking finish.
Common mistakes to avoid when achieving a consistent spray pattern include failing to clean the sprayer thoroughly after each use, neglecting to check the spray tip for clogs or damage, and not adjusting the pressure settings or properly thinning the paint.
To troubleshoot clogged nozzle issues in Wagner airless sprayers, it is recommended to clean the nozzle with warm water or a cleaning solution, removing any dried paint or debris. Additionally, disassembling and cleaning each part thoroughly, paying special attention to the nozzle, can help prevent clogs and maintain optimal sprayer performance.
Thoroughly Cleaning the Nozzle
Cleaning the nozzle thoroughly ensures optimal sprayer performance and prevents clogs or disruptions in paint flow. To effectively clean the nozzle, follow these cleaning techniques and troubleshooting tips:
- Use warm water or a recommended cleaning solution to clean the clogged nozzle.
- Remove any dried paint or debris from the nozzle to ensure smooth paint flow.
- Disassemble each part of the nozzle and clean them thoroughly.
- Pay special attention to the nozzle to prevent clogs.
- After cleaning, reassemble the nozzle and run water through it to remove any residue.
- Inspect the nozzle for any damage or wear and replace faulty parts if necessary.
Disassembling and Cleaning Each Part
To disassemble and clean each part of the Wagner airless sprayer, the user should carefully follow the recommended steps provided in the user manual. Proper disassembly techniques are essential to prevent nozzle clogs and ensure optimal sprayer performance.
Thoroughly cleaning and inspecting each part, especially the nozzle, is crucial to maintain smooth paint flow and prevent buildup. By addressing clogged nozzle issues and removing dried paint or debris, users can achieve consistent spray patterns and enhance overall sprayer performance. It is important to pay special attention to the nozzle during the cleaning process to prevent clogs.
Once the cleaning is complete, users should reassemble the sprayer and run water through it to remove any residue. Finally, inspecting for damage or wear and replacing faulty parts will help maintain the sprayer’s effectiveness.
Paying Special Attention to the Nozzle
Inspecting the nozzle carefully and removing any debris or dried paint is crucial for maintaining optimal performance of the Wagner airless sprayer. Proper nozzle maintenance is essential to prevent clogs and ensure smooth paint flow. Here are some key steps to follow for nozzle maintenance:
- Regularly inspect the nozzle for any signs of clogs, such as dried paint or debris.
- Use warm water or a recommended cleaning solution to clean the nozzle thoroughly.
- Remove any clogs or obstructions by gently scrubbing the nozzle with a brush.
- Pay close attention to the nozzle tip, as this is where clogs are most likely to occur.
- After cleaning, run water through the sprayer to flush out any remaining residue.
Reassembling and Flushing Out Residue
After thoroughly cleaning each part, the user should reassemble the Wagner airless sprayer and run water through it to remove any remaining residue.
Proper reassembly techniques are crucial to ensure the sprayer functions optimally. It is important to follow the manufacturer’s instructions to correctly assemble each component, paying special attention to aligning and tightening them securely.
Choosing the right cleaning solution is also essential for effective residue removal. It is recommended to use a cleaning solution specifically designed for airless sprayers, as it will effectively break down any remaining paint or debris.
Running water through the sprayer after reassembly helps to flush out any residual cleaning solution and ensure a clean system.
Inspecting for Damage or Wear
The user should carefully examine each part of the sprayer for any signs of damage or wear. This step is crucial in preventing nozzle clogs and maintaining optimal sprayer performance.
Here are three key areas to inspect:
-
Nozzle: Inspect the nozzle for any signs of damage, such as cracks or deformities. These can disrupt the paint flow and lead to clogs. Replace any worn-out or damaged nozzles to ensure smooth spraying.
-
Hose and Filter: Check the paint hose and filter for any obstructions or debris. Clear any blockages to maintain optimal paint flow and prevent clogs. Regularly clean or replace the filter as needed.
-
Other Parts: Thoroughly inspect all other parts of the sprayer, such as the gun, trigger, and pressure control knob. Look for any signs of wear or damage, such as loose fittings or broken components. Replace any faulty parts to maintain consistent performance.
Getting Familiar With the Controls
After inspecting for damage or wear on the Wagner airless sprayer, it’s important to get familiar with the controls to ensure smooth and even paint flow. Adjusting the pressure sensitivity is crucial for optimal paint application. This can be done using the pressure control knob located on the front of the sprayer. Starting with the lowest pressure setting and gradually increasing it until the desired flow is achieved is recommended. Testing the spray pattern on a scrap surface helps ensure consistent and even paint flow. Troubleshooting common control issues is also important for a professional finish. This includes checking the manufacturer’s recommendations for the optimal pressure range and using the correct nozzle size. Regular nozzle maintenance is essential to prevent clogs and maintain consistent paint flow. By mastering the controls and troubleshooting common issues, users can achieve a flawless finish with the Wagner airless sprayer.
| Adjusting pressure sensitivity | Troubleshooting common control issues |
|---|---|
| Use pressure control knob | Check manufacturer’s recommendations for optimal pressure range |
| Start with lowest pressure setting | Use correct nozzle size for optimal results |
| Gradually increase pressure until desired flow is achieved | Regular nozzle maintenance to prevent clogs |
| Test spray pattern on scrap surface | Troubleshoot issues to maintain consistent paint flow |
Adjusting Pressure and Selecting the Right Nozzle Size
Adjusting the pressure and selecting the right nozzle size are key factors in achieving optimal paint application with the Wagner airless sprayer.
-
Adjusting the pressure allows for a professional-looking finish and should be based on the manufacturer’s recommendations for the type of paint being used. Start with the lowest pressure setting and gradually increase it until the desired flow is achieved. Test the spray pattern on a scrap surface to ensure consistent and even paint flow.
-
Selecting the right nozzle size is crucial for optimal results and a professional finish. Refer to the manufacturer’s recommendations for the specific paint being used to determine the right nozzle size.
Frequently Asked Questions
How Long Does It Typically Take to Clean and Maintain a Wagner Airless Sprayer?
Cleaning time and maintenance frequency for a Wagner airless sprayer can vary depending on usage and the specific model. Generally, it takes around 15-30 minutes to clean and maintain the sprayer after each use.
Regular maintenance is recommended to ensure optimal performance and prevent clogs or buildup. This includes flushing out remaining paint, cleaning and inspecting each part, especially the nozzle, and replacing any faulty parts.
Following these steps will help maintain a smooth paint flow and extend the lifespan of the sprayer.
What Are Some Common Signs of a Clogged Nozzle and How Can It Be Addressed?
A clogged nozzle can lead to uneven paint flow and affect the performance of a Wagner airless sprayer. Common signs of a clogged nozzle include spattering or sputtering paint, reduced or inconsistent spray pattern, and paint buildup on the nozzle.
To address this issue, one can clean the nozzle thoroughly with warm water or a recommended cleaning solution, and remove any dried paint or debris. Regular cleaning techniques and preventative maintenance can help prevent clogs and ensure smooth paint flow.
Are There Any Specific Cleaning Solutions or Products Recommended for Cleaning the Wagner Airless Sprayer?
Recommended cleaning solutions for the Wagner Airless Sprayer include water and a manufacturer-recommended cleaning solution. Regular maintenance duration for the sprayer is crucial to ensure optimal performance.
Thoroughly cleaning and inspecting each part, especially the nozzle, helps prevent clogs and ensures smooth paint flow. Using warm water or cleaning solution, the clogged nozzle can be cleaned to maintain optimal sprayer performance.
Following these cleaning recommendations and maintenance practices will extend the lifespan of the sprayer and ensure efficient paint flow.
How Often Should the Nozzle Be Replaced to Ensure Optimal Paint Flow?
To maintain optimal paint flow, it’s important to replace the nozzle of the Wagner airless sprayer regularly. The frequency of nozzle replacement depends on factors such as usage and paint type.
Generally, it’s recommended to replace the nozzle every 6-12 months or sooner if it becomes worn or clogged. Regularly inspecting and cleaning the nozzle can help prolong its lifespan and ensure smooth paint flow.
Can the Wagner Airless Sprayer Be Used With Different Types of Paint, Such as Oil-Based or Latex, and if So, Are There Any Additional Maintenance Steps Required for Switching Between Paint Types?
When switching between oil-based and latex paint with the Wagner airless sprayer, it’s important to clean the sprayer thoroughly to prevent any cross-contamination.
Proper cleaning techniques include flushing out the remaining paint with water or a recommended cleaning solution.
Inspect each part, especially the nozzle, for any paint residue.
Conclusion
In conclusion, mastering paint flow with the Wagner Airless Sprayer requires proper maintenance, understanding of controls, thinning paint, and implementing effective techniques.
By regularly cleaning and maintaining the sprayer, addressing clogged nozzle issues, and achieving a consistent spray pattern, users can ensure optimal performance and achieve a professional finish.
It is crucial to thoroughly clean and inspect each part, adjust the pressure setting, and select the right nozzle size.
By following these steps and techniques, users can achieve optimal paint flow and create impressive results.
Franz came aboard the Paint Sprayer Zone team with a background in both journalism and home renovation. His articulate writing style, combined with a passion for DIY projects, makes him an invaluable asset. Franz has a knack for breaking down technical jargon into easy-to-understand content, ensuring that even the most novice of readers can grasp the complexities of paint sprayers.
